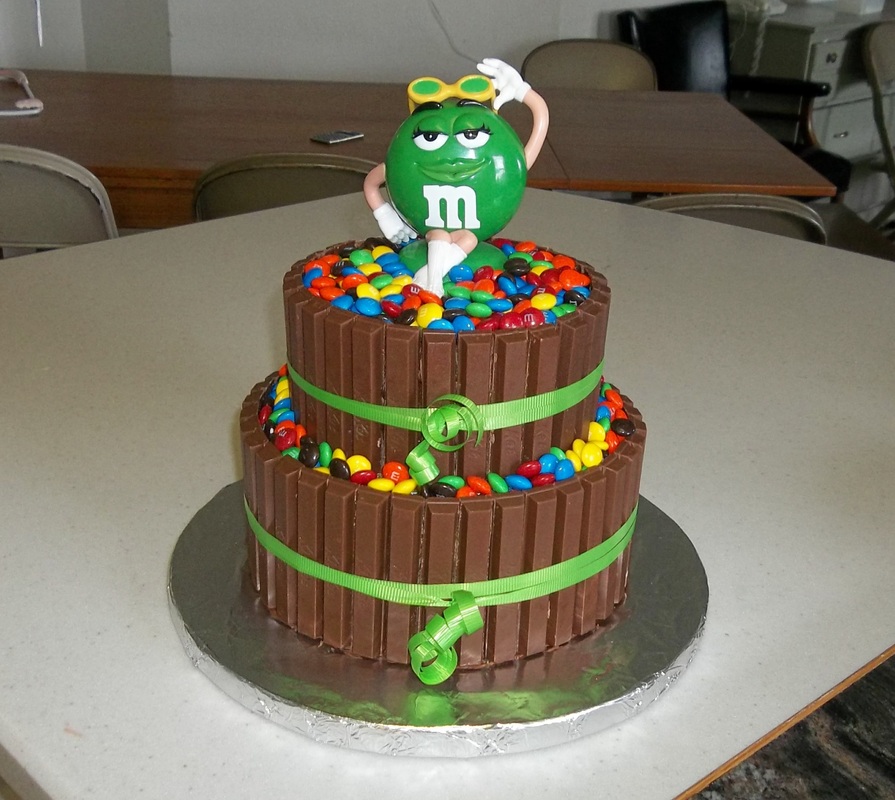
So I know that I haven't done a lot lately but I have quite a few projects coming up.  This cake was for my daughter's 9th birthday.  I wanted a cake that was fairly easy because I've been trying to find some good scratch recipes.  So my main focus was on the cake itself, rather than how I was decorating it.  This cake is great too, because anyone could do it.  For a simpler version just do the 8 inch bottom tier and cover the entire top with M&M's.  Easy peasy.

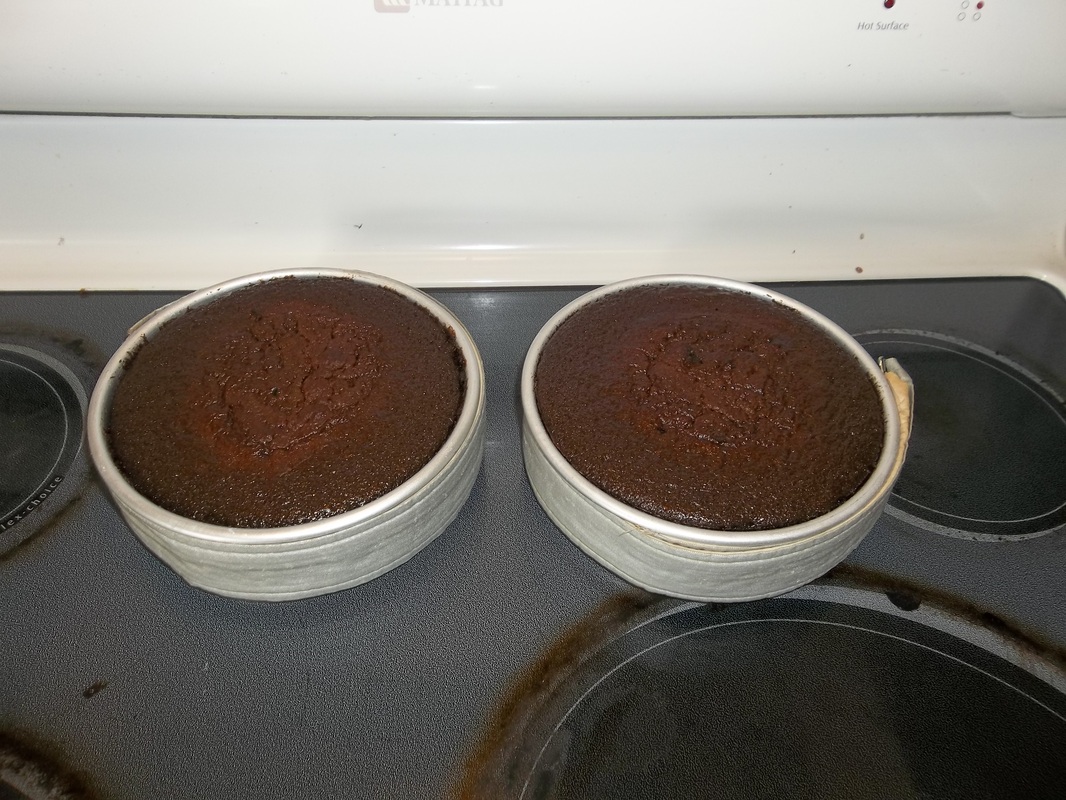
The top tier was made from the Hershey's recipe, Perfectly Chocolate Cake.  I will share this recipe because I absolutely LOVE it!!  I've found a scratch chocolate cake that I will use forever!!  It's light and moist and delish.  It's also very easy to work with.  It's everything I've been looking for in a scratch recipe.  Yay!!!

"Perfectly Chocolate" Chocolate Cake
2 c. sugar
1 3/4 c. all-purpose flour
3/4 c. cocoa
1 1/2 tsp. baking powder
1 1/2 tsp. baking soda
1 tsp. salt
2 eggs
1 c. milk
1/2 c. vegetable oil
2 tsp. vanilla extract
1 c. boiling water

Heat oven to 350. Grease and flour two 9-in. round pans (I used 6 inch pans for the top tier of this cake and made cupcakes with the leftovers).  Combine dry ingredients in large bowl. Add eggs, milk, oil, and vanilla; beat on med. speed 2 min. Stir in boiling water. (batter will be very thin) Pour into pans. 

Bake 30-35 min. or until toothpick inserted in center comes out clean. Cool 10 min.; remove from pans to wire racks. Cool completely.


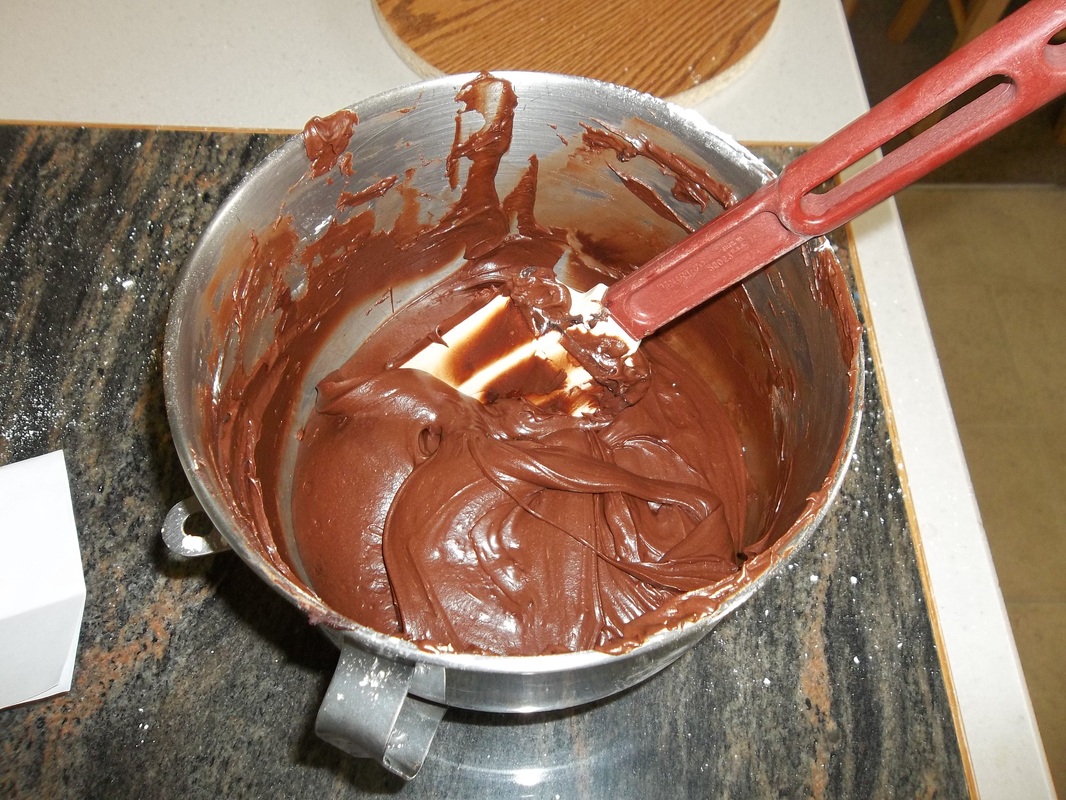
I used a Hershey's buttercream recipe for the frosting too.  This frosting was heavenly but wouldn't be good for traditional cake decorating.  It's too goopy for real decorating and doesn't hold it's form well.  I used it anyway because I love how it tastes, and I knew I'd just be covering the whole cake up anyway.

"Perfectly Chocolate" Chocolate Frosting:
1/2 c. butter or margarine
2/3 c. cocoa
3 c. powdered sugar
1/3 c. milk
1 tsp. vanilla extract

Melt butter. Stir in cocoa. Alternately add powdered sugar and milk, beating on med. speed to spreading consistency. Add more milk, if needed. Stir in vanilla. Makes about 2 cups.

I tripled the recipe for the two tiers, but could have gotten away with just doubling it.  
The bottom tier was a vanilla cake I found on the bakerella blog.  It was very good but I'm not posting the recipe because I probably won't use it again.  It tasted great, but it was very heavy and dense.  It was moist, but the kids just didn't like the texture well.  So I'd say it's good for adults, but not the keeper recipe I was hoping for.  In case you are interested, here is where I found the recipe:   http://www.bakerella.com/finally-i-found-it/  The bottom tier was an 8 inch tier.
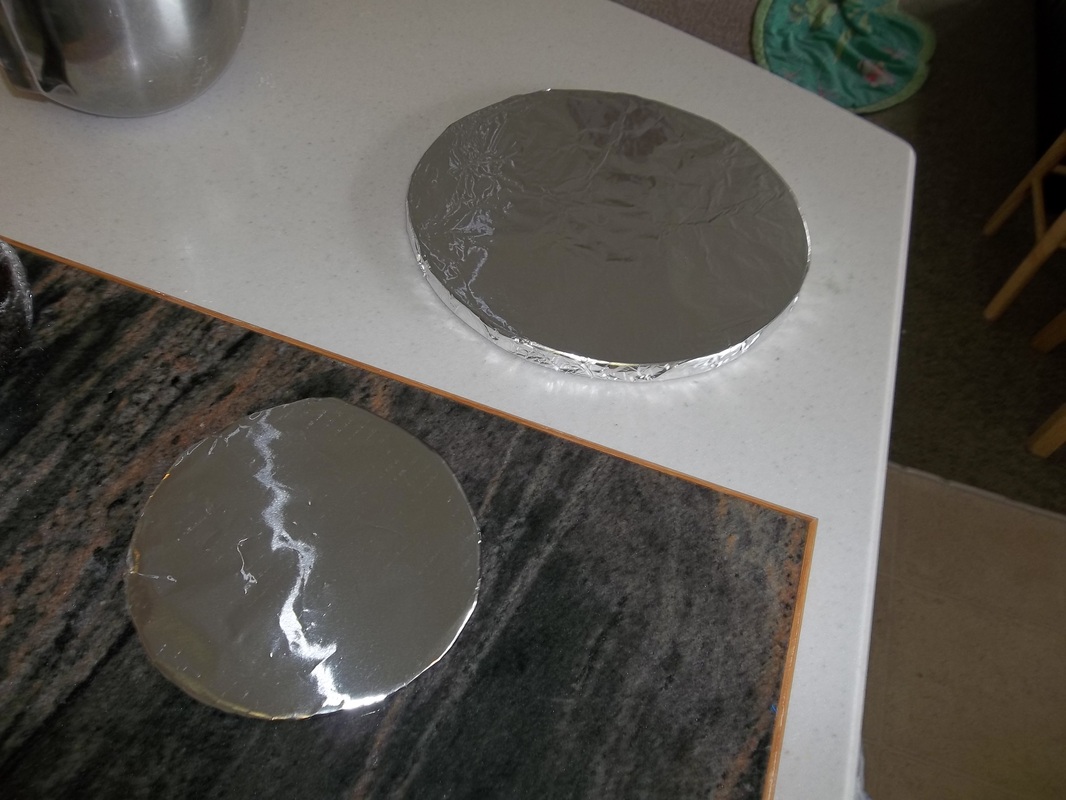
After the cakes were baked I covered a cake board and a 7 inch cardboard circle with foil.  
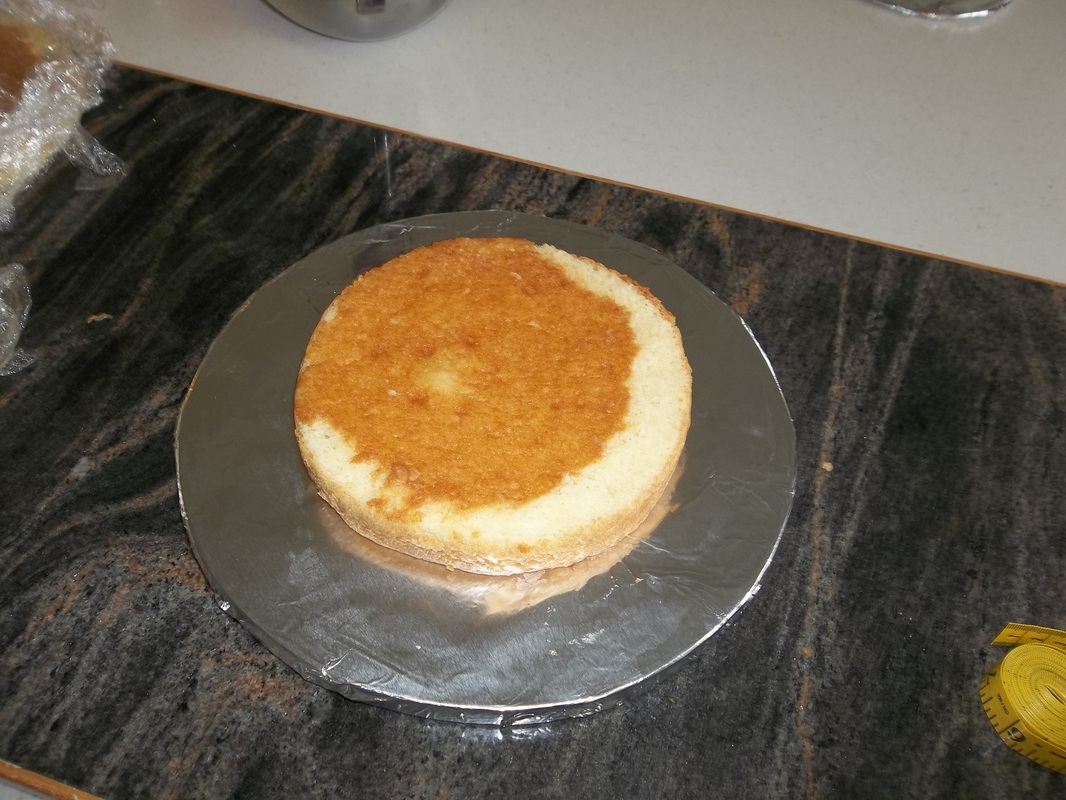
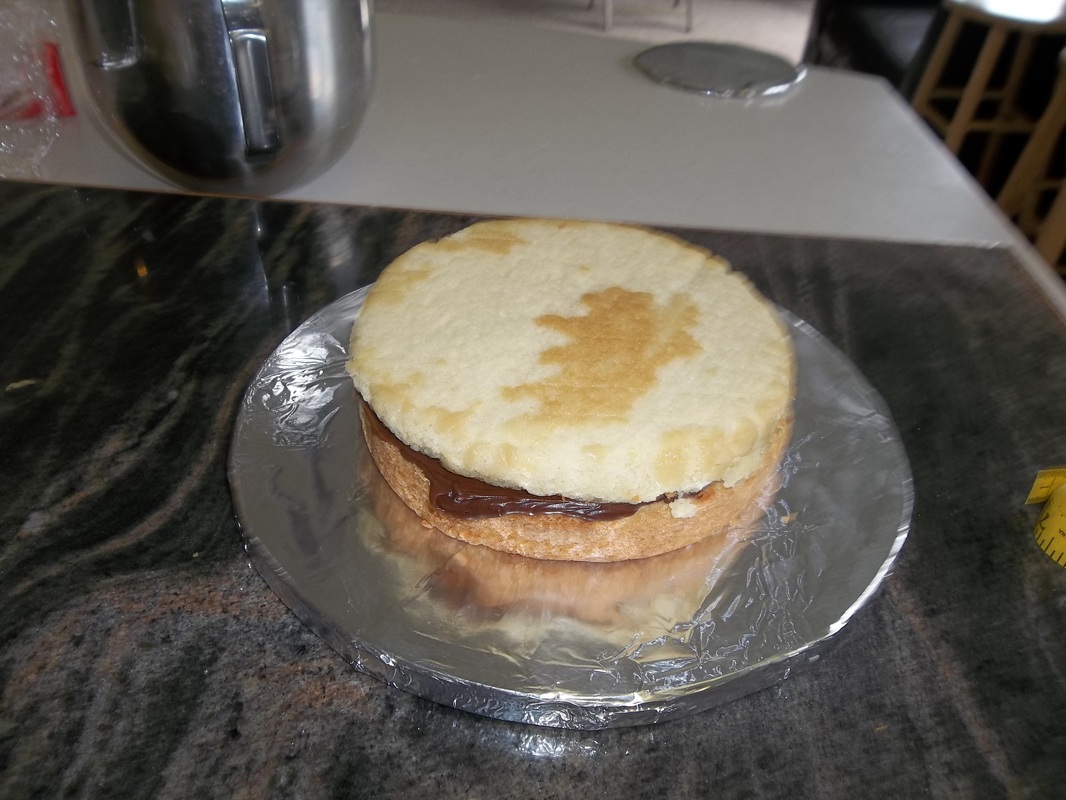
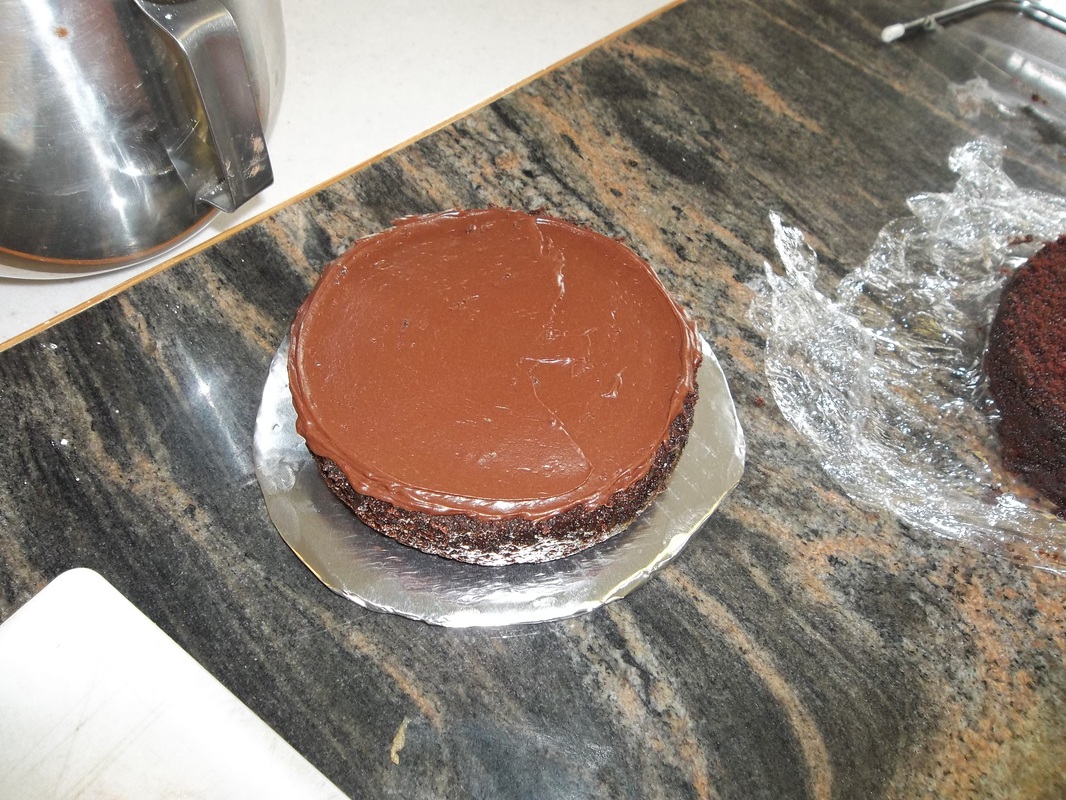
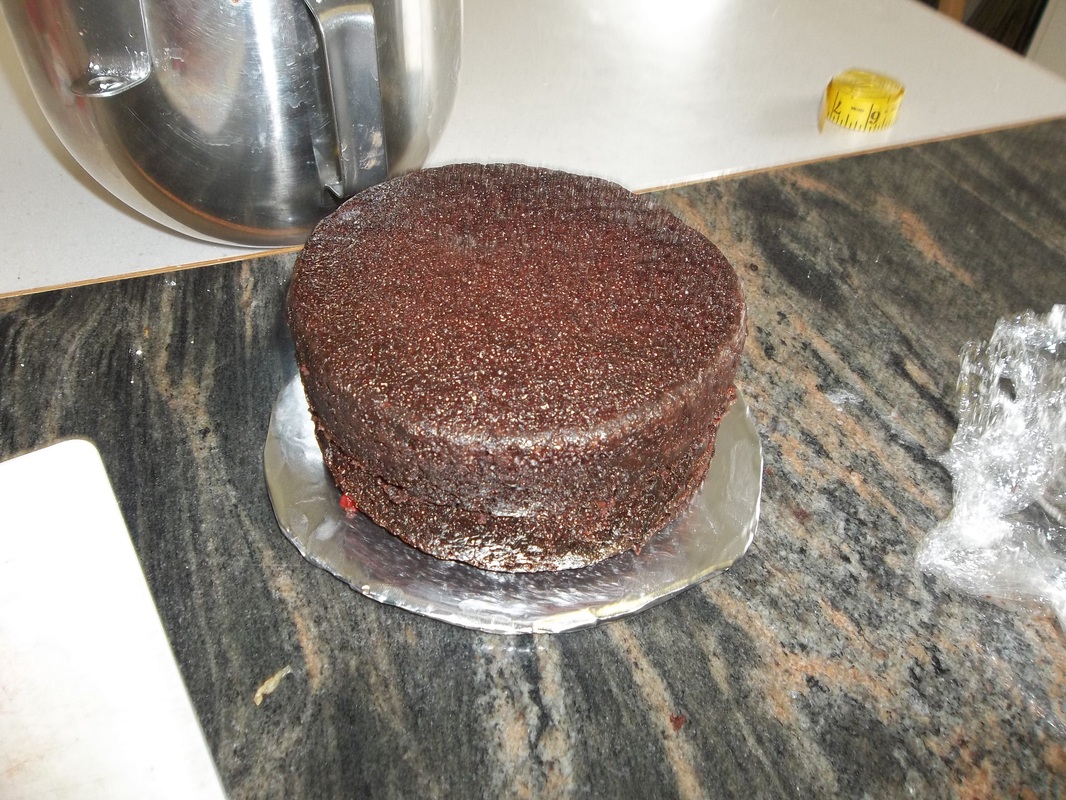
Then I assembled the bottom tier.  I put a bit of frosting on the board to hold the cake and started alternating cakes and frosting.
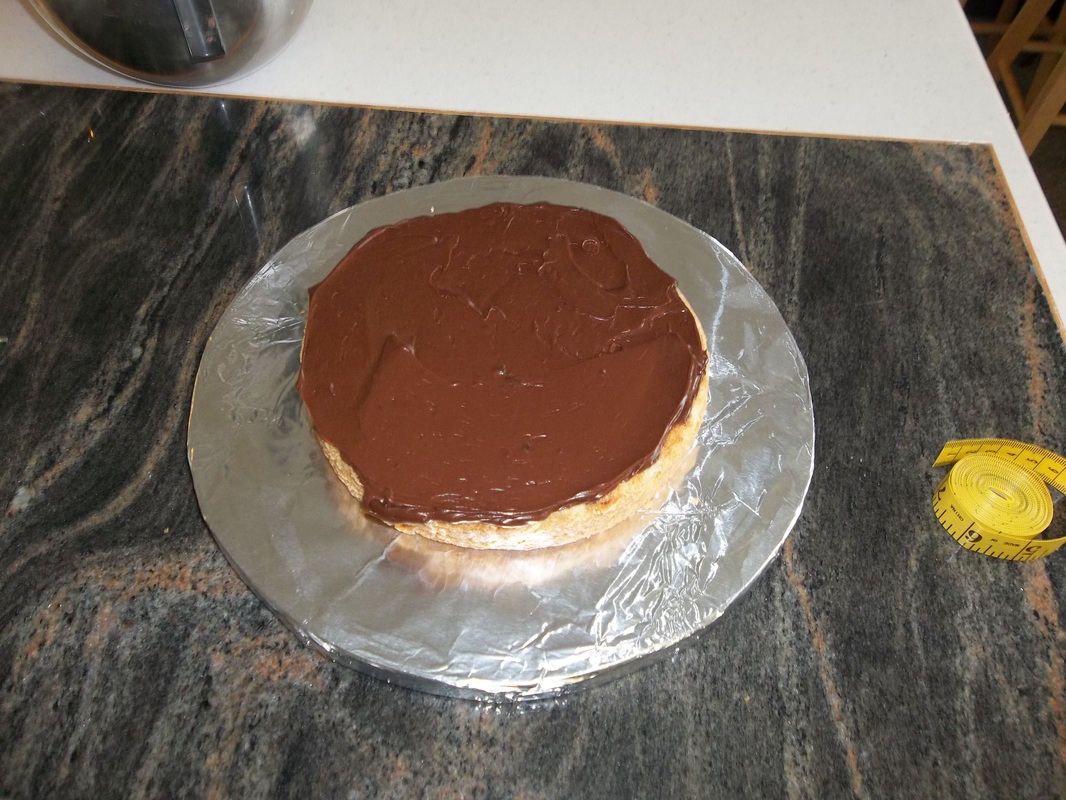
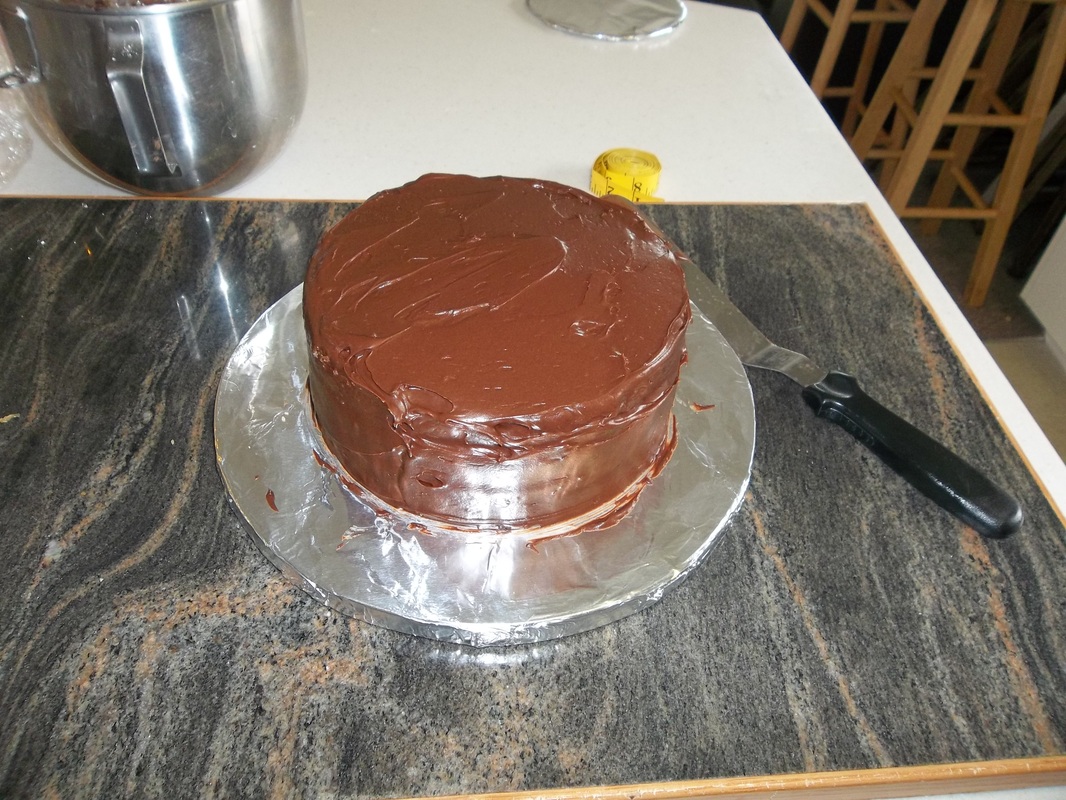
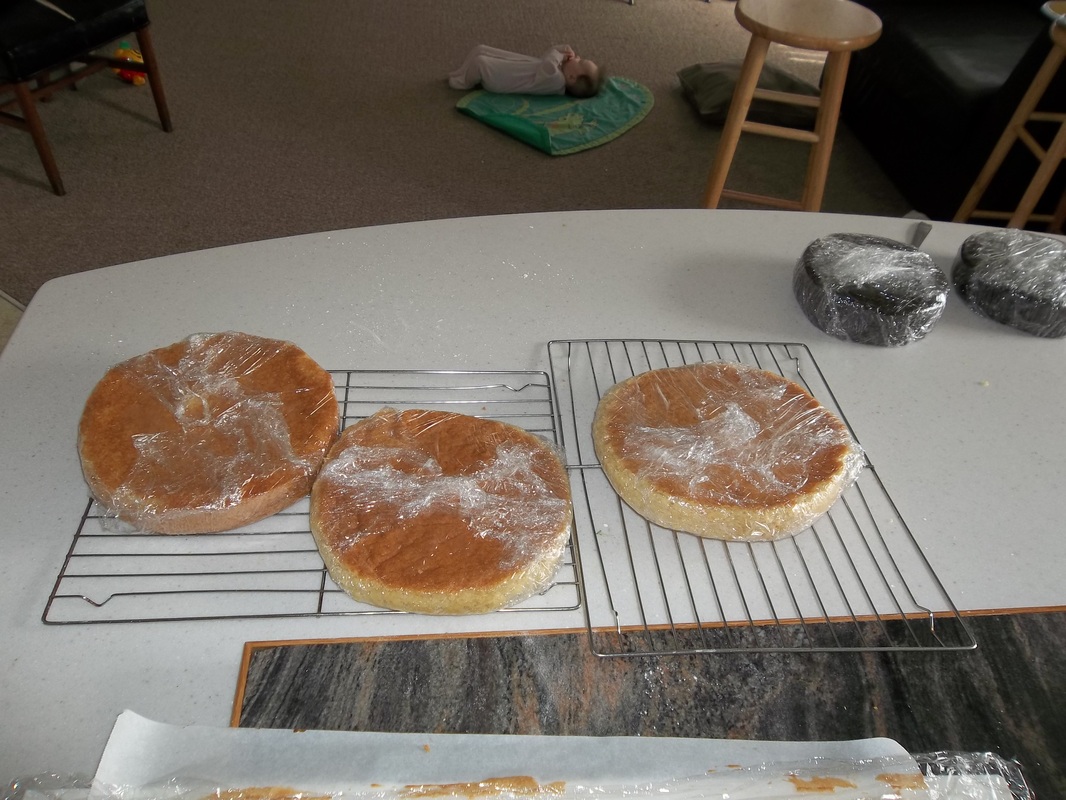
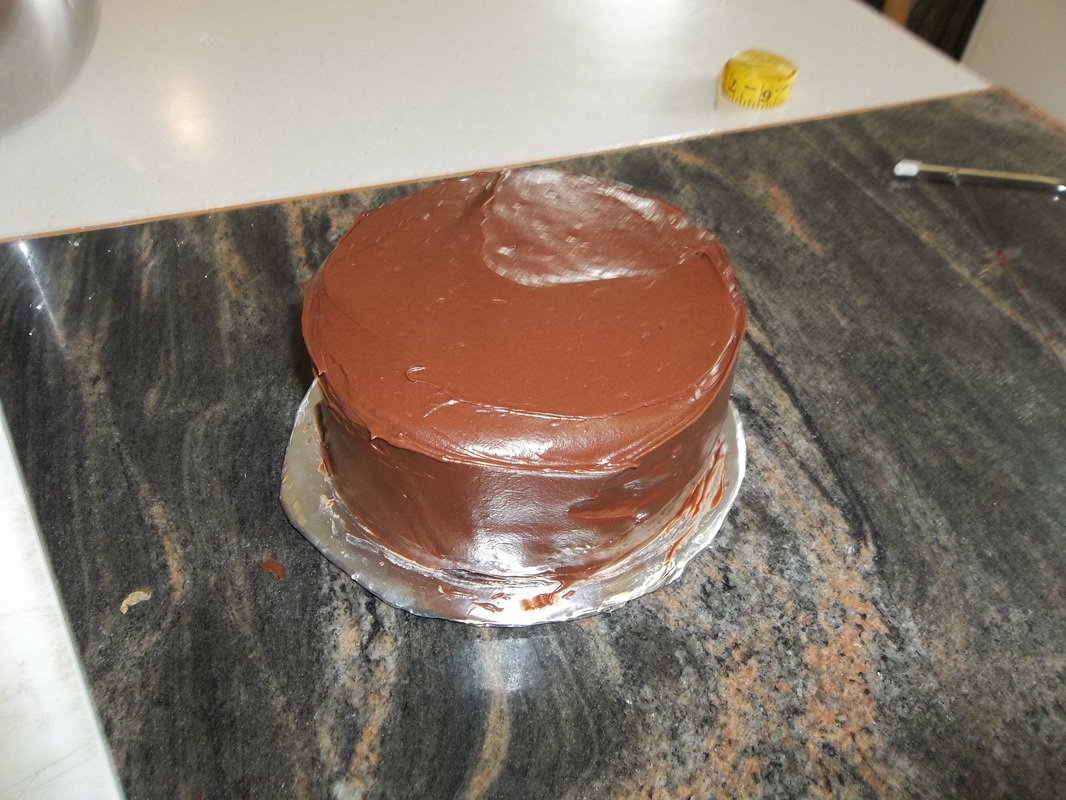
Once all three tiers were assembled, I covered the whole cake in frosting and put it in the fridge.
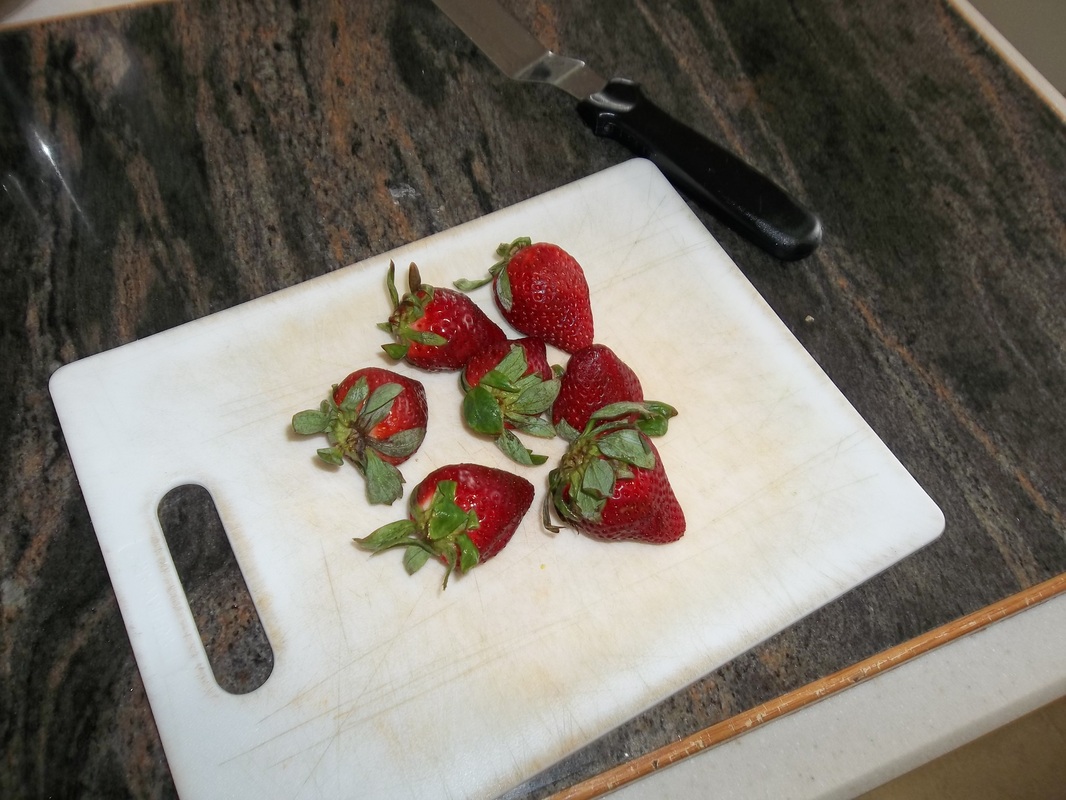
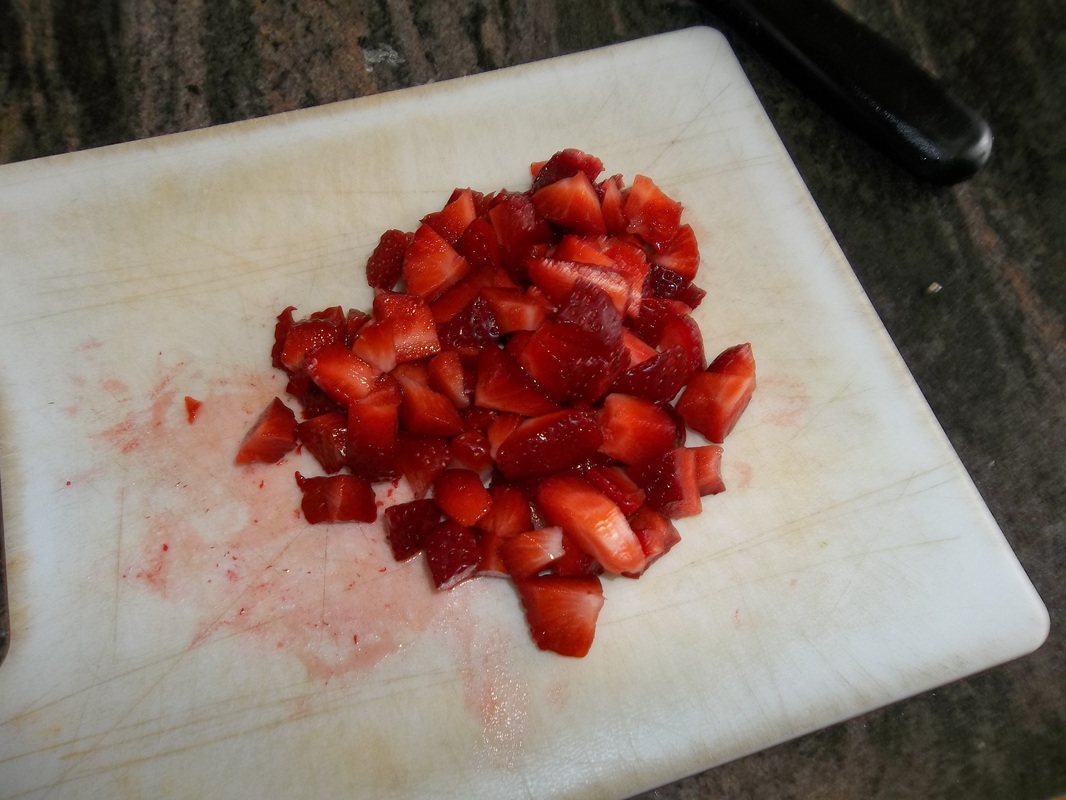
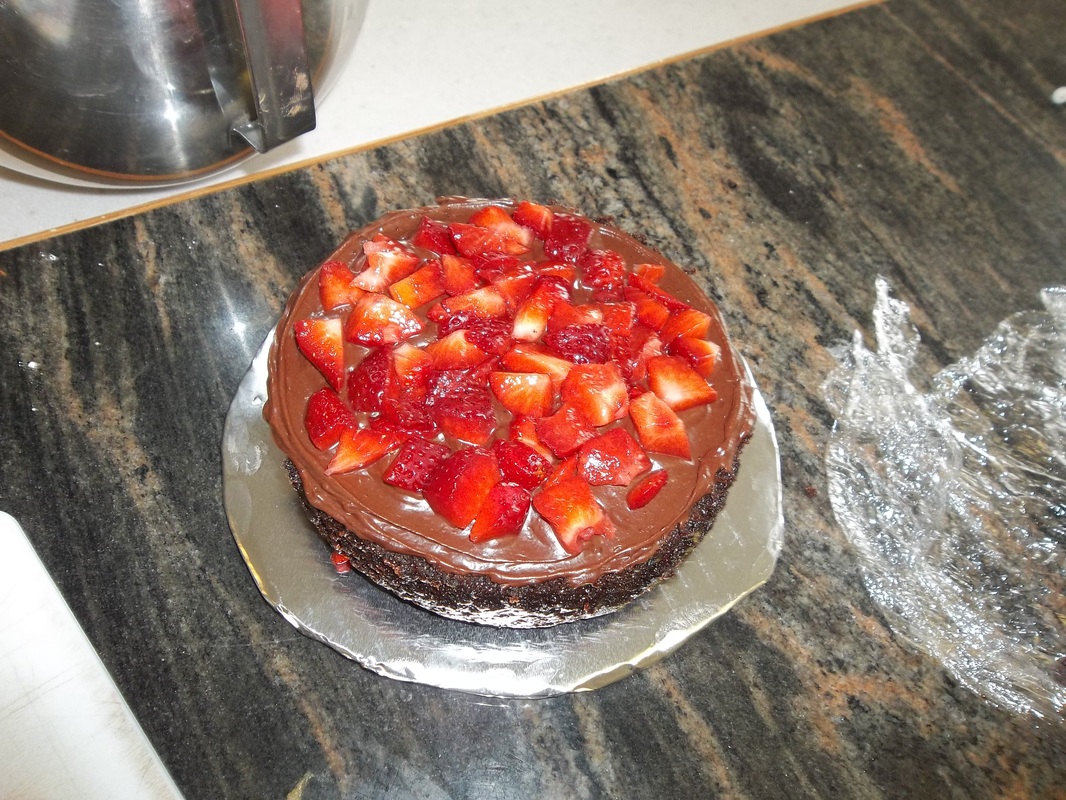
I thought it would be a nice change to add some fresh strawberries to the chocolate tier, so I cut some up.
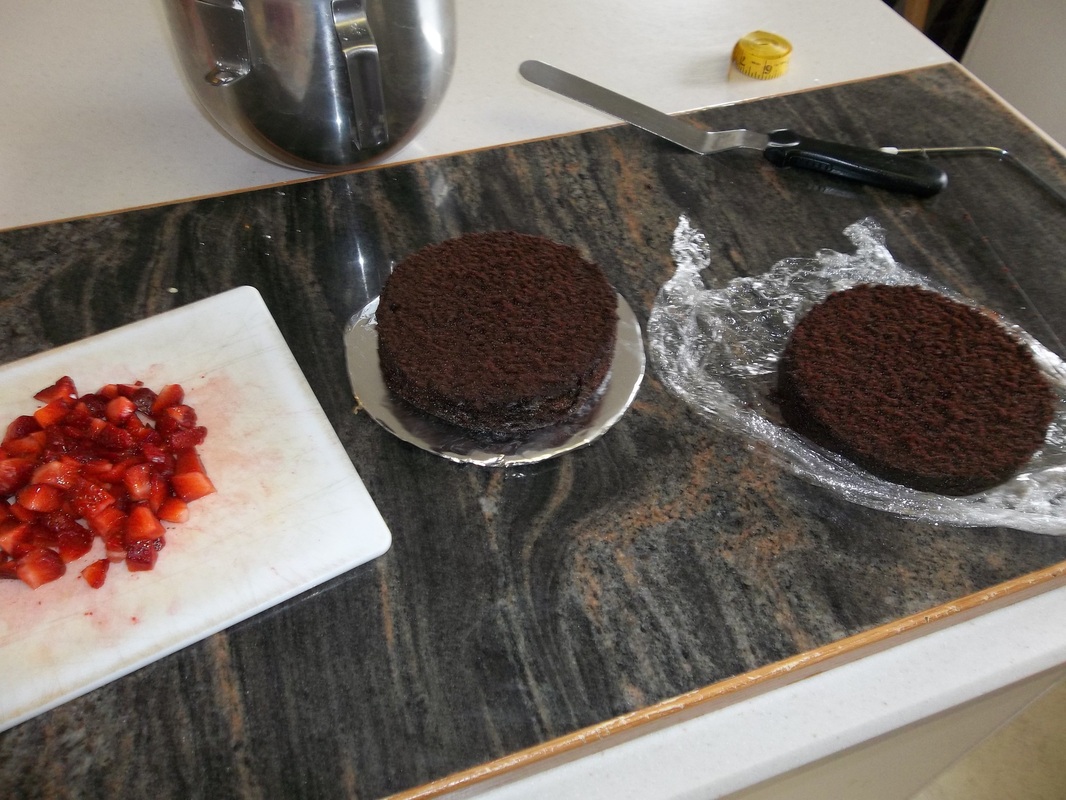
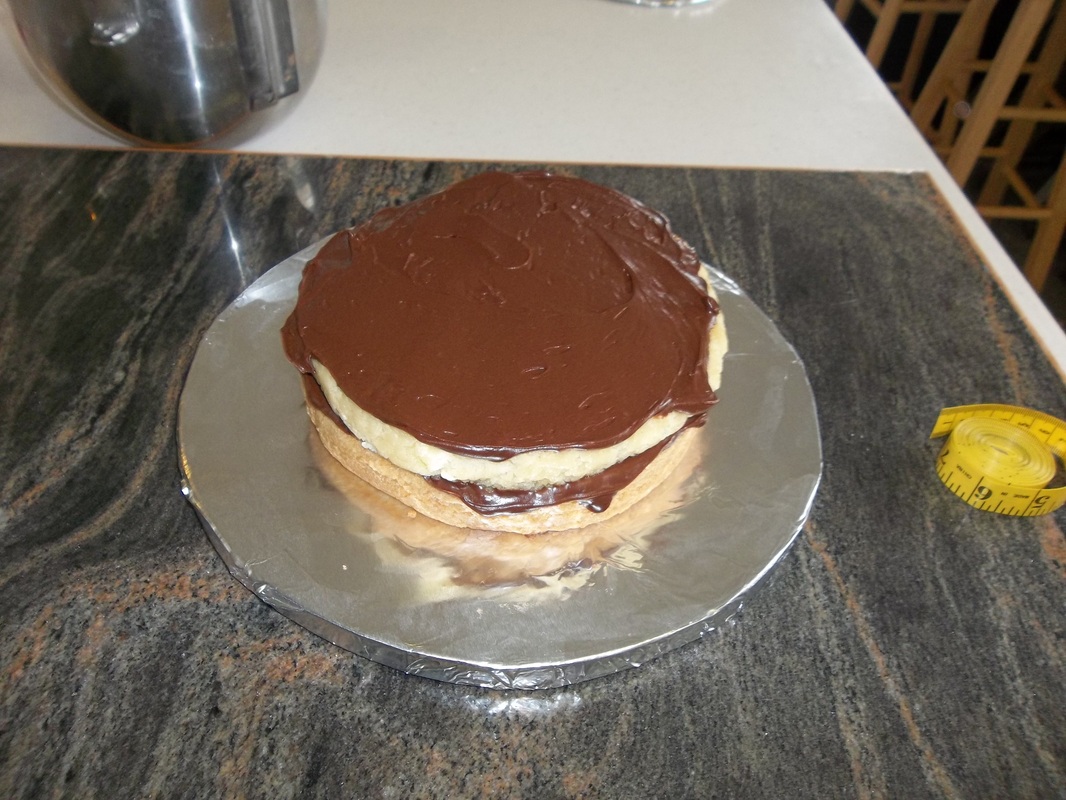
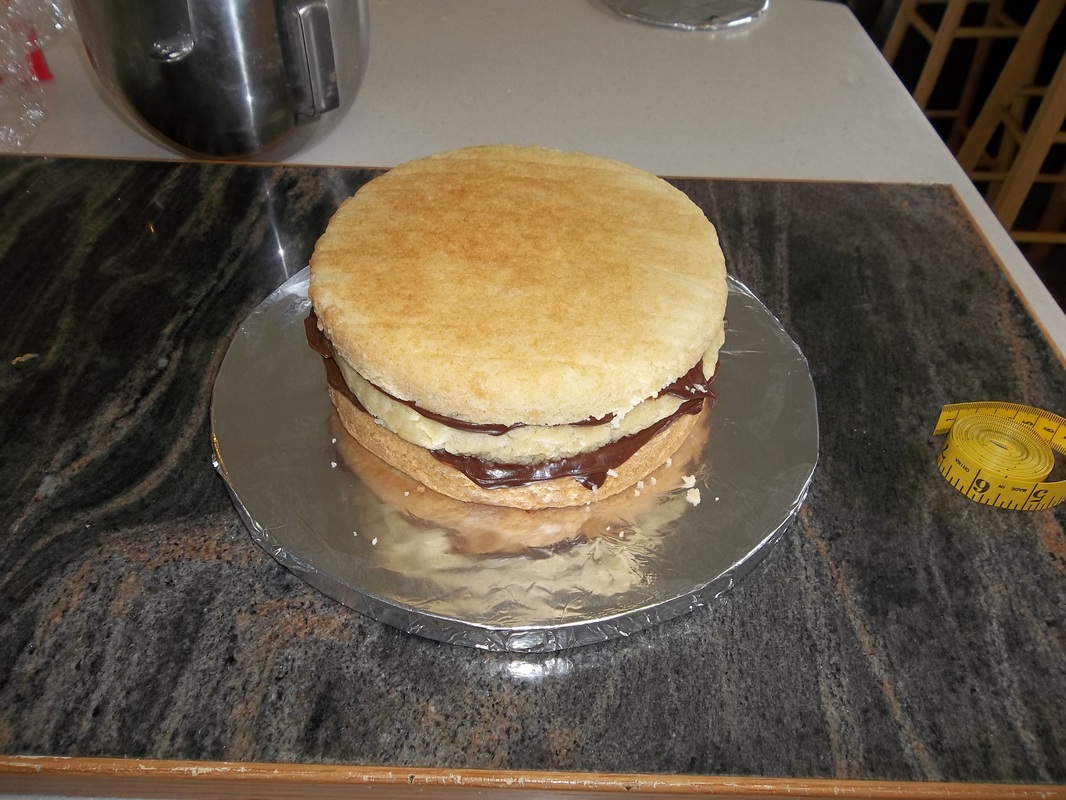
Then I started assembling the chocolate tier.  I leveled the cakes (incidentally, I made the three tiered layers just under 1 inch thick and the two tiered layers 1 1/2 inches thick).  
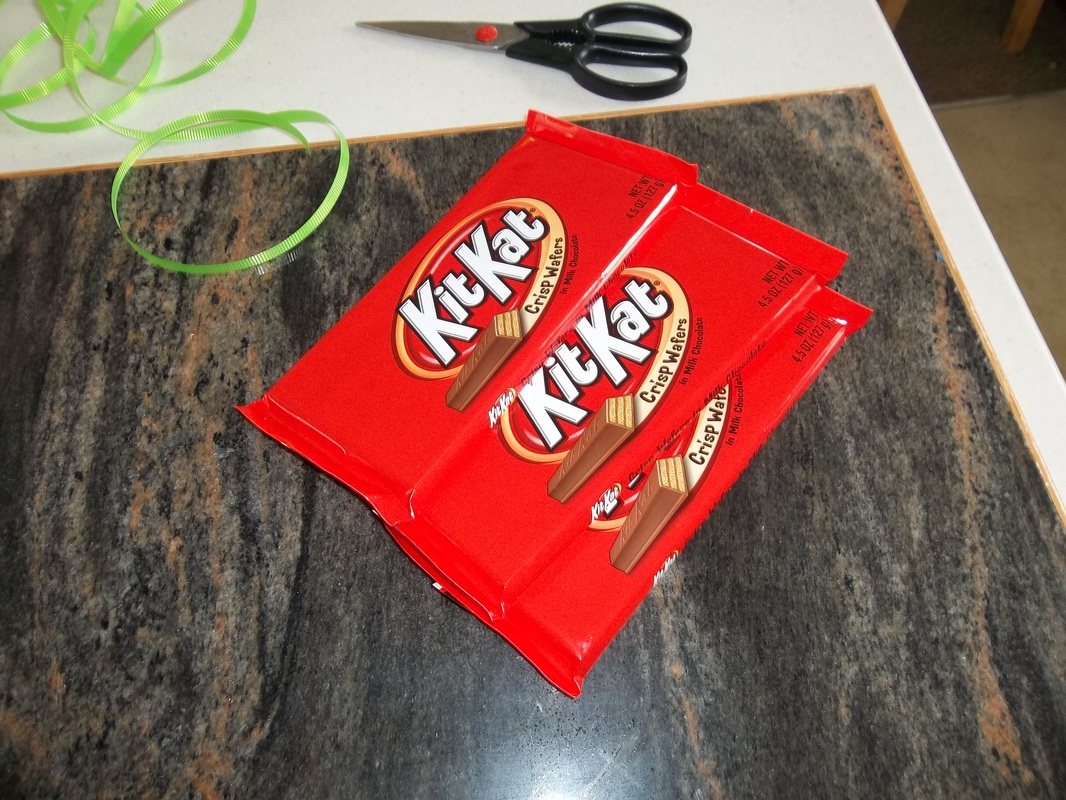
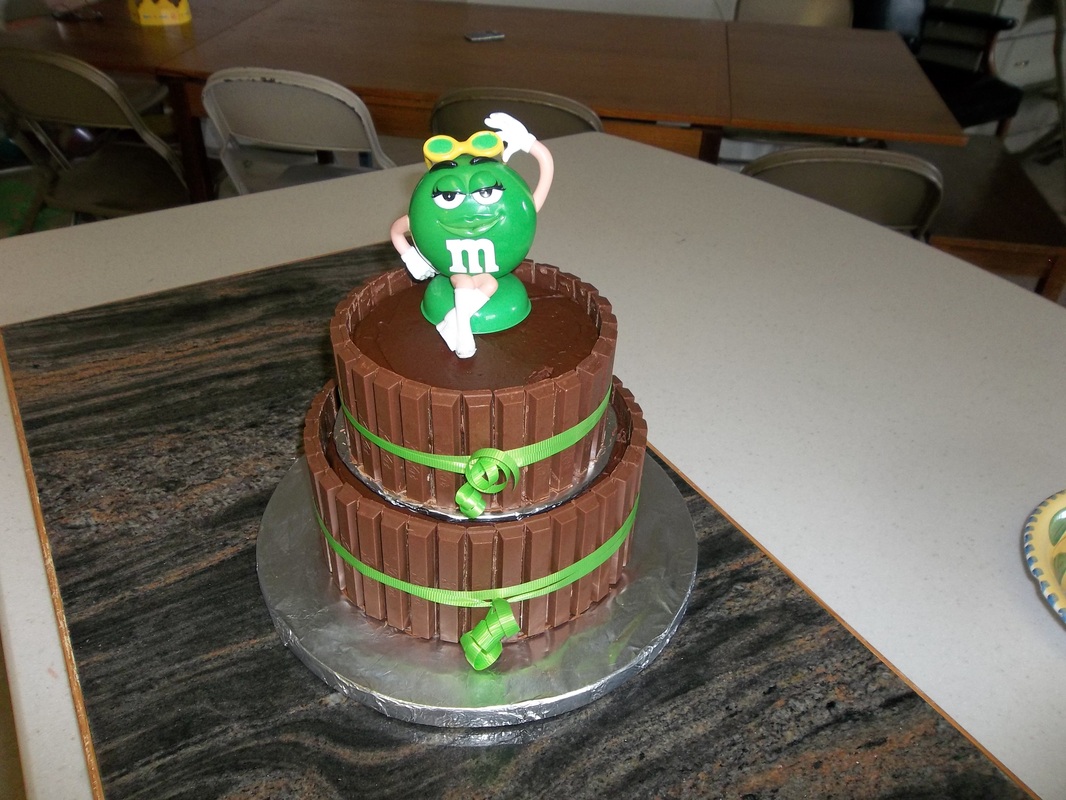
I used Kit Kat candy bars on the sides.  The 8 inch tier took 10 full size bars.  I bought these king size packages that came with 3 full sized bars.  The 6 inch tier took 7 full size bars.
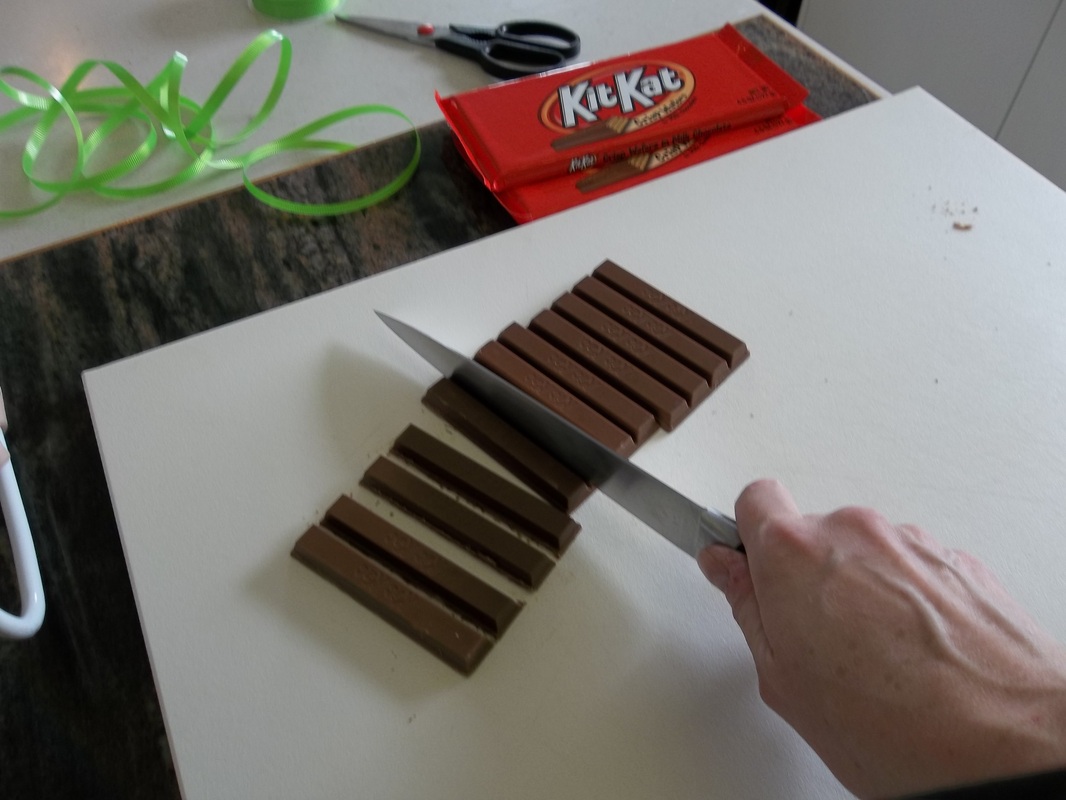
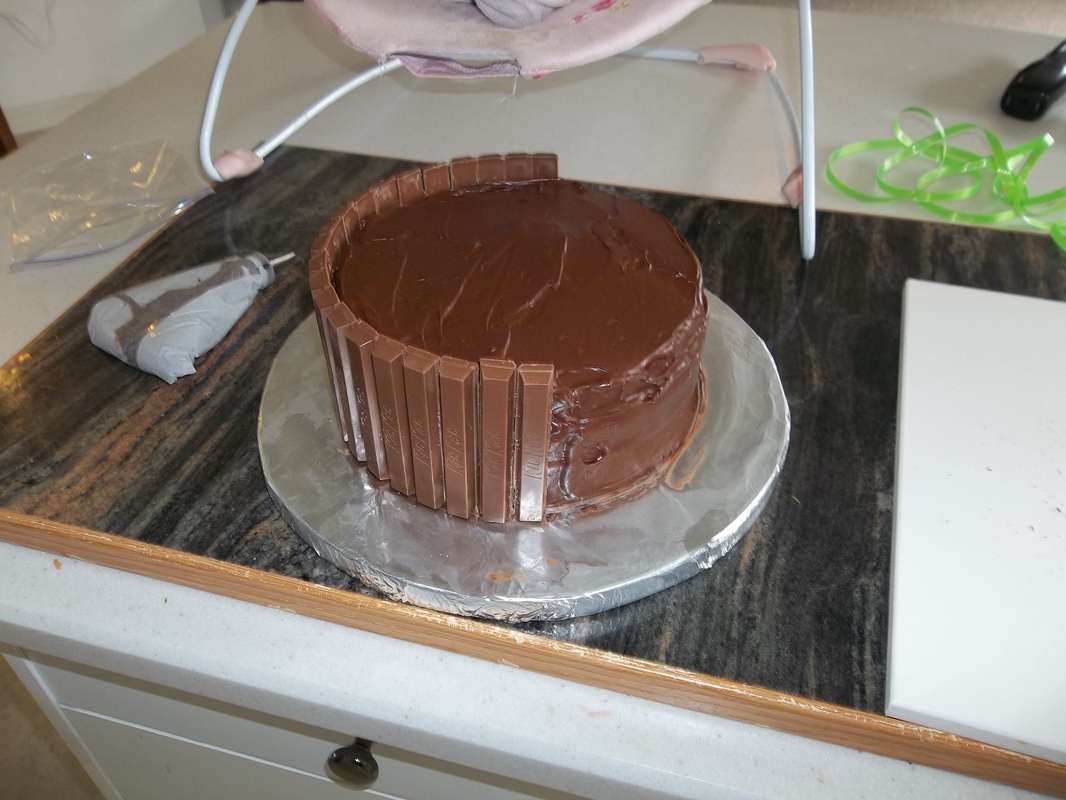
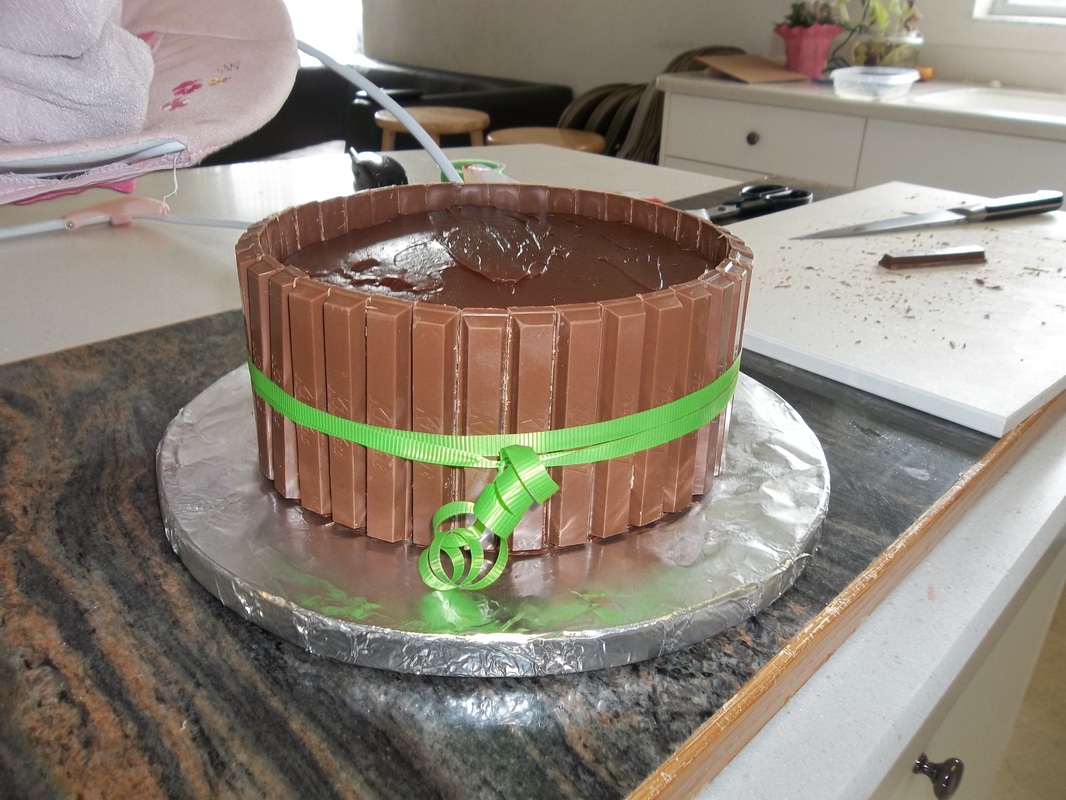
Because I had refridgerated the cakes before I decorated them, I had to pipe a bit of frosting on the cold cake so the candy would stick.  Then I just went around the cake and placed on the Kit Kats.  I then used a ribbon to tighten them up a bit and hold them into place.  I wouldn't skip the rippon as it really helps keep it all in place.
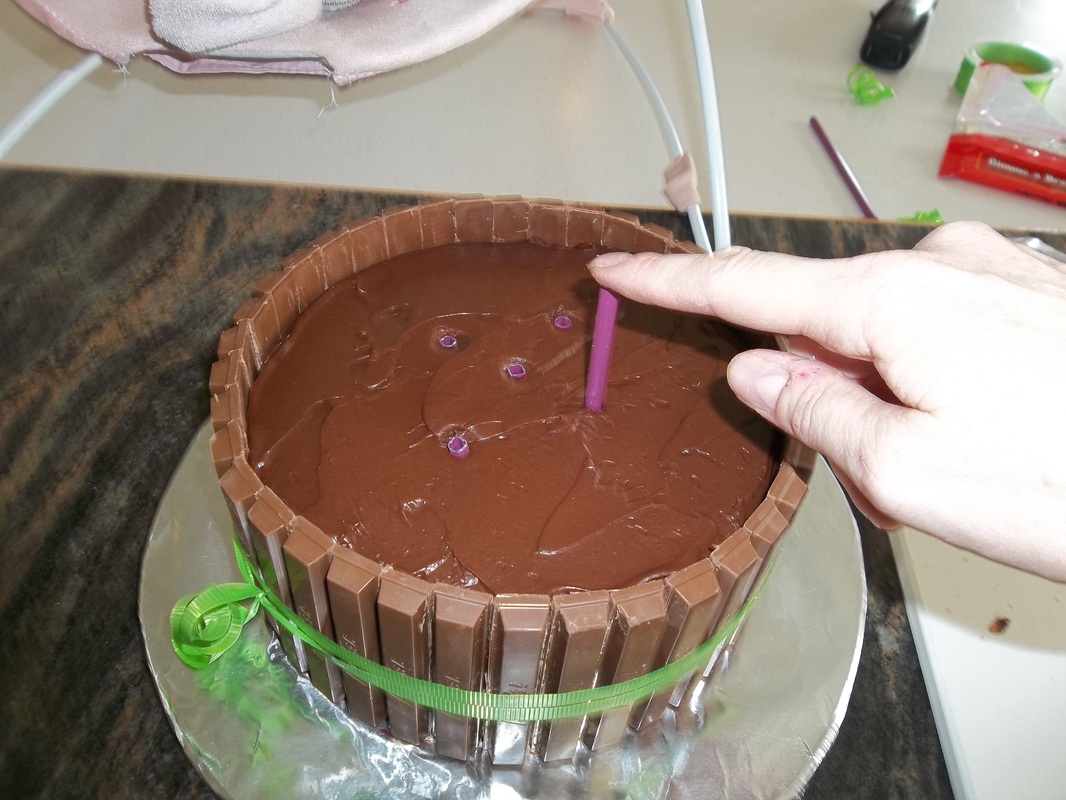
Because I was stacking cakes, I used a plastic rod to hold the weight of the second cake.  I intentionally kept the cake just over three inches high so there was room for the m&m's to cover the top portions.
Because this frosting was so sticky, I was afraid that the cakeboard from the top tier would bring the frosting up with it when I took the cake apart to cut so I did something with this cake that I've never done before.  I placed a small circle of parchment paper between the tiers before I stacked them.
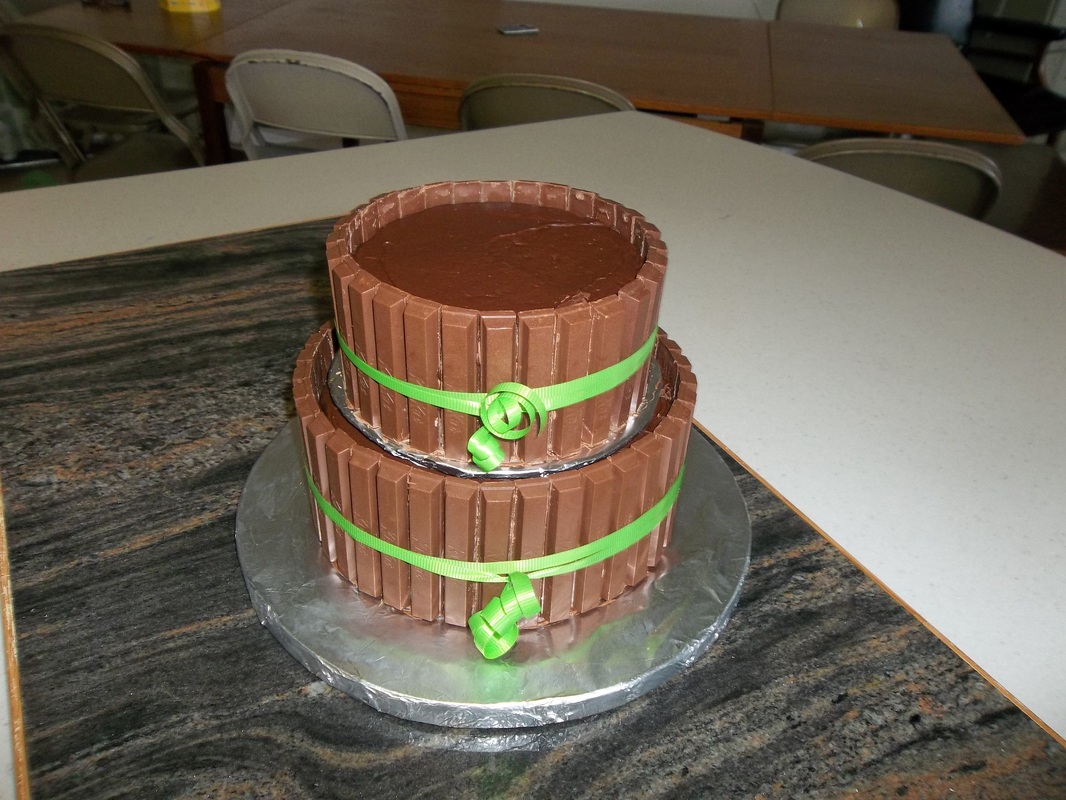
I stacked the cakes and they were ready for the finishing touches.
It was a huge success and of course the kids LOVED it!  Who wouldn't?  The candy on the cake added a nice touch.
Erin Winters
3/22/2012 02:18:19 pm

I'm totally stealing (borrowing?) this idea for Bryce's birthday party this weekend. He's so excited. Crossing my fingers it turns out looking 1/2 as nice as yours (though I'm only doing the bottom layer...).

Reply
Brandi
3/22/2012 08:38:22 pm

I got the idea from the web...so it's not stealing. :-) Most of them are only 1 layer. It'll look great! It was a HUGE hit with the kids, and it's super easy.

Reply
Chey
6/19/2012 03:43:56 pm

Love this cake. Have seen very few 2 tier kit kat cakes. Yours is fabulous. What cake sizes are yours 2 levels? I think you mentioned 9 inch on top. What size is the bottom level?

Reply
Brandi
6/19/2012 05:10:20 pm

Thanks! I edited the blog to be a bit more clear on the sizes. That particular cake recipe calls for 9 inch pans, but it wasn't a 9 inch tier. The top tier was 6 inches and the bottom tier was 8. Good luck, I'm sure it will look great.

Reply
Tracey
1/28/2013 06:34:02 am

Hi, what a fabulous cake. How long did you leave the cake stacked for before the birthday? Would the cake transport okay by car as the finished stacked cake? Thanks

Reply
Brandi
1/28/2013 07:46:15 am

Thanks Tracey. It was so much fun to make. I had the whole cake done and stacked the day before (with the exception of the toy and m&m's on top, which I put on just before the party). I think that it would travel fine. I'd keep it in the refrigerator until just before you leave. And make sure that you don't omit the ribbons around the edges. They are really needed to hold the whole thing together. Good luck! :-)

Reply
Tracey
1/31/2013 05:13:37 am

Thank you so much for your reply Brandi. I will make your recipe tomorrow. Your cakes look fabulous. Your blog has been a great help, thank you!

Reply
Tahnee
8/1/2013 08:57:47 pm

Hi Brandi,
This is such a beautifully lively cake!
I have a couple of questions.

How many people do you think this fed?
And how did the strawberries in the middle work out??

Reply
Brandi
8/2/2013 12:20:45 am

Thanks Tahnee. This cake feeds 30 people if you don't cut the pieces really big. :-) The strawberries in the middle were delicious!

Reply
Tahnee
8/3/2013 04:05:27 pm

Tahnee
8/15/2013 04:55:16 pm

Hi Brandi,
Sorry to bug you again...
How did you physically take the top tier off the cake??
i'm afraid it'll fall apart...

Reply
Brandi
8/15/2013 08:50:14 pm

It's no bother at all. :-) I just slipped a spatula under it and lifted it enough to get my fingers under. Then just lift it up. It didn't fall apart because it's on a piece of cardboard covered with foil. Just make sure that you get the spatula underneath the board. You want to lift the board, not the cake. Does this make sense?

Reply
Tahnee
8/16/2013 11:54:03 am

Thank you, yes it makes perfect sense!
Thanks so much for the quick response :D

Jasmarie
12/14/2013 10:30:48 am

This cake looks wonderful! Where can I find a M&M's toy like that?

Reply
Brandi
12/14/2013 01:29:36 pm

Thanks. The M&M toy was actually the top to an M&M bank. I got mine on Ebay but sometimes they sell them in stores...

Reply
Jodi
3/14/2014 10:22:35 pm

Hey Brandi, I was wondering how much m&ms you had to use for the cake?

Reply
Brandi
3/14/2014 10:49:31 pm

That's a good question. :-) I don't remember exactly, but it seems like I just bought a good sized bag (not the humongous ones that cost 10 dollars, but maybe a 4 or 5 dollar bag). Sorry I don't remember exactly.

Reply
Lisa
4/23/2014 10:26:04 pm

Hi, my niece wants me to make her birthday cake. I asked her if she wanted a fun cake or a serious cake. She said a fun cake, so I am going to make her this cake you made. (I love to bake) my question is, the size of the bottom is 8 or 9 inche cake?

Reply
Brandi
4/25/2014 12:01:03 am

The bottom tier is 8 inches. :-)

Reply
Sinead
5/2/2014 04:25:21 am

Wow! This is amazing :) I will definitely be making this for my friends birthday, she is m&m obsessed! You are very clever :) many thanks for the instructions xx

Reply
Brandi
5/2/2014 10:28:10 am

Thanks. It was a big hit. :-) It's such a fun hobby.

Reply
Kisha
6/13/2014 04:36:38 pm

I'm a little confused. Did you use kingsize KitKats or regular full sized ones? I only ask because that bottom layer was 3 8 inch cakes.

Reply
Brandi
6/13/2014 11:06:57 pm

I used a king size pack, but the actual size of the Kit Kats was the same as the regular pack. It just had more in them. So they are the regular size. I had to cut down the ones on the top layer as that layer was smaller. Does that make sense?

Reply
Brandi
6/13/2014 11:11:22 pm

My cake layers are very thin. I like three layers because I like the cake to frosting ratio better that way (plus I think it looks nice). But each layer is only one and a quarter inch thick.

Reply
kisha
6/15/2014 03:35:10 pm

Yes that answers all my questions. Thank you so much!

Reply
8/18/2014 10:52:49 am

Omg amazing thank you so much for ur step to step guide most helpful ! :)

Reply
Brandi
8/18/2014 11:50:42 am

Thanks. :-) It's a fun cake to make.

Reply
Maria Said
8/23/2014 08:20:23 pm

This is absolutely amazing! Was wondering how big the M & M toy is. I found one on ebay measuring 23cm and wasn't sure if I should go ahead and buy it or go for a smaller one. Thanks for the brilliant idea!

Reply
Brandi
8/24/2014 03:13:50 am

To be honest, I'm not exactly sure how big it was. It was the top to a M&M dispenser. But if you just figure the size of the toy on top of whatever size tier you are making, I'm sure it will work just fine.

Reply
Lajarvous Goodwin
11/16/2014 07:04:00 am

Could you email me this respie

Reply
Brandi
11/16/2014 09:25:16 am

The recipe is in the blog:

"Perfectly Chocolate" Chocolate Cake
2 c. sugar
1 3/4 c. all-purpose flour
3/4 c. cocoa
1 1/2 tsp. baking powder
1 1/2 tsp. baking soda
1 tsp. salt
2 eggs
1 c. milk
1/2 c. vegetable oil
2 tsp. vanilla extract
1 c. boiling water

Heat oven to 350. Grease and flour two 9-in. round pans (I used 6 inch pans for the top tier of this cake and made cupcakes with the leftovers). Combine dry ingredients in large bowl. Add eggs, milk, oil, and vanilla; beat on med. speed 2 min. Stir in boiling water. (batter will be very thin) Pour into pans.

Bake 30-35 min. or until toothpick inserted in center comes out clean. Cool 10 min.; remove from pans to wire racks. Cool completely.

"Perfectly Chocolate" Chocolate Frosting:
1/2 c. butter or margarine
2/3 c. cocoa
3 c. powdered sugar
1/3 c. milk
1 tsp. vanilla extract

Melt butter. Stir in cocoa. Alternately add powdered sugar and milk, beating on med. speed to spreading consistency. Add more milk, if needed. Stir in vanilla. Makes about 2 cups.

I tripled the recipe for the two tiers, but could have gotten away with just doubling it.

Reply
Becky
11/29/2016 01:50:03 pm

How full do you fill the 6 inch pans (2 correct?) before you start filling cupcakes? Thanks!

lisette
11/24/2014 07:28:25 am

hi everyone i have a quick question. i live in aruba and the weather here is very hot. how can i make the frosting so it won't meld in this warm weather ???

Reply
Jodi
11/24/2014 07:43:32 pm

Dear Lisette,
I live in Jamaica. What I did to address this problem is to put the cake in the refrigerator immediately after assembly and leave it there until it was time for it to be served. That's what I suggest. I hope it helps.

Reply
Pam
3/5/2015 03:48:46 am

Hi Brandi,
Love the cake.
I am interested in the cake Facebook group.
I would love to join if you are able to invite anyone into the group.
I do caking as a hobby. Thanks, Pam

Reply
Brandi
3/5/2015 11:53:29 pm

Hi Pam. I can get you that information. I need to find you on facebook to add you. Can you email me your name and facebook info? [email protected]

Reply
kathy
4/8/2015 01:13:39 am

wow this cake looks awesome. Ive been searching all over the internet for a two tier kitkat and mnm cake like this also with the recipe im so happy i found your blog .ill be making this cake for my nephews 1st birthday this weekend so i have a few questions to ask . would you know how much 350degrees be for an australian oven ? do you have to put in the plastic rods in to hold the top tier? and last question can i use self raising flour instead of the all purpose n baking soda/powder?

Reply
Brandi
4/8/2015 03:51:42 am

Thanks for your comments. I I'm afraid I won't be much help with your questions. I really only bake as a hobby, so I don't know a ton about some of the things you are asking... According to the internet, 350 degrees Fahrenheit is 175 Celsius. Here is a link to some info on conversion: http://alldownunder.com/australian-convert/temperature-chart.htm I did use plastic rods to hold up the top tier, but since it's a small tier, you could probably get away with not doing it. You can also use wooden dowels or skewers if you don't have the plastic ones. I know some people to use drinking straws in a pinch... As far as the self raising flour question, I really don't know. I did a search on that and the internet seems to say that you can safely substitute it. Some people said to reduce the salt in the recipe since there is already salt in self rising flour, but most people that said you can substitute it didn't mention this. Hope this helps. :-)

Reply


Leave a Reply.