
You probably don't know that I was very hesitant to start a cake blog. I've only been making cakes for a couple of years and I'm by no means an expert. Most of what I have learned has been through trial and error and my instruction consists of youtube videos and other cake maker's advice. However, my family convinced me that it was interesting enough to pursue....and it's a lot of fun.
That being said, today I entered a new realm of cake making and you all are coming along for the ride. After a year of wanting it, I finally got an airbrush gun with a compressor. Now I can start painting cakes. This will, theoretically, open up a whole new world of opportunity for me...from painting details like this runway cake, to giving my cakes a final shimmer. And I'm having so much fun with my new toy. If any of you have any tips, feel free to comment. I need all the help I can get. :-)
This particular cake was a birthday cake for a friend who is just about to get his private pilots license. They had a toy plane they wanted to use on top of the cake, so they just needed the runway to showcase it.
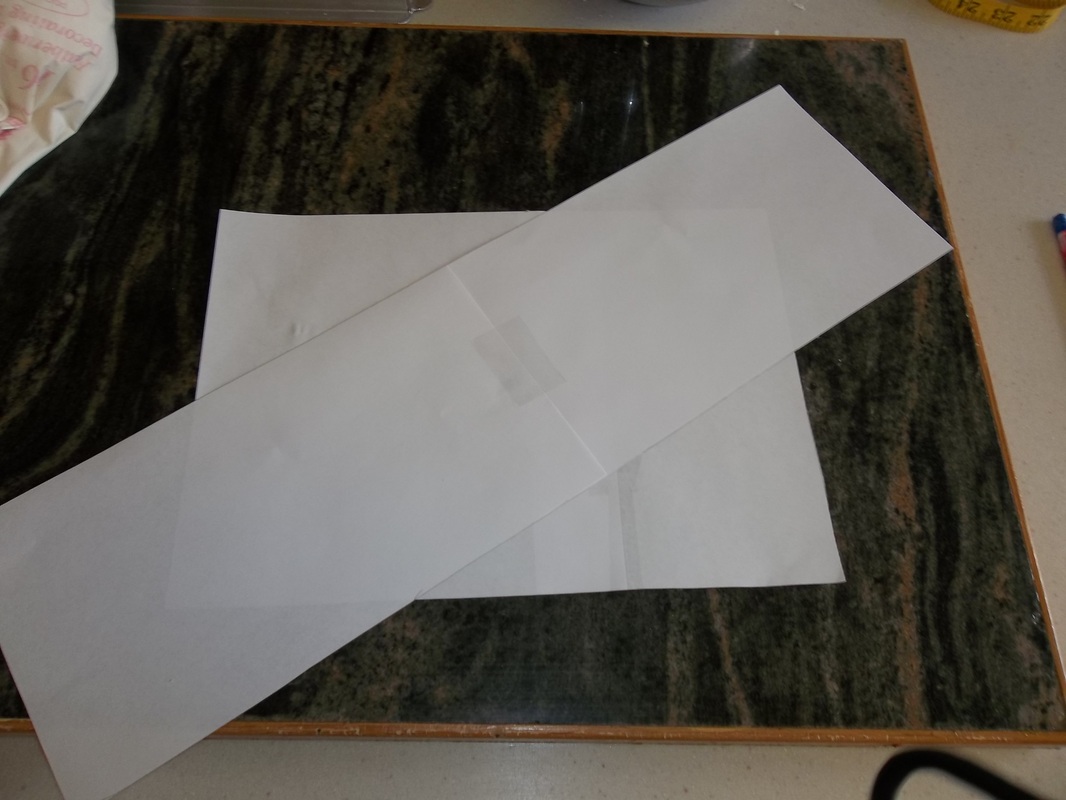
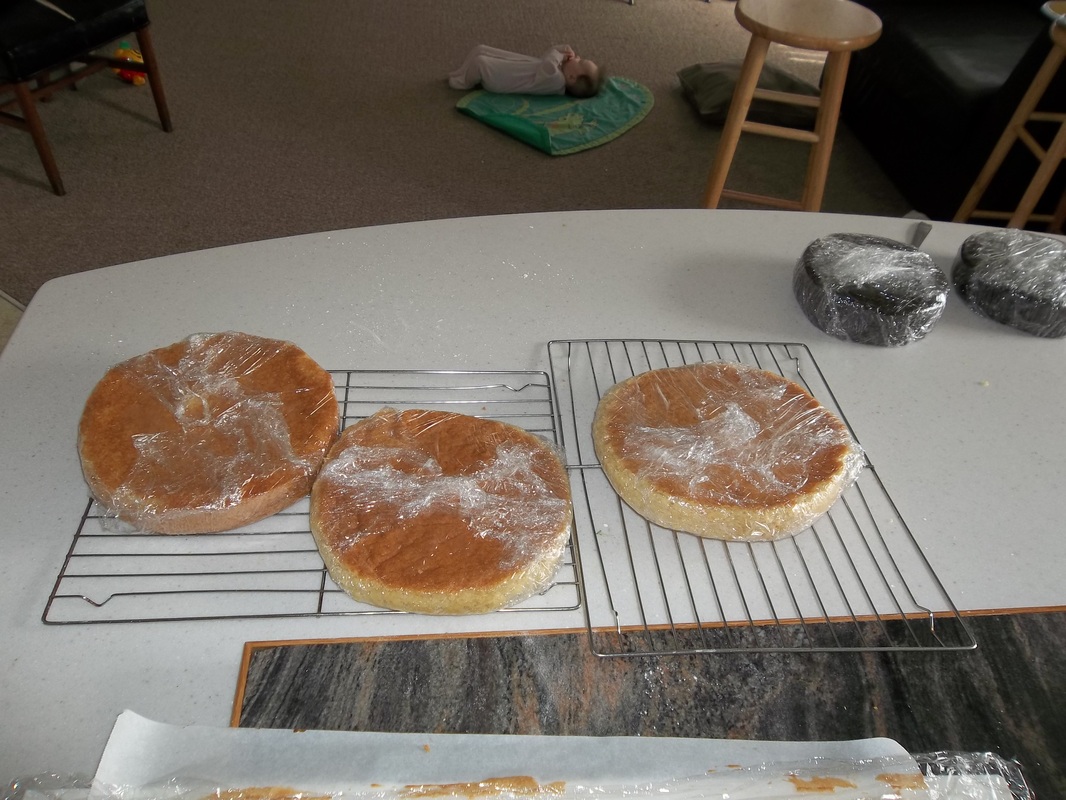
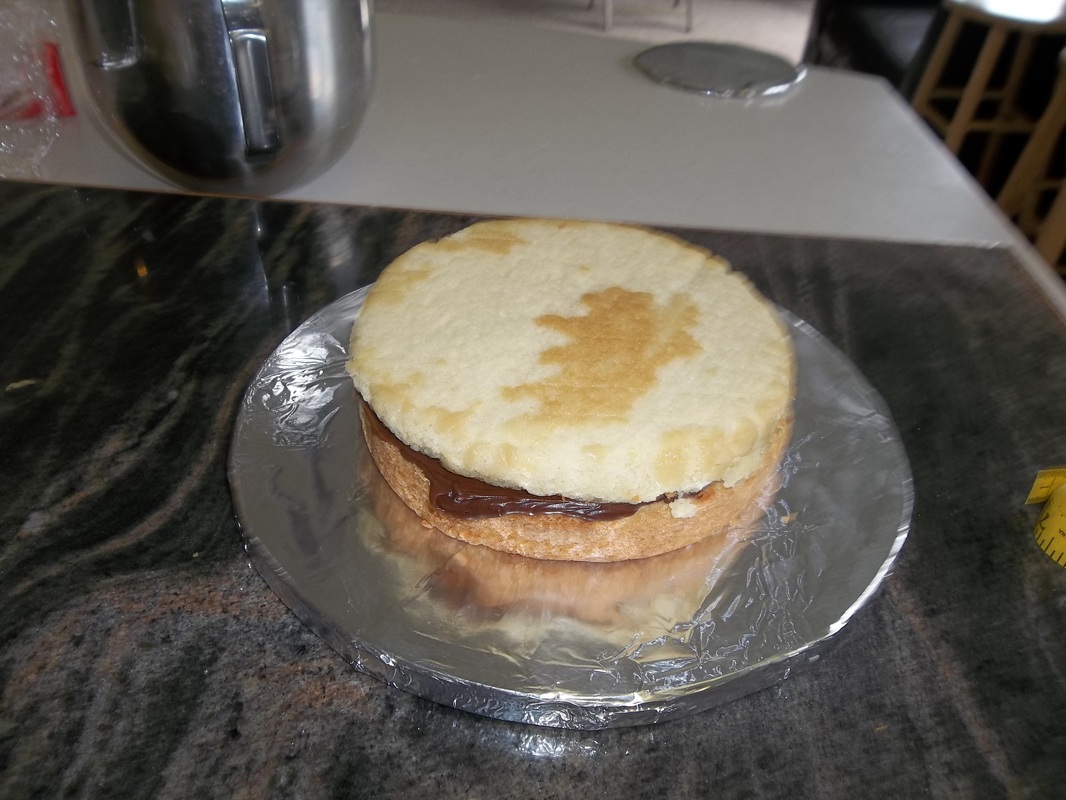
While I baked the cake (standard yellow with buttercream), I estimated how wide I wanted my runway.
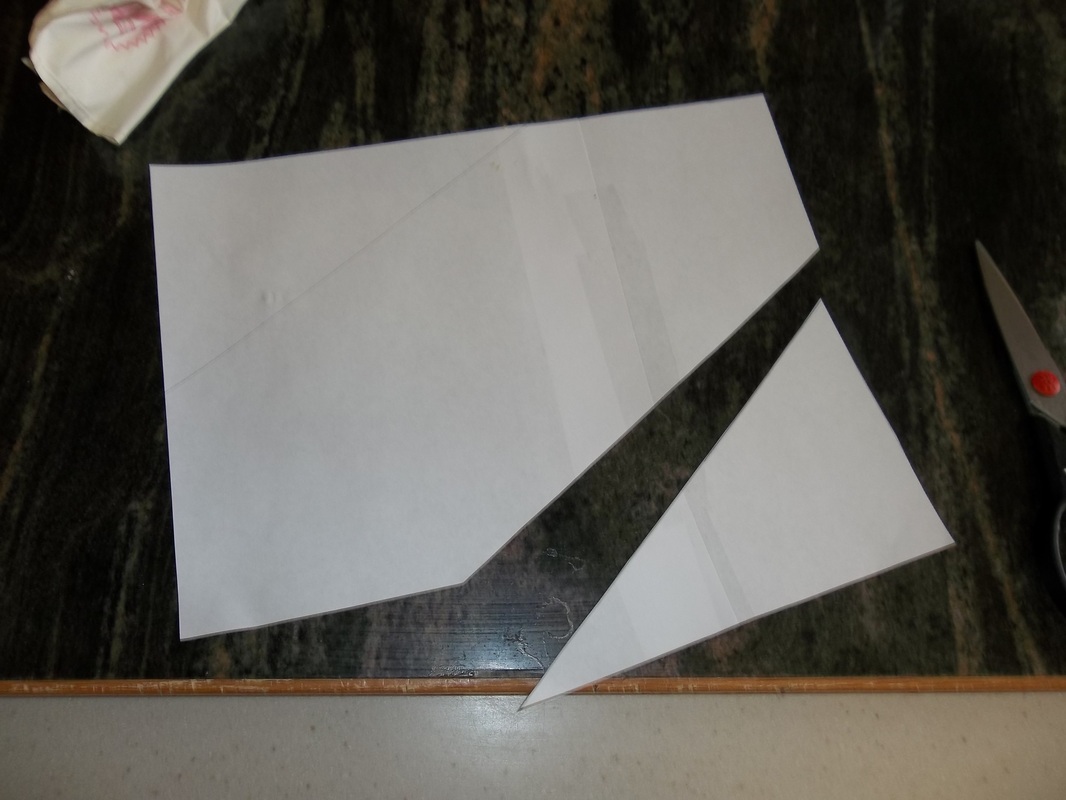
Once I had decided on a width, I cut off the corners of my guide. I planned to use the paper as a shield on the cake so I could spray two colors and they wouldn't mix. In hindsight, next time I will use cardboard instead of paper. The paper was pretty flimsy and blew around while I was trying to spray.
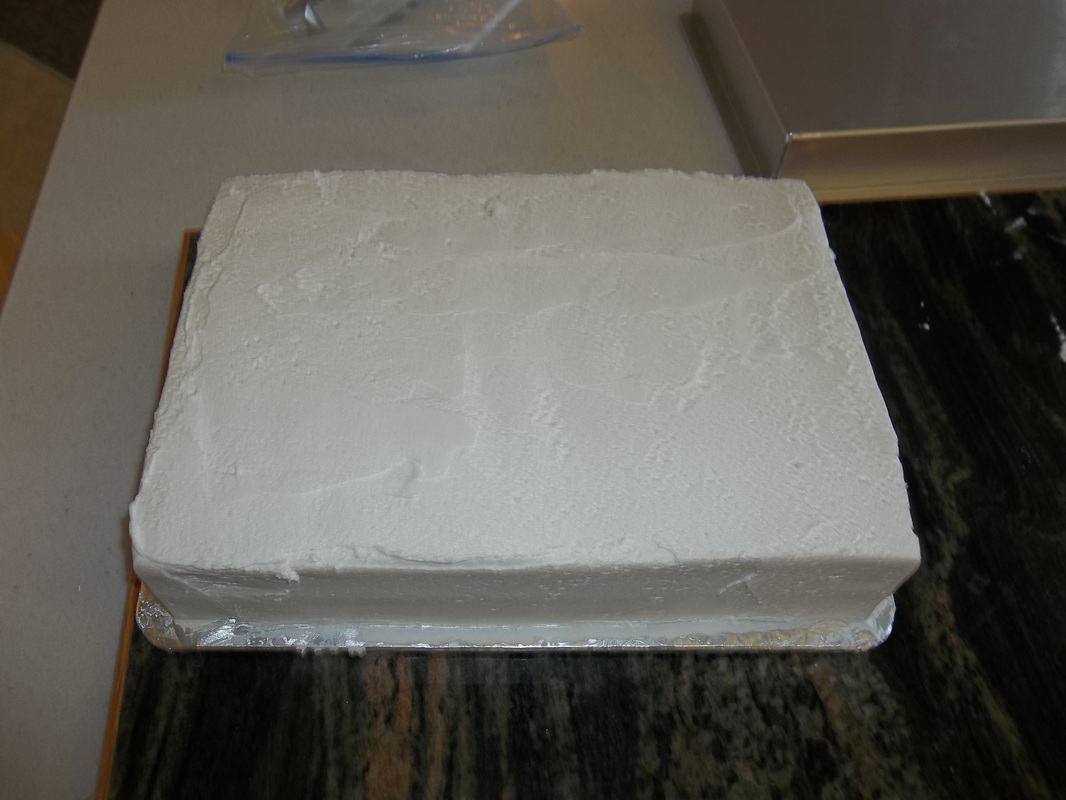
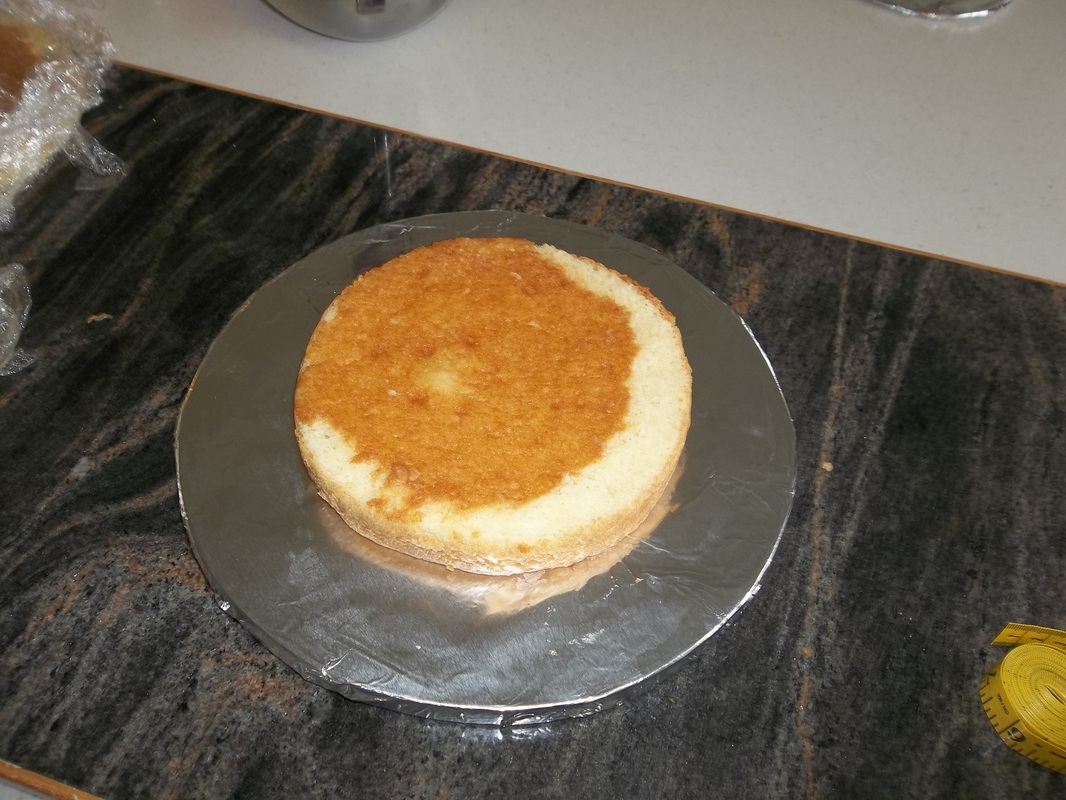
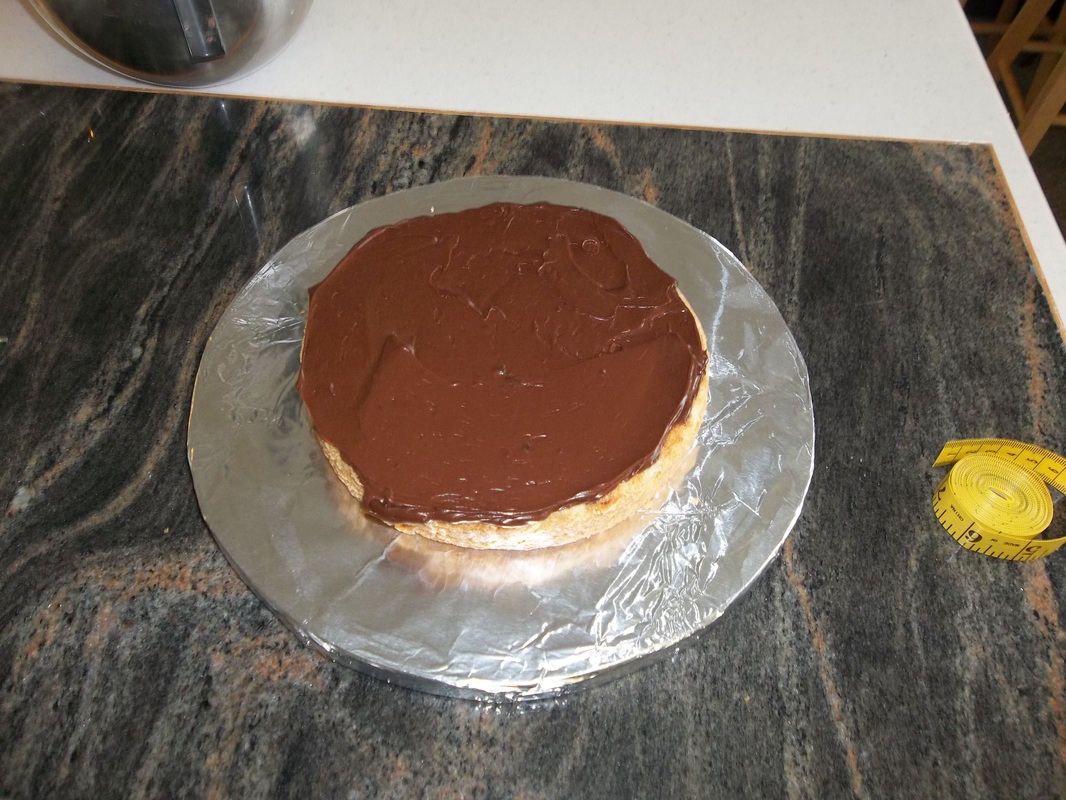
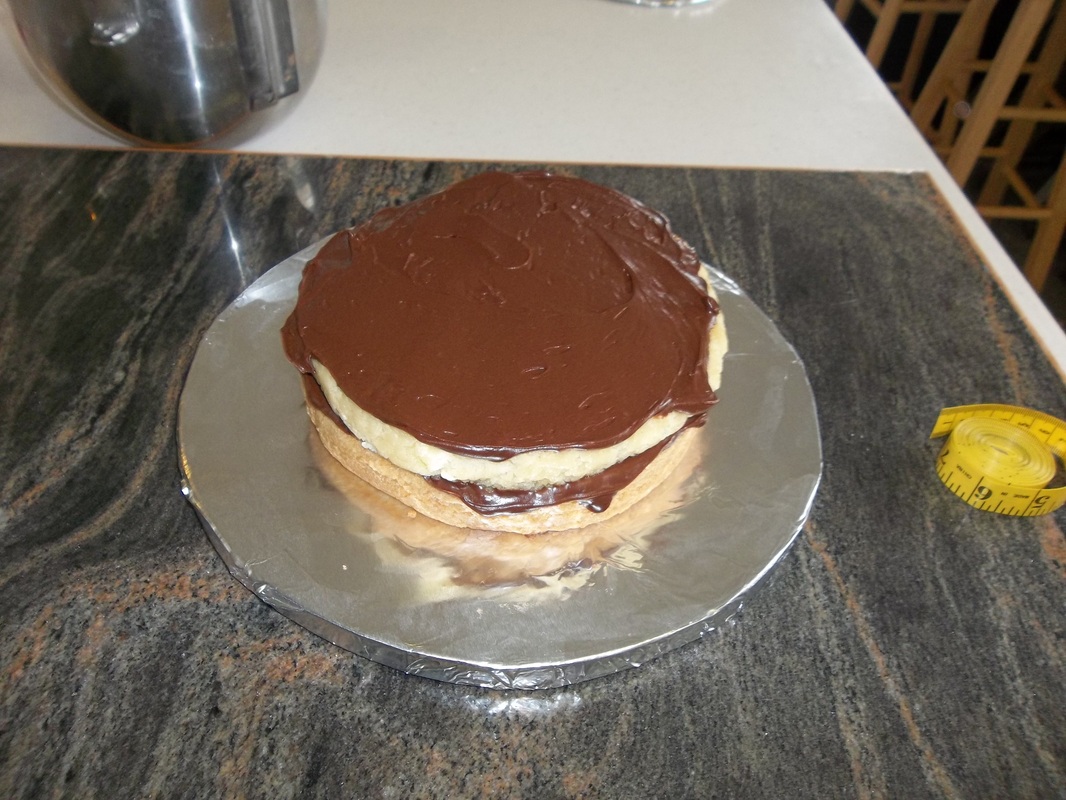
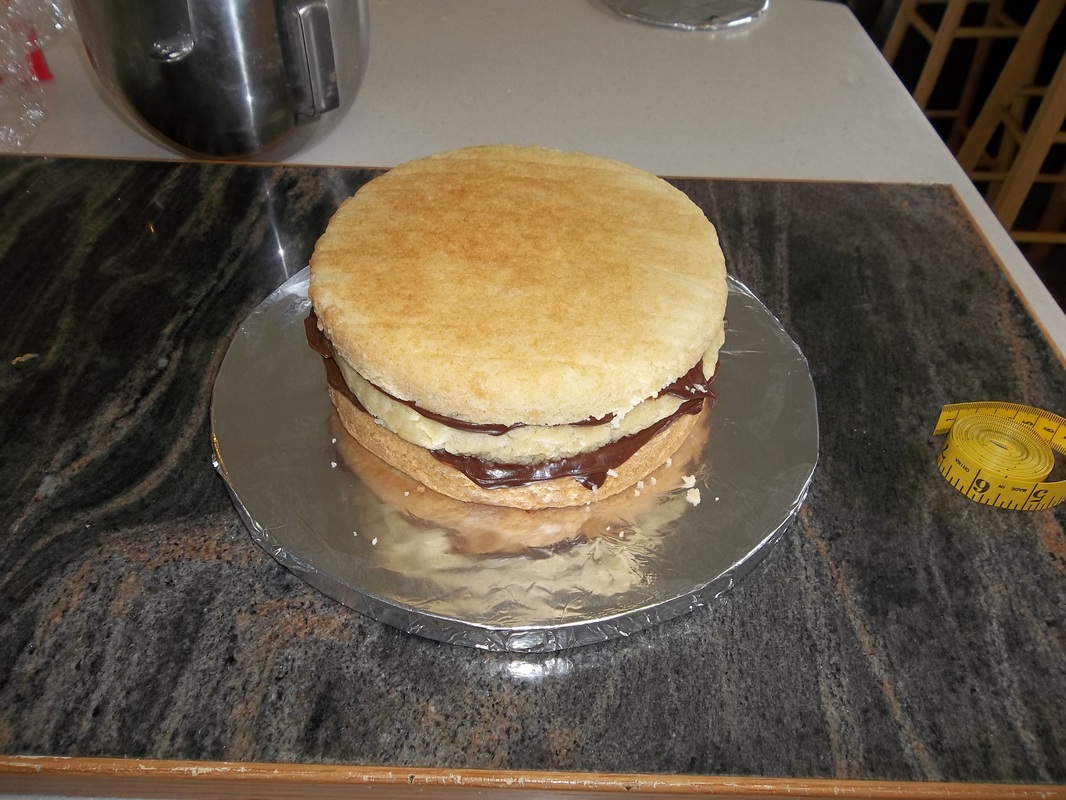
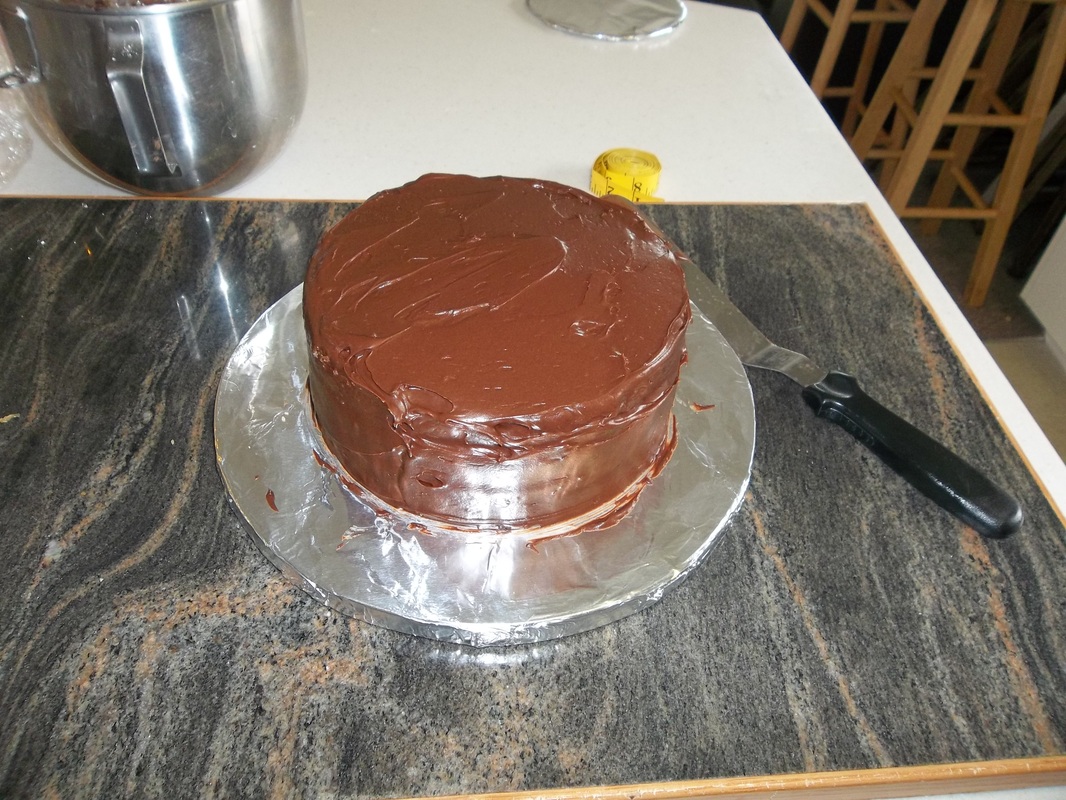
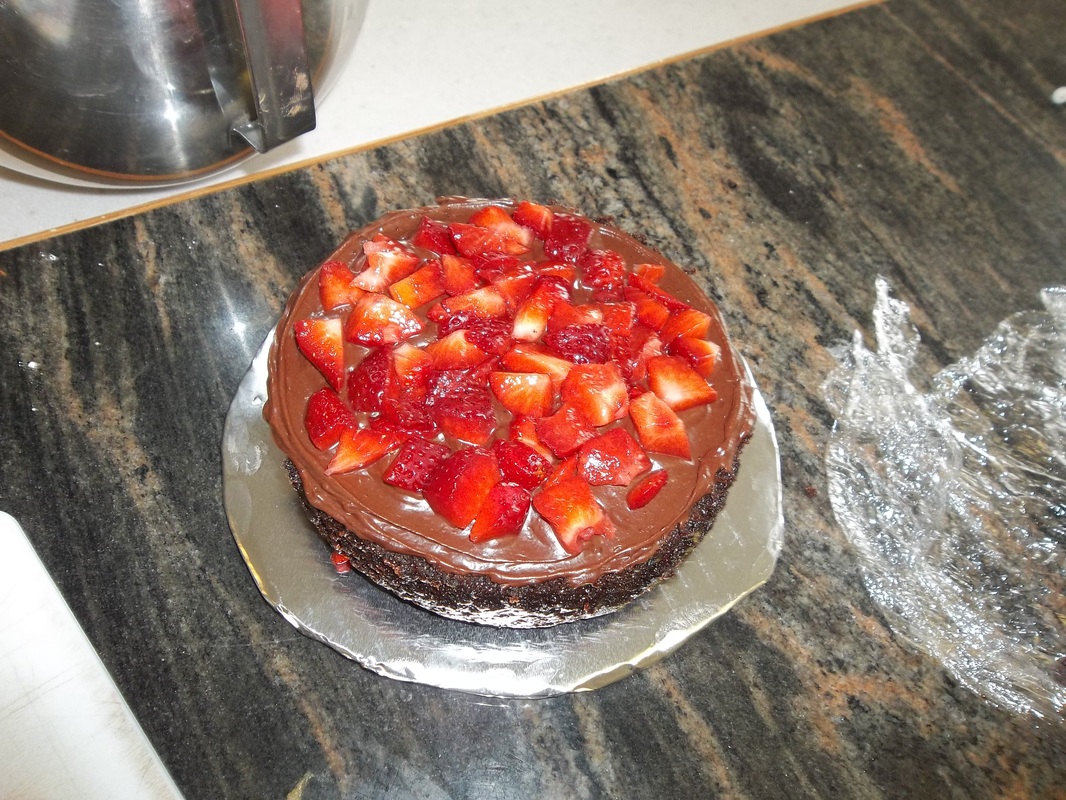
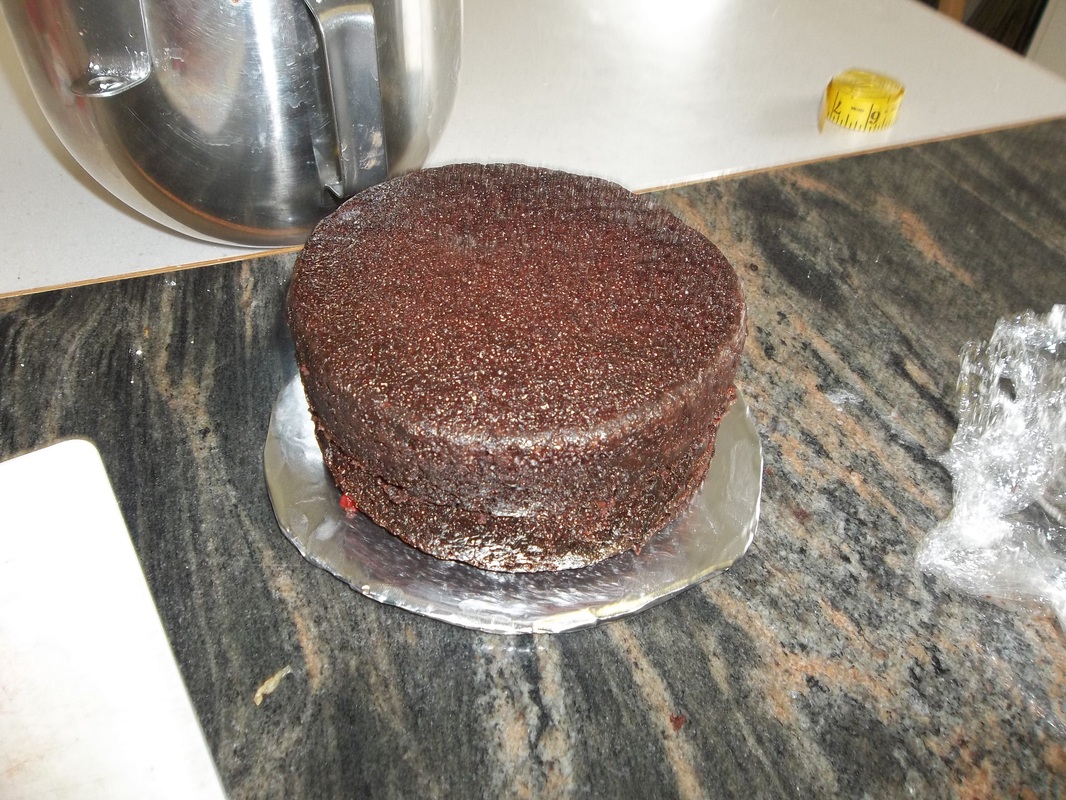
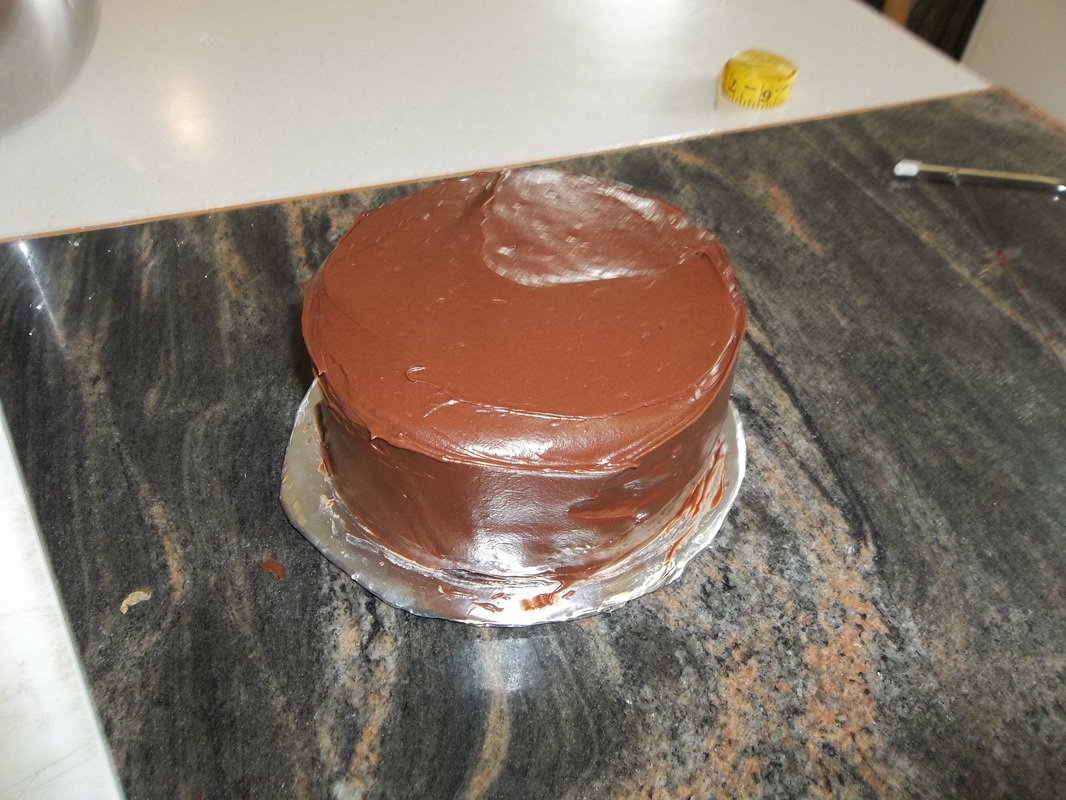
Then I frosted the cake... It's two layers...so my sheet cakes are about three inches high.
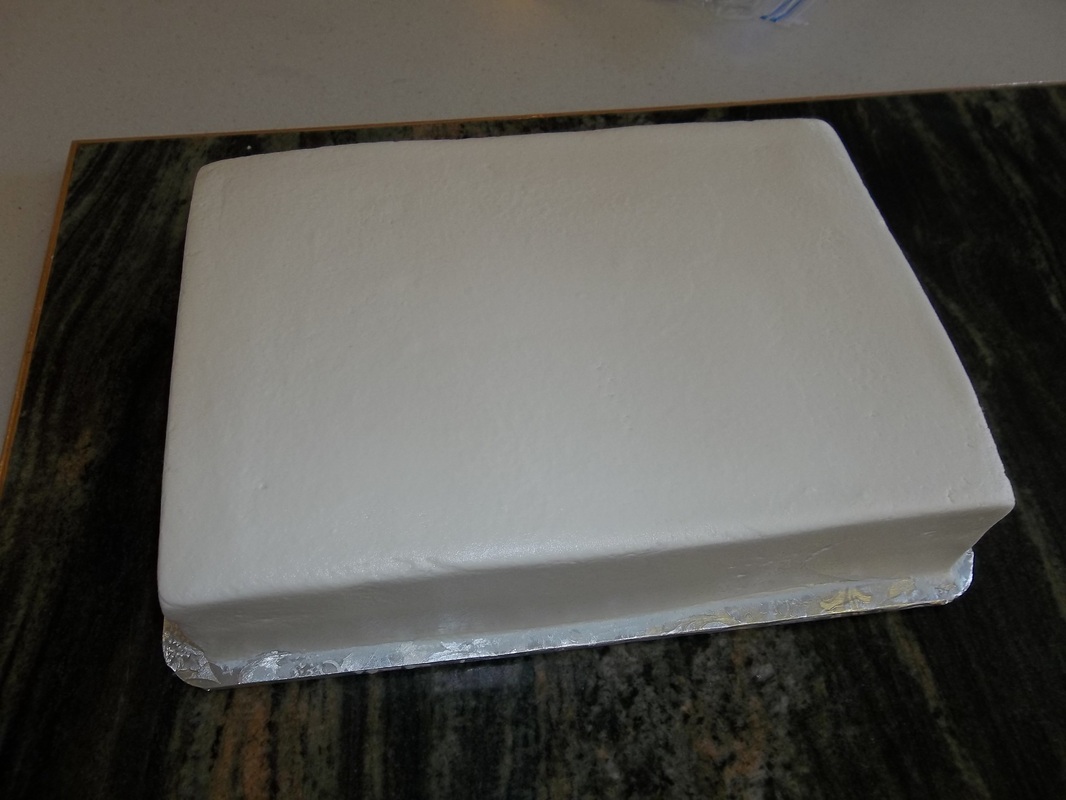
I smoothed it using the paper towel method... (google 'paper towel smooth' if you are interested in how this is done).
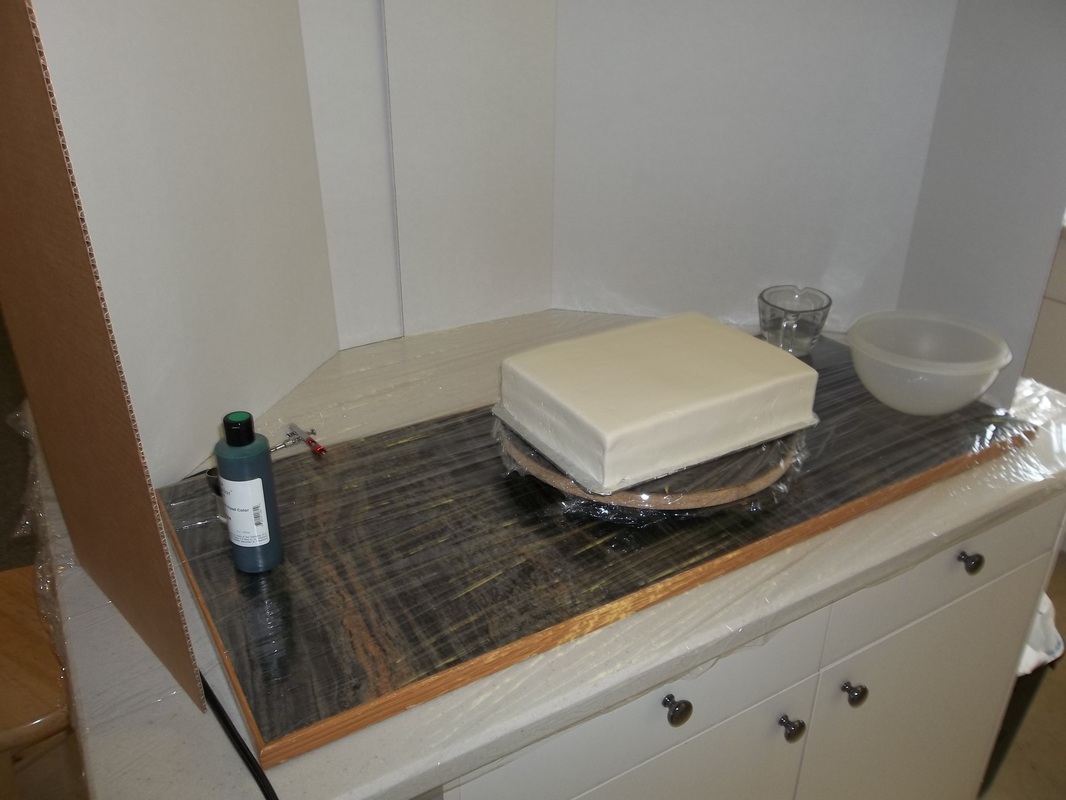
This was my set up for painting. I bought a couple of science fair boards from my kid's school ($2 each) and covered the counter with plastic wrap (yay for youtube and my mother for that tip). I will eventually get a plastic table cloth but the plastic wrap worked well enough for this project.
This is where I started arguing with my husband. Dan paints cars so he is all too familiar with the ins and outs of spraying and he was of the opinion that paint particles shouldn't be flying through the house while I painted (even if they are edible). So he devised a plan to make a cake spray booth for my work. I'm not kidding here, the man is meticulous. The thing would have a filter and a fan...the whole shebang! In the end, I told him I would cover my mouth and nose with a cloth...and then forgot to.
I also learned from how to videos to keep a bowl and warm water by me for cleaning out the gun when I am switching colors or taking a break from spraying. Leaving paint in the gun is a big no no.
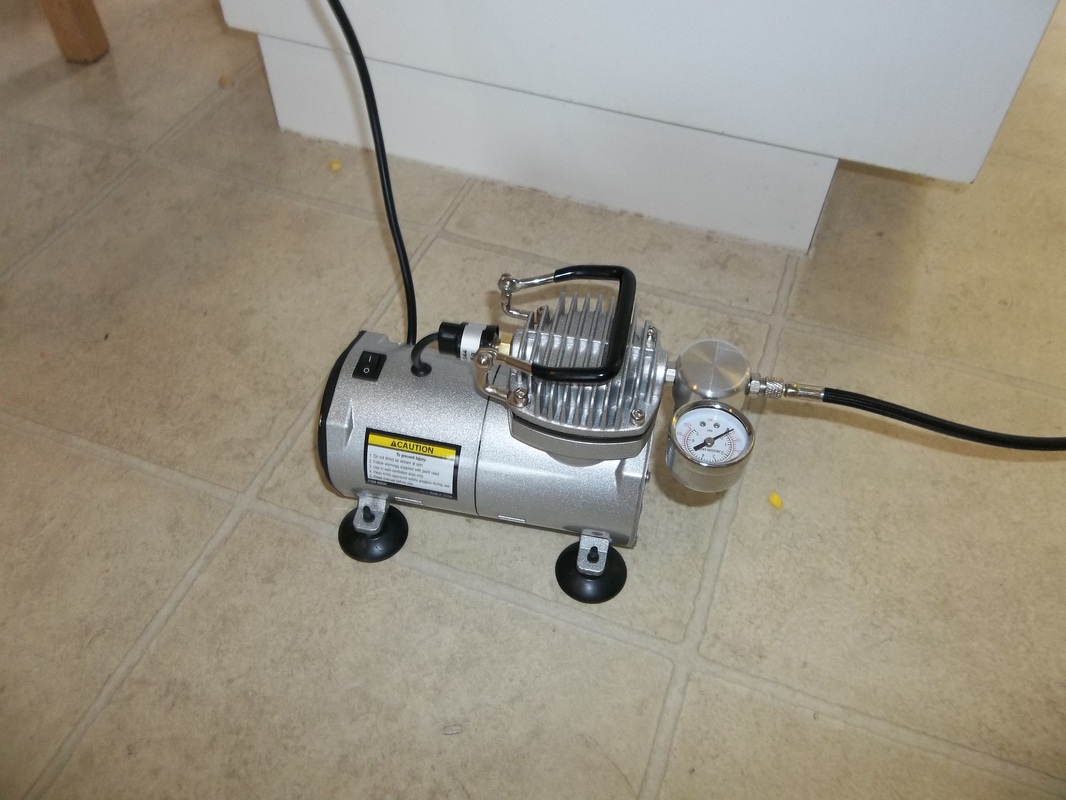
This is a picture of my new air compressor. Isn't it cute? There are several options for compressors and air guns. You can get one specifically designed for cakes at a craft store or cake specialty store, but I've seen them cost as much as $300! This one came from Harbor Freight and cost me 90 bucks. Sweet.
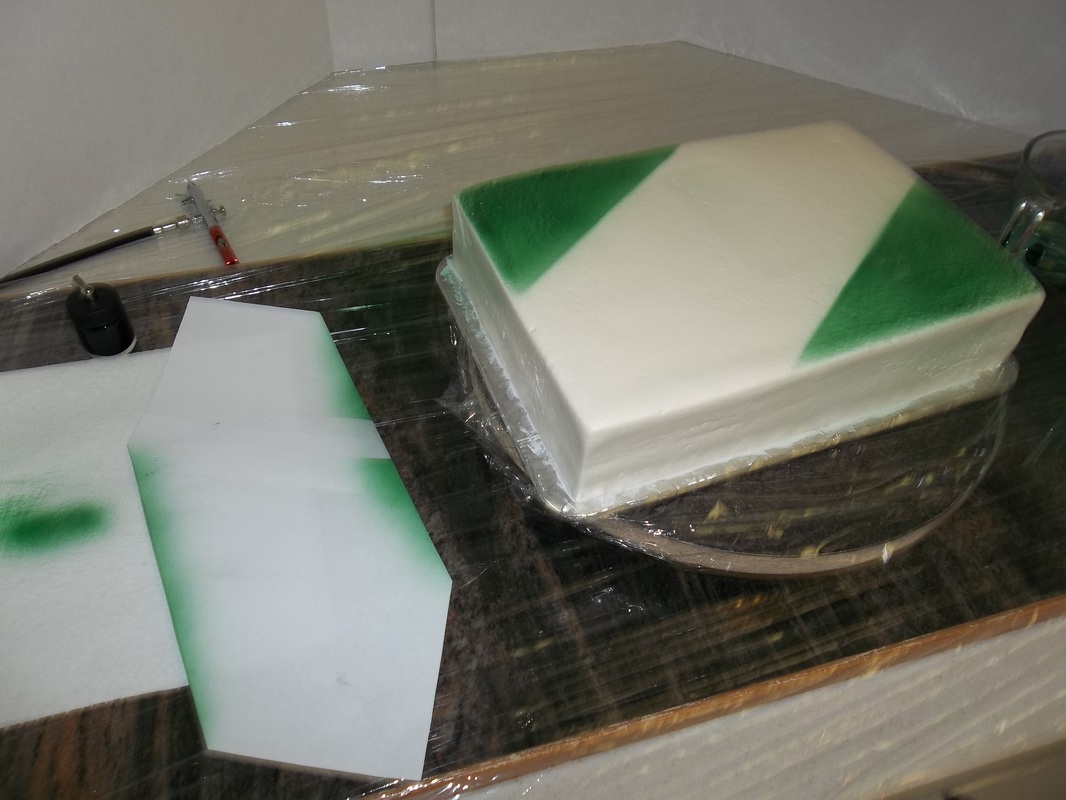
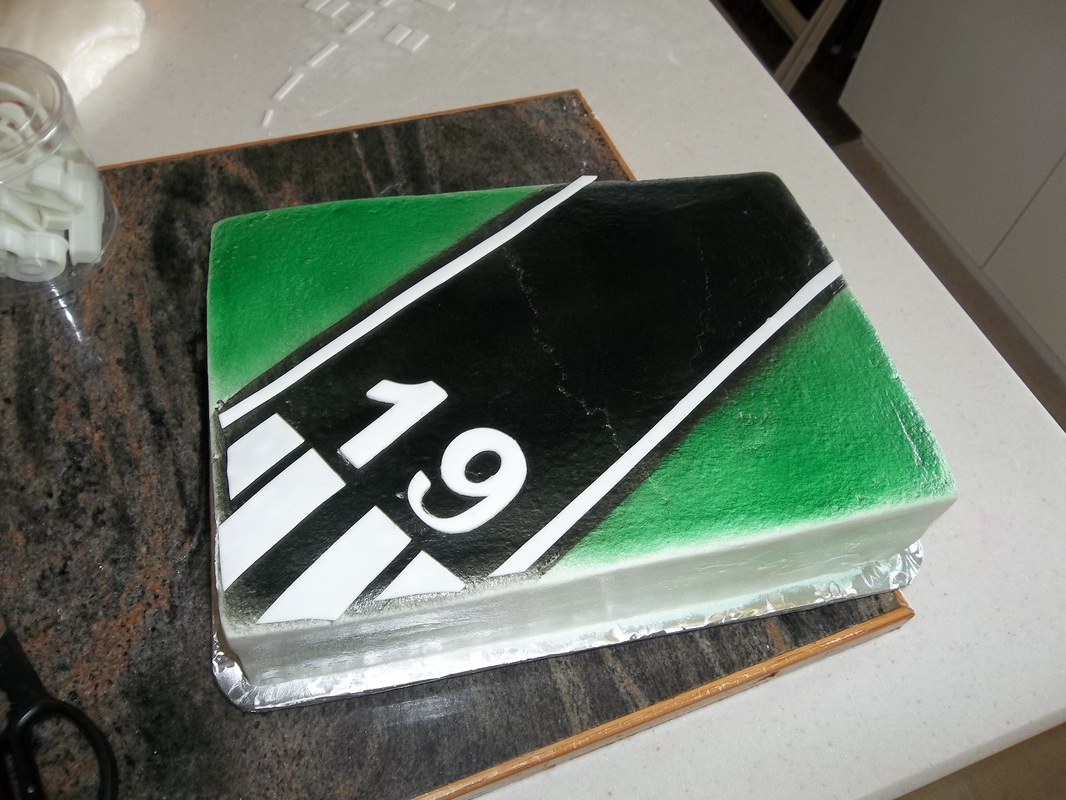
And here is where I fly by the seat of my pants. I thought it would be a good idea to paint the corners first then fill in the black. I now know, however, that it works better to start with the darkest colors and then add the lighter colors. I ended up bleeding into the green and black bleeding into green shows up, whereas if it had been green in black, it wouldn't have.
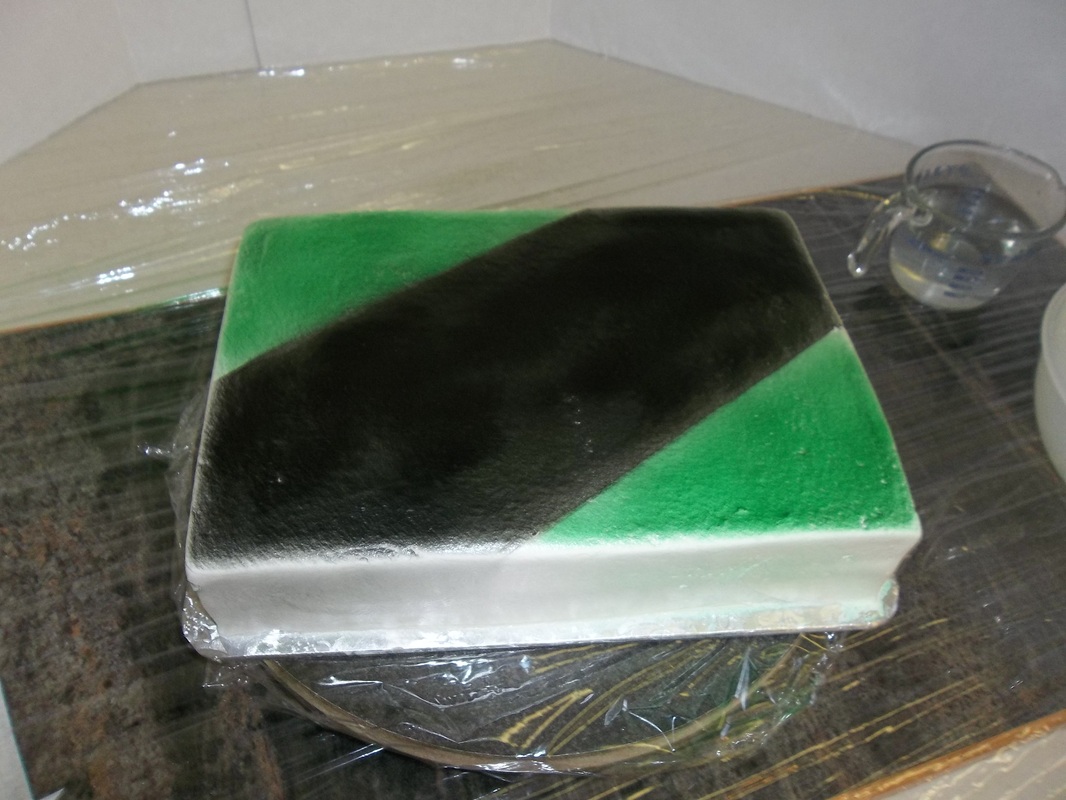
You can see that I got one of the lines pretty clear, but the other one was a bit blurred.
I wanted to spray only the top of the cake, so while I sprayed I aimed away from me and tried to keep the spray flowing off the back side of the cake. I still got a little over spray on the sides of the cake...not quite sure how to avoid that in the future. Ideas?
Overall though, I was pretty happy with this first attempt.
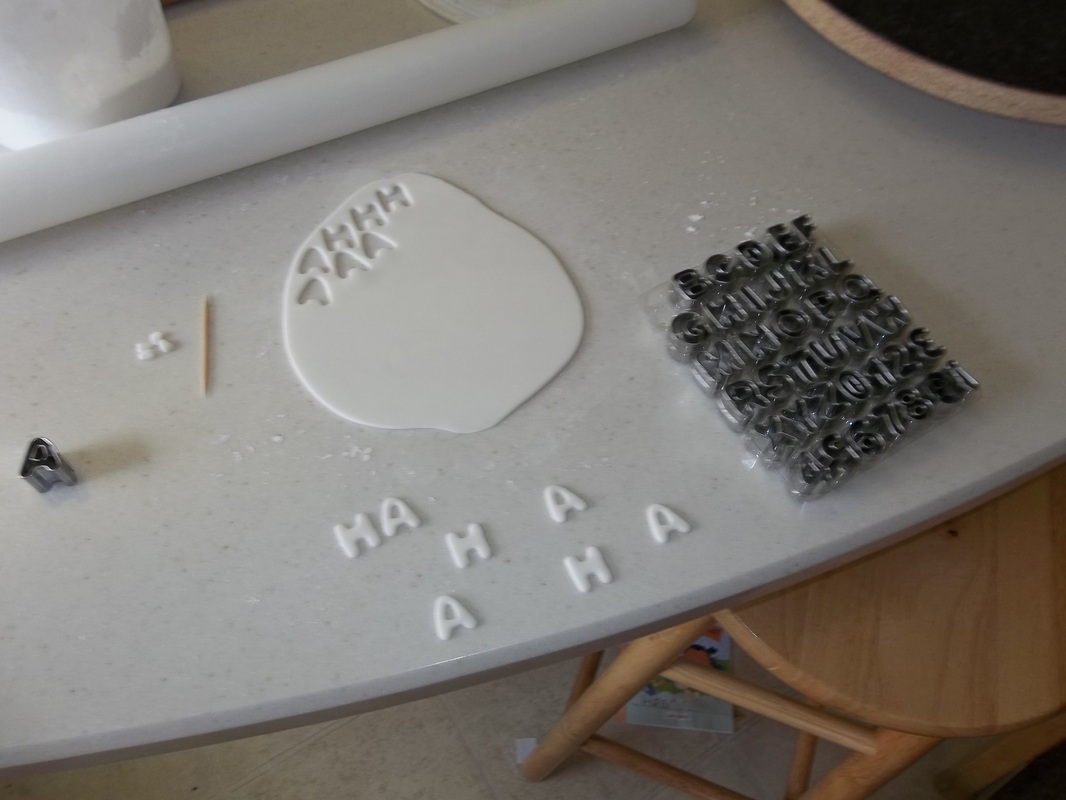
I cut out letters with alphabet cutters and details for the runway with a pizza cutter.
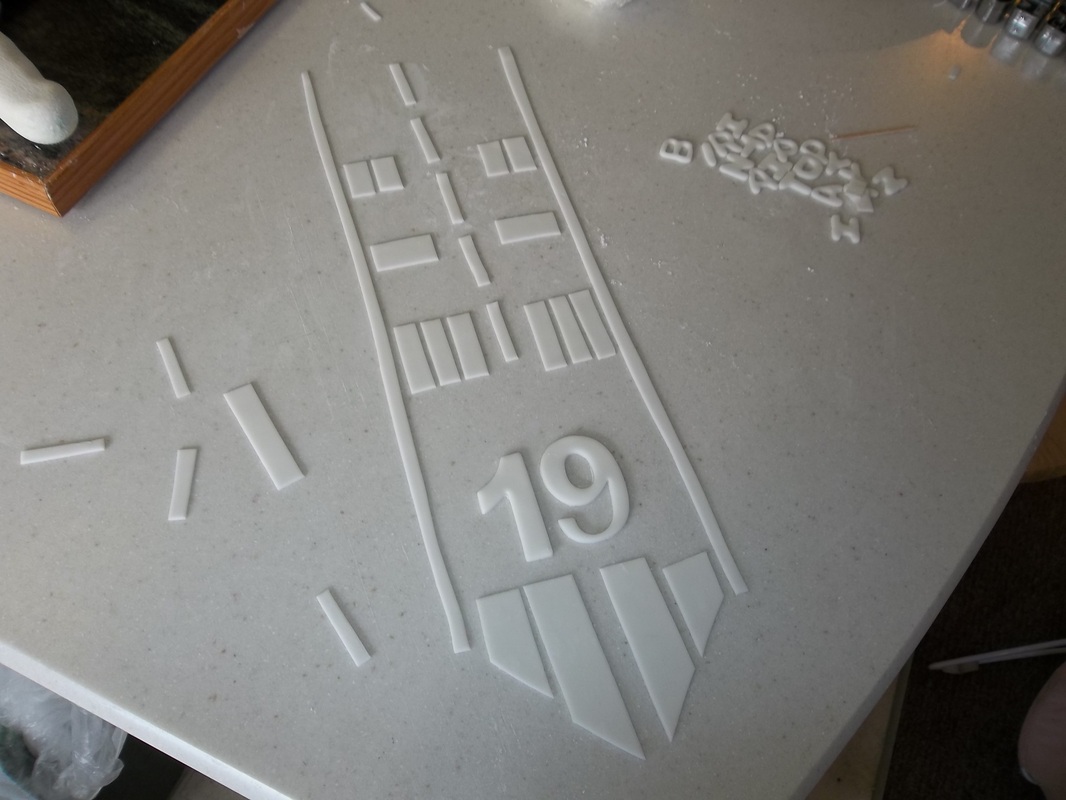
Then I set to work putting on the details.
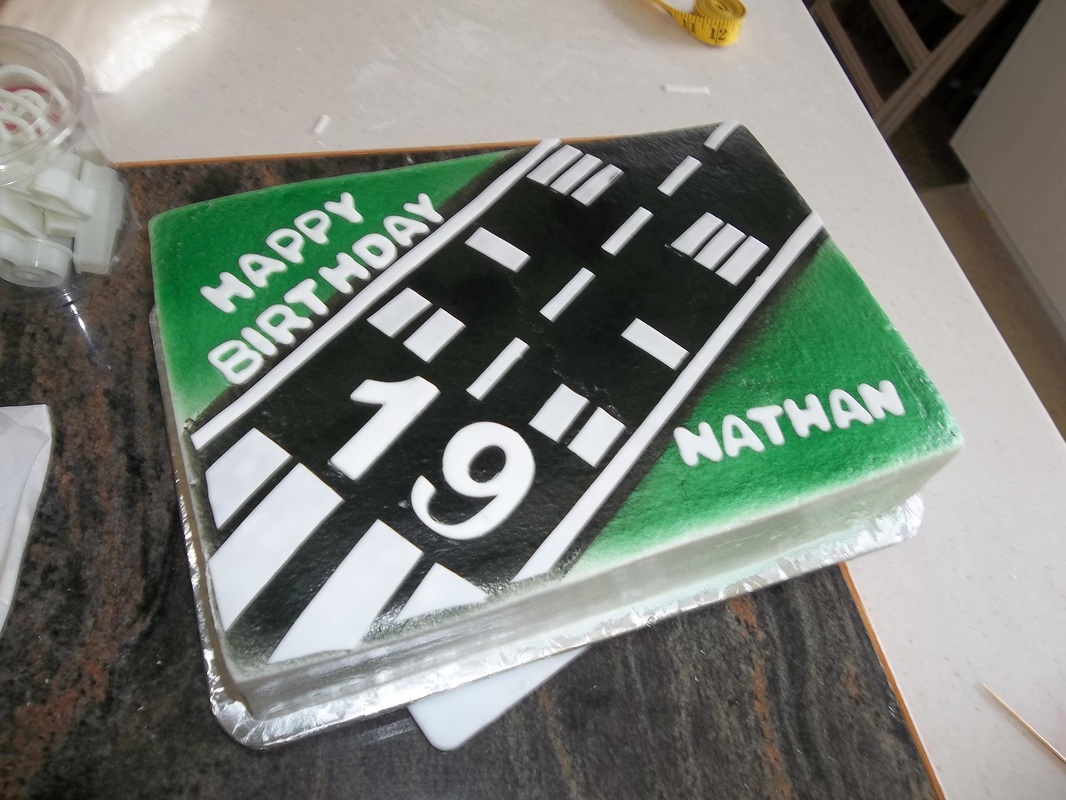
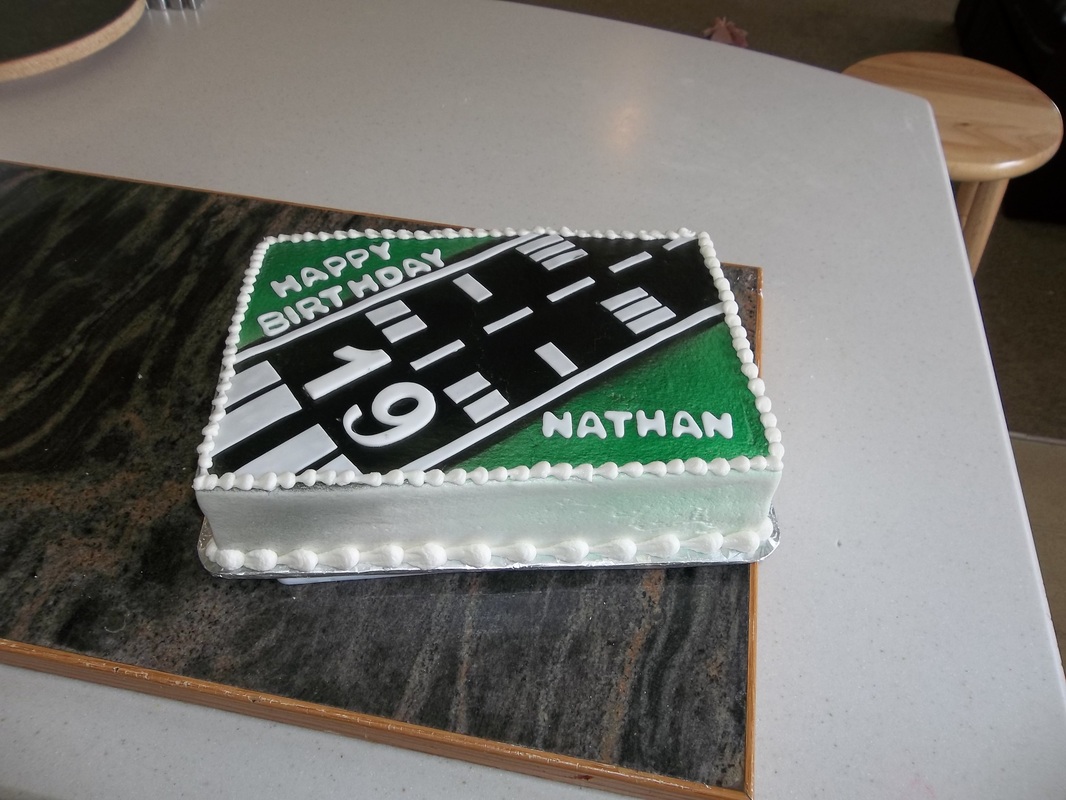
Add a final border, and we were good to go. I was really happy with how it turned out, especially a first attempt and I can't wait to try it some more.


 RSS Feed