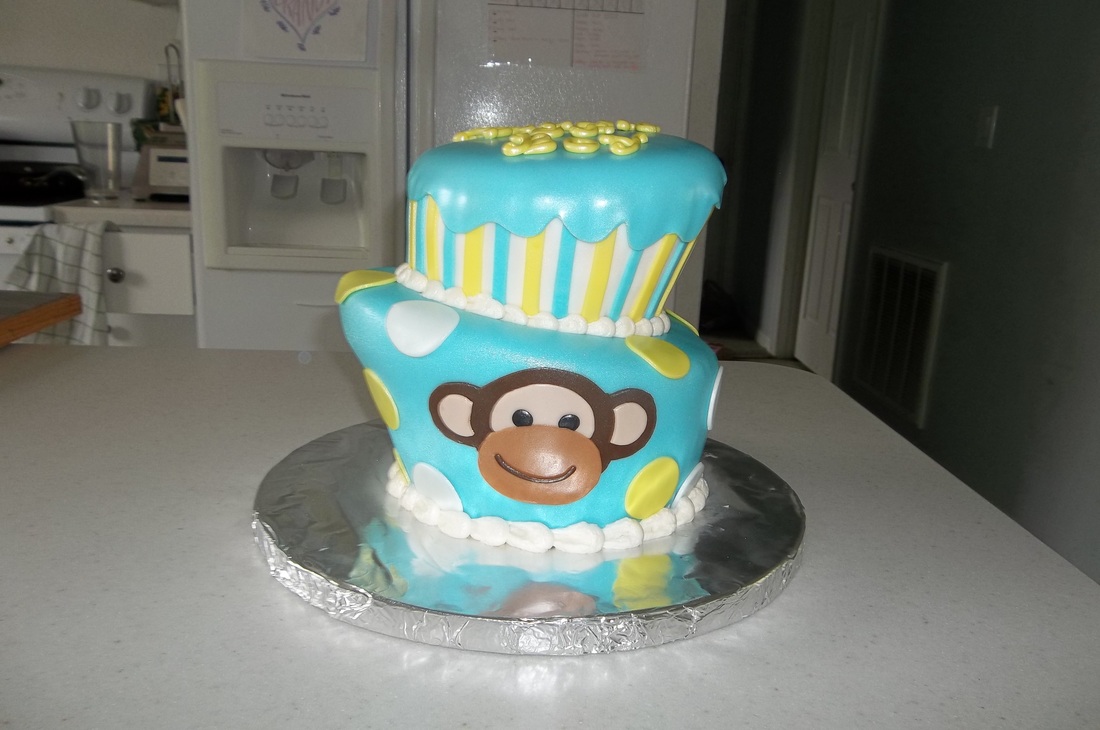
This boy monkey baby shower cake was a lot of fun. I made it for a friend's baby shower and was actually bummed when I found out the theme was boy monkey because I just did a girl monkey cake last month. I wanted to do something different. I decided to stick to the theme, however, and make it my own by doing it topsy turvy and kind of zany. I was really happy with how it turned out.
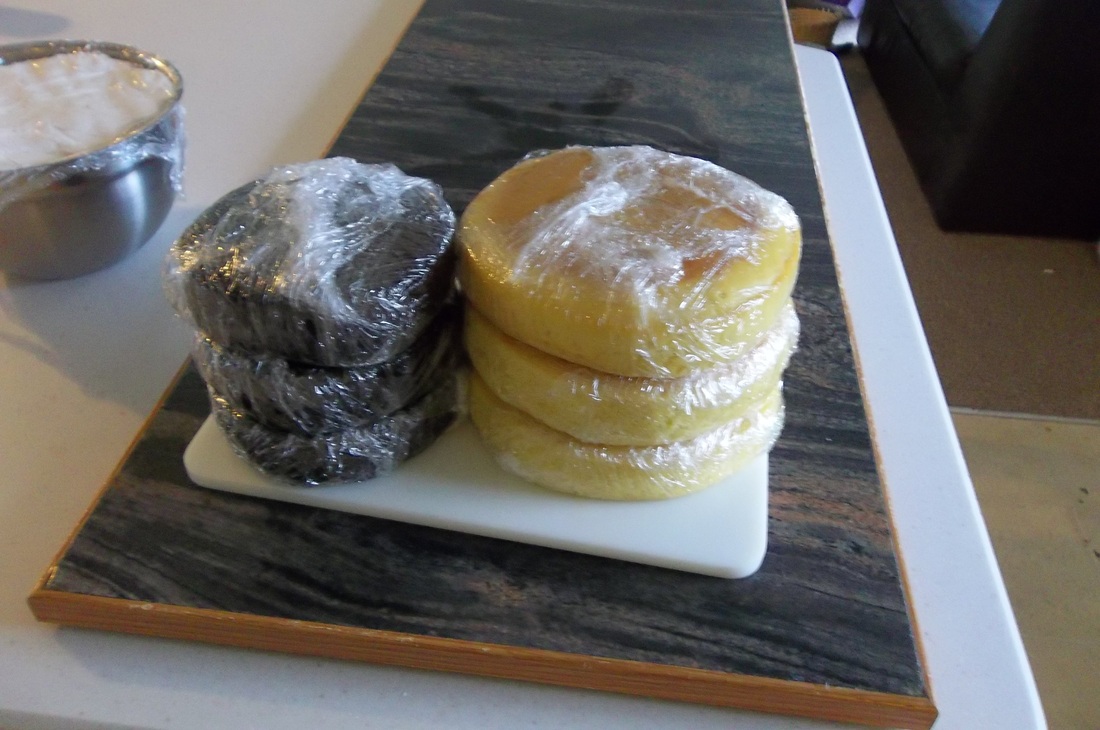
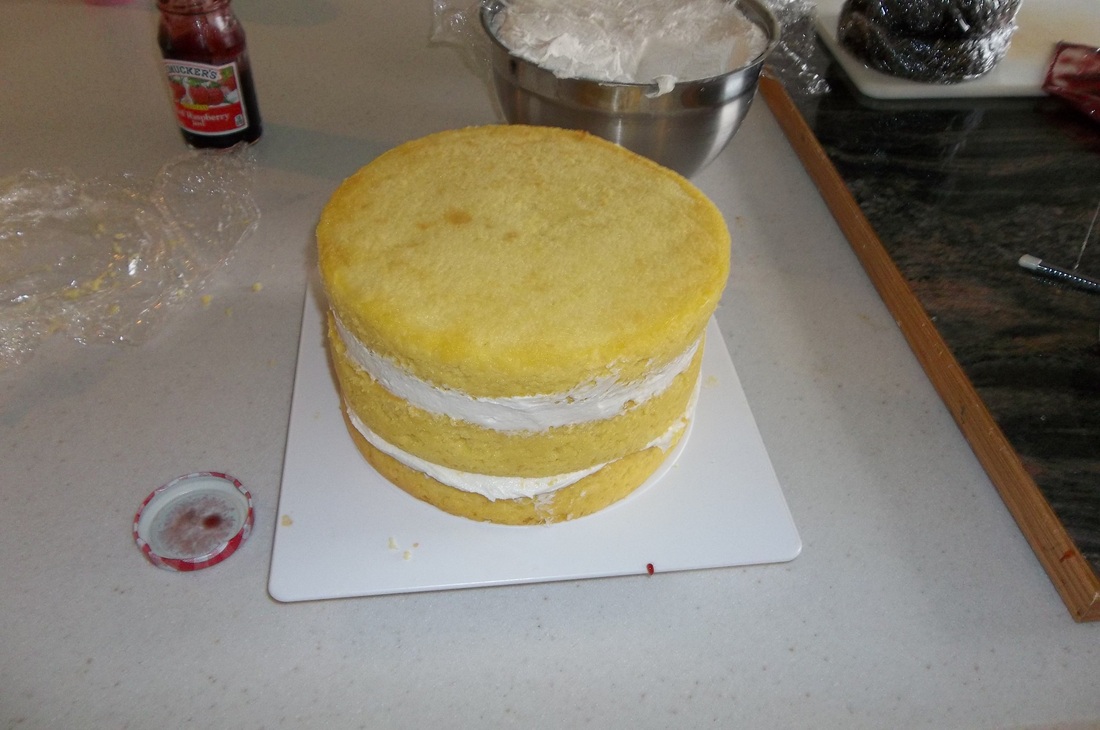
I started by baking three layers of cake, lemon and chocolate. The bottom tier is 8 inches and the top is 6.
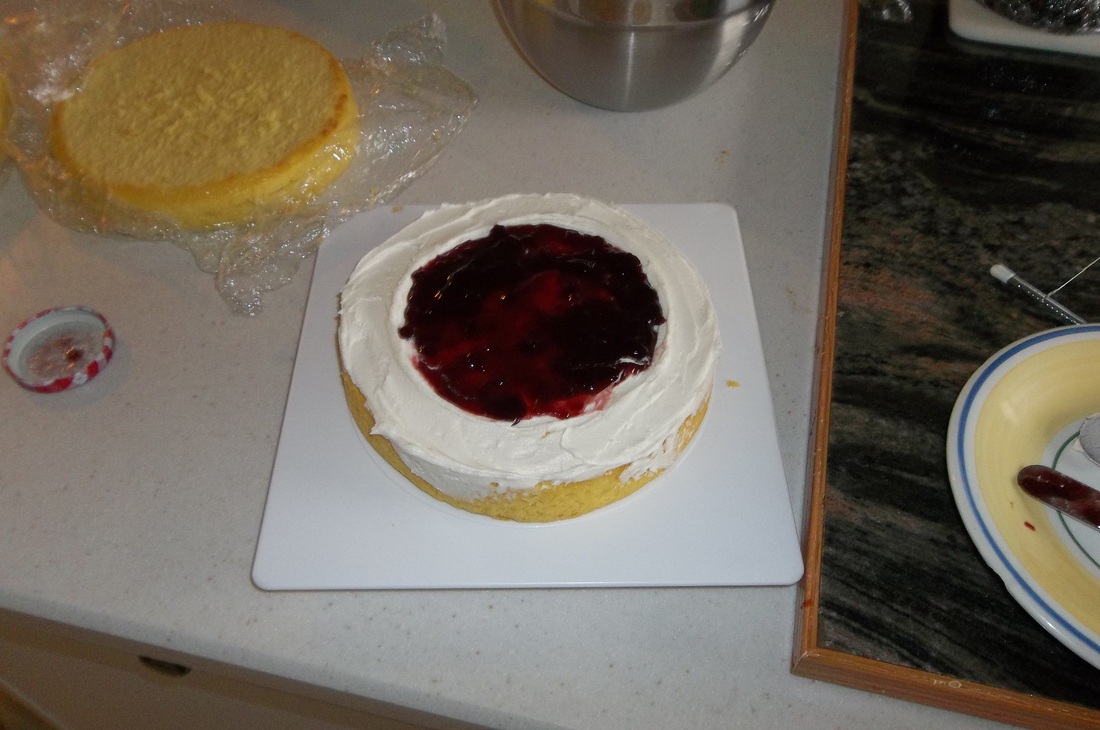
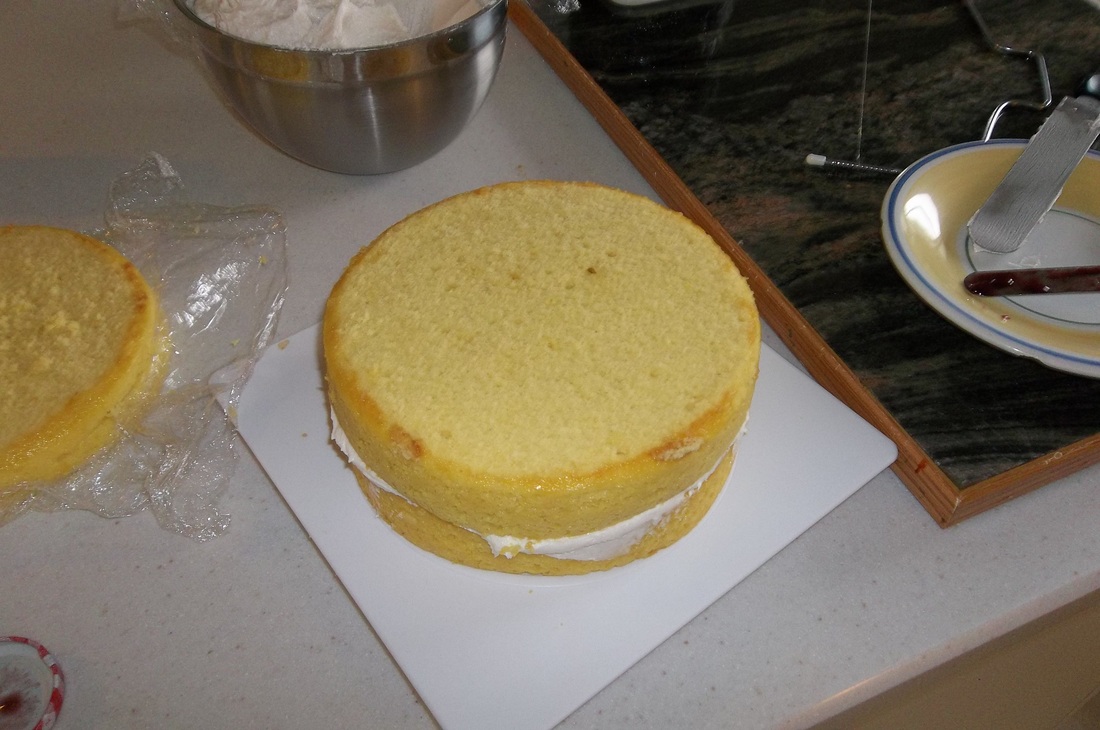
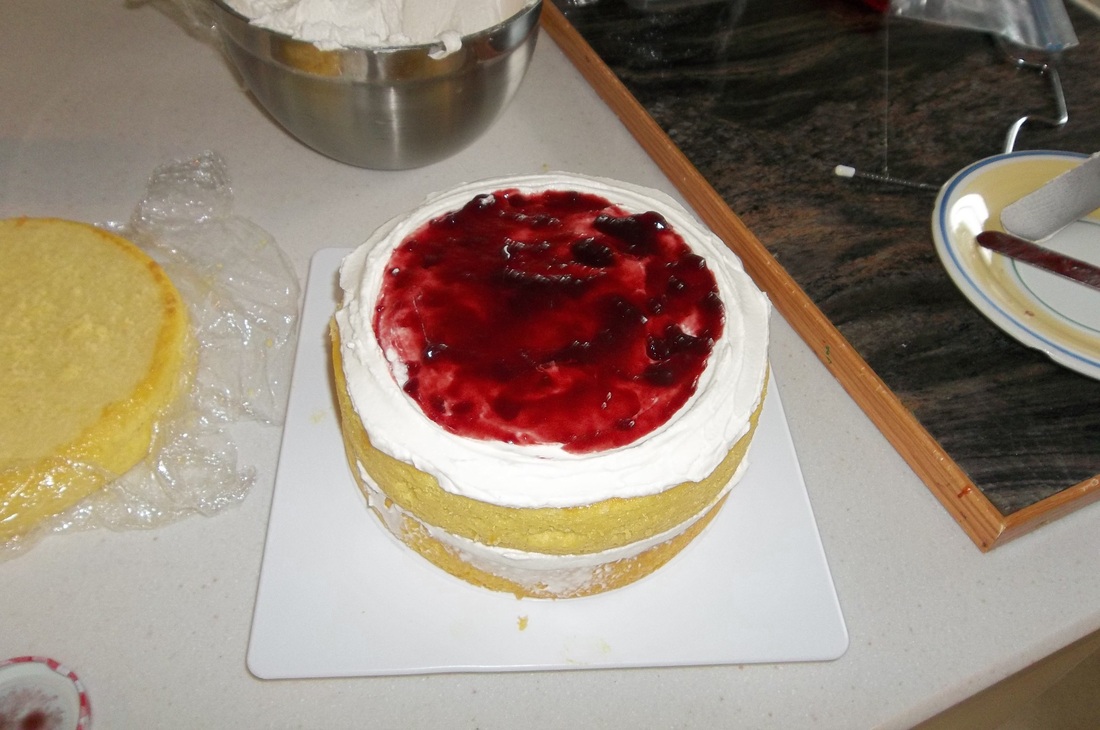
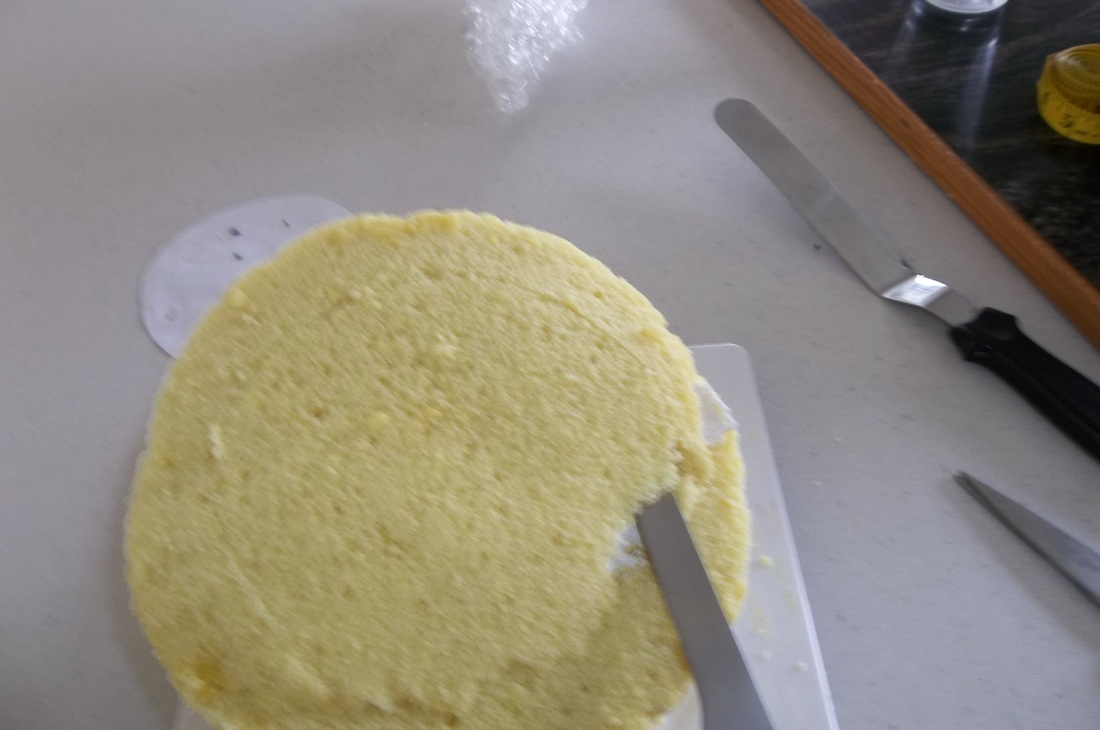
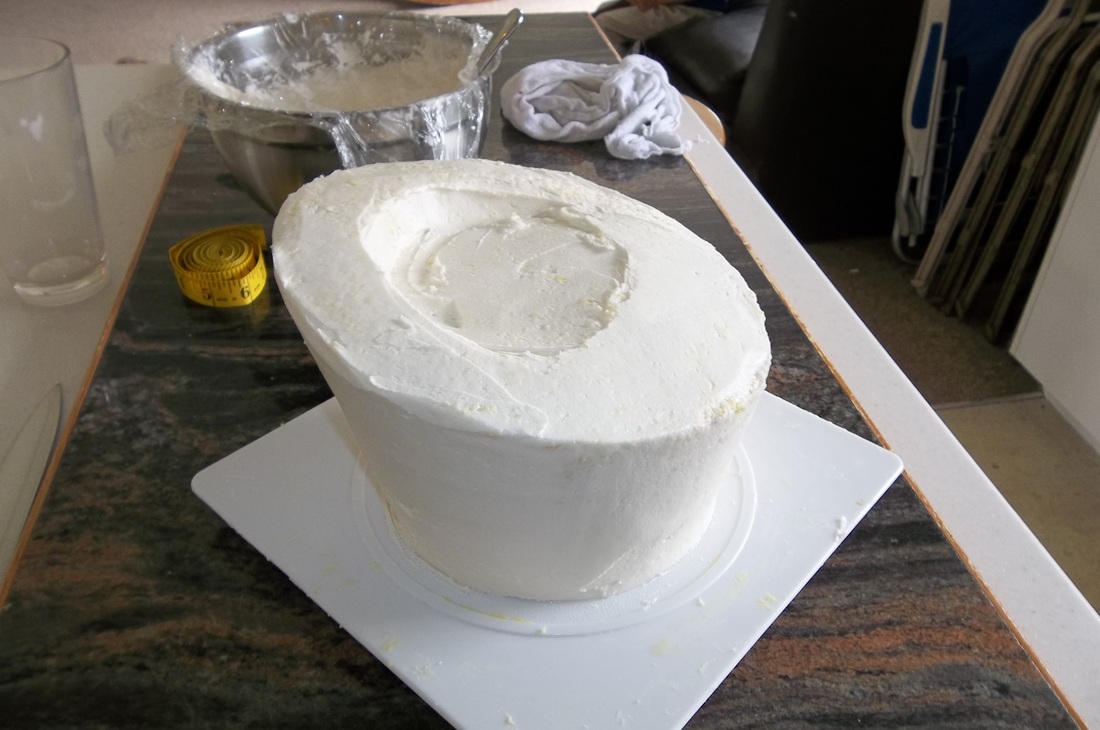
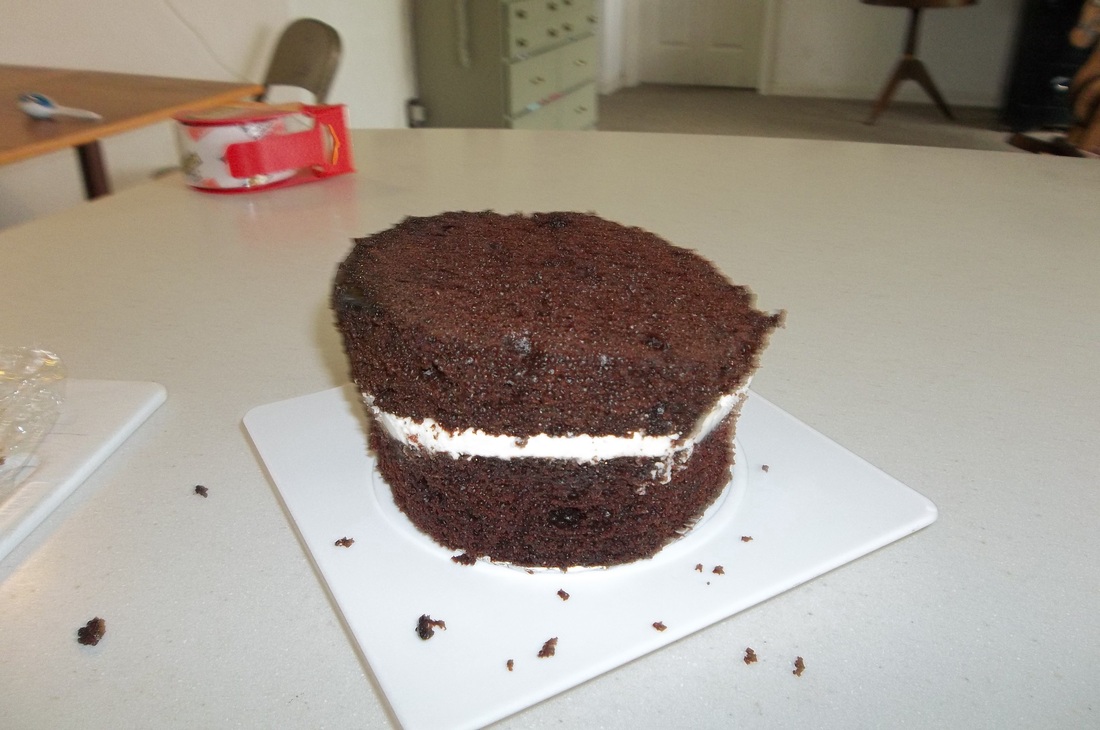
The 8 inch lemon tier was raspberry filled, so after I made the frosting (Wilton butter cream) I leveled my layers and got to work assembling. I left a wide rim of butter cream because I knew that I would be trimming off a good portion of the bottom layer.
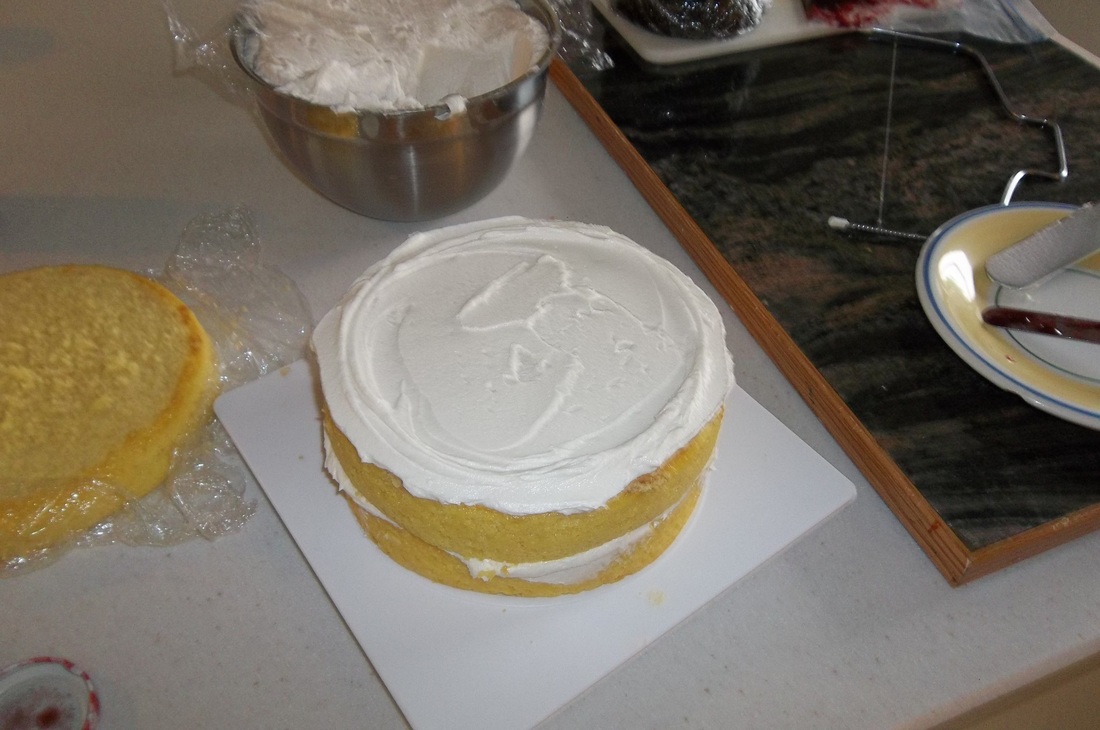
I usually don't bother piping a rim to hold in the filling. I usually just use my spatula to make a slight indention for the filling.
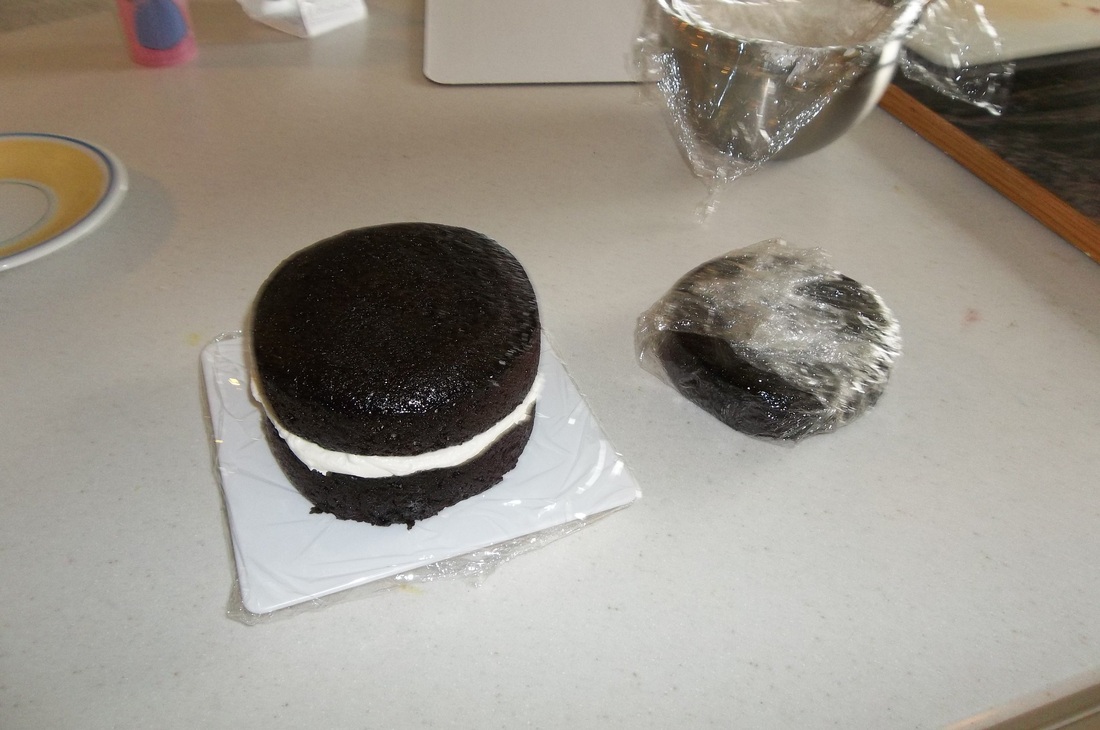
For the top tier, I started with only two layers. Too much height with such a narrow bottom makes for a really unstable cake, so I just used two (but I made three just in case I needed it...I've only made one topsy turvy cake before)...plus now I have an extra layer I can eat.
After assembling the cakes they went straight to the freezer for about two hours. Cake is a bit easier to carve if it is partially frozen.
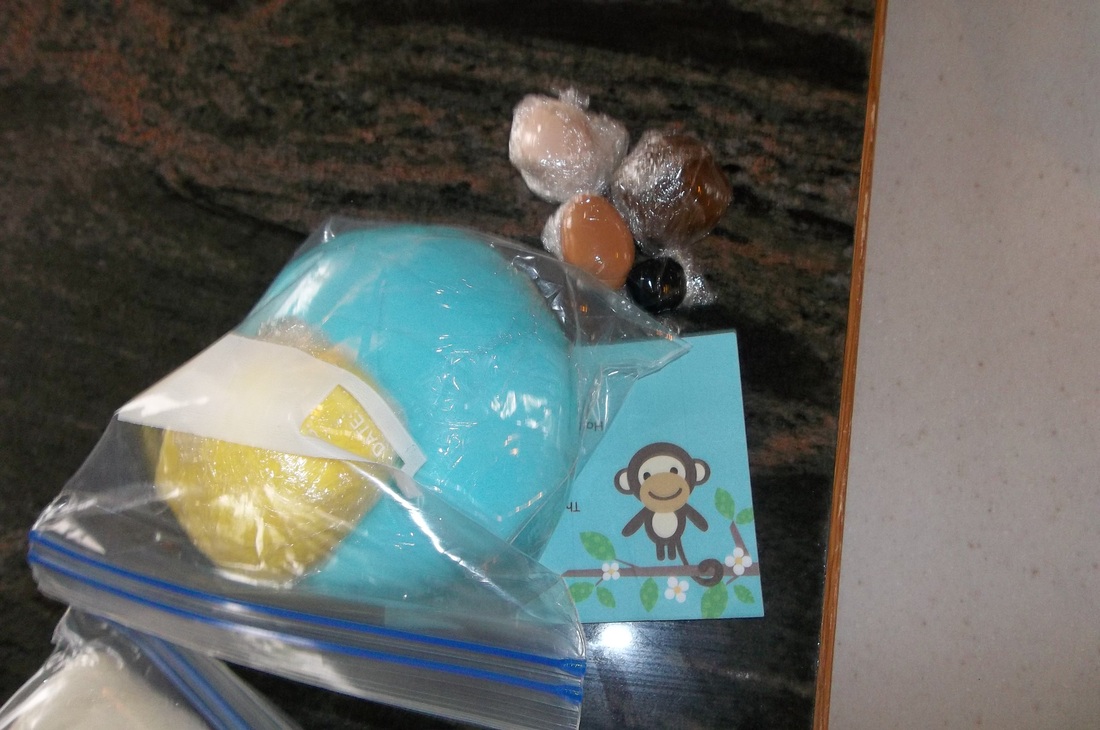
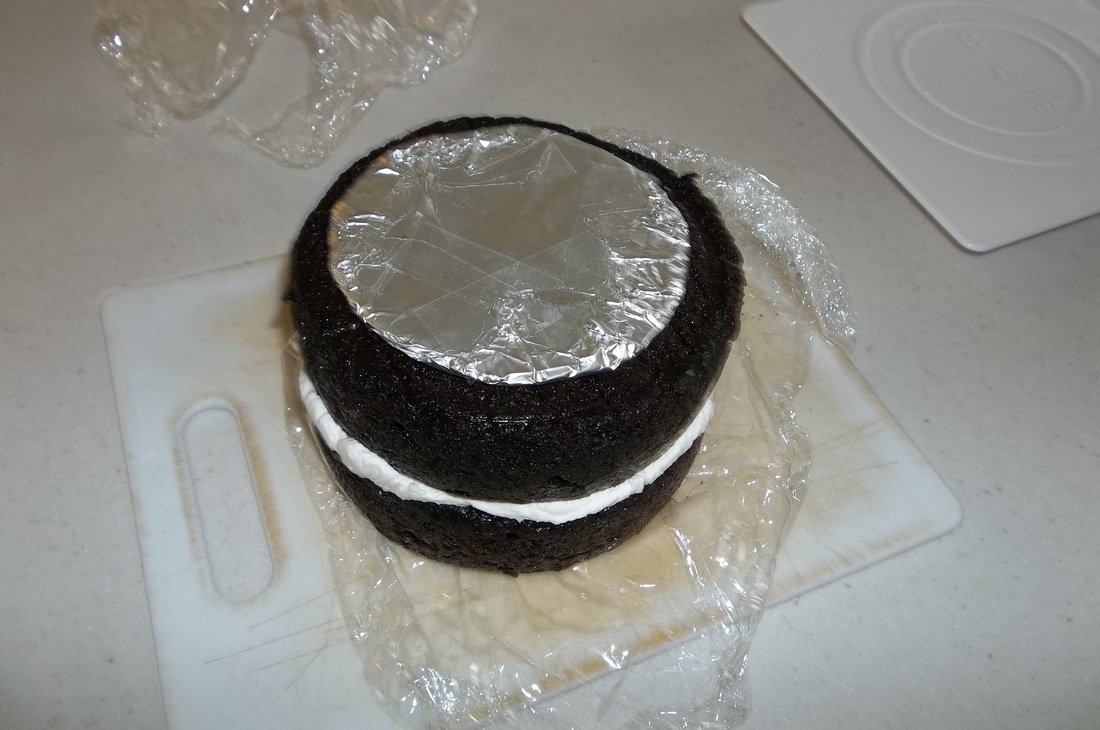
While they were in the freezer I cut out some circles and covered them with foil. I used a 5 inch cardboard circle for both tiers. This left a small bottom for the top tier and it was a risk but it held the weight well. If doing it again, I think I would use a 6 inch board instead. The 5 was a little scary.
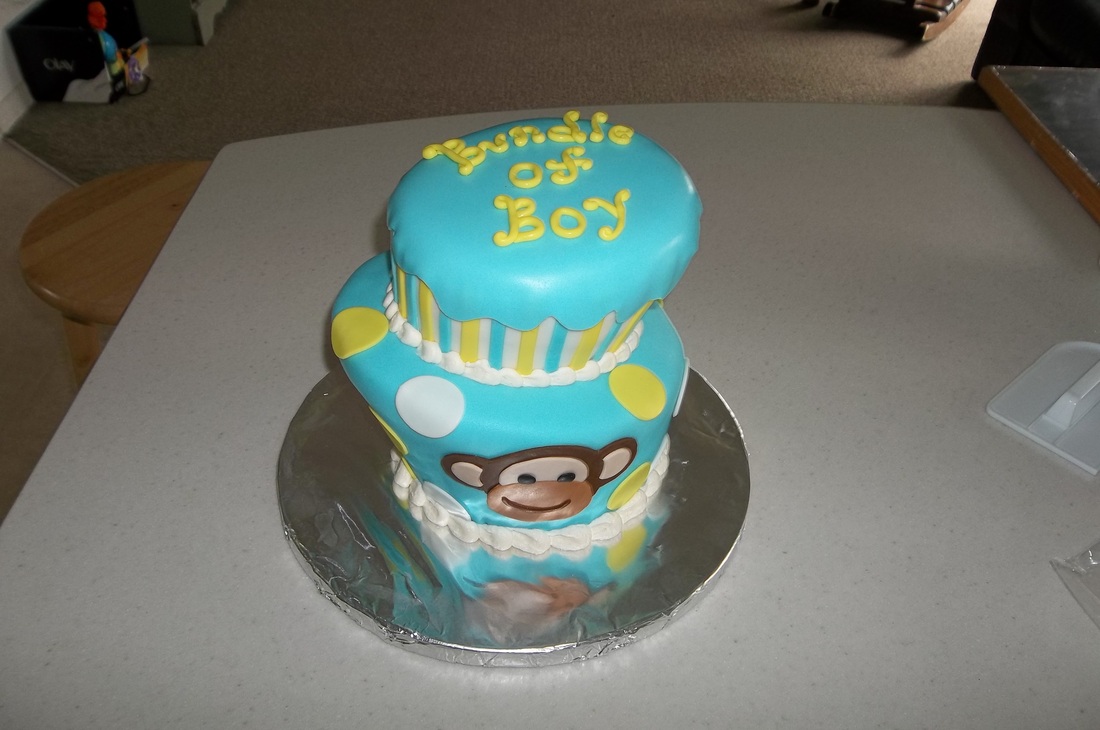
I also went ahead and colored all my fondant. This was the announcement that was their theme. On the invite it had the phrase 'bundle of boy' so I decided to incorporate the monkey, the background color and that phrase.
While they were in the freezer I cut out some circles and covered them with foil. I used a 5 inch cardboard circle for both tiers. This left a small bottom for the top tier and it was a risk but it held the weight well. If doing it again, I think I would use a 6 inch board instead. The 5 was a little scary.
I also went ahead and colored all my fondant. This was the announcement that was their theme. On the invite it had the phrase 'bundle of boy' so I decided to incorporate the monkey, the background color and that phrase.
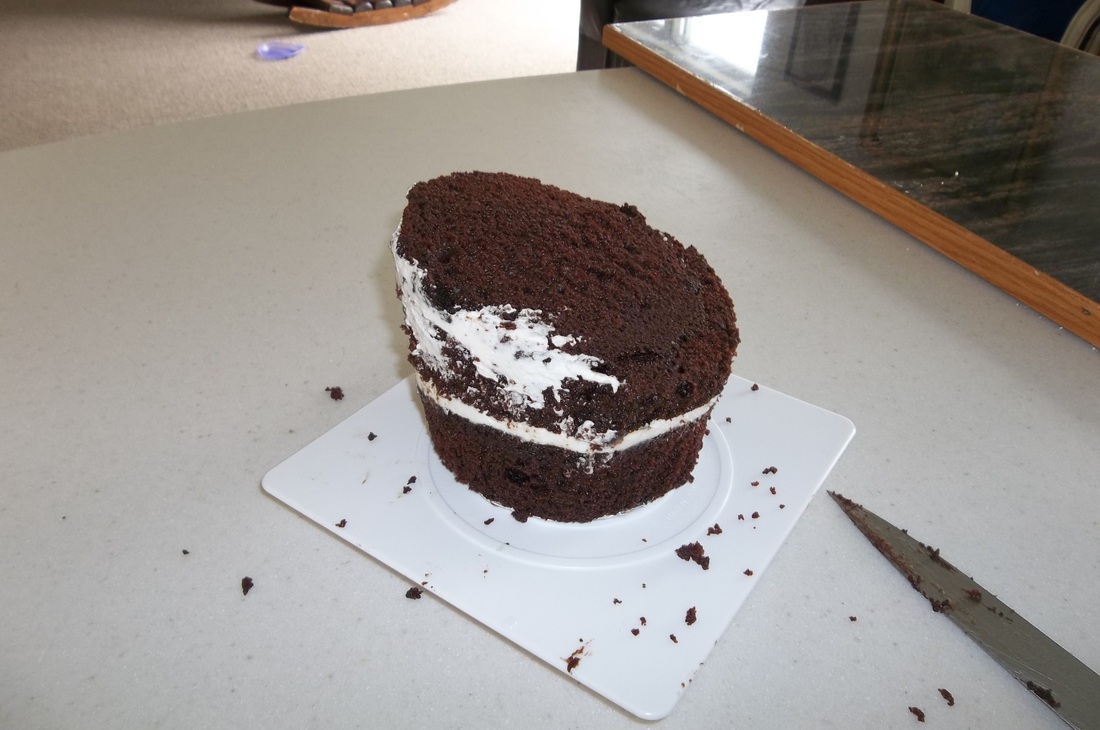
Once I was ready to start carving, I turned the cake upsidedown (so the bottom of the cake was now on the top). I put on the 5 inch cake board (adhering it with a bit of frosting) and started carving the sides at an angle. I like straight angles, so I tried to cut a straight line from the board to the top corner (bottom since it's upside down) of the cake.
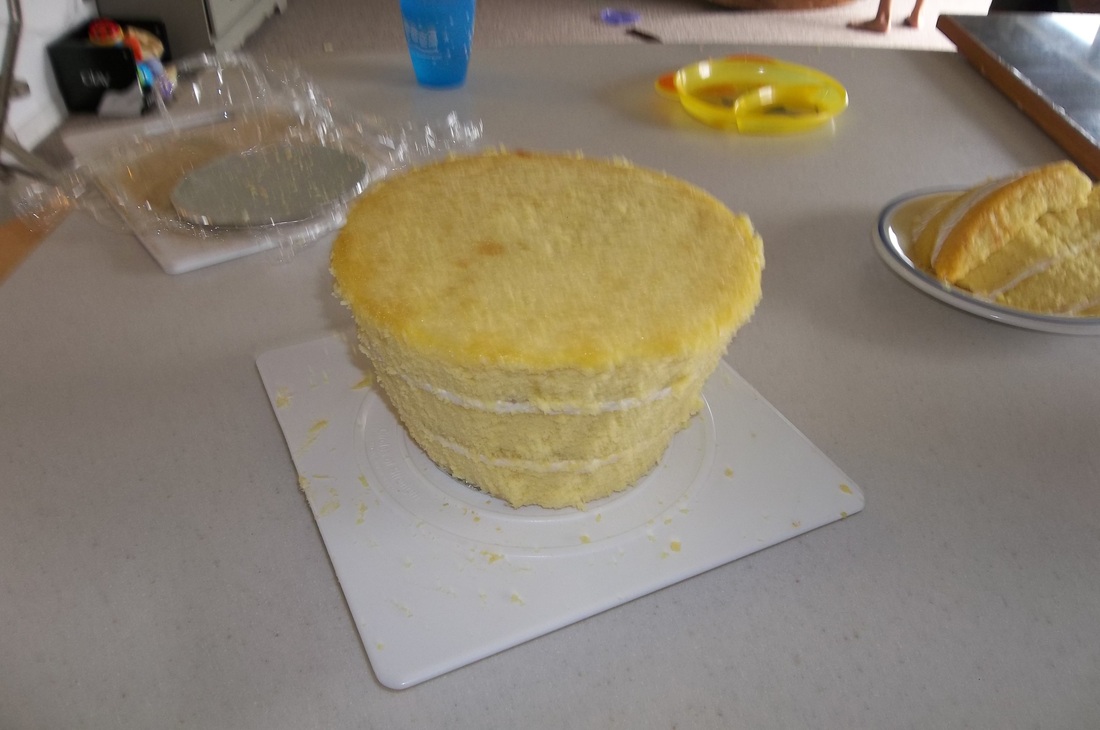
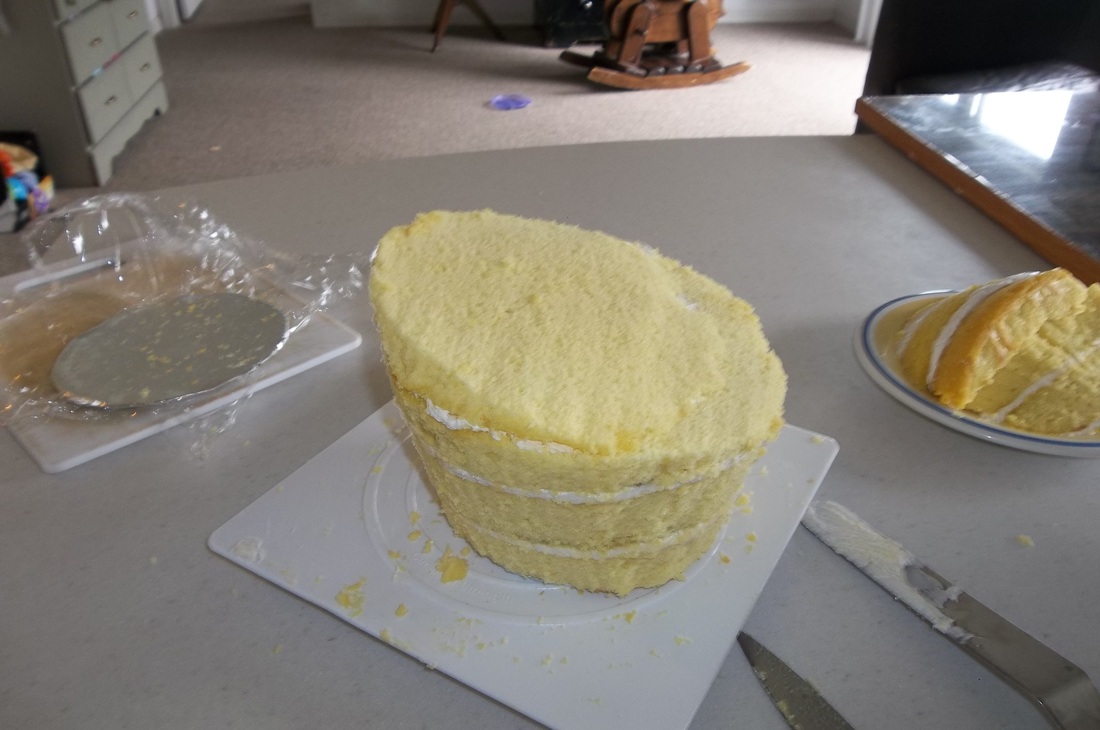
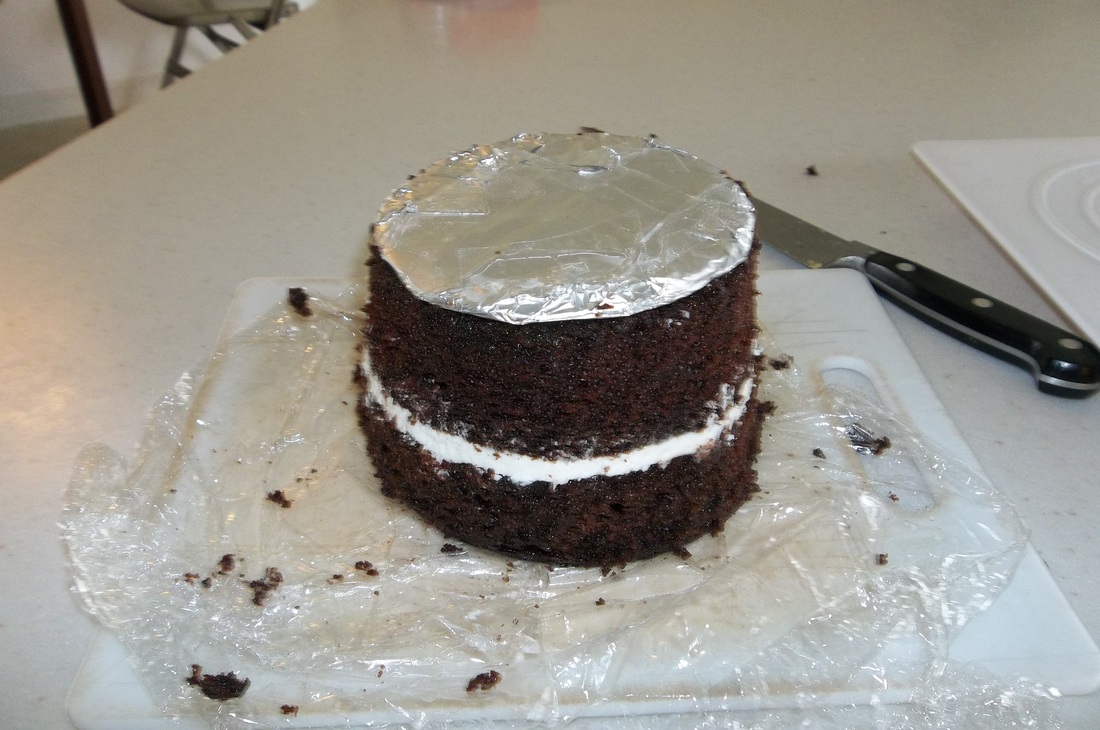
After I finished carving the sides, I turned the cake back over so it was right side up. You can see that the base is pretty small. I started to get nervous at this point.
Next I cut a slice off the top to make the top slanted. I roughly aimed to cut from the top corner to the bottom of the top layer.
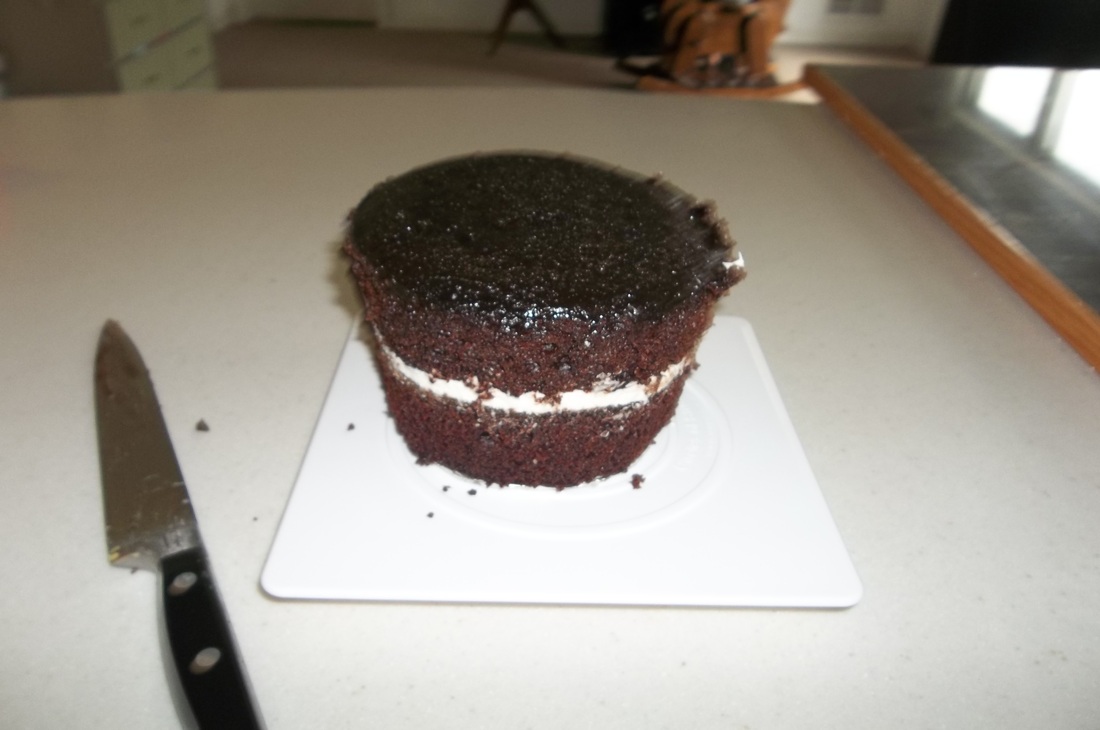
Then I added some frosting and flipped over the layer that I had cut off and added it to give the cake a bit more height.
I trimmed it up a little, and I was ready to cut out the top.
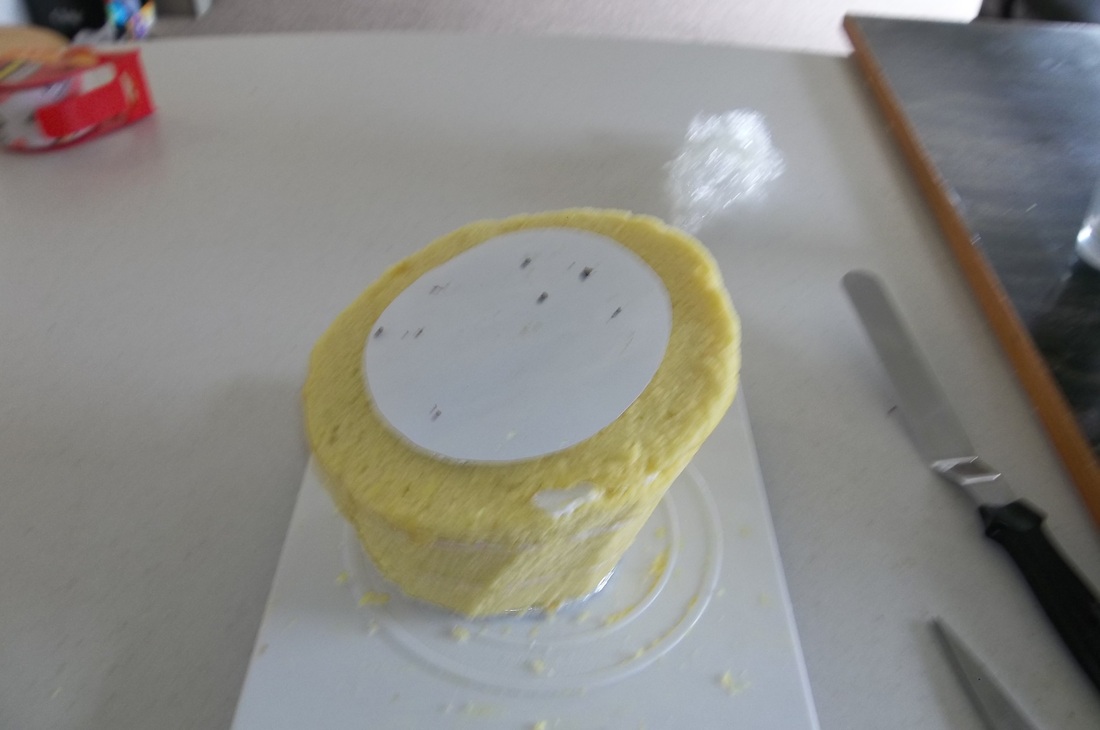
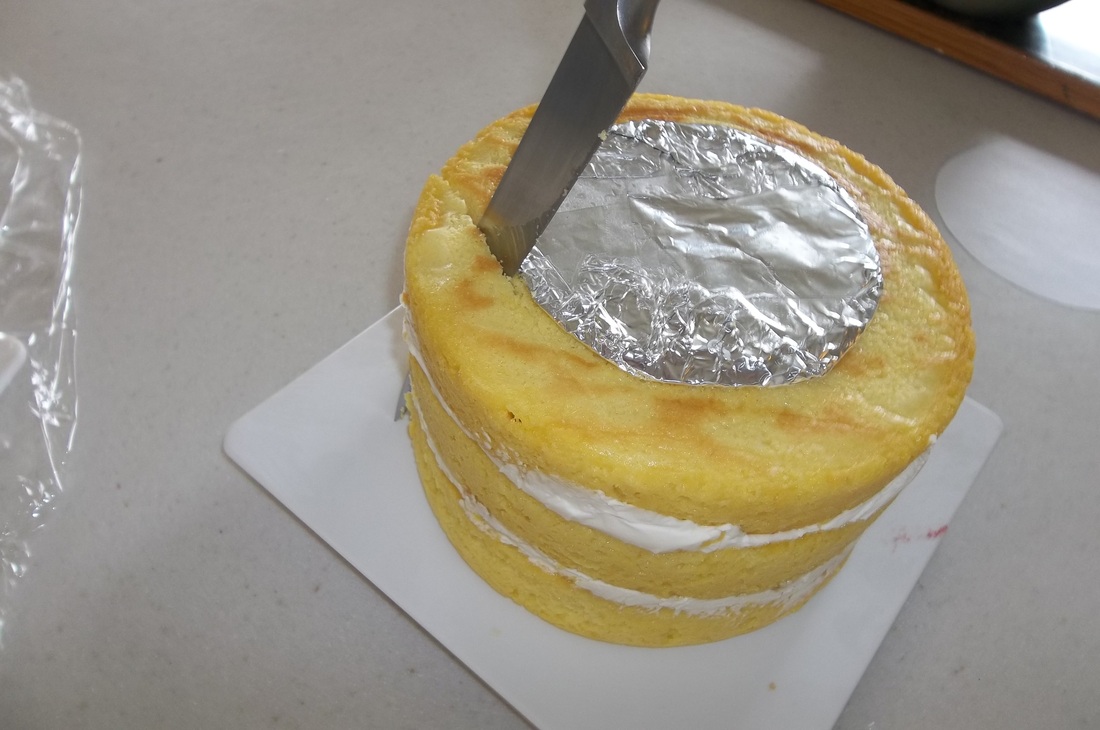
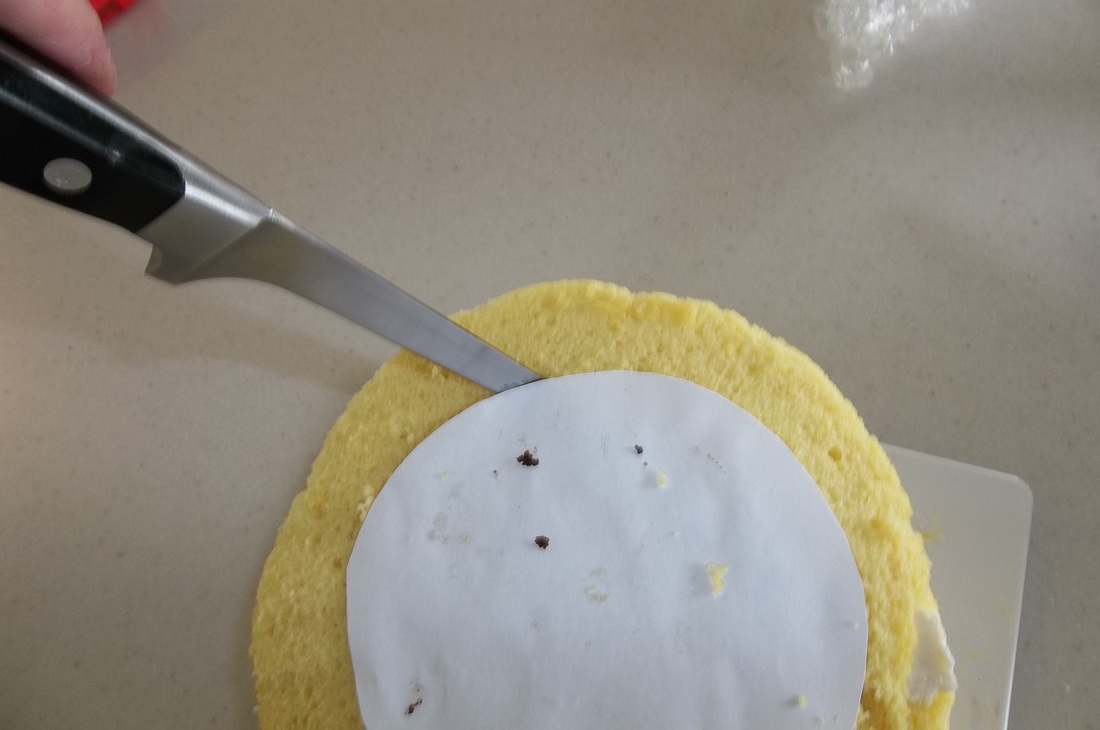
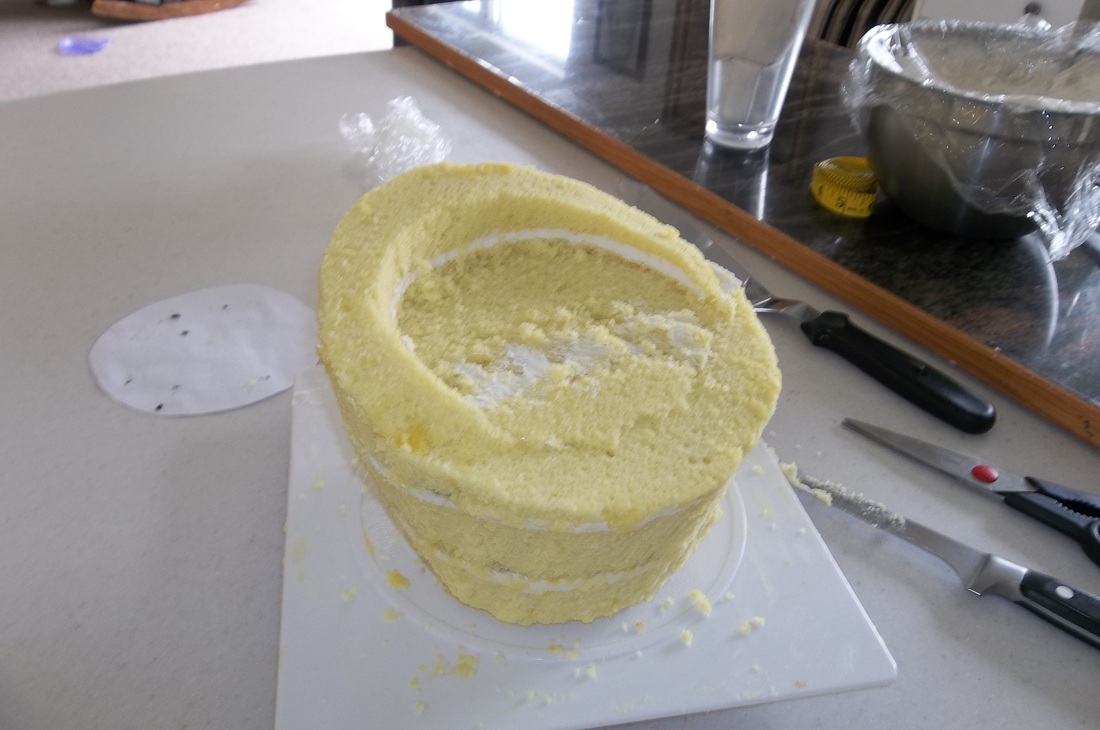
A topsy turvy cake isn't really stacked at angles. It's actually stacked flat, so the angled layer needs to be cut flat. This way I can put the top layer right on the flat surface of this layer. I made a paper guide of how big the bottom of the top tier would be (I had to estimate by putting the tier on the paper (thus the chocolate crumbs) and adding some space for butter cream and fondant. I then used this guide to cut into the high side of the cake and level out the circle where the tip tier would go.
I then cut straight down a little over an inch at the highest mark, around the high half of the tier.
After that, I cut out the portion of the circle that was to be flat.
Now, there are a ton of ways to do this...Youtube has great how to videos. Some people frost and cover the cake with fondant before cutting out the circle on the top but that just doesn't make sense to me. First off, it's a waste of frosting. Secondly, it's messy. I felt it was better to cut the cake first, then frost and cover it.
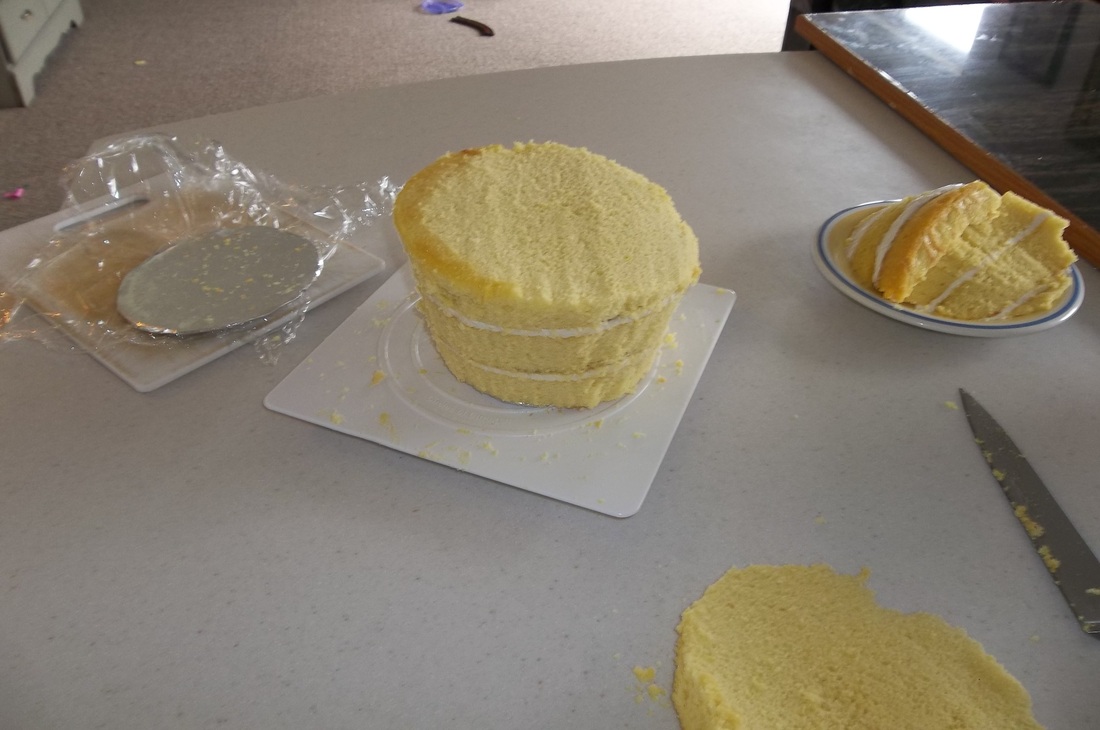
So this is what the carved cake looked like. Now it's ready to be frosted and covered with fondant.
So this is what the carved cake looked like. Now it's ready to be frosted and covered with fondant.
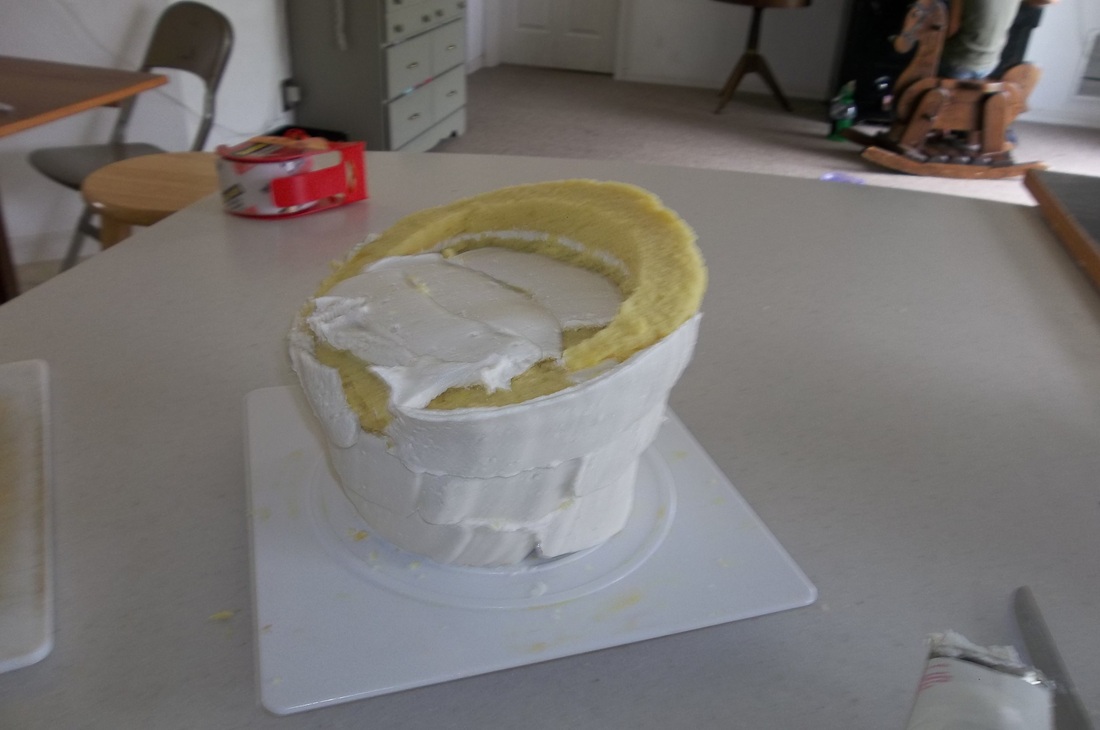
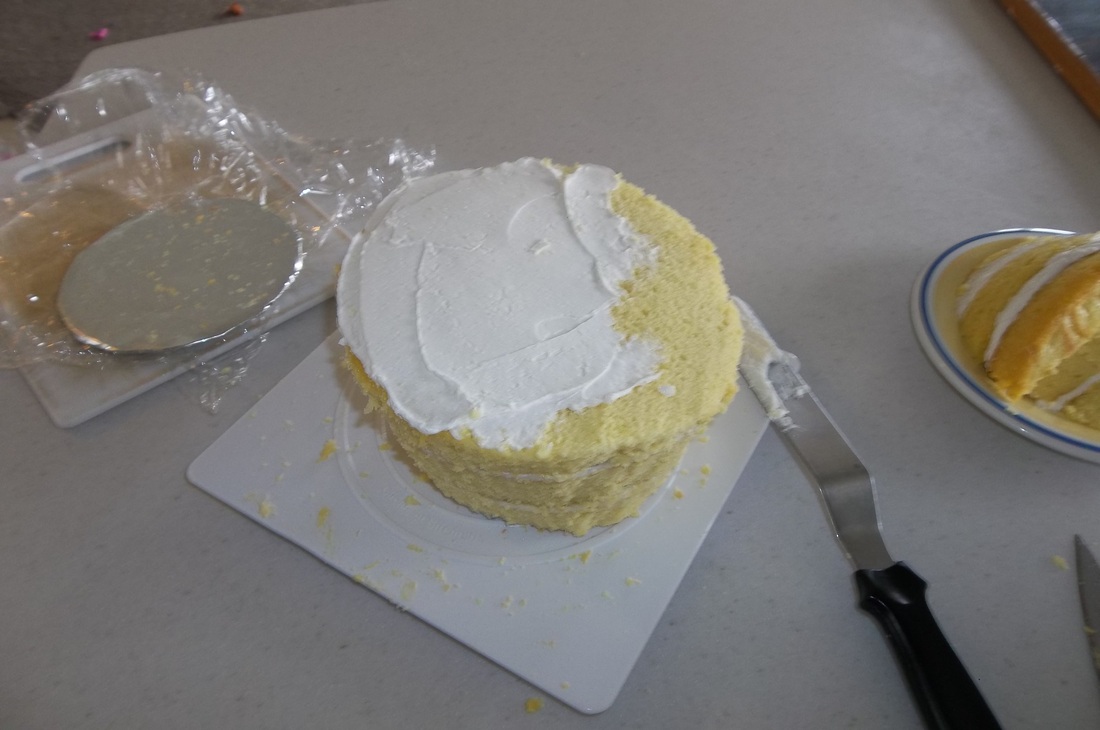
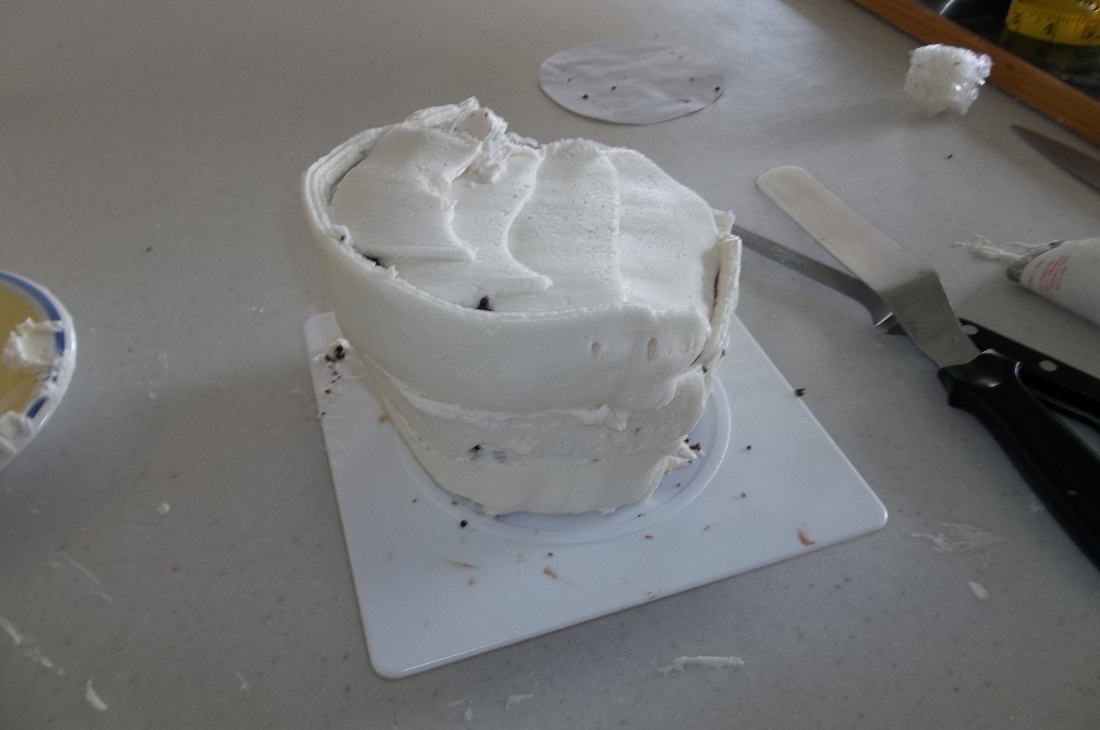
This was kind of a mess, but it doesn't matter. All that really mattered is that I frosted the cake. I know that people suggest only a thin layer of butter cream under the fondant (enough to help the fondant adhere to the cake) but it's my experience that most people (adults anyway) don't eat the fondant. For this reason, I always put a good layer of frosting under my fondant.
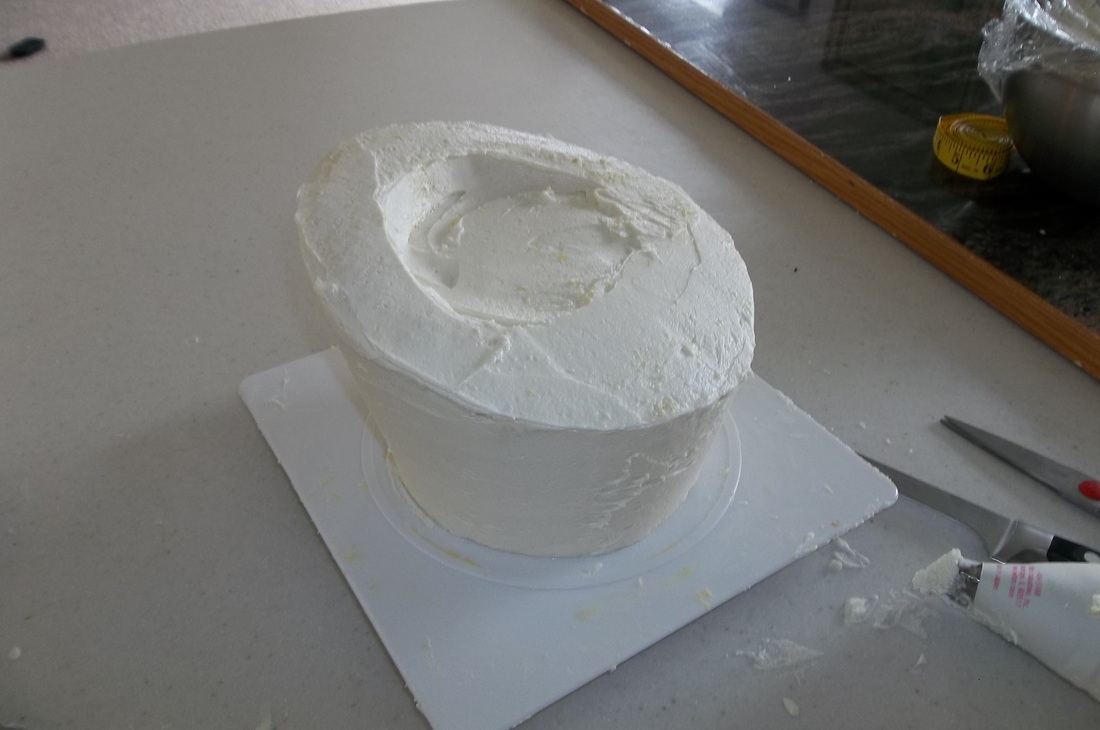
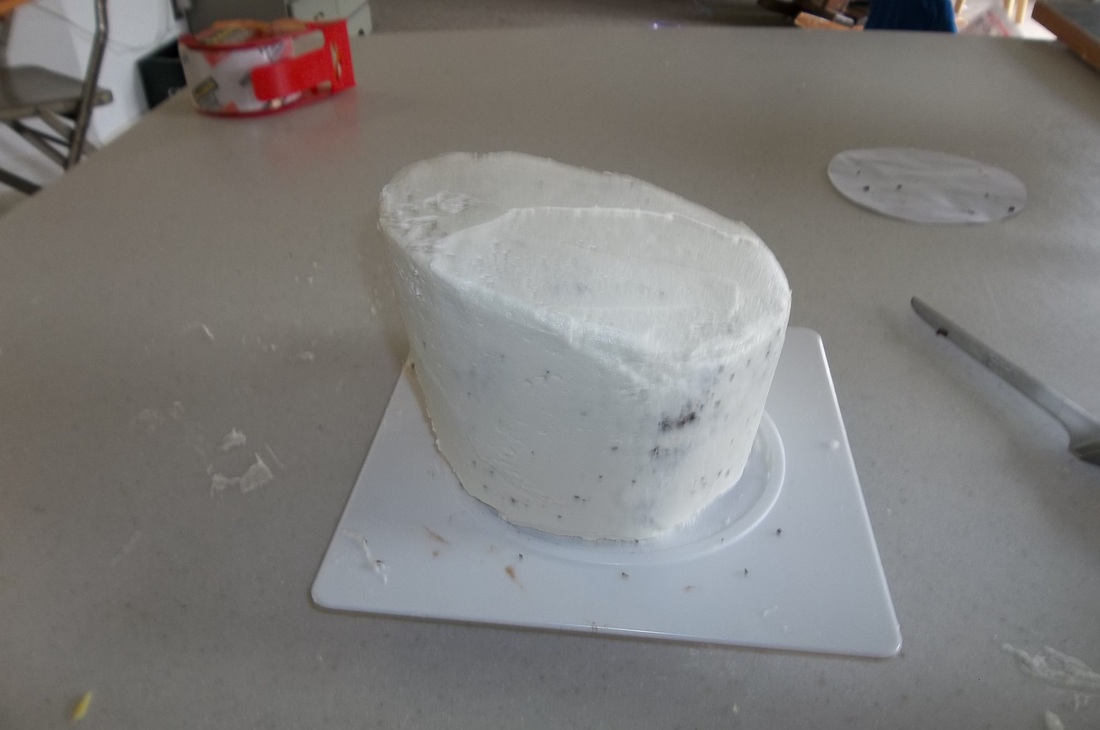
I smoothed the frosting and put the cake in the refrigerator to allow the frosting to harden. I could have gotten it smoother using the paper towel method of smoothing but I am out of paper towels, so this was it.
I always wait until the next day to cover a cake with fondant. This allows the cake to get good and firm before covering.
I always wait until the next day to cover a cake with fondant. This allows the cake to get good and firm before covering.
The bottom tier is a lot more simple. Again, I turned the cake upside down and placed the cake board on what was then the top of the cake and carved the sides.
Then I turned the cake right side up and carved the top angle. Again I frosted the top and flipped the slice I had cut off and added it for more height.
Sloppy sloppy sloppy! :-)
I didn't worry about crumbs because I knew I would cover it up anyway. If it was plain white, I'd be more careful (they can show through) but with the other decorations I knew I didn't have to worry).
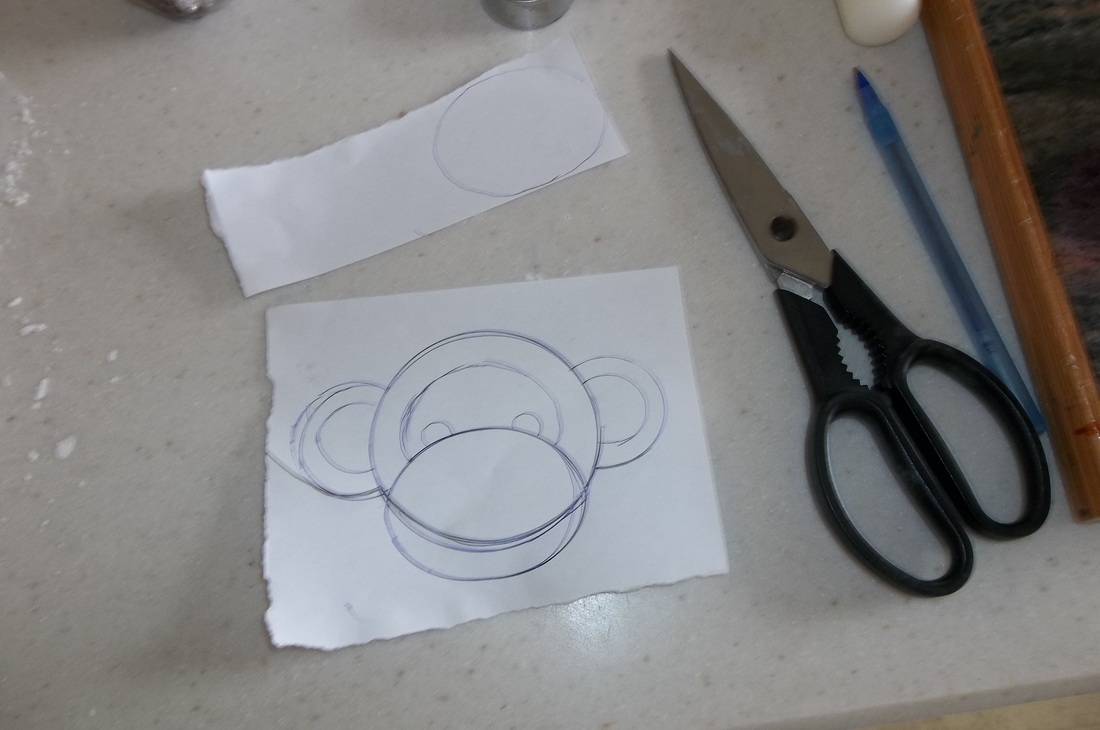
While the cakes were hardening in the fridge, I decided to get the fondant details done. Normally I print my pictures from the computer and trace them because I am no artist! My 9 year old daughter draws better than I do. This time, unfortunately, I had to go off of the invite and had to freehand it. No laughing at the art!
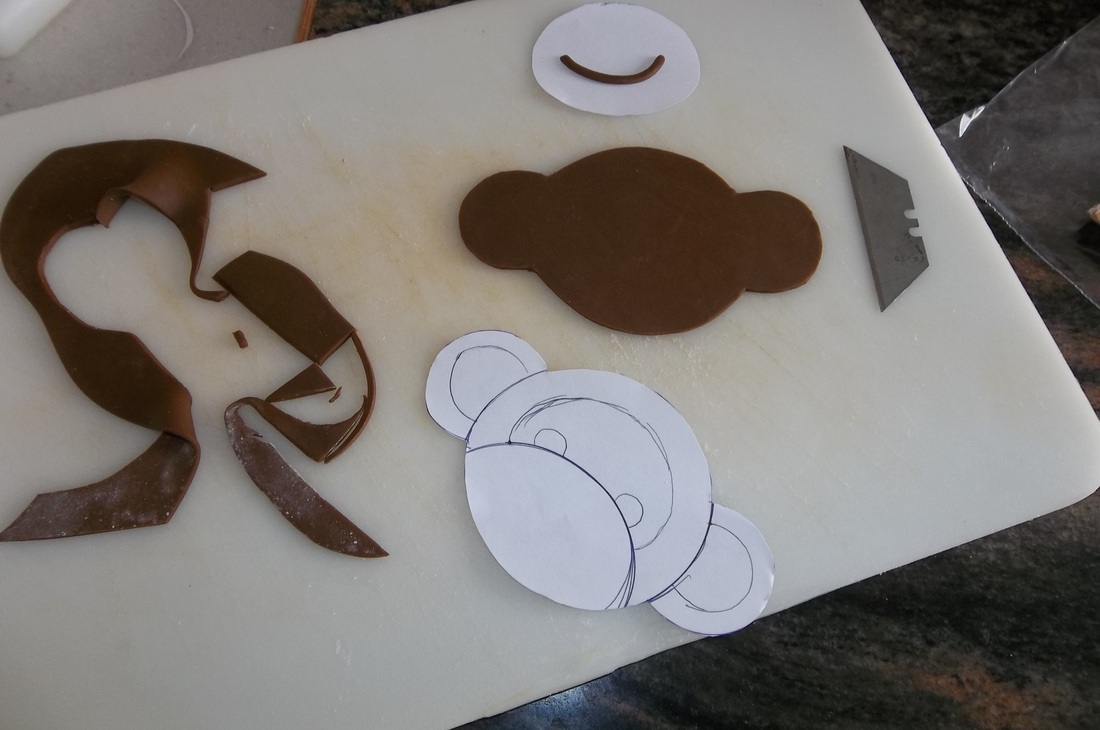
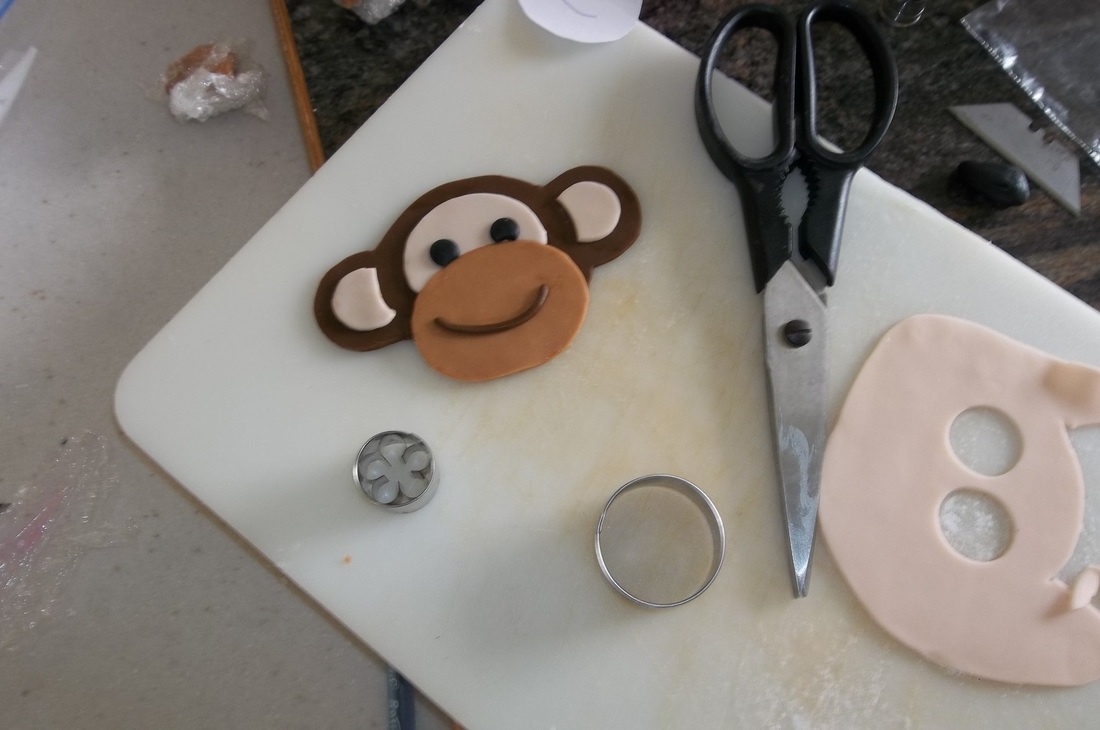
See! He turned out pretty cute for such an ugly drawing.
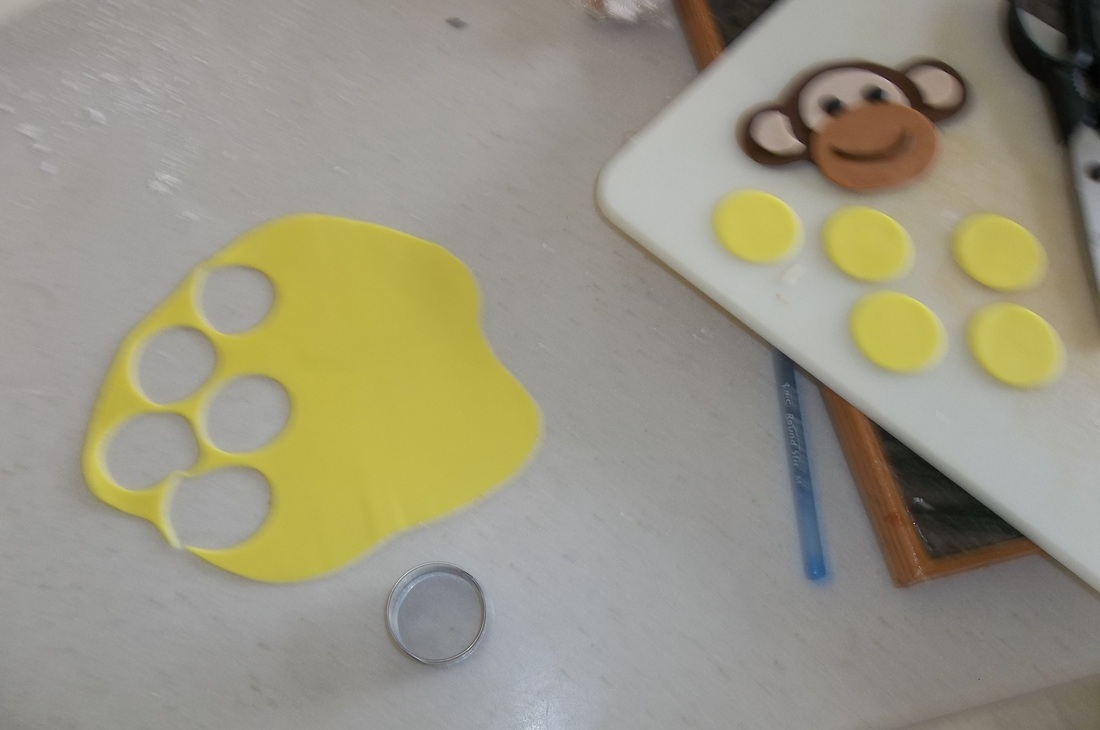
Next I used a circle cutter to cut out all of the polka dots...
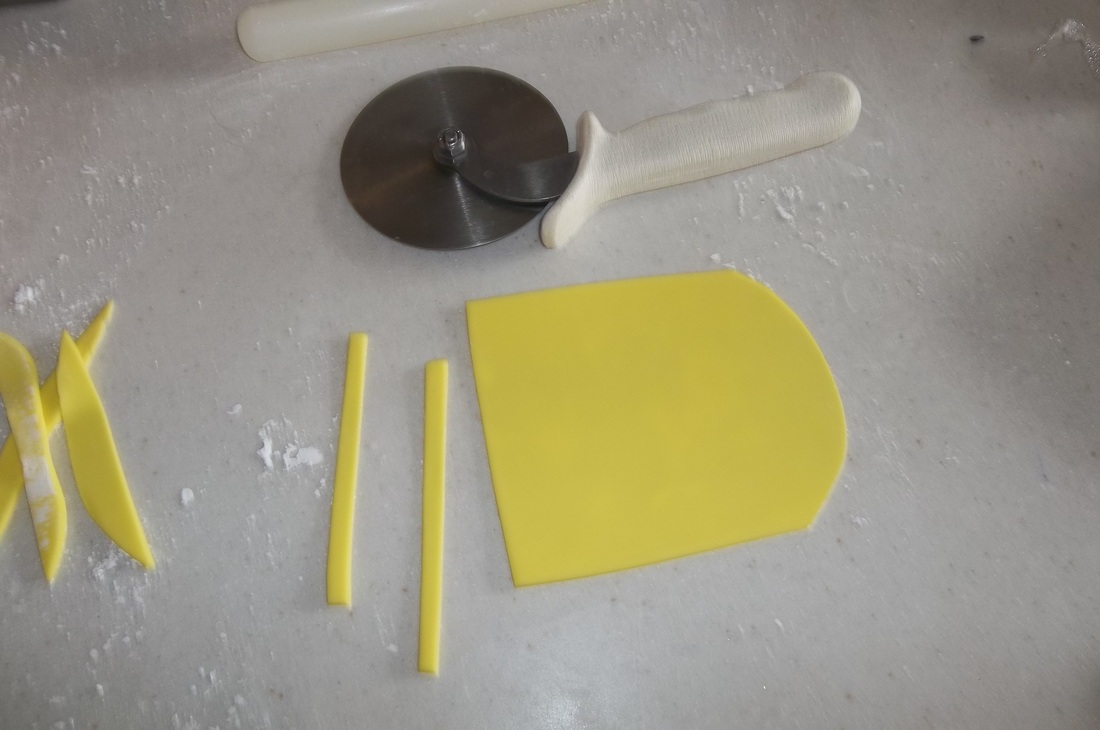
...and I used a pizza cutter to cut out the stripes...
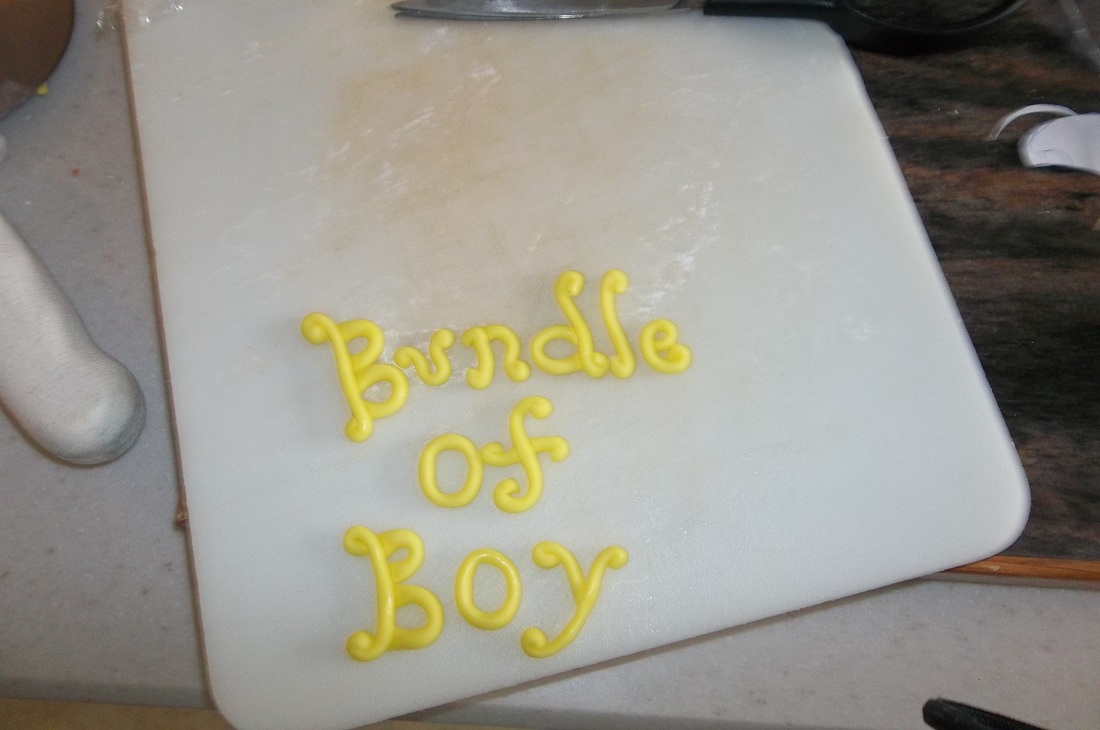
I saw this style of letters and really liked it! Decided to give it a try. All I did was roll out thin strings of fondant with my hands and free formed the letters (using water to adhere the parts that needed to stick). Easy Peasy.
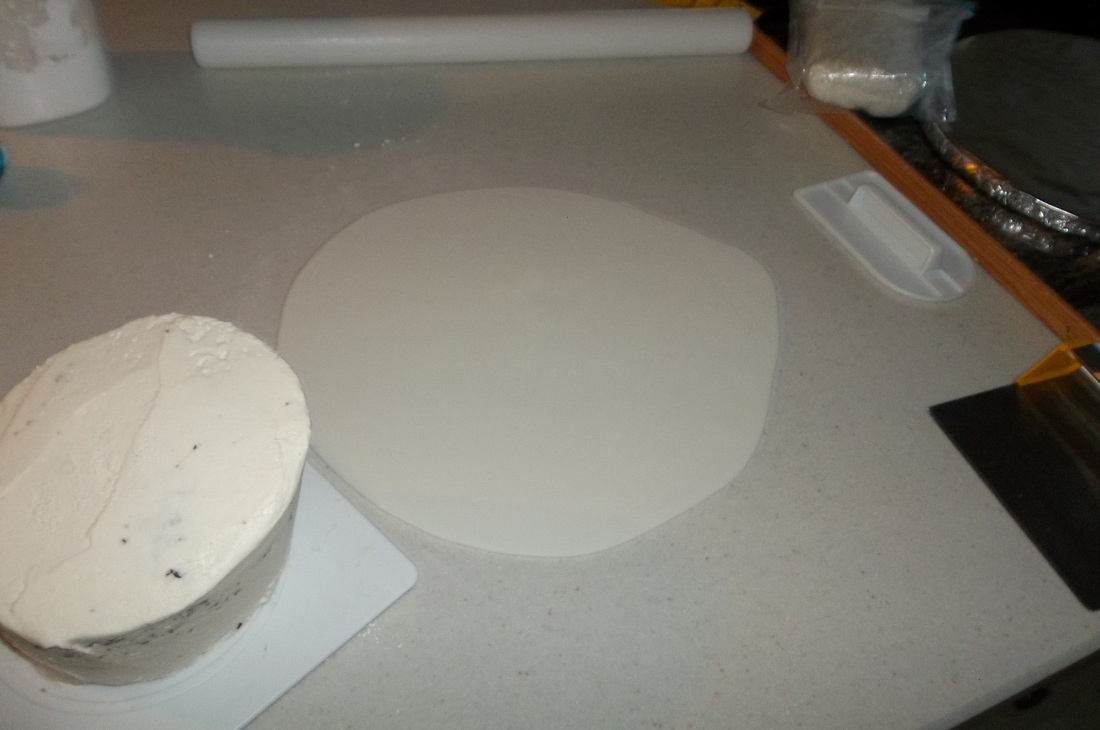
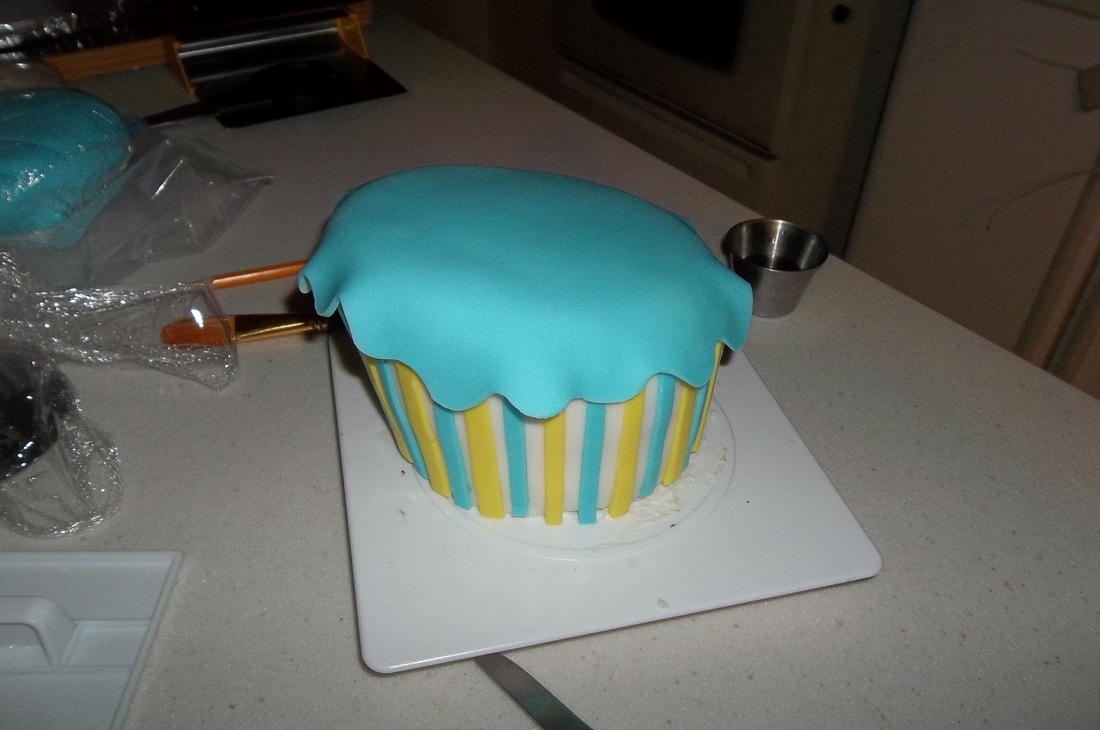
Then it was time to cover the cakes with fondant...
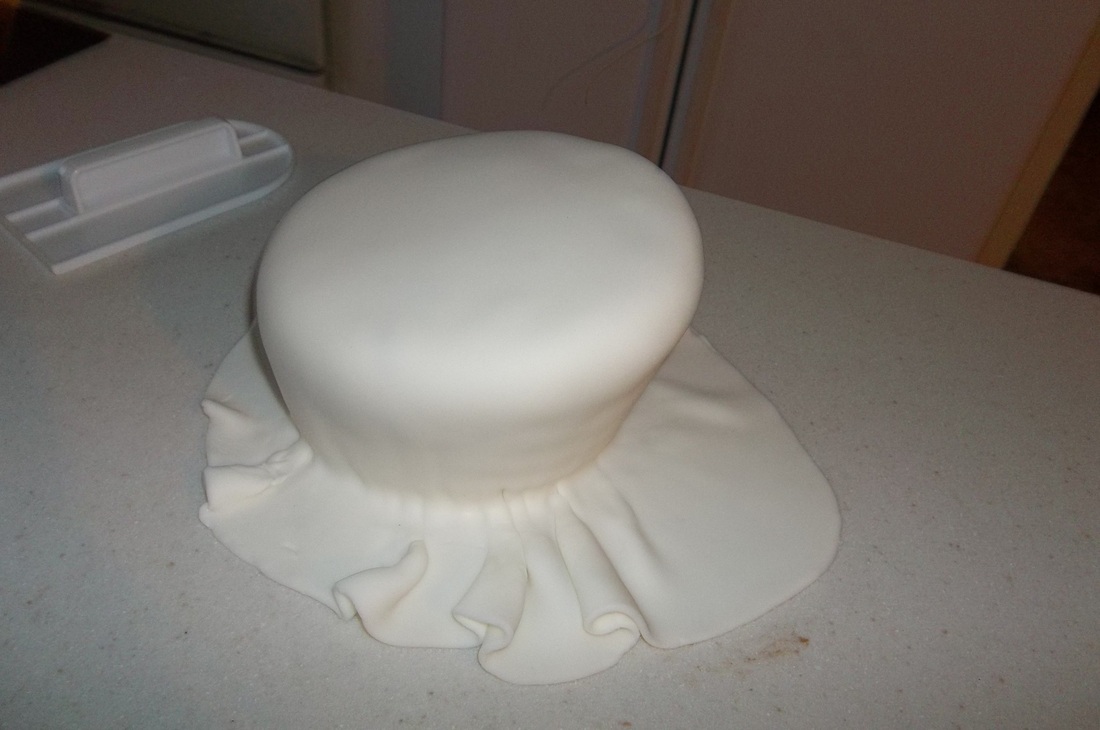

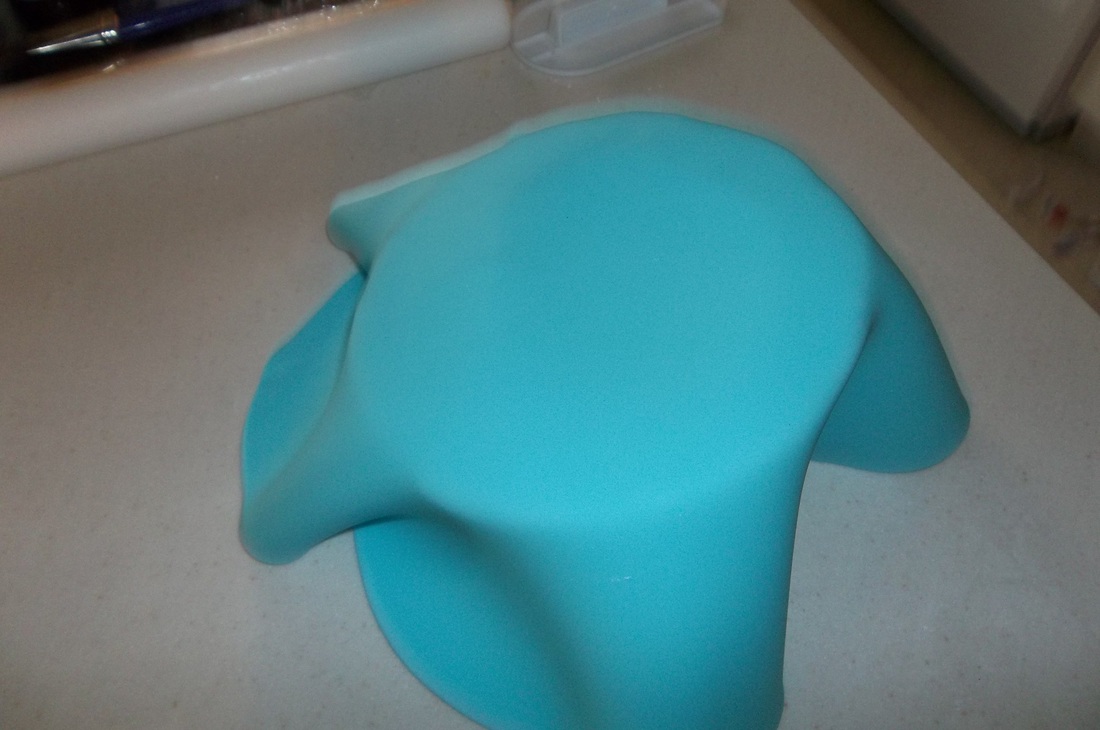
Covering a topsy turvy cake with fondant is a bit tricky. It's a high cake to begin with and it gets narrower as you work it down. I just kept working with it until it was covered.

The fondant separated when I was covering the gap, but I wasn't concerned about it because the top tier would cover it up. I would have taken more care to avoid that if it would have been visable...
After I'd covered both cakes I returned them to the fridge to set up some more.
After I'd covered both cakes I returned them to the fridge to set up some more.
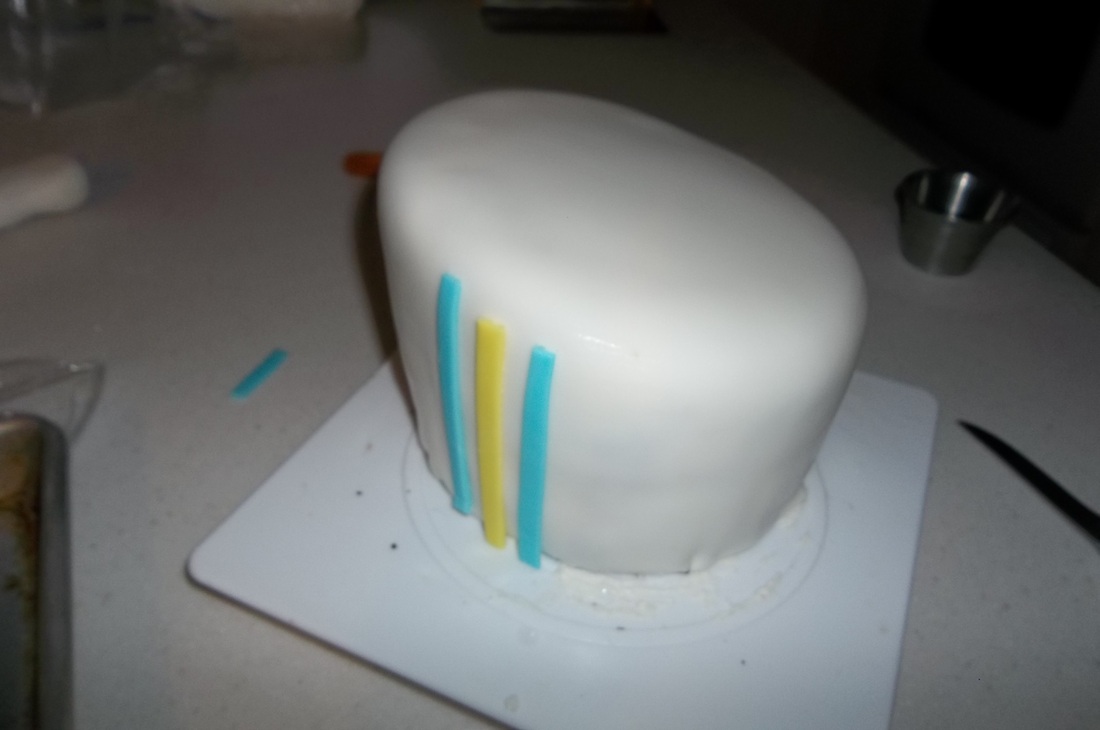
After a couple of hours I was ready to start decorating. I adhered the decorations by moistening the cake with water using a paint brush.
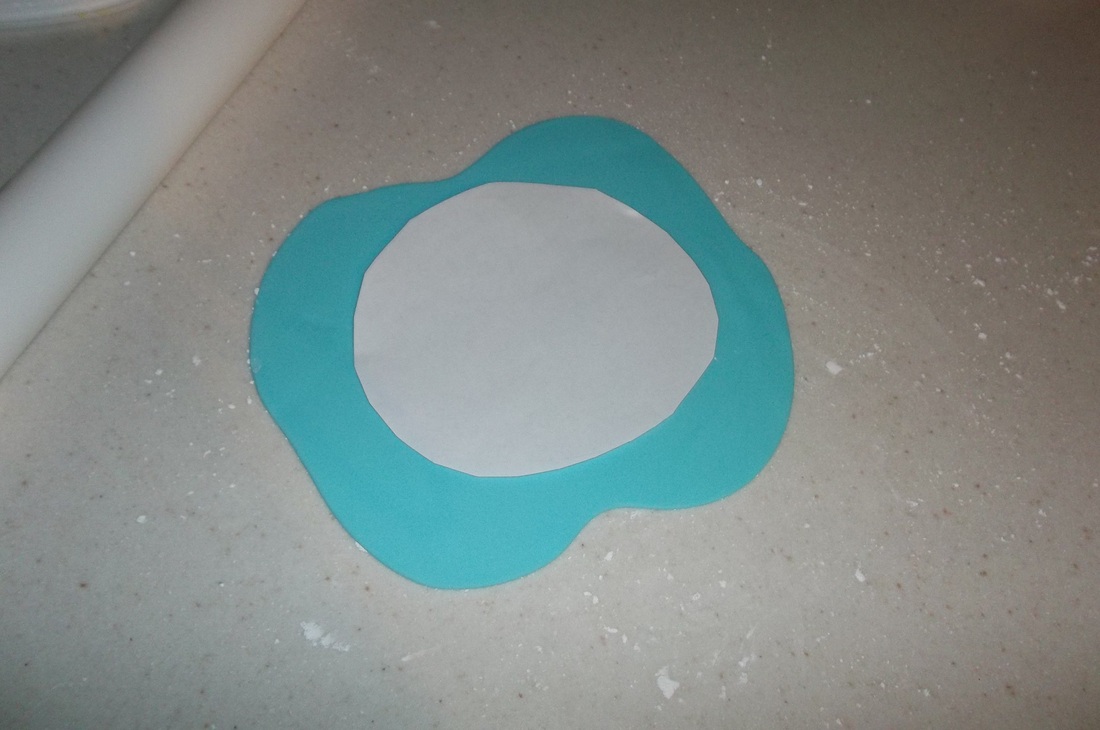
I cut out a circle that was roughly the size of the top of the small tier and used it as a guide for the top fondant piece.

Then I used my razor blade to cut a swirly edge that would hang over the side of the cake...
...and I adhered it to the cake...and pressed down the sides (not shown).
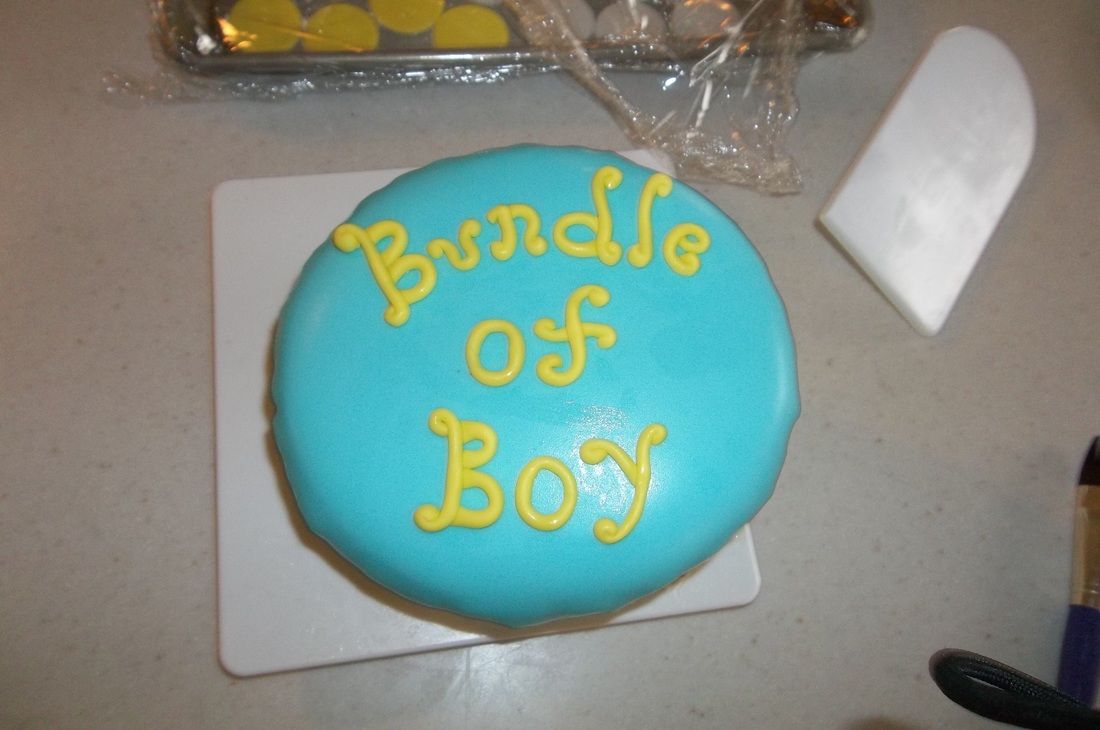
Finally, I put the letters on the top and the top tier was ready to go.

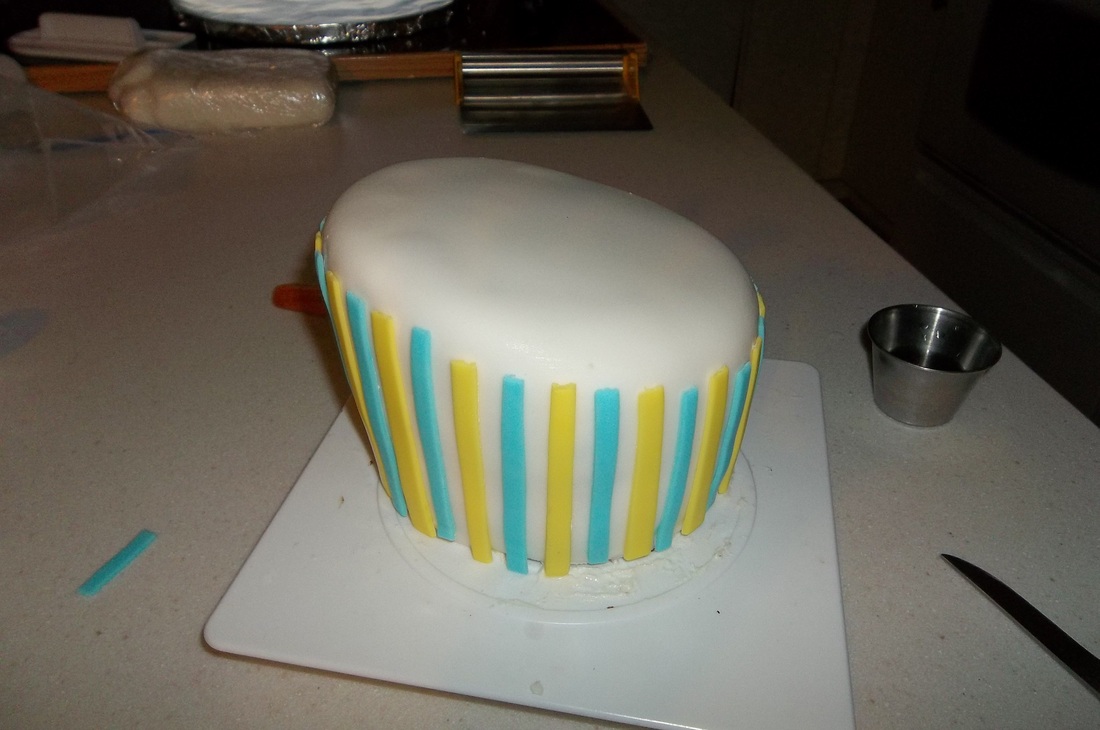
Then I added the decorations to the bottom tier...
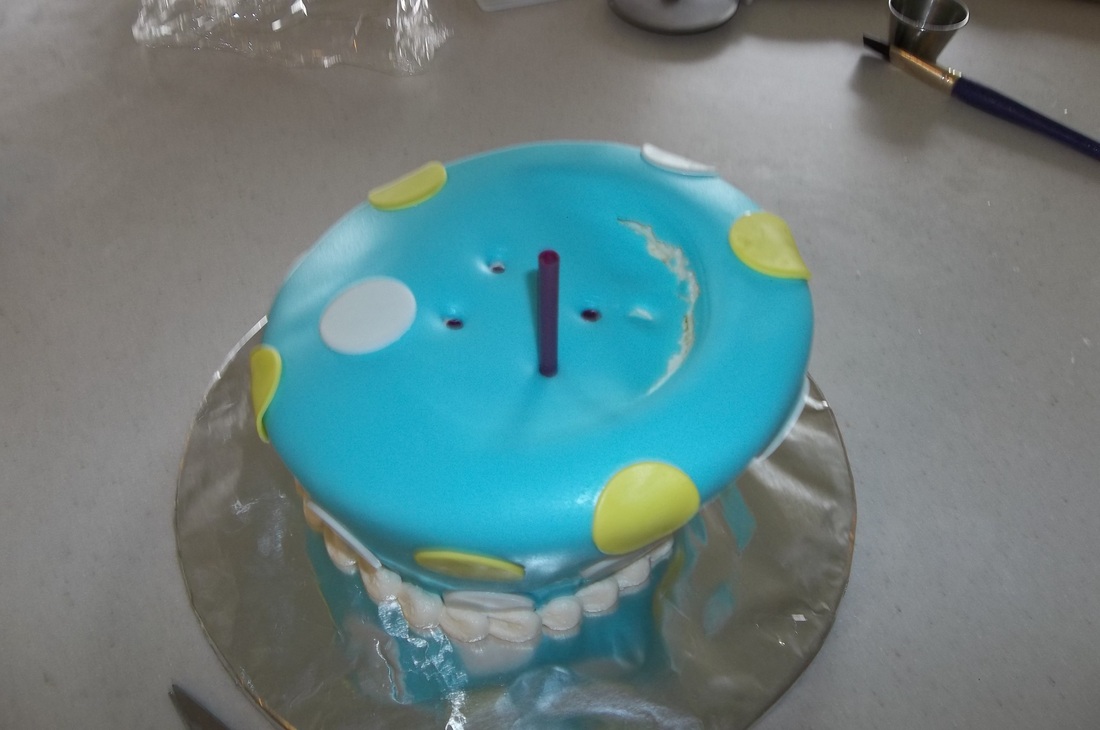
...and added plastic dowels to support the weight of the top and they went back into the fridge until I was ready to assemble the cake.
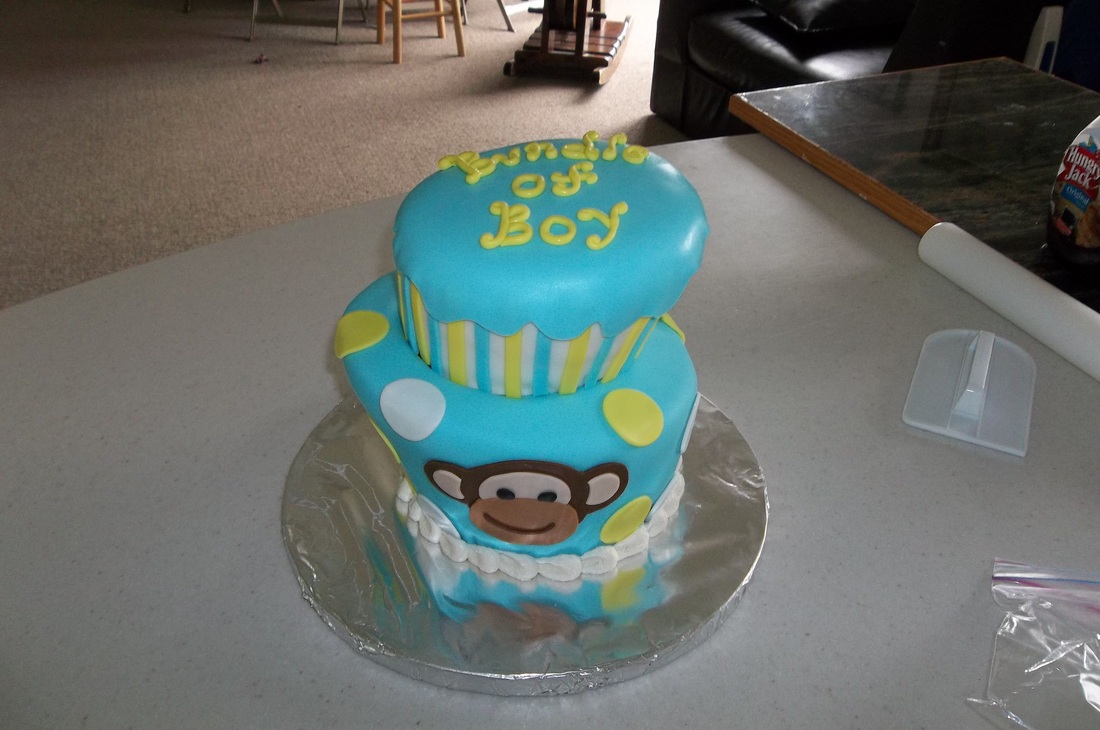
When it was time to put it together, I stacked the cakes....
...and added the final border.

I finished it off by airbrushing the whole thing with a pearl sheen. So overall, it was super fun to make and got devoured in a matter of minutes. Thanks as usual for reading. :-)
 RSS Feed