
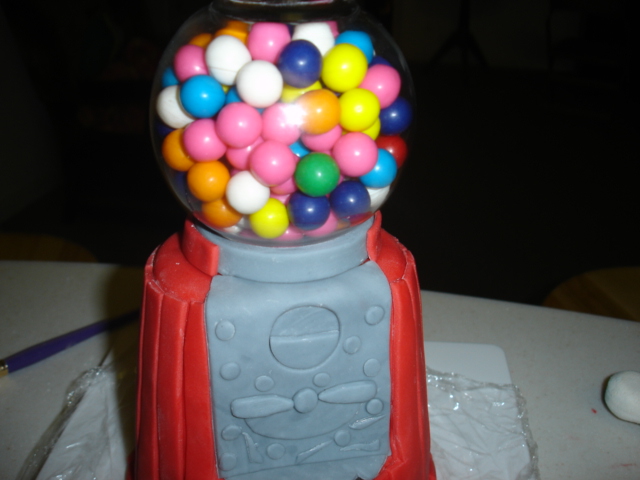
This was my 7 year old son's birthday cake. I must admit that I saw a similar one online and wanted to try it, so I showed it to him and hyped him up about how cool it would be to have a cake like that. :-) I was happy he took the bait because it was really a fun cake to make.
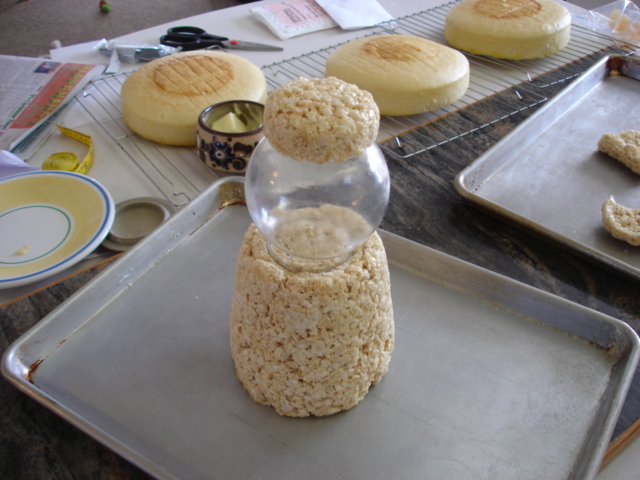
I did have some problems with this cake because I had no instructions, so I just had to figure it out as I went. There were a few things I would do differently. I am not very happy with the proportions of the machine and would change them a bit if I did it again. I started by buying a glass bowl. I finally found one at a Hobby store in the flower department. They had some vases and one of them worked great. Based on the size of the bowl, I estimated how high I wanted the machine body to be and made the rice crispy treats that size. One thing that is VITAL to using rice crispy treats is that one must eat the scraps and/or share them with their children.
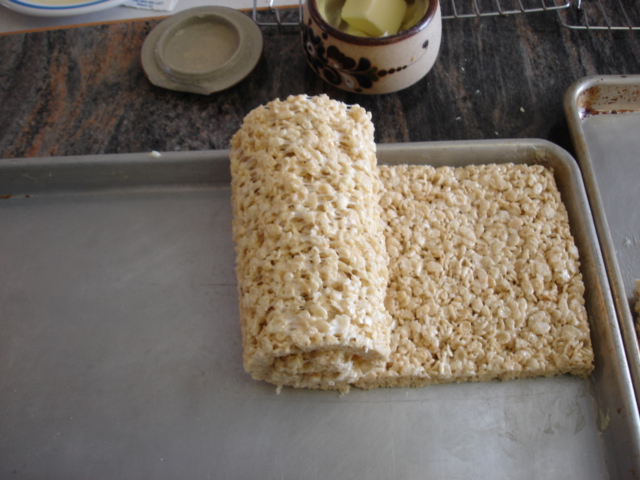
After letting them harden up for a while, I rolled them up and started shaping the base. Here is where I made my first mistake. I made the base and lid to be the actual size I wanted the body to be, but I didn't account for the added fondant. So when I put the fondant on, the base and cap were both bigger than I'd intended. Next time I'll be sure to make the treats smaller than what I want the final product to be.
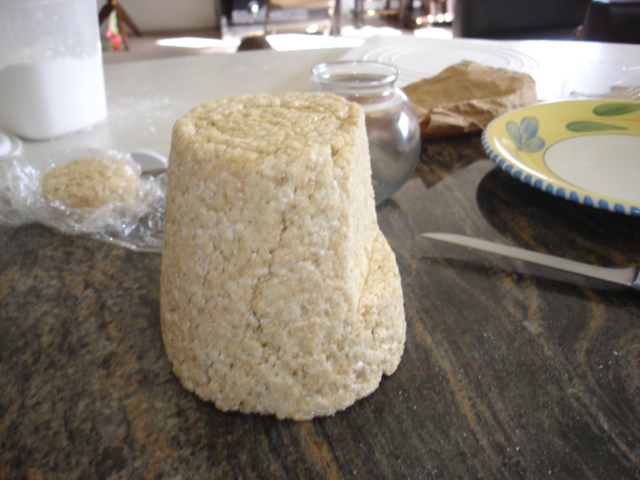
Next I cut a flat portion about two-thirds down the face of the body. It was hard to get a good pic of this, so this was the best I could do.
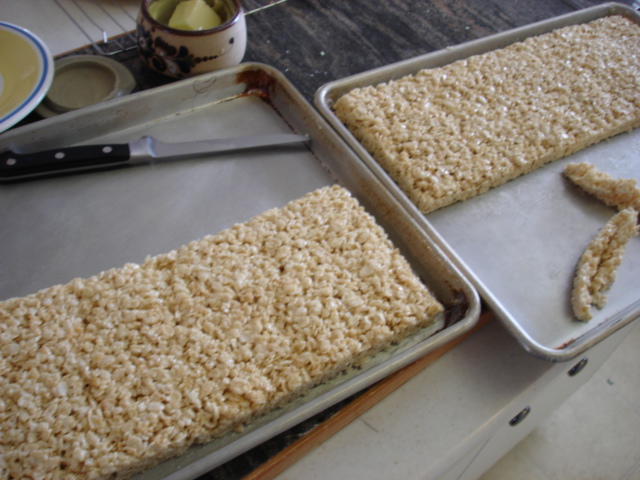
Here is the rice crispy treats before I frosted them.
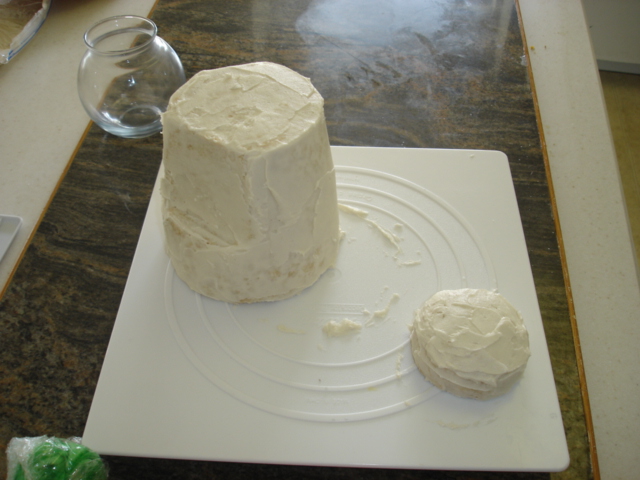
After they were shaped, I frosted them with a light coat of frosting to fill in the holes and smooth out the texture. I let them sit for 15 minutes after they were frosted and then I used a plain Viva paper towel to smooth out the bumps (place the towel soft side down on the area and with a fondant smoother or your hand, gently rub over the towel to smooth the surface). I use that method for smoothing my cakes too.
Now it's time to cover the whole thing in fondant. By this time I realized that the proportions were going to be off, so I made the initial covering really thin. This made for a horrible bumpy texture, but I knew I was covering most of it up anyway, so I didn't worry about it.
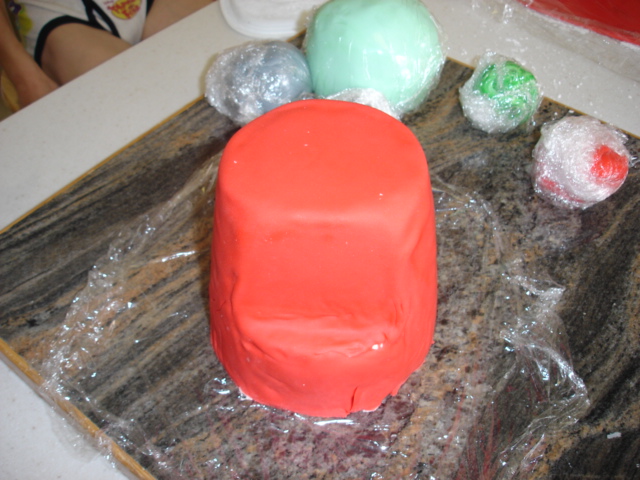
You can see every flaw because the fondant is so thin. Then I covered it up I put it in the fridge to harden up and prep it for decorating.
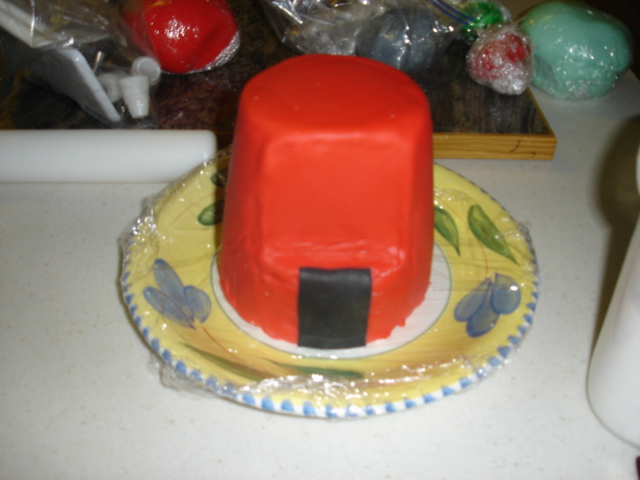
After it was good and hard I started decorating it. I began with a thin black rectangle...
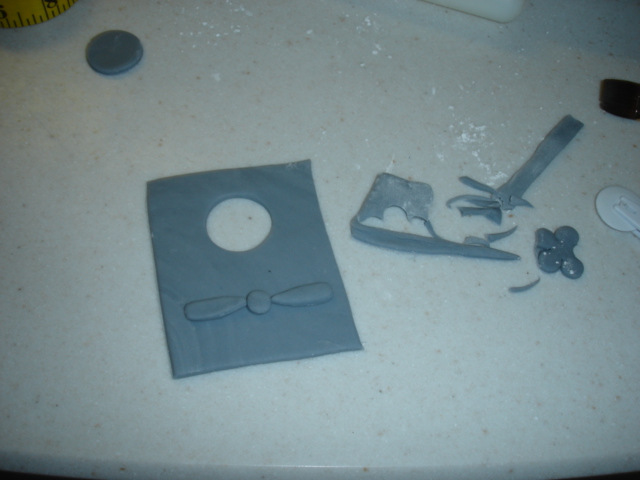
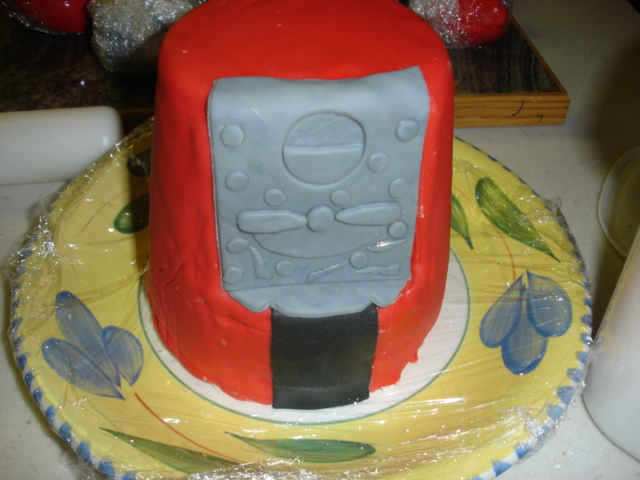
Then I worked on the face of the machine...
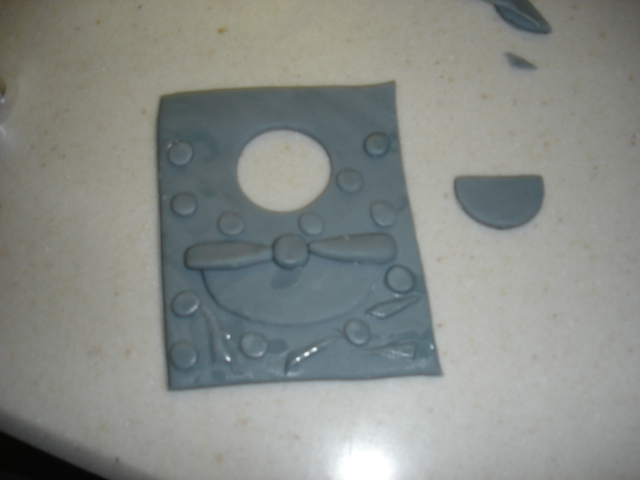
I used a round cutter to cut out the quarter hole. Then I cut off the top of the circle. I put the cut circle back in when I added the plate to the cake.
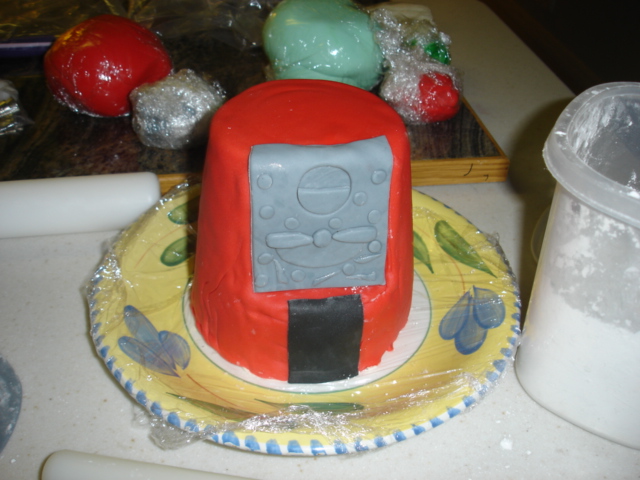
I put the face of the machine on (adhering the parts by brushing their backs lightly with water). I placed a very thin piece of grey under the plate so that there appeared to be a slot for the quarter...
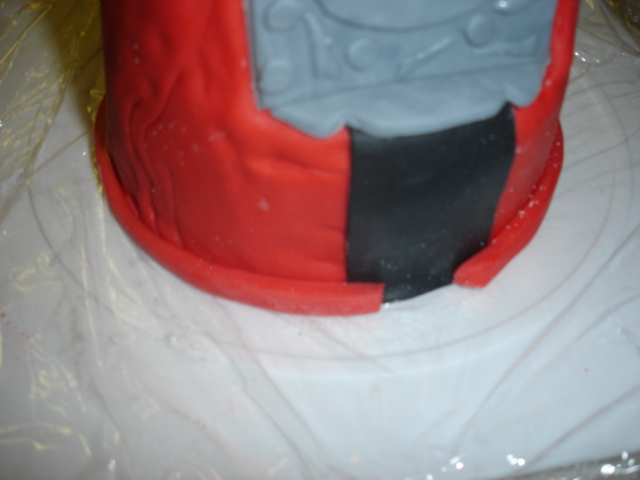
I wanted a little foot to go around the base so I figured the best way to accomplish that was to just add some fondant on the base to make the extra curve, so I did that next....
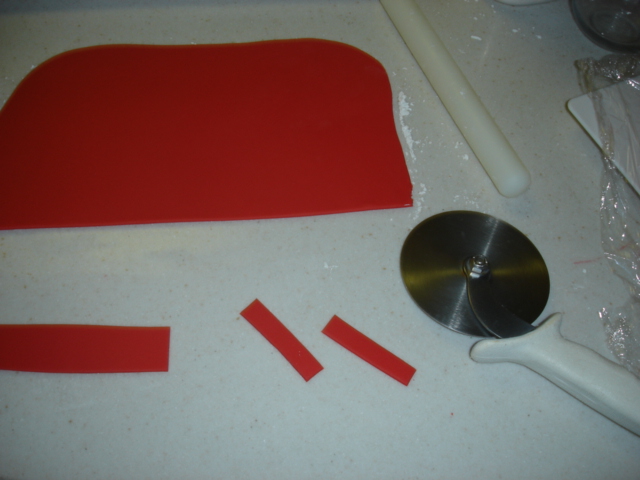
Then I rolled out red fondant and started adding the pieces to the body. I just eyed their size and made adjustments as I went. I attached the pieces to the top of the base, then worked my way down to the bottom. I put it over the hump at the bottom, then used my pizza cutter to cut off the extra at the base...

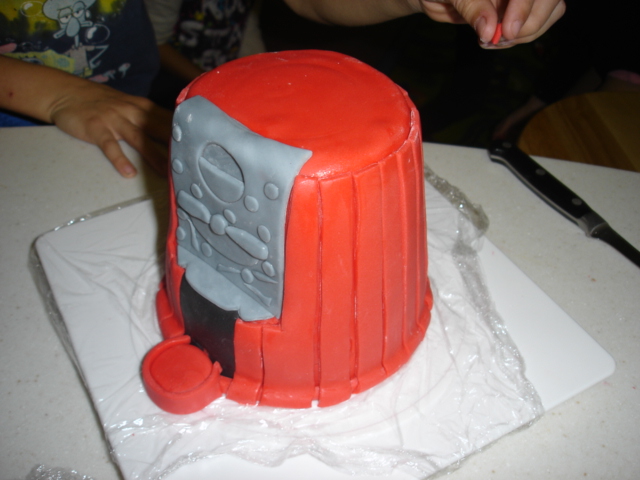
After I was done with all the strips around the base I made a slot for the balls to fall into. I was tempted to make it a working machine (my husband and kids really pushed for that). When I say working, I don't mean with a coin, but just that one could get gum from the machine. In the end, I was just too tired....remember my baby is only 7 weeks old... If I wanted it to be working, I would have used a tube or pipe of some sort and molded the rice crispies around it so that there was a hole at the top and it was fastened to some out at the bottom. It was too much, but I believe it could have been done.
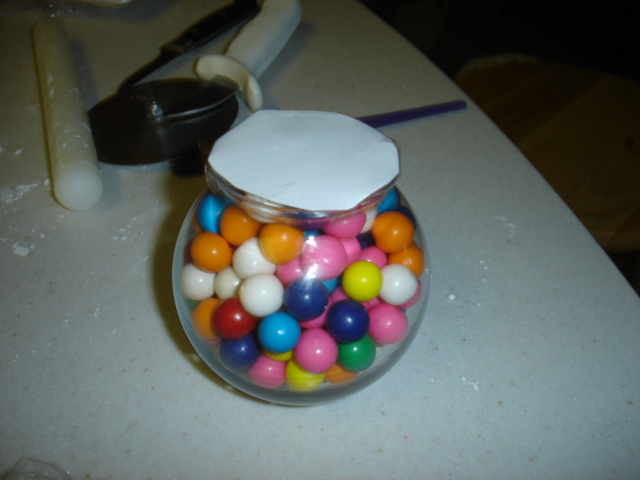
My bowl had a lip on it, which worked well because there needed to be some space at the bottom of the bowl any way. So I went ahead and filled the bowl with gum, then closed it off with paper taped to the lip of the bowl.

Then I turned the bowl over and placed it on the base.
Then I added a strip of grey fondant all around the bowl and a thinner strip of red for decoration.
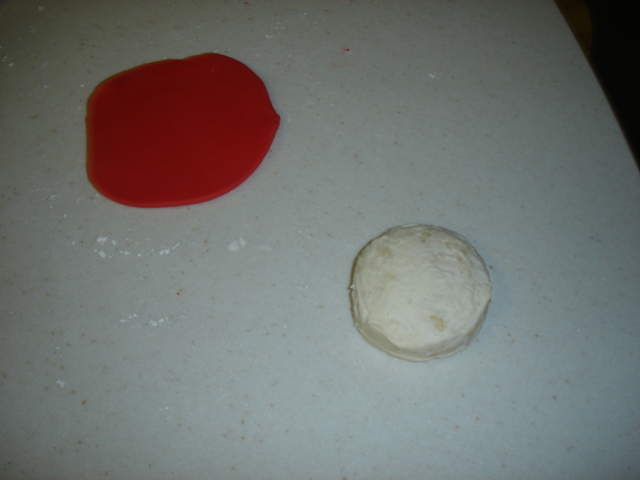
Now for the cap...which I made way too thick....
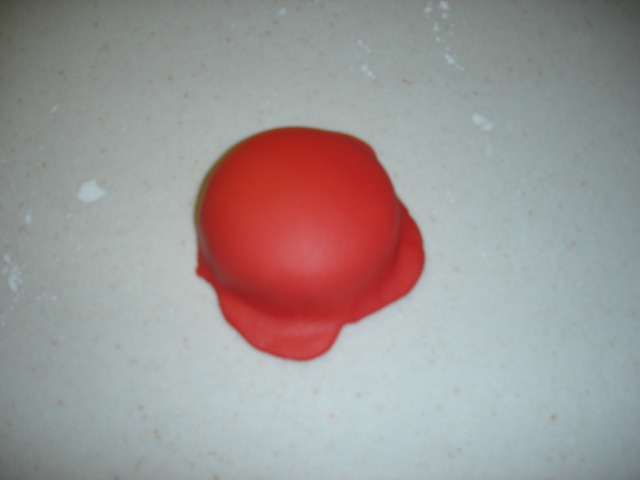
After I covered it, I made a small screw with grey and covered the edges with red...and the cap was ready to go. One thing to be aware of is that you can't just have it flat or it won't be fit to the bowl. I should have taken pics of the underside of the cap. I had it molded to the shape of the bowl and after I put the fondant on, I still had to take a knife and carve out some. I put a bit of buttercream frosting on the bowl so it wouldn't slip off.
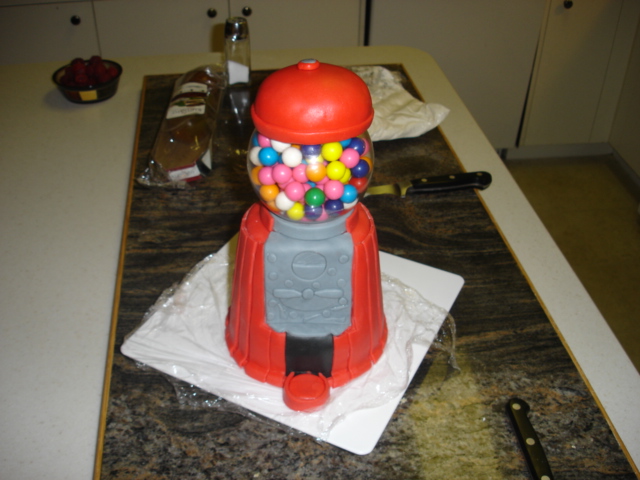
And the gumball machine is ready to go.
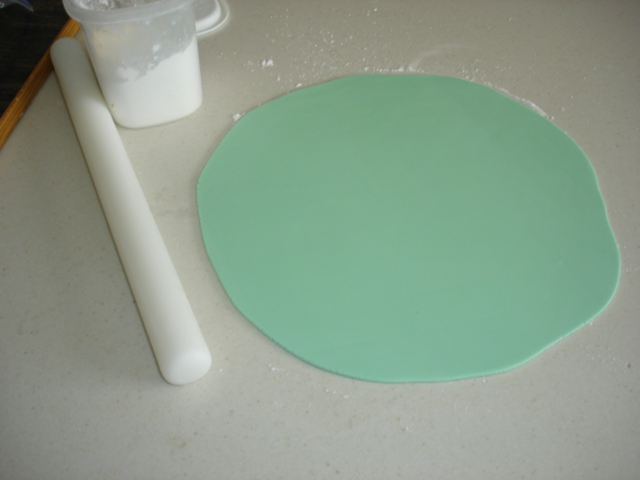
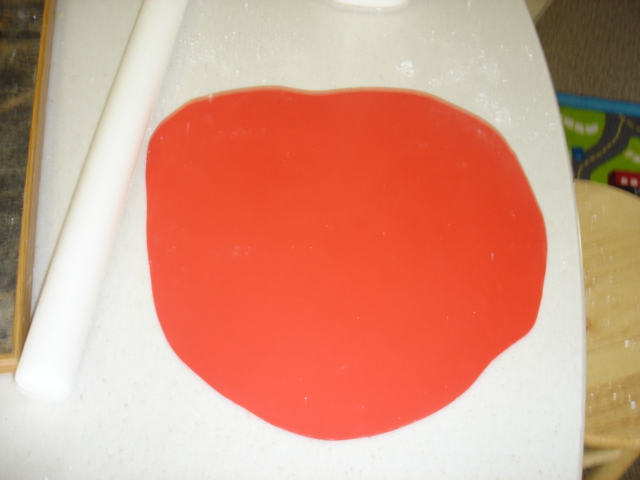
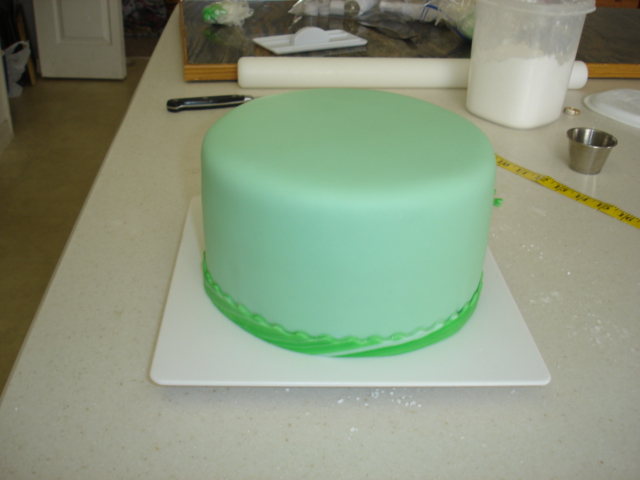
I think when I have more time I will add a section on covering a cake with fondant. This way I won't have to go over it in every post I make. I rolled out the fondant to place over the cake.
I always refrigerate my cakes overnight before covering them with fondant. I find they look better when the frosting is good and hard so they keep their shape. Then when I am ready to cover the cake I lightly spritz it with water so the fondant will adhere to the hard frosting. On a small cake like this one, I just drape the fondant over my rolling pin and carefully drape it over the cake. If I am covering a large cake, I slide one of my pizza pans under it and slip it off the pan over the cake (you can use cardboard but I like my pizza pan because it doesn't have sharp edges that can mare the fondant).

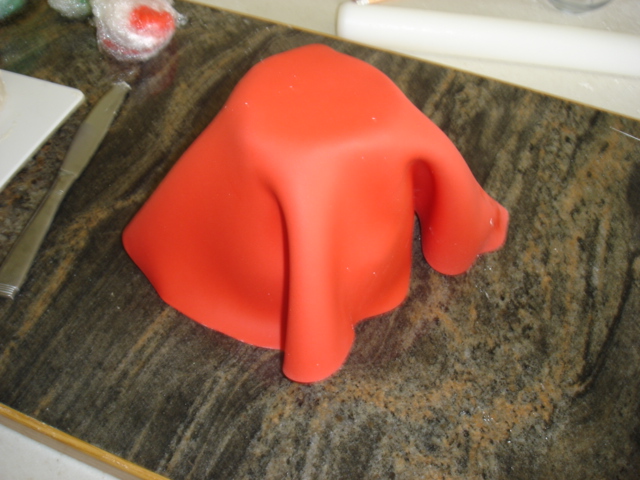
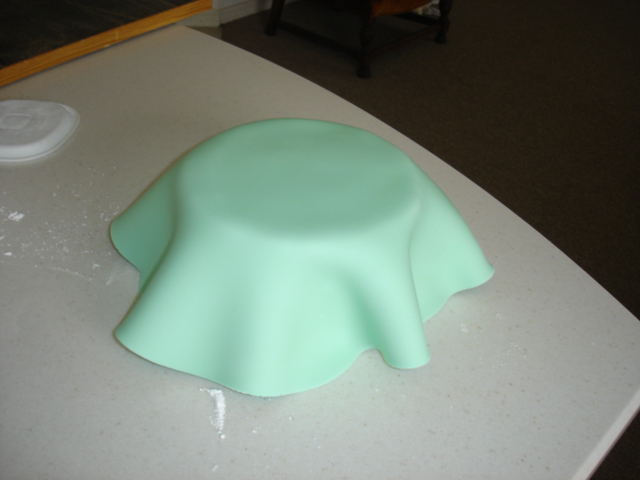
Then I use my hands to smooth the fondant down around the cake. I pull up the sides as I work to smooth out the edges until it's worked all the way down. Then I go over the entire area with a fondant smoother to smooth out the bumps and make sure it's adhered to the cake.
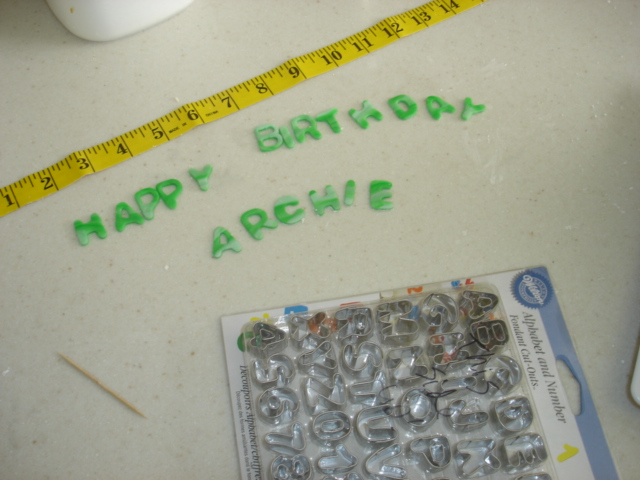
I decided to do a marble pattern for the letters and border. This was accomplished simply by mixing a bit of dark fondant with lighter fondant and stopping the mixing before it is even. I just used cutters for the letters. I finally got a few more cake tools to help with fondant. I got some rollers that allow me to make textures on the fondant as well as cut borders. So I used the roller for the first time to cut this border. :-) This was the first fondant ribbon border that I've made...
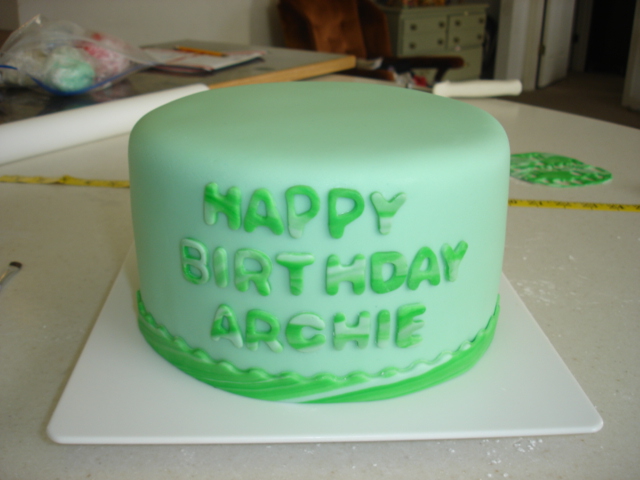
...stuck the letters on with a bit of water. I'm still not great at getting them centered...still learning...but my 'happy' was way off...
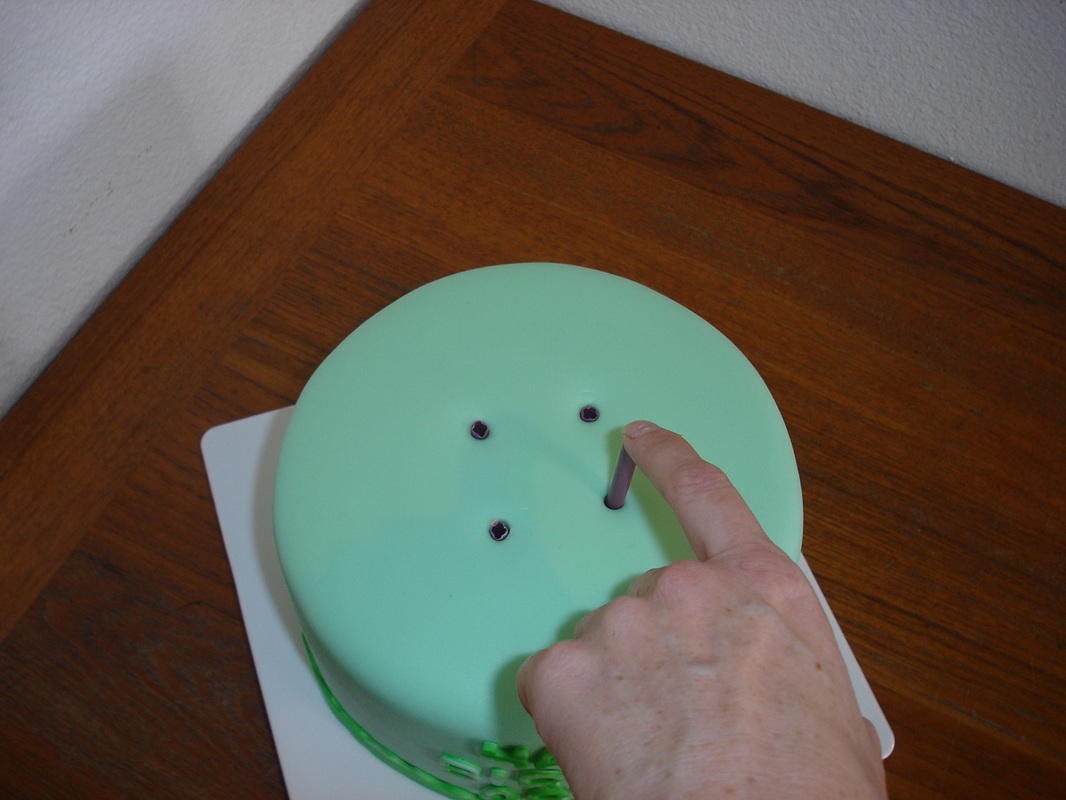
...added some dowels to support the weight of the machine. I used to use wooden dowels but I got these plastic ones at a cake store and will never look back! They are great because they can be cut with regular scissors, so while they are more expensive, they are MUCH easier to use.
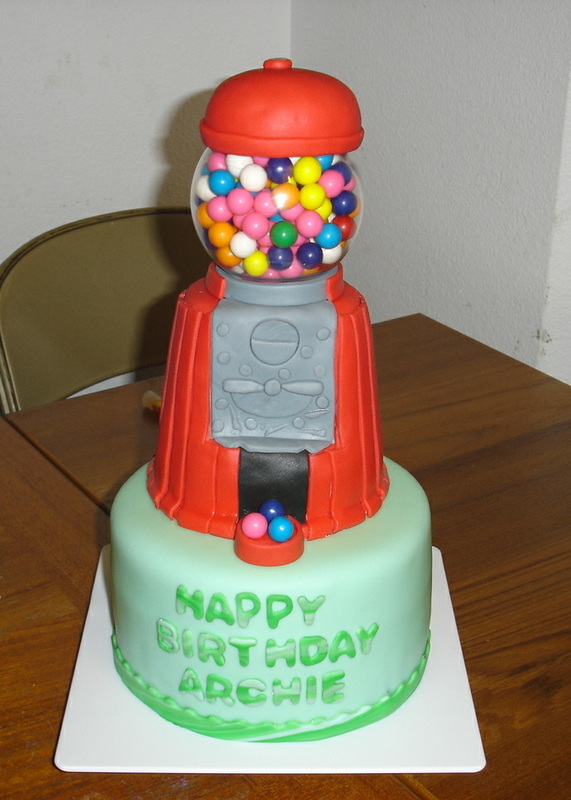
The cake was too high to fit into my fridge, so I had to wait until the actual part to put it all together. But here it is. It was a big hit! Thanks as usual for supporting me and reading my blog. :-)
 RSS Feed