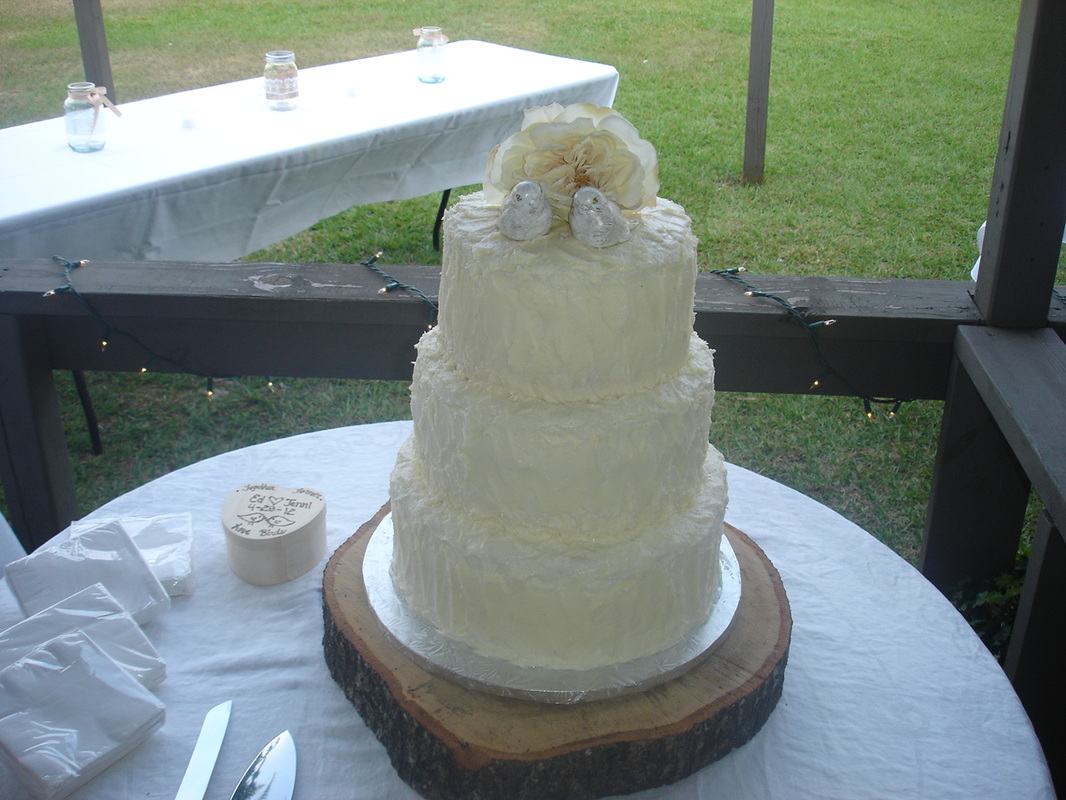
For this wedding I made both the wedding cake and the grooms cake (a busy feat for sure, but the wedding cake was a simple cake, so I decided I could do it). This cake was a yellow cake with chocolate buttercream and the wedding cake was a three tiered, roughly frosted, red velvet with cream cheese frosting.
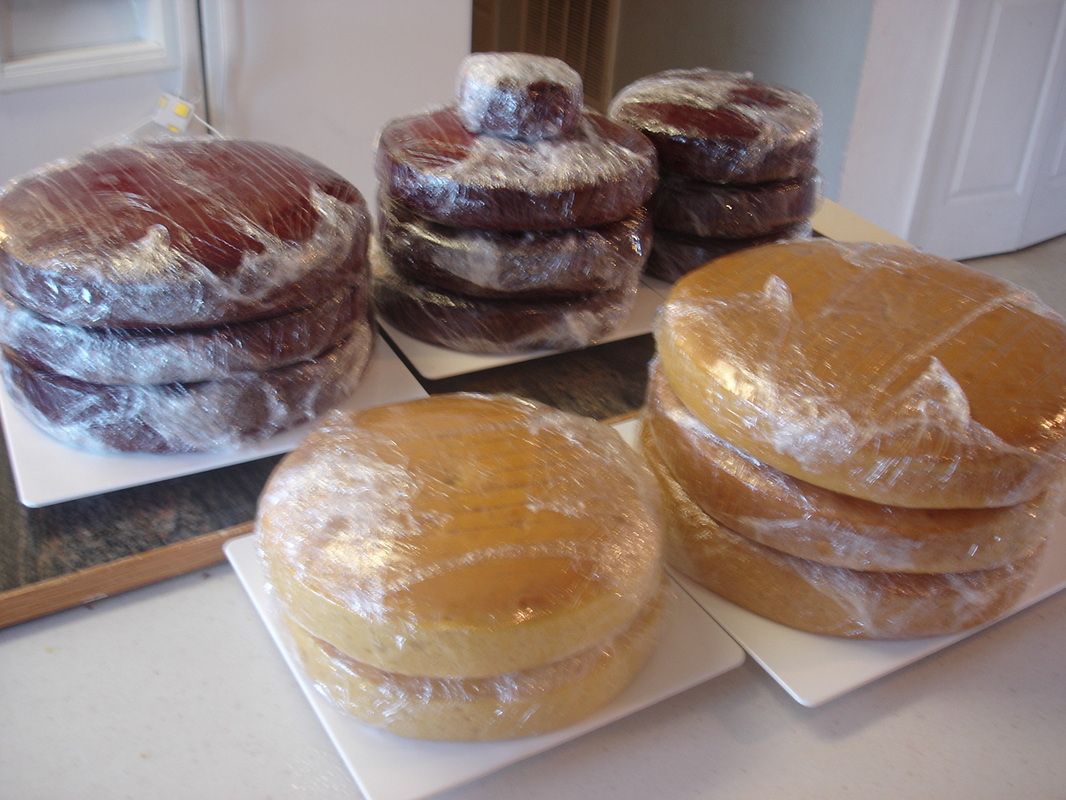
I started by baking all the cakes...9 layers and a small anniversary cake for the wedding cake and three 12 inch and two 10 inch yellow cakes for the tree stump cake.
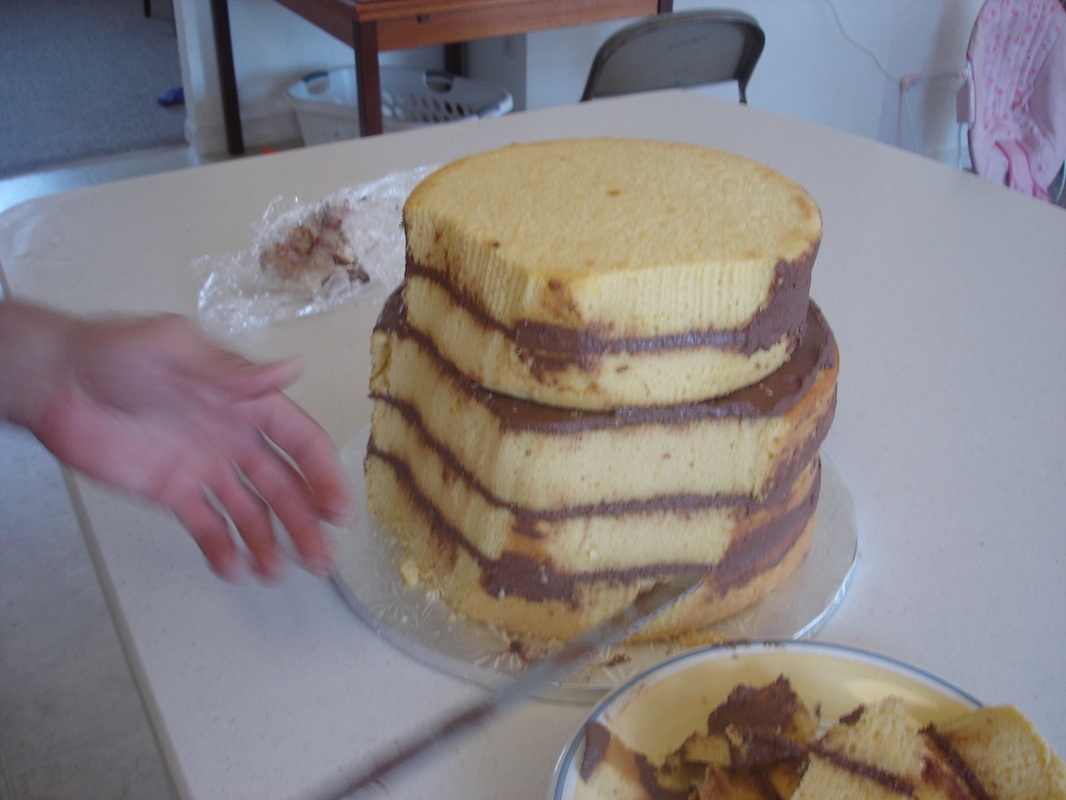
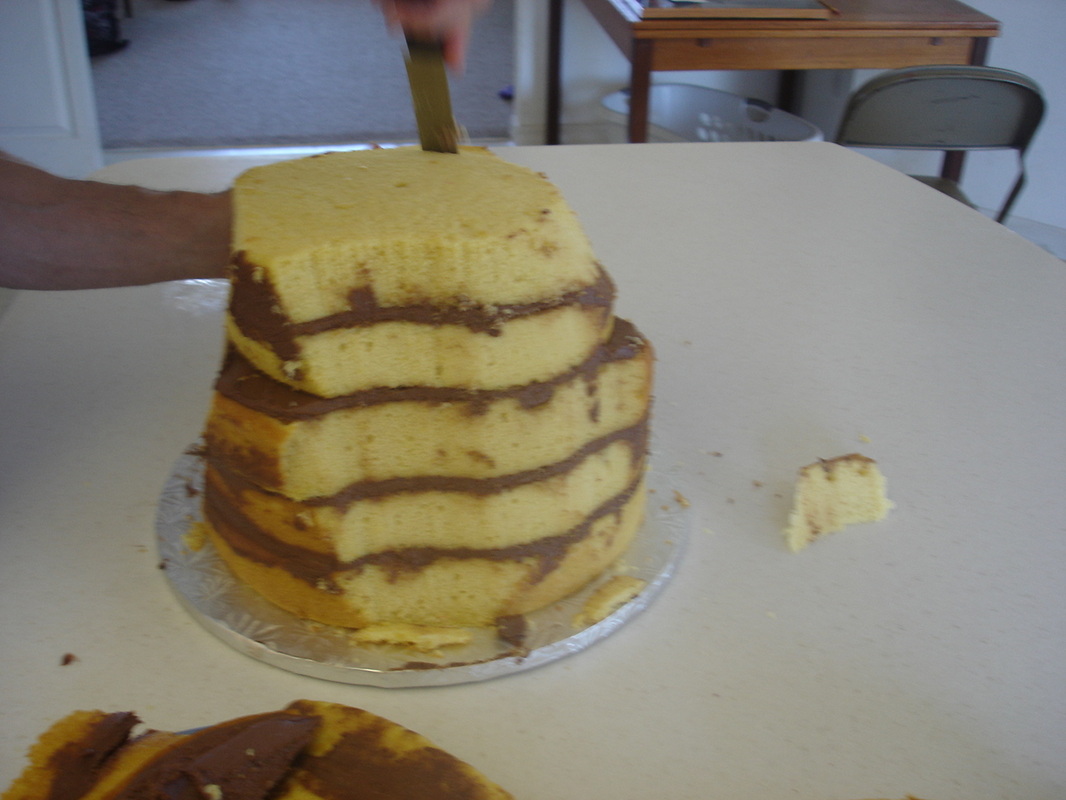
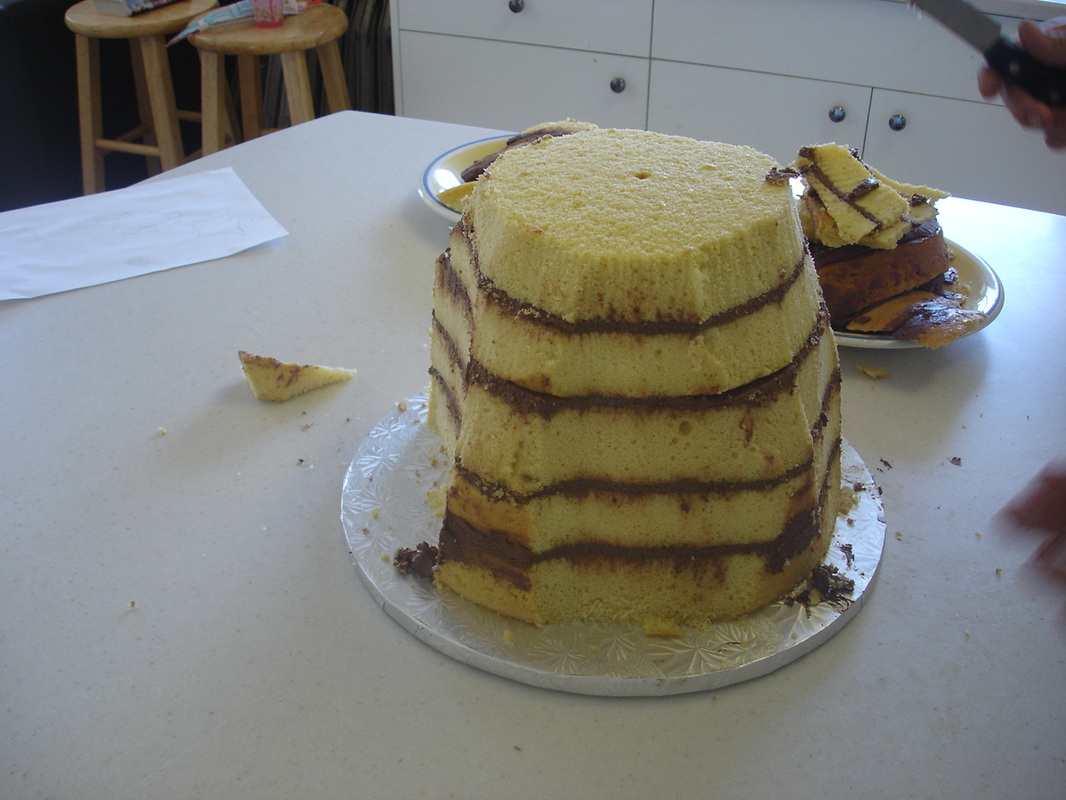
I stacked and filled the 5 cakes with chocolate buttercream. I was concerned that there would be too much unsupported height with this cake, so I added an 8 inch cake board and some dowels to hold up the top two layers. Then I let my husband start carving. I think my husband is much more artistic than I am and trusted his vision of a more realistic shape. So he went to work cutting the basic shape.
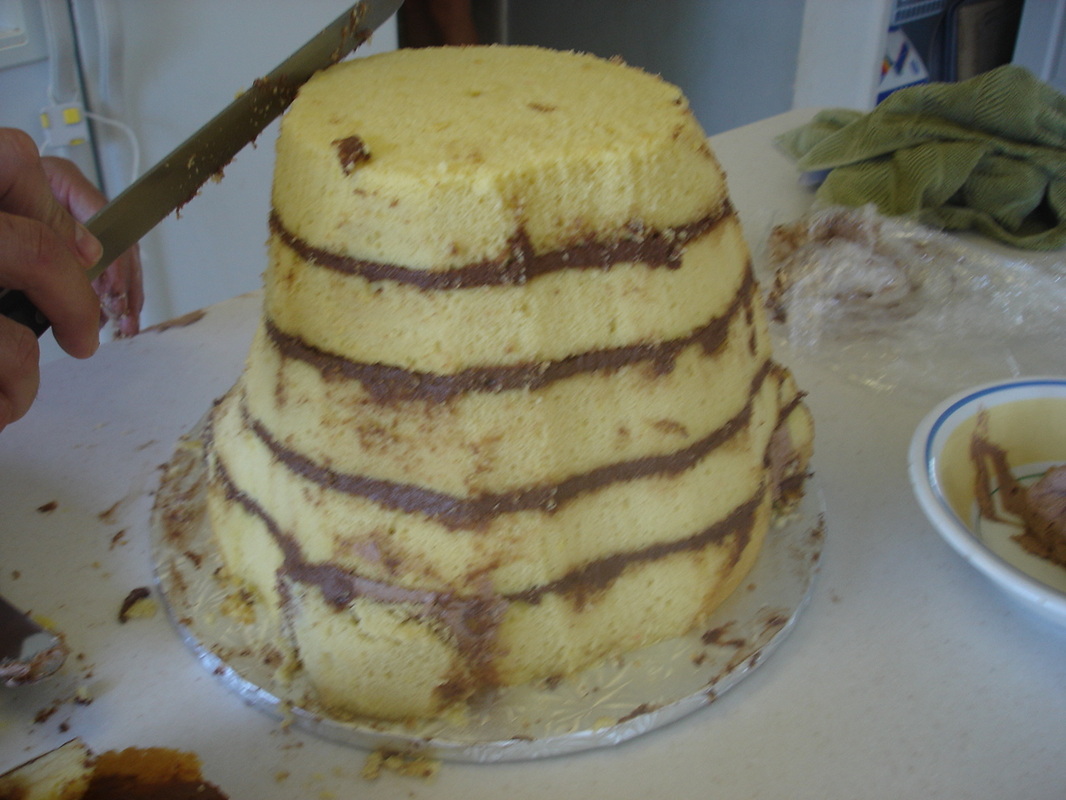
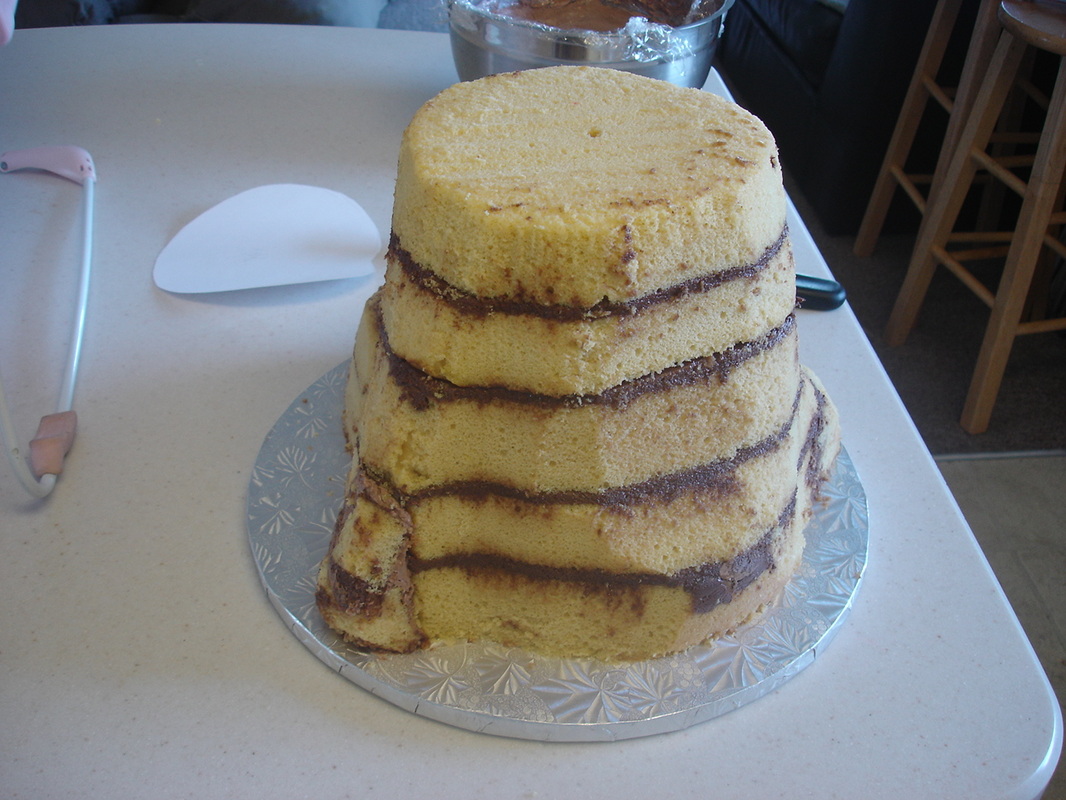
We built out the roots just a bit with some of the scraps and buttercream to hold it together...
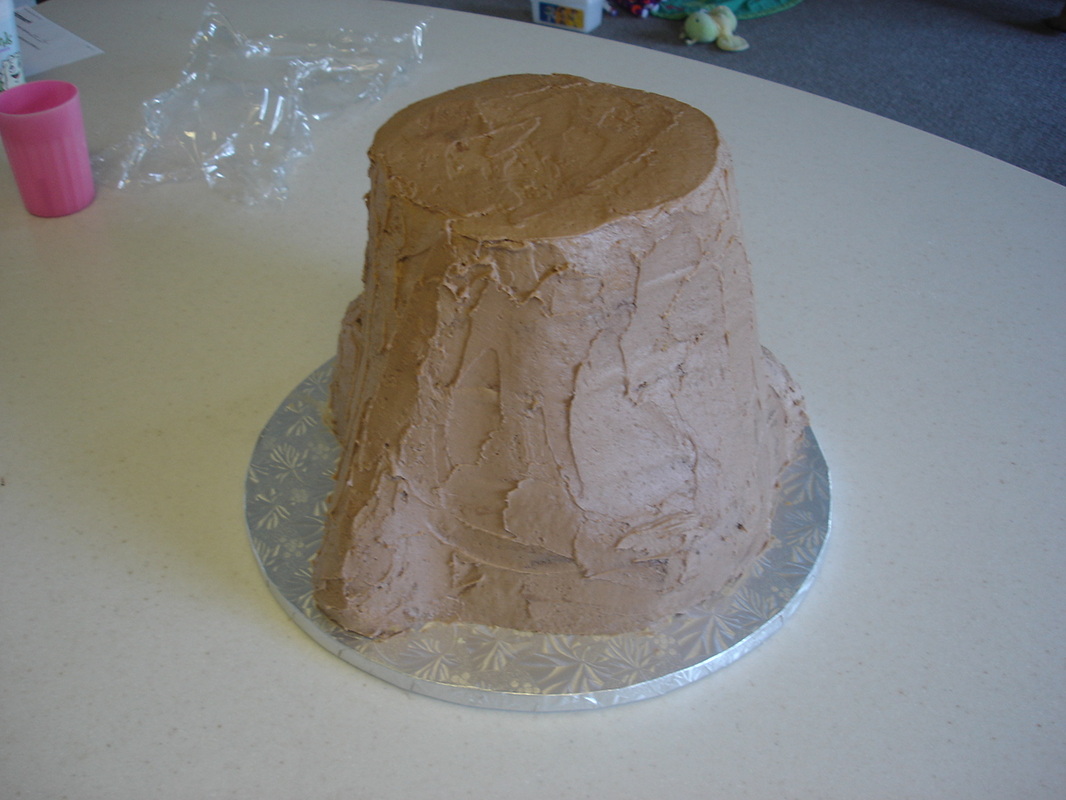
After getting the shape how we wanted it, I covered the entire cake with buttercream frosting. I used less cocoa in the lighter frosting (because the full chocolate recipe was just too dark for the finished product). The problem with this was that I didn't think the frosting tasted as good as I wanted, so I used a darker frosting between the layers. Then I decided to go ahead and throw a layer of dark frosting on there as well, then texture the bark over that. This gave the cake a light/dark contrast that I liked. Had I planned it better, I would have just dirty iced it with the dark frosting, but I didn't decide to use the dark until later...
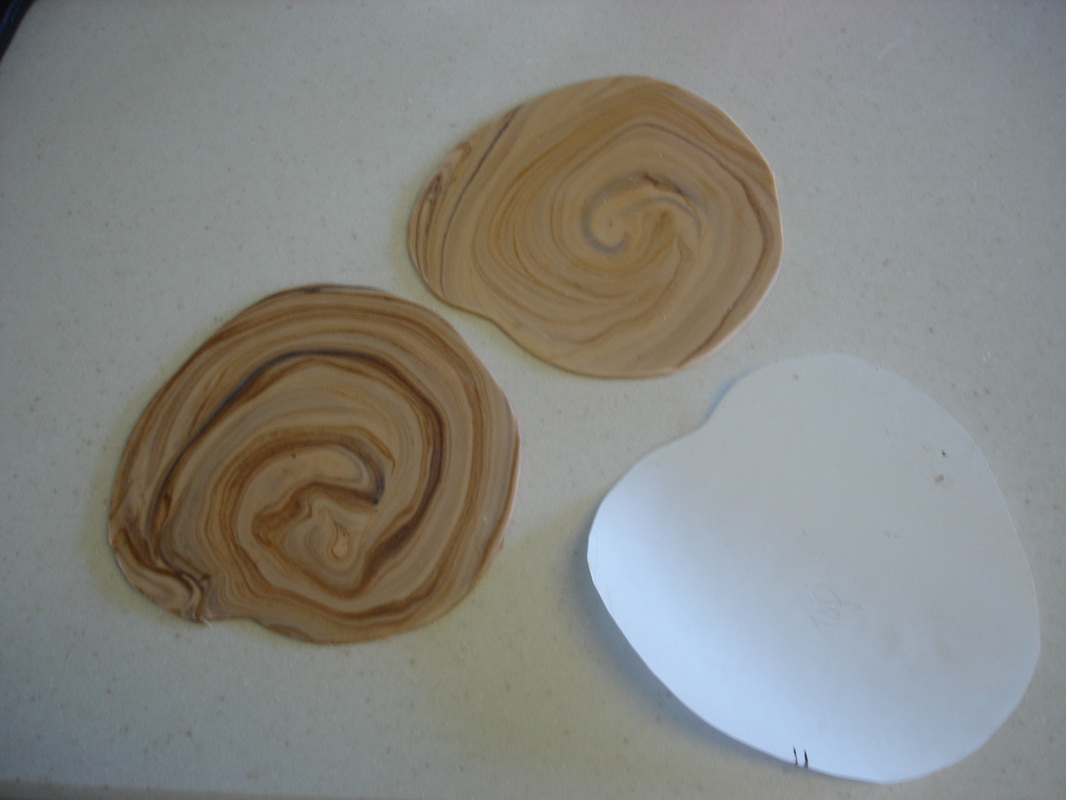
Now I had a few ideas about how I wanted to do the inside of the stump. I'd seen some done with swirling buttercream but I just didn't like how they looked. The best ones I saw online were done with fondant, nice and smooth. Originally my plan was to use a light brown fondant and paint darker swirls on it. I tried this and didn't like the results. I just couldn't get it to look like tree rings. Then I thought maybe i could experiment with coloring the actual fondant. So I took a light brown fondant and put some food coloring on it, then I started to stretch it like taffy. I pulled it, and folded it in half, then pulled it again. I did this until I started to see the colors coming through. Then I flattened it out with my hands taking care to keep the swirls going in the right direction. From there I rolled it with a pin and came up with these. I made a couple for some perspective and ended up using the darker one. To get the shape, I traced paper over the actual top of the cake and cut it out to use as a guide.
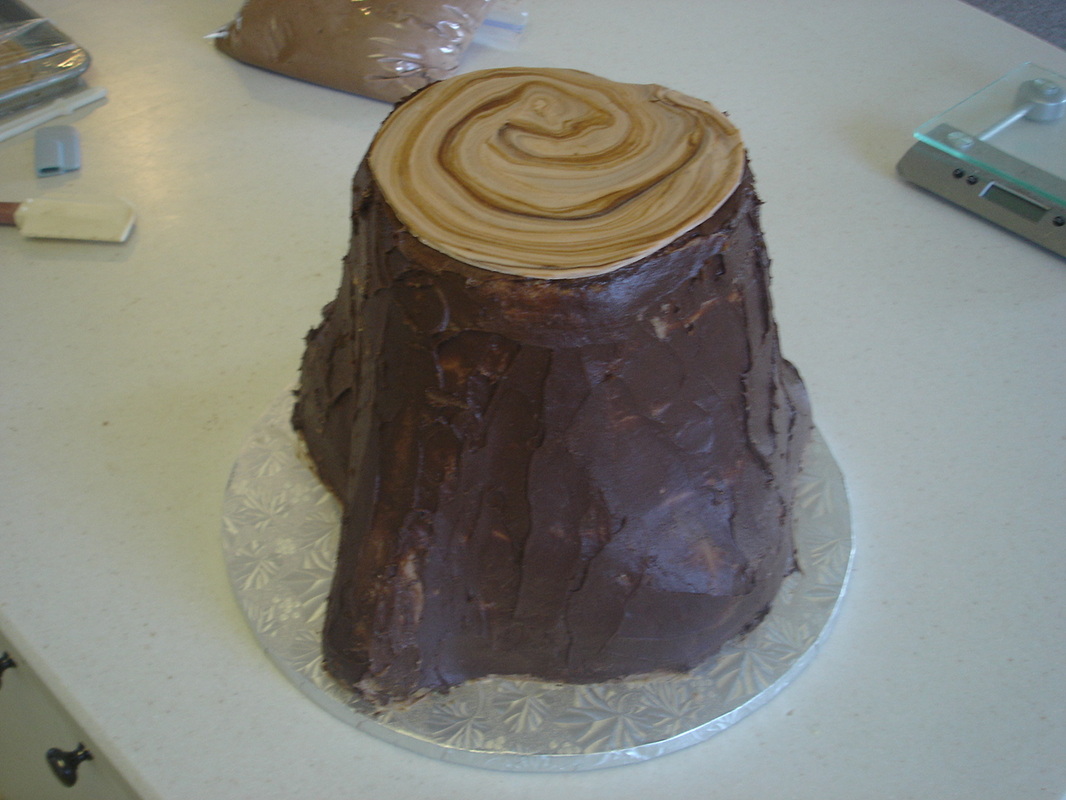
Then I covered the entire cake with the darker, better tasting, buttercream and put the fondant on top.
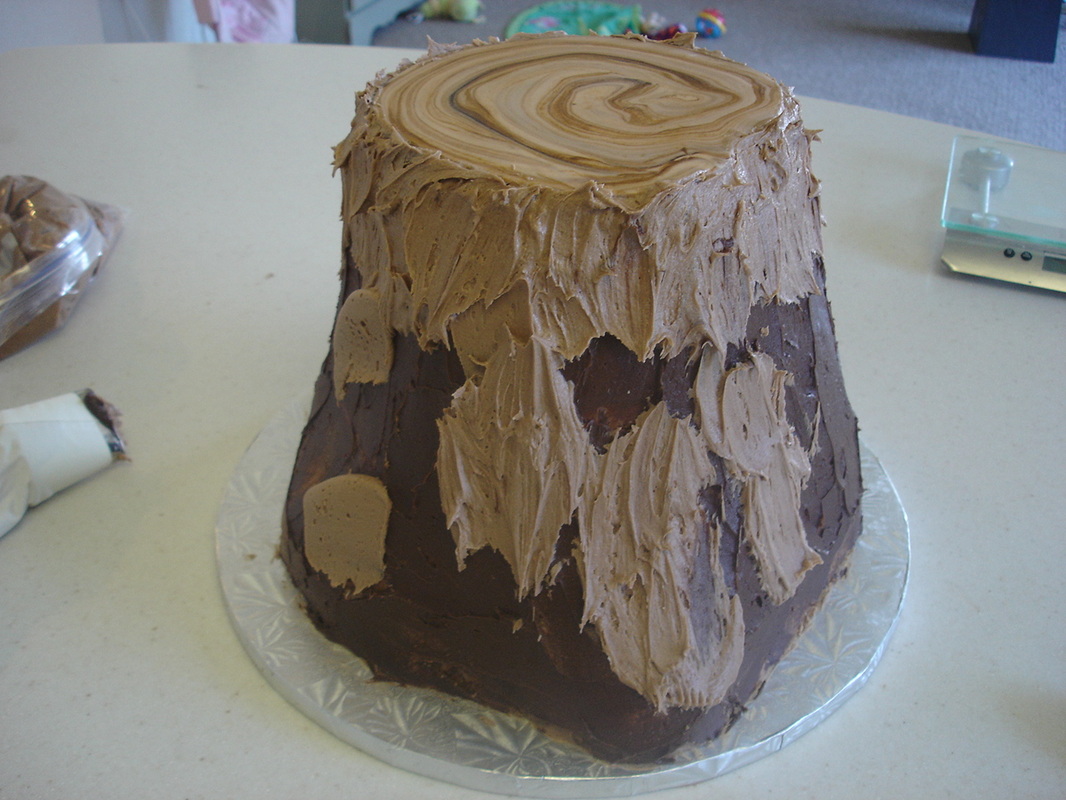
Next I started adding the lighter buttercream for texturing. I intentionally didn't cover every surface because I wanted some of the darker color to come through. I piped on blotches of frosting and used a spatula to texture it...

When I was done with the texturing it looked like this...
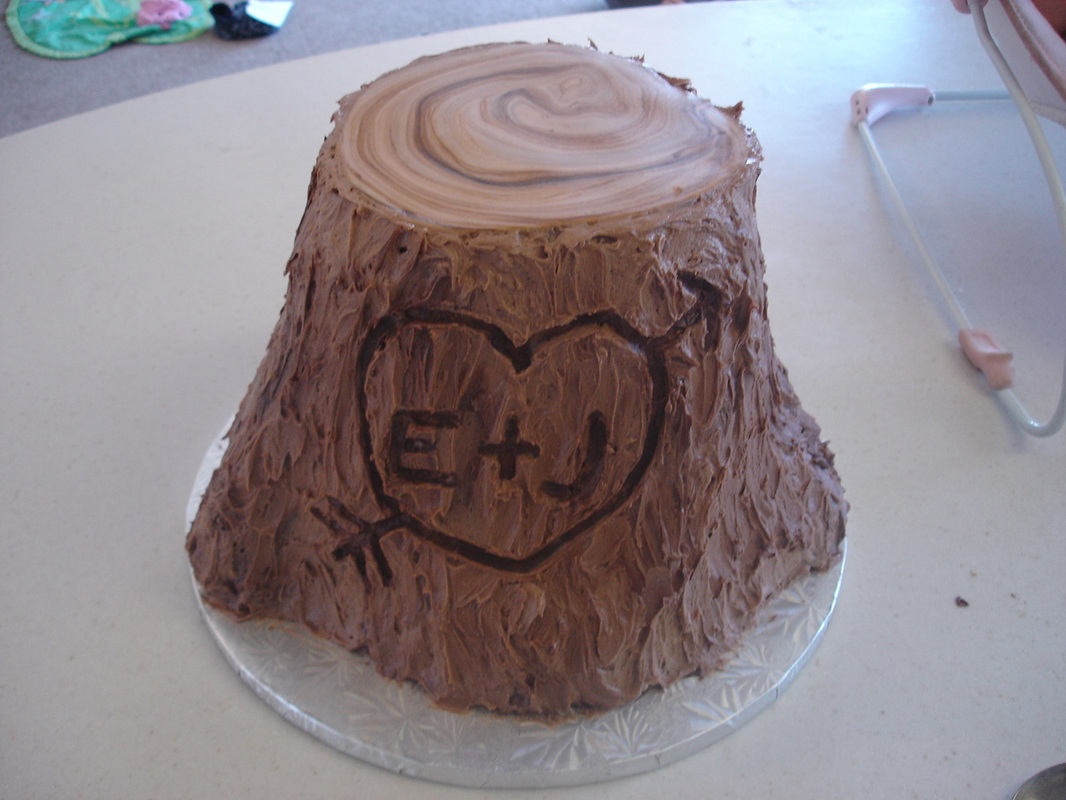
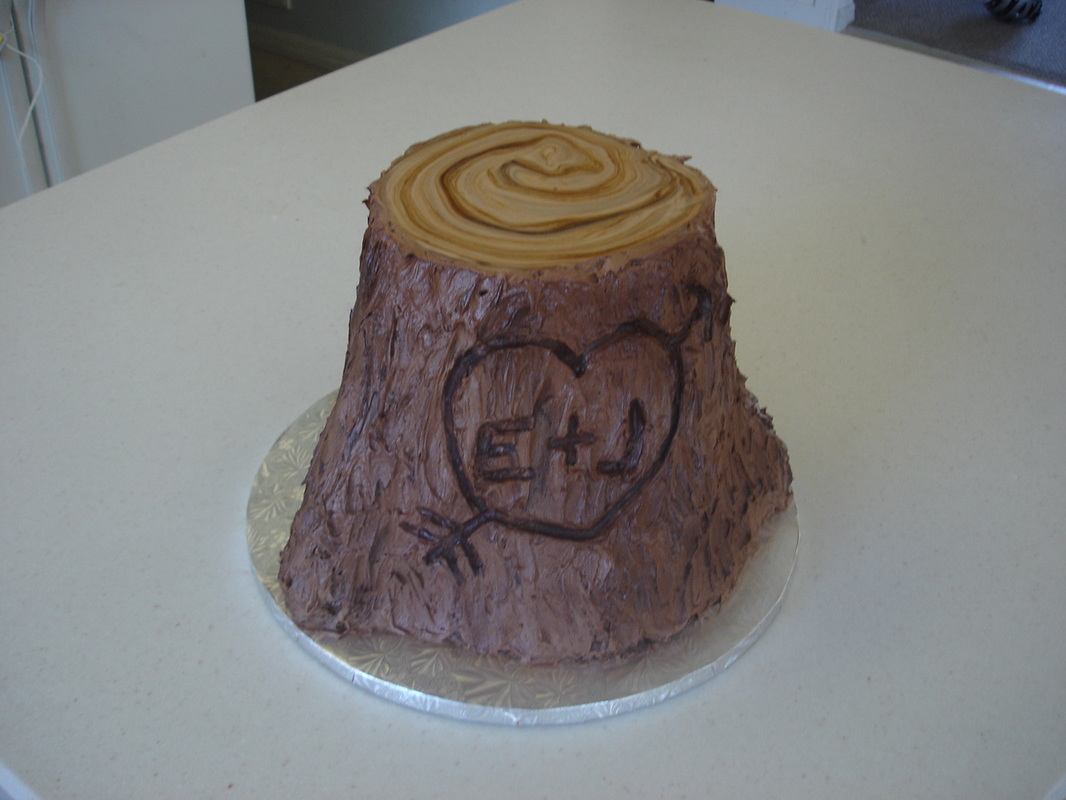
Next came the carving of the initials. My original idea was to pipe in a lighter frosting after I had carved it, but it just didn't pop. I wasn't happy with how it looked. However, because I had that darker frosting below the light, I found that when I used a round tool to 'carve' the initials, the darker frosting showed up and it looked great. So I went with that (in my typical, fly by the seat of my pants fashion). I did have to fill in a bit of dark frosting here and there, but for the most part it worked out on it's own.

Finally I pulled out my trusty air compressor and air brush gun and I added some more brown highlights to give it even a bit more contrast. I also dipped some strawberries in chocolate and placed them around the base of the cake to look like acorns. Overall, I was really happy with how it turned out and it was a big hit at the reception. :-)
 RSS Feed