
This cake was so much fun to make!! I saw one made about 8 months ago and have been positively SEARCHING for an excuse to make it. Finally a baby shower presented itself. It was a combined shower for myself and a friend. It was made quite clear to me that I was making the cake for my friend. I was not allowed to make my own shower cake. Someone else made me a cake, which was heaven. I don't think anyone has actually made a cake for me since I was a kid.
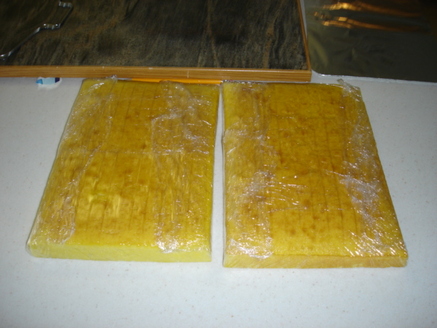
I started by making two 1 1/2 inch thick sheetcakes, lemon flavor.
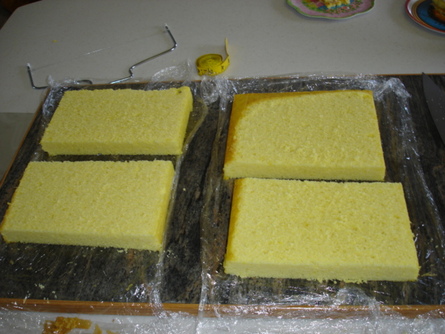
I trimmed them down to just over an inch and a quarter thick and cut three pieces out approximately 6X8 1/2 inches. The piece on the top right was left over and my family enjoyed it a few night before the shower.
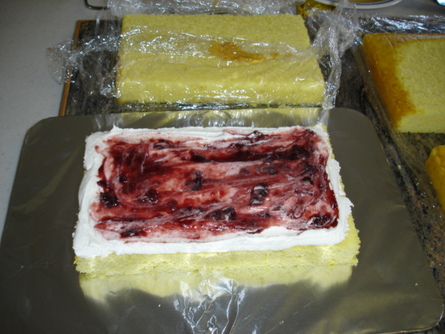
Then I started frosting and filling. I have taken to frosting a thing layer, then adding the filling on top of the frosting. It's much easier than torting the layers and having to deal with more layers. This lemon cake had raspberry filling, one of my new favorite combinations.
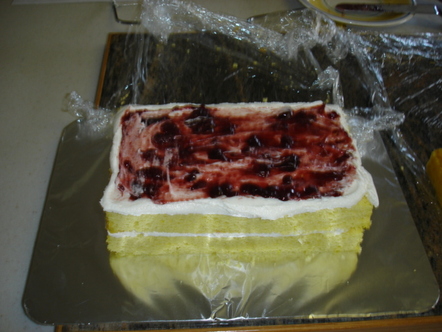
Layer number two.
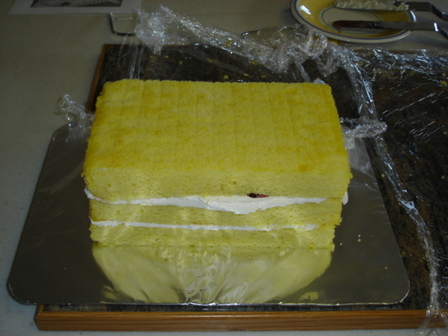
I did my usual three small layers.
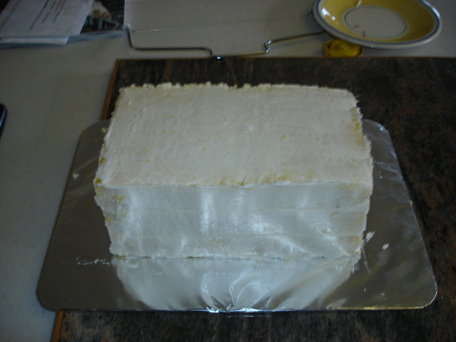
Then I add a crumb coat to hold it all together.
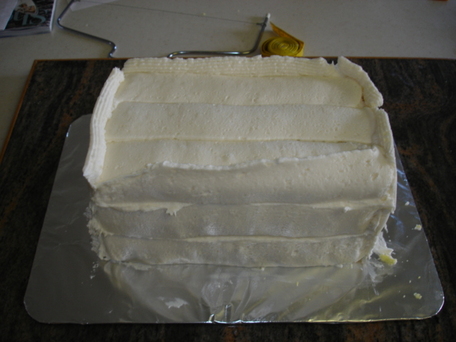
Next I pipe on the frosting. Most people say only use a thin layer of frosting when decorating with fondant, but I feel that since most adults don't actually eat the fondant, I like to have more frosting underneath.
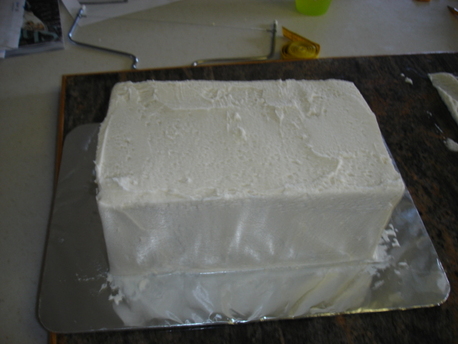
And smooth it out....
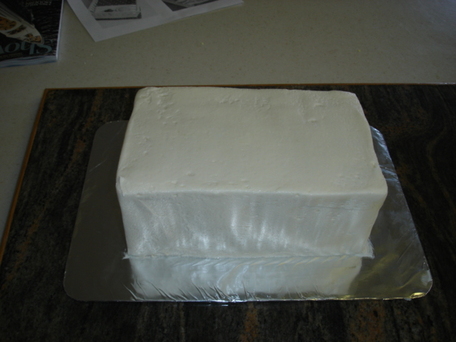
I didn't worry about getting it perfectly smooth because I knew that I would be covering it up (and I had lent out both my fondant smoothers, which I use to do the final smoothing). Then the cake goes in the fridge for the night to harden up.
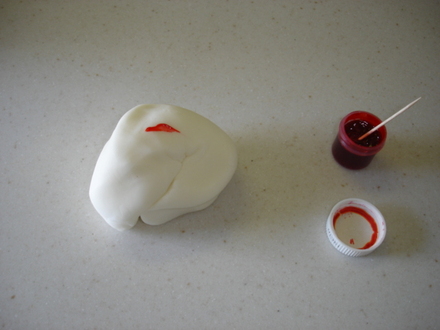
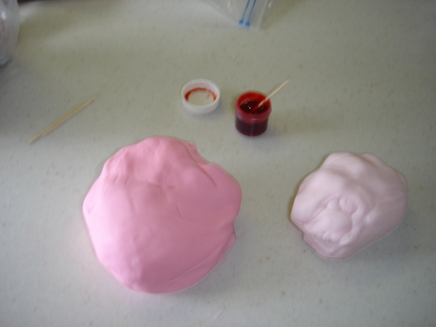
Now starts the fun part. I dyed some fondant light and bright pink.
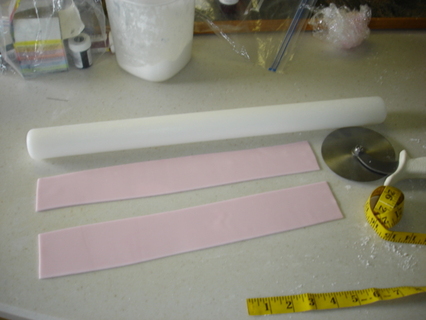
I started by rolling out and cutting some light pink fondant to go around the center of the cake. This was one of those projects where I didn't have any instructions, so I just creatively thought about how I could get the look I was going for and used trial and error to find my way.
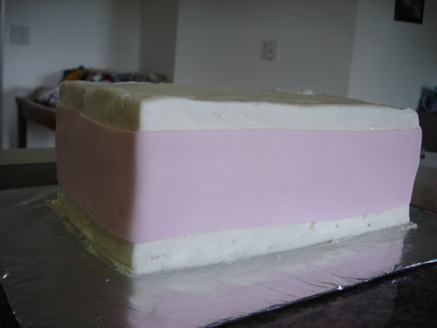
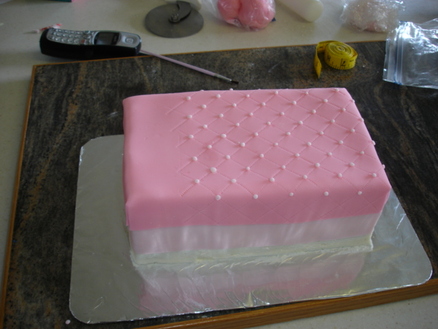
After lightly spritzing the cake with water so the fondant would adhere, I applied the light pink around the entire cake.
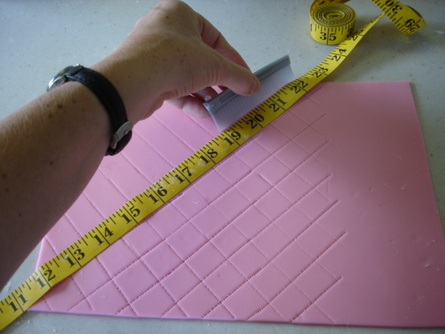
Then I measured out how big I needed the blanket that was going to be on top. I used my cake comb (a real comb that I bought for the purpose of cake and use solely on cakes) and made indentions (my life will be so much easier when I finally get that fondant kit that allows one to texture, or make indentions or cute borders...I really need to pick one of those up).
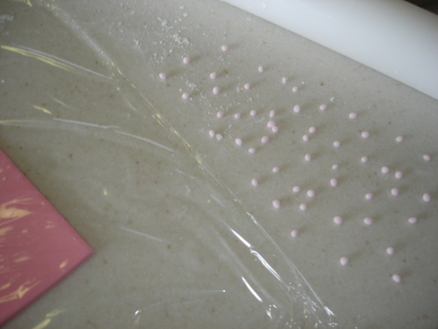
Then I made a billion little tiny dots that would be used on the quilt (okay, about 60).
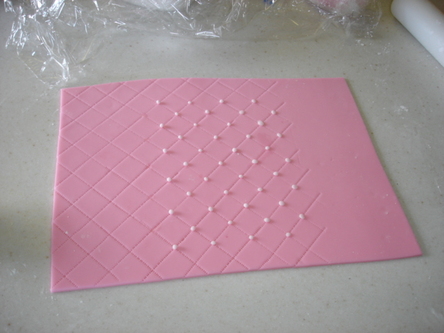
I stuck the dots on with a bit of water and pressed them down slightly.
When I was done with the dots, I laid the blanket across the top of the cake. I just trimmed the corners because I knew they would be covered up by the frame of the crib anyway.
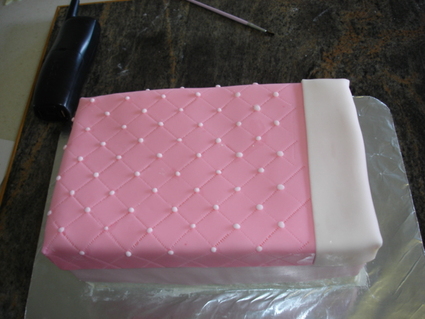
Then I added a white strip for the bottom sheet.
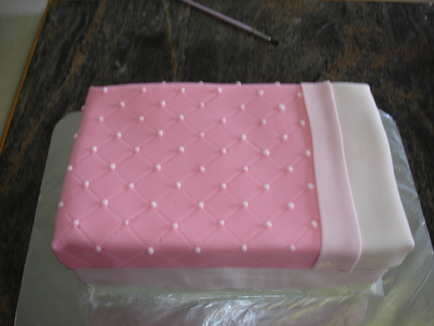
And a thinner light pink strip to look like I'd folded down the blanket.
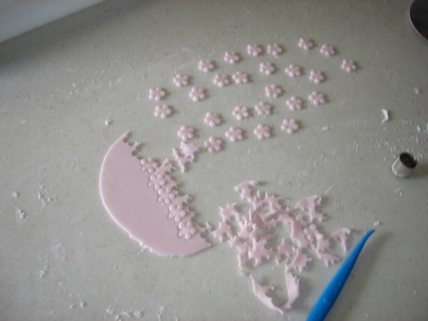
Next we needed a billion little flowers for the skirt.
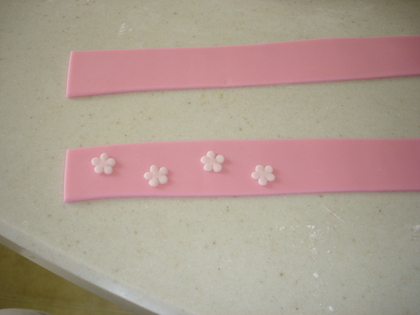
I then went to work cutting out strips for the skirt. I measured how thick I wanted them to be and went to work decorating them with the flowers (held on with a bit of water).
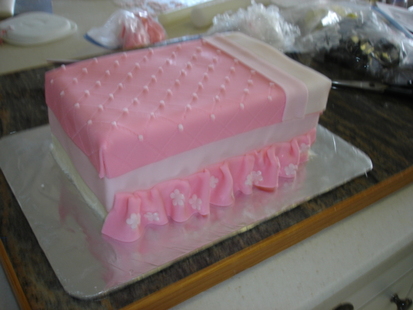
Then I moistened the bottom of the middle light pink strip and started attaching the crib skirt.
I took care to keep the corners pretty flat so I could put on the frame without too much interference.
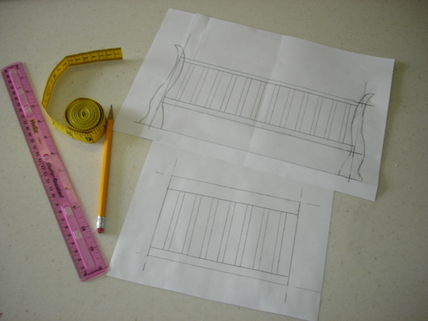
Now I intentionally kept the frame until last. I wanted to measure it exactly once the cake was made so it fit well. I'm not much of an artist, but I got the measurements where I wanted them, then I sort of sketched the crib around those measurements.
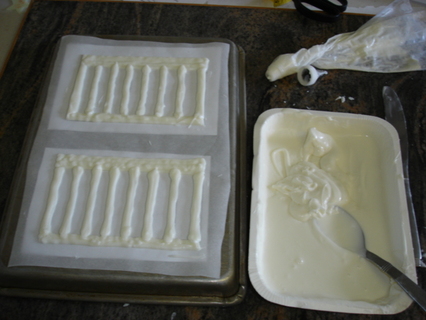
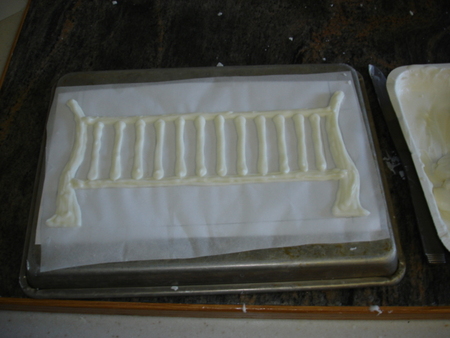
Then I went to work making the frame. First I taped my drawings to the bottom of the small cookie sheet. Then I taped parchment paper over the top of the drawings (so I could see the pictures through the parchment). I'm a HUGE fan of Candyquik, so I used that. I melted it and put it in a piping bag with a 3 tip. Then it was mostly trial and error, but I filled in the forms for the front, back, and both sides. If I make this cake again, I will make them a bit thicker next time. This worked okay, but I think they would look better and work better if they are a bit thicker.
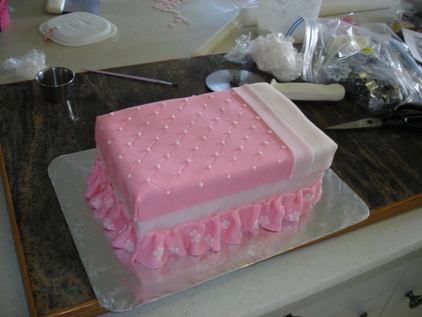
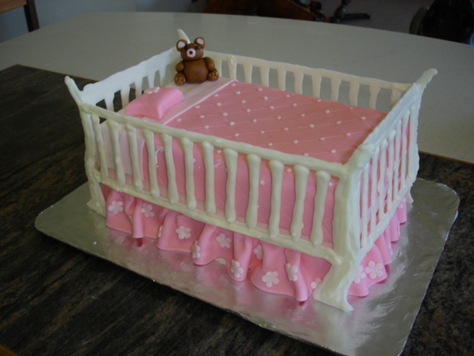
After I was done with the frame, I set to work putting it all together. I used royal icing to hold the first side in place, then the opposite side. I then added the headboard and used the candy coating to hold one corner together. I put the cake in the fridge to let it harden, then glued the second corner. I repeated this process until all four corners were stuck, then I went and added a bit more on the corners to refine the look and strengthen it, and viola. The cake turned out really cute!
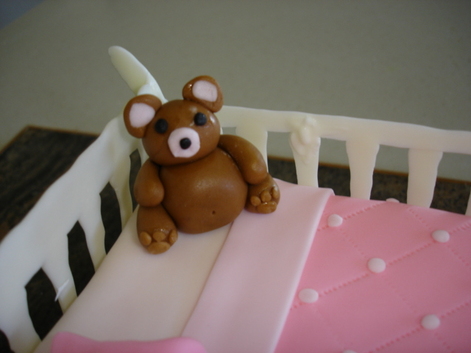
I added a couple of details like a pillow and teddy bear, and it was finished.
 RSS Feed