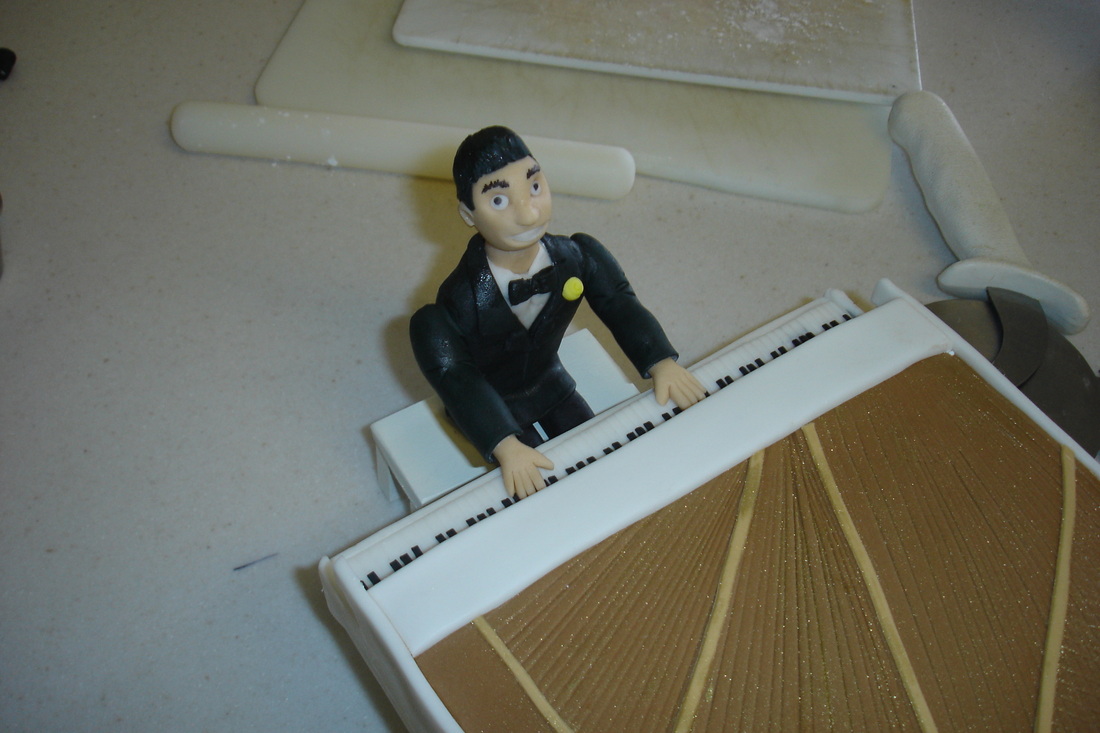
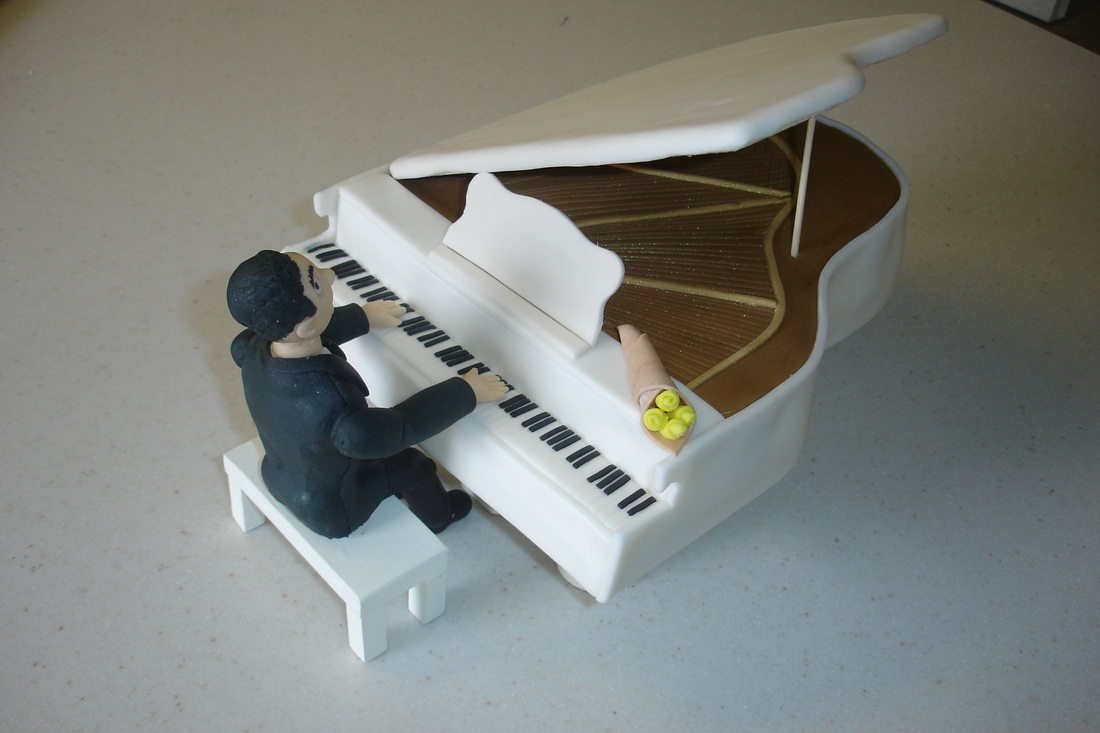
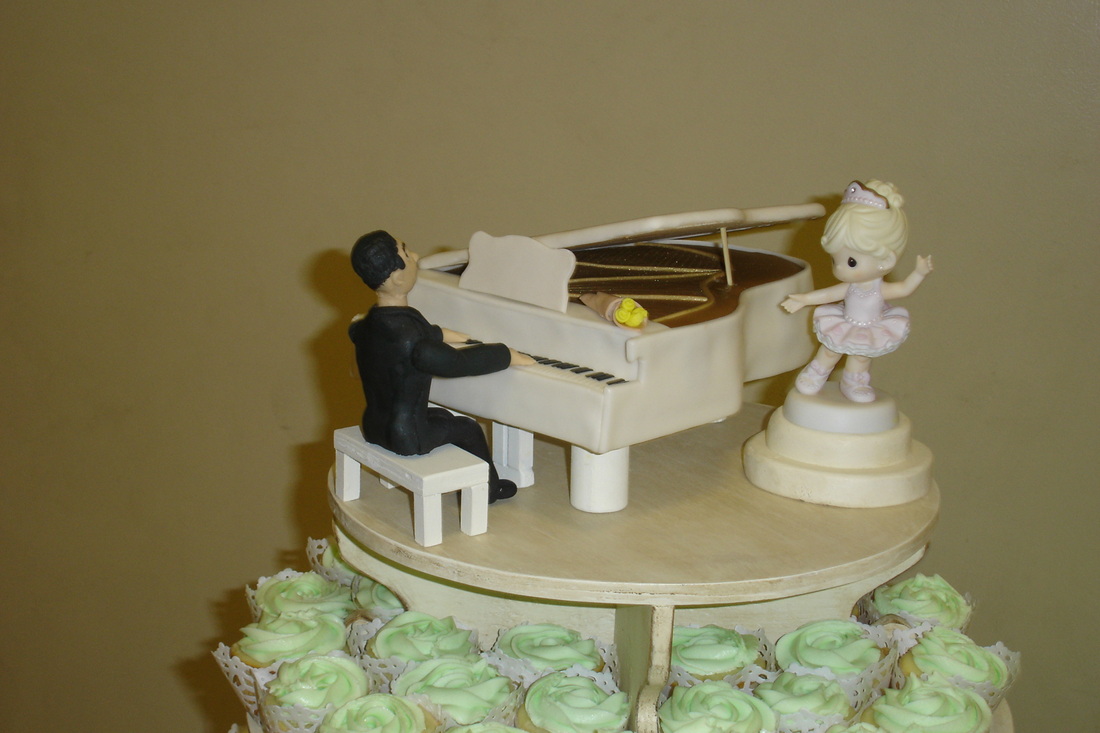
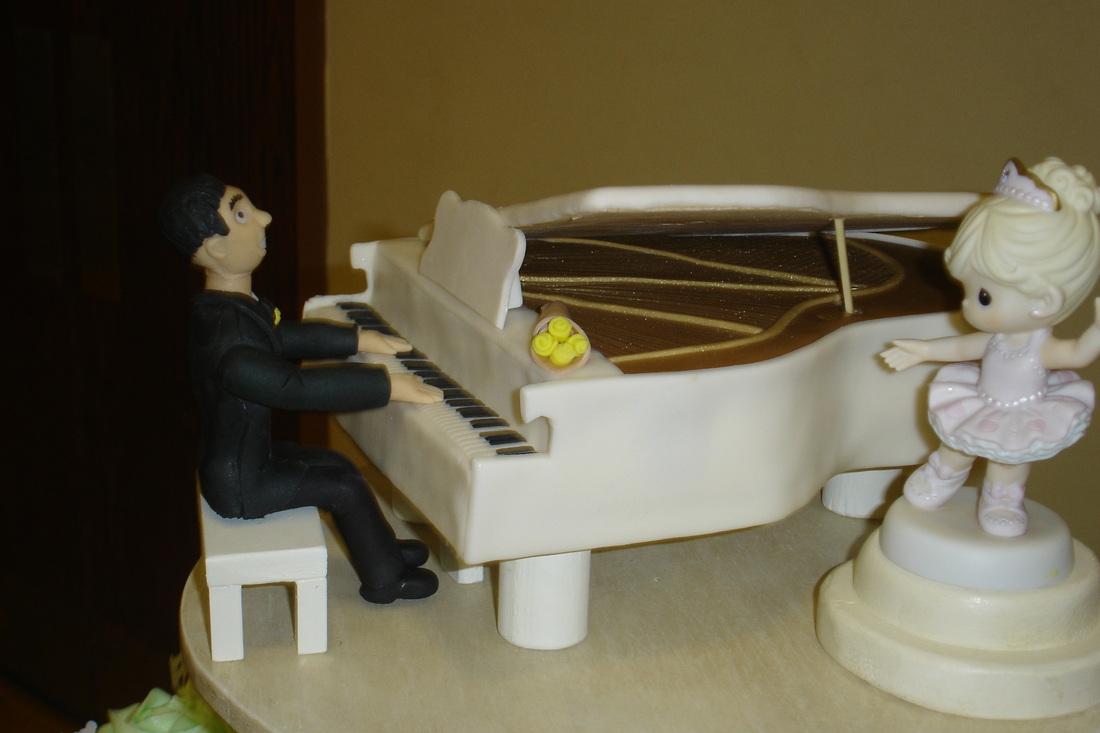
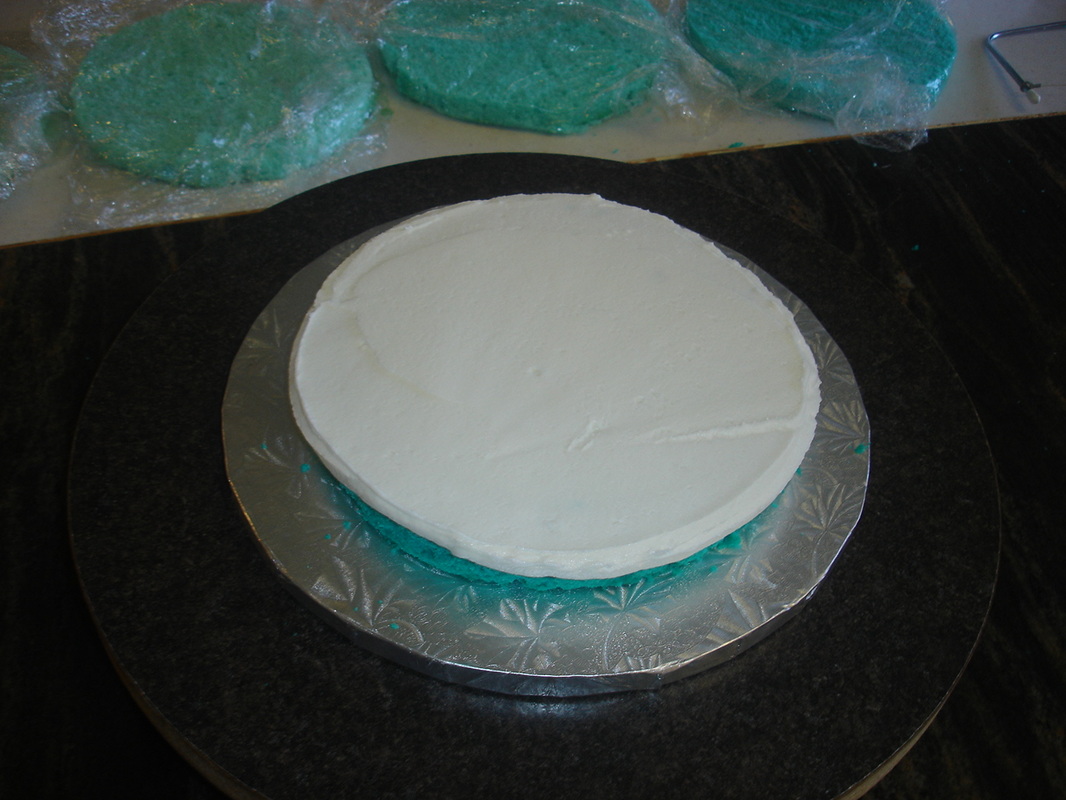
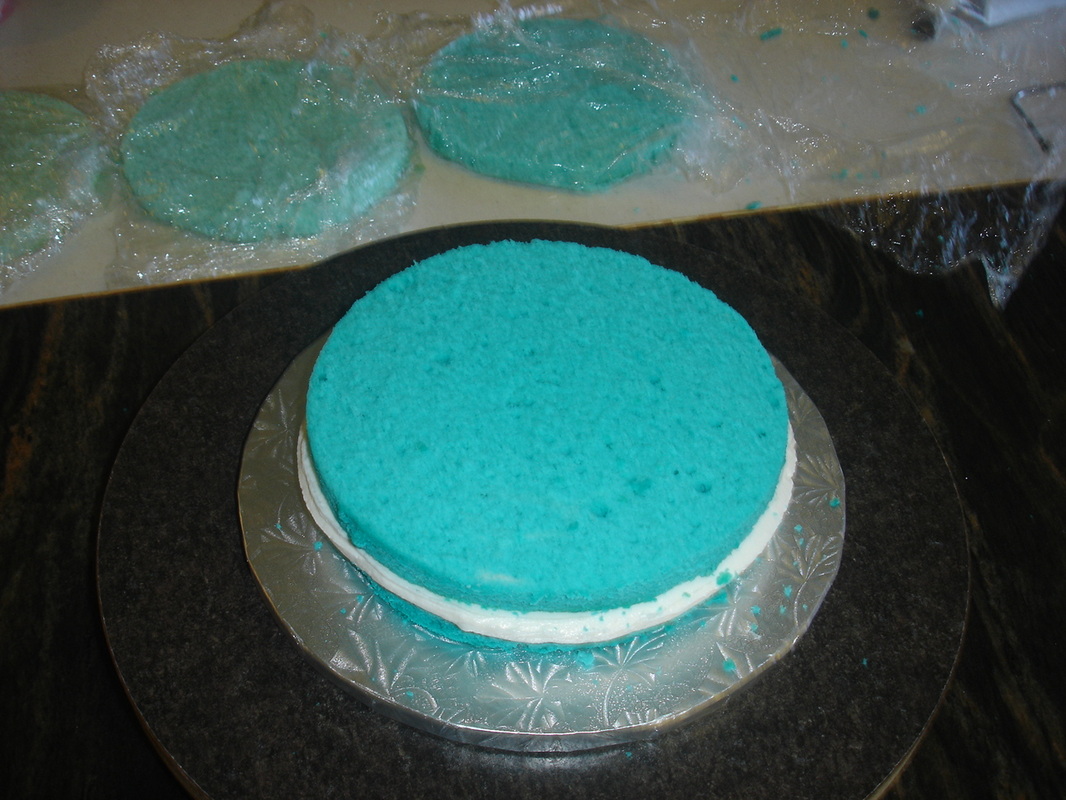
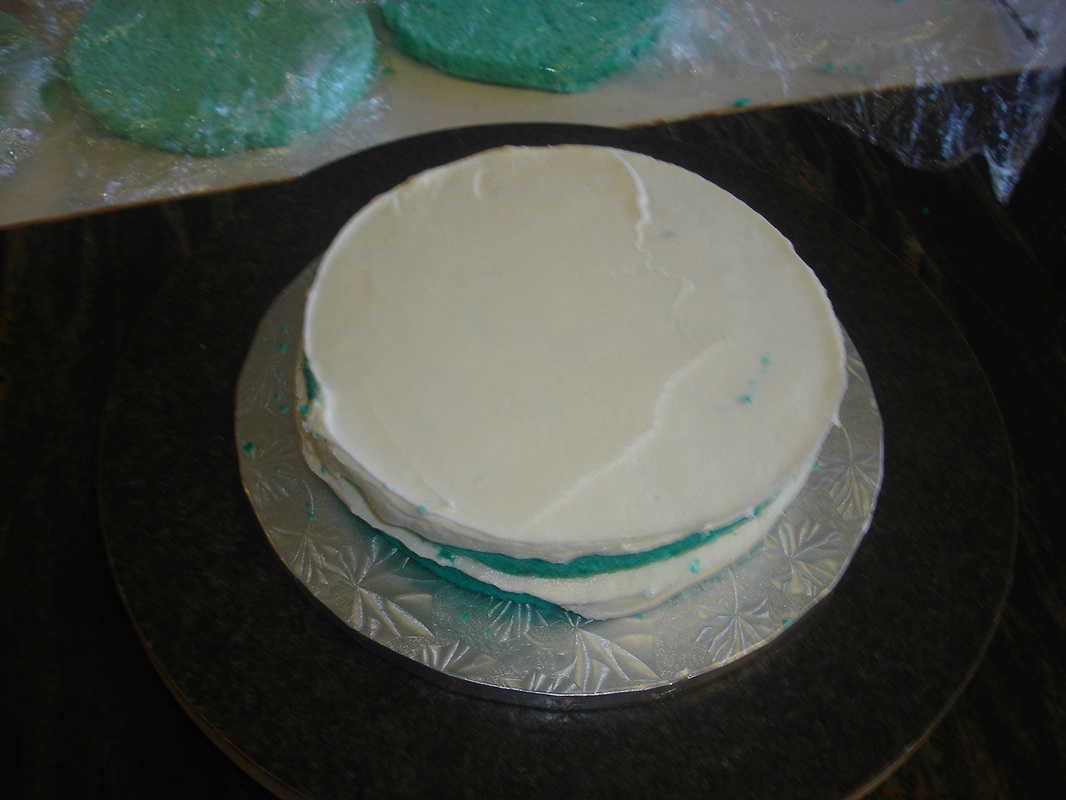
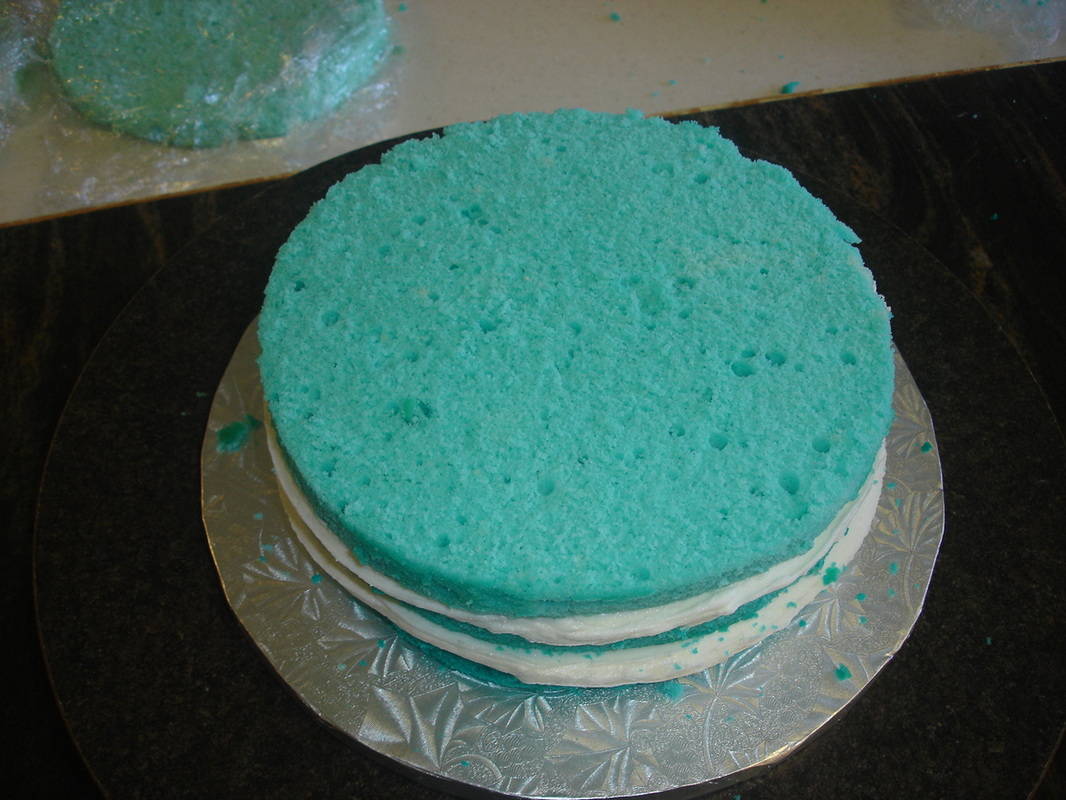
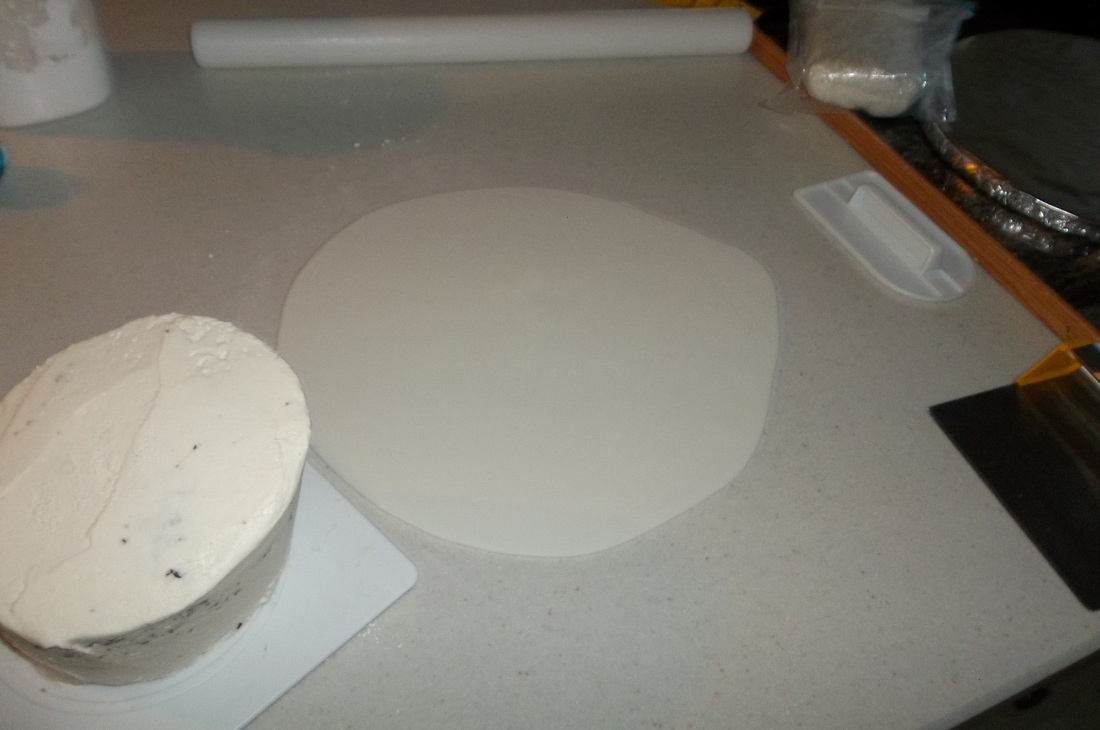
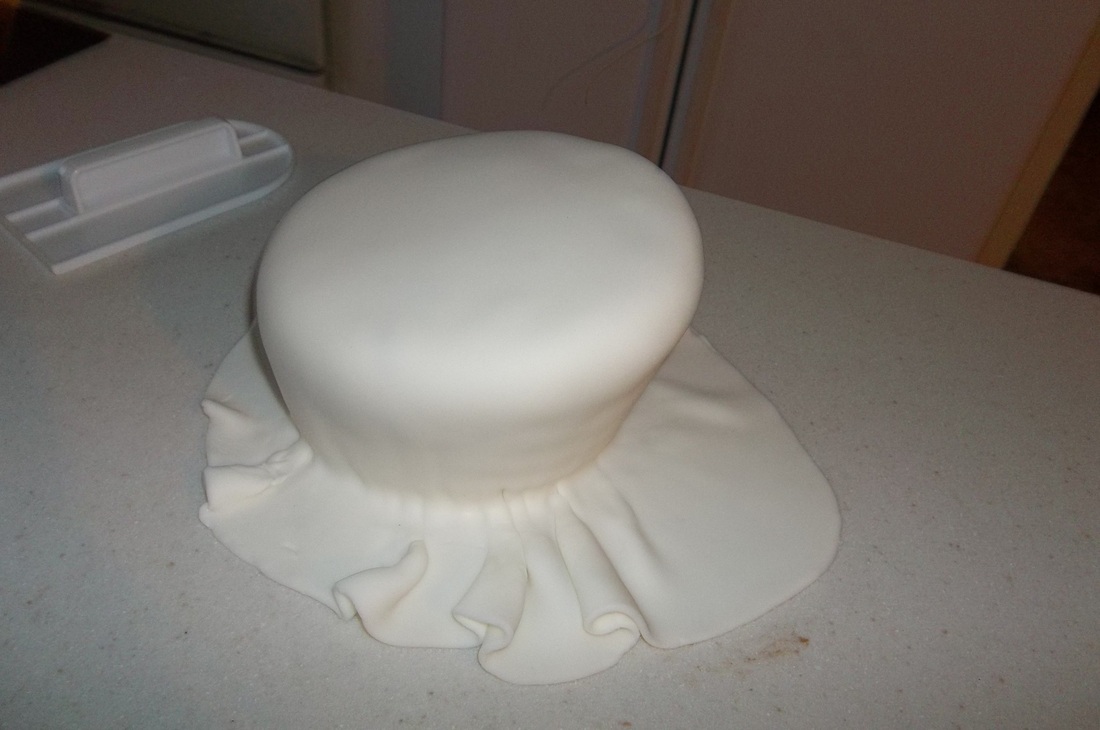
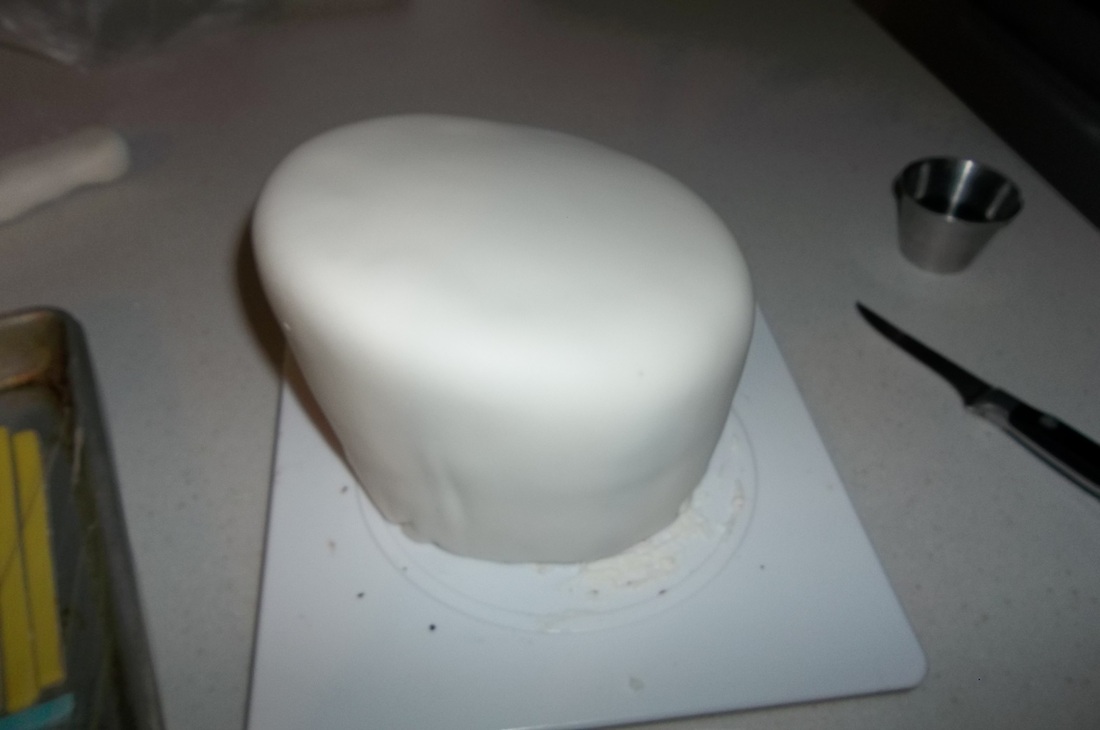
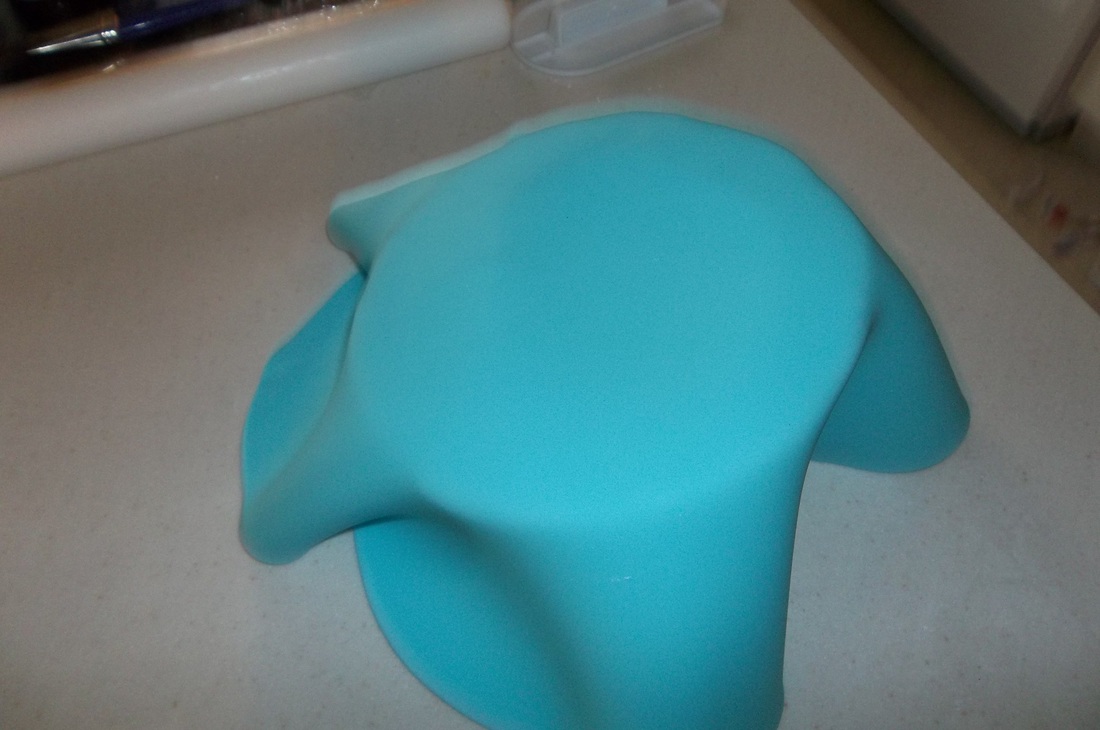
I was asked to make this piano cake for a friends wedding.  They had made their own cupcake tower and wanted the piano for the top tier.  
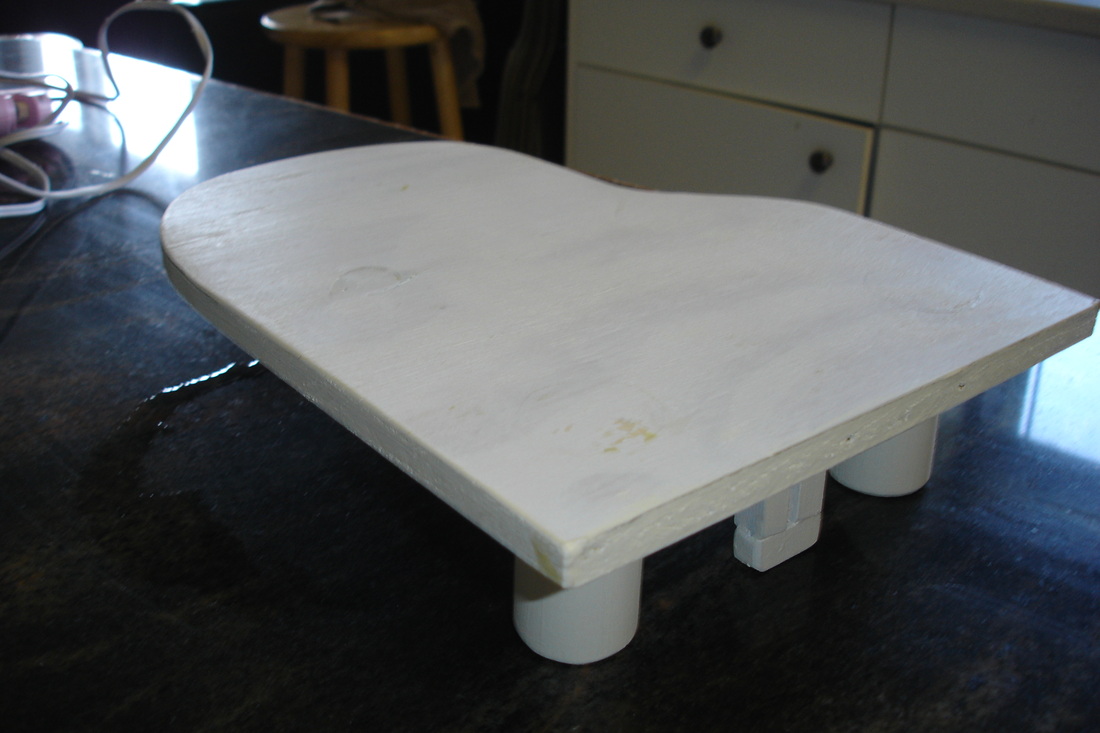
The groom's mom made me this stand.  I had a photo of a piano cake that I liked and so, in true Brandi fashion, I set to work copying a cake that I really had no idea how to make.
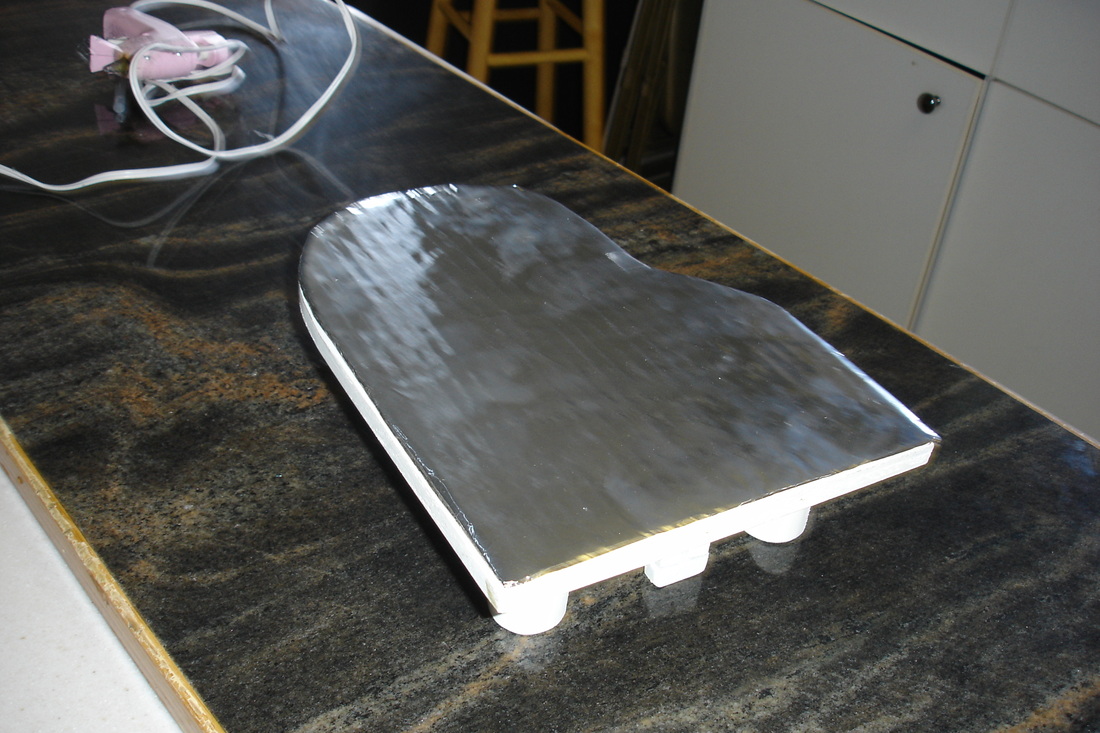
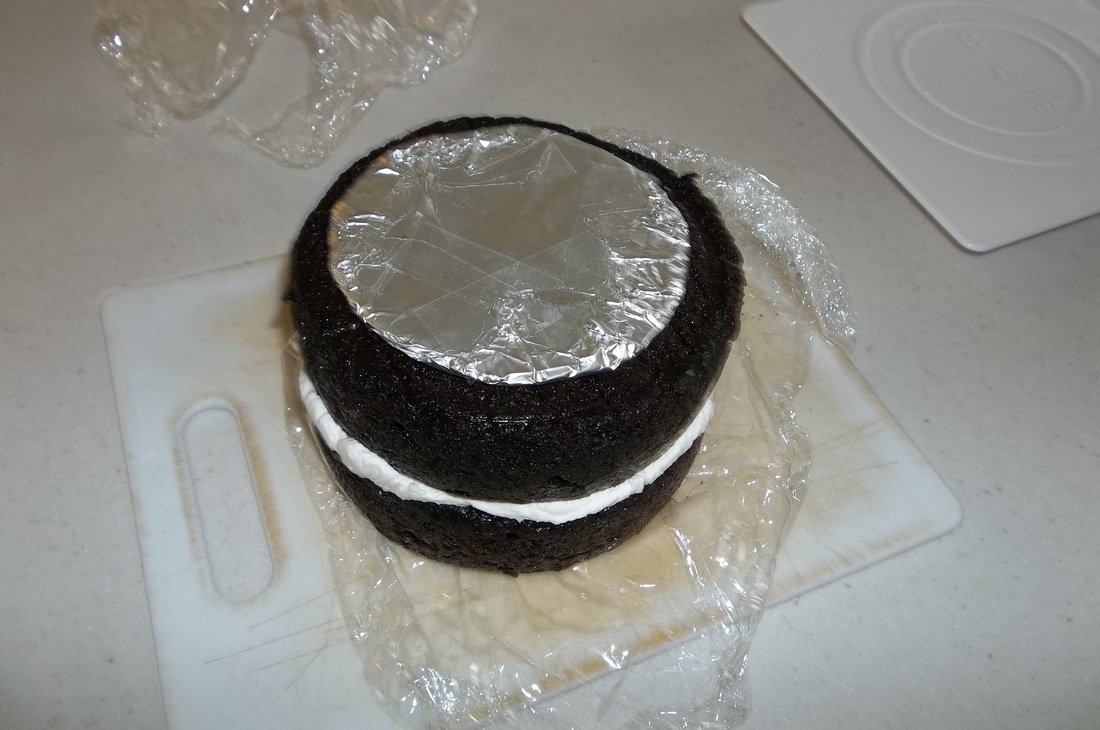
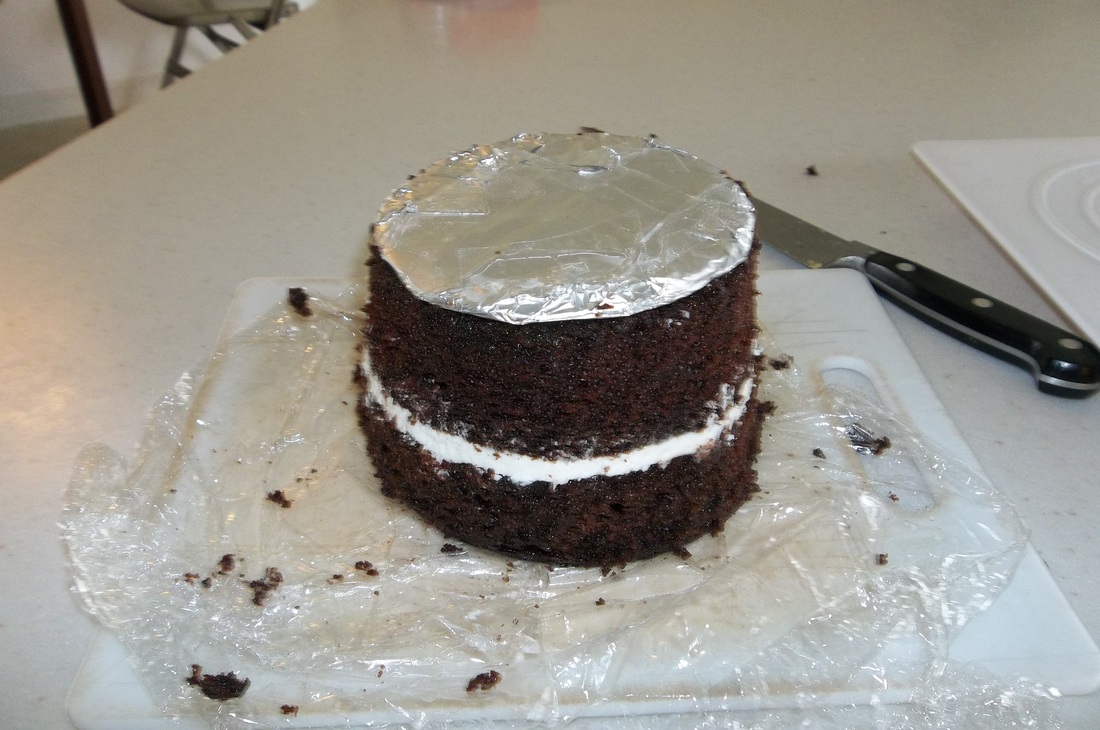
I started by hot gluing a cardboard covered with foil to the stand.
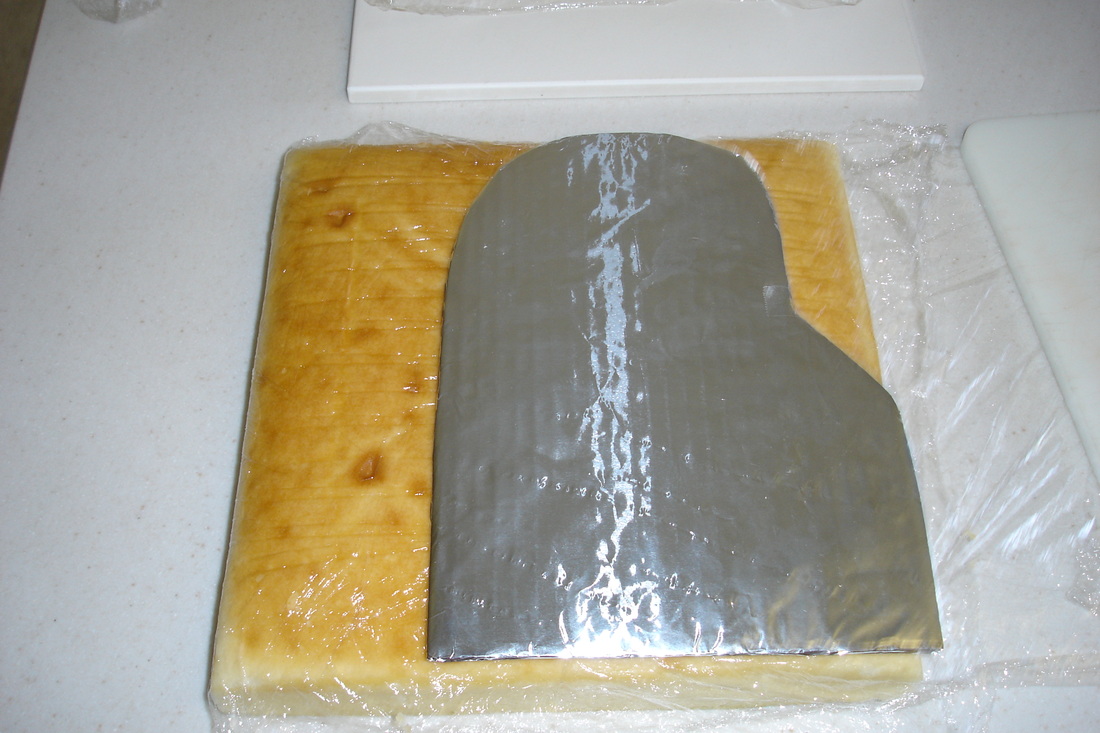
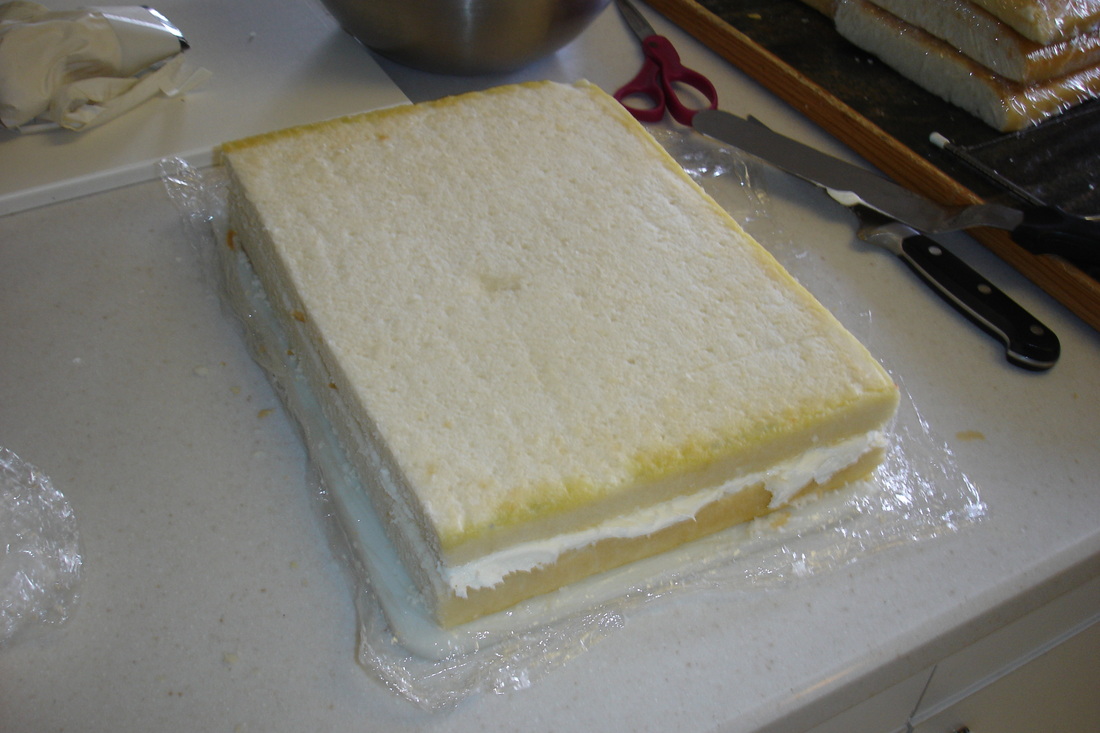
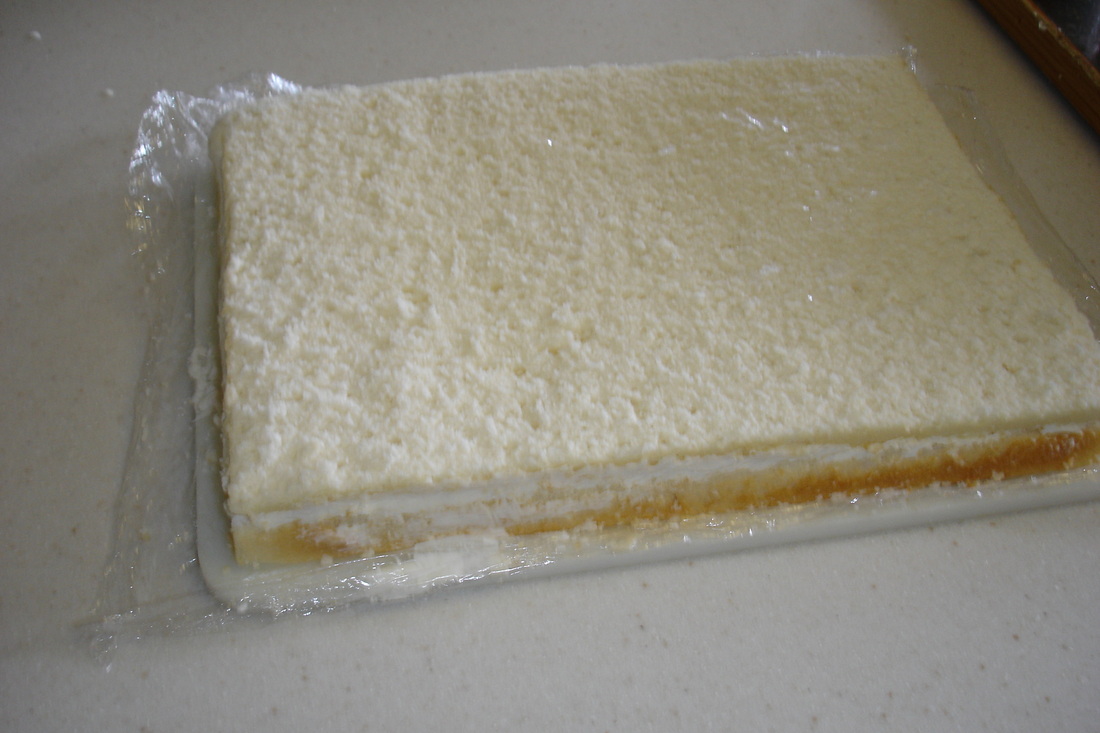
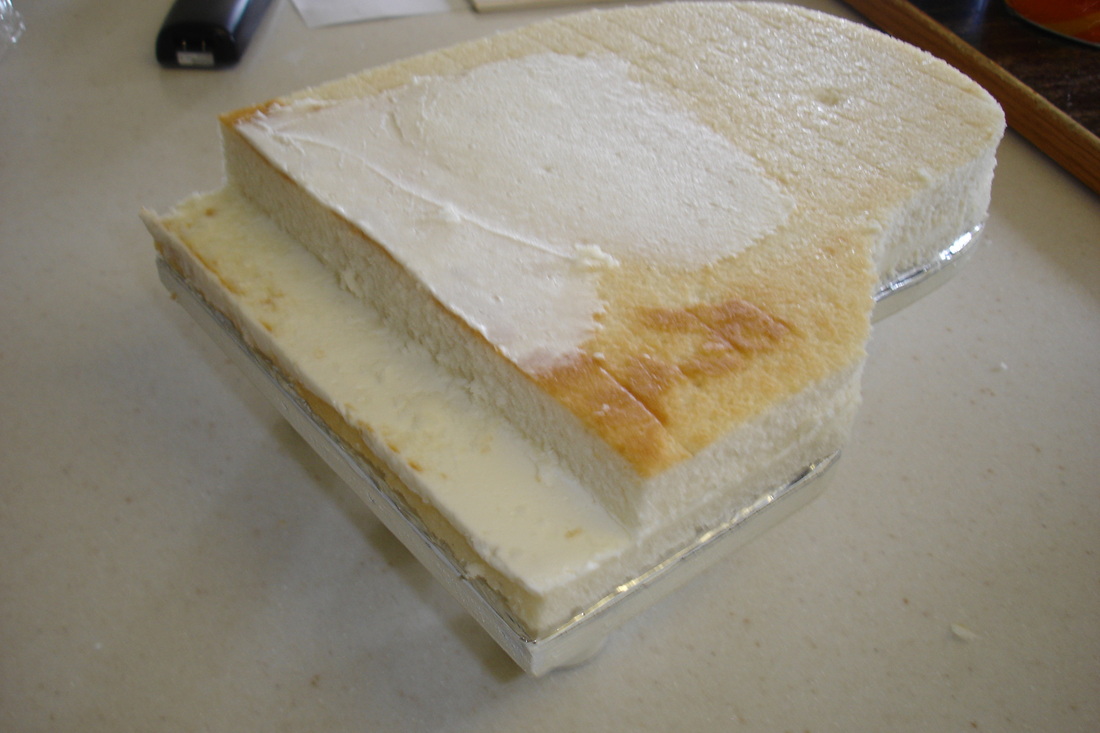
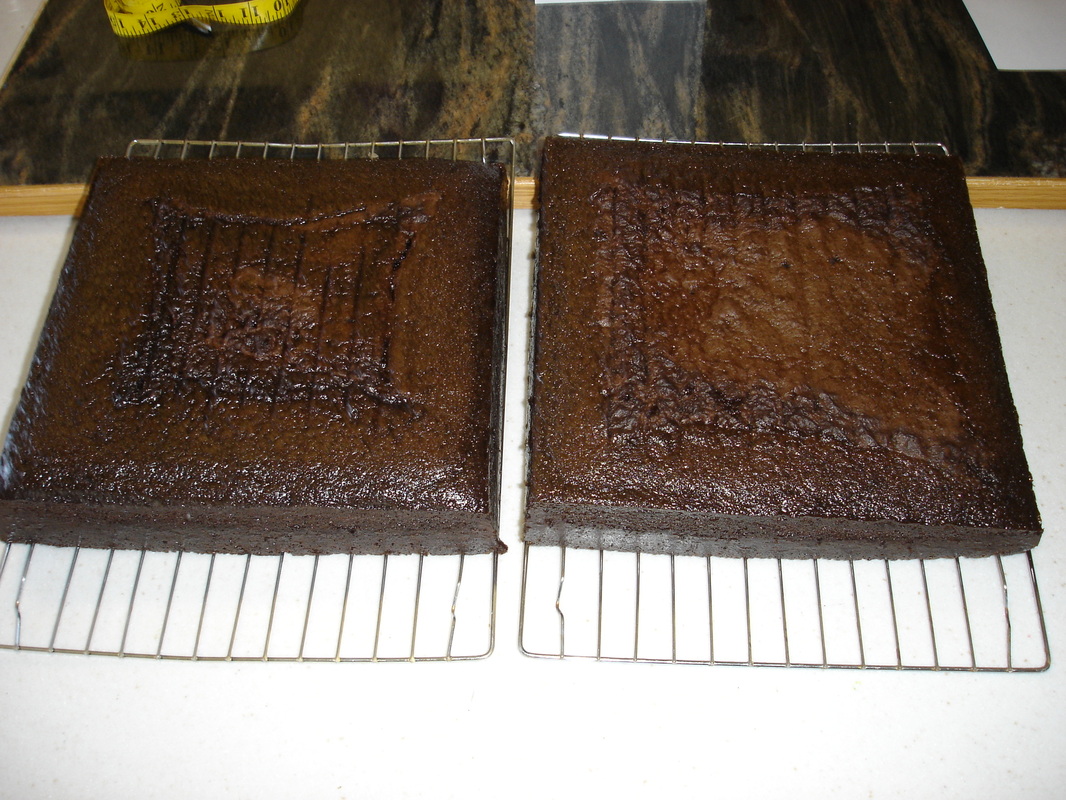
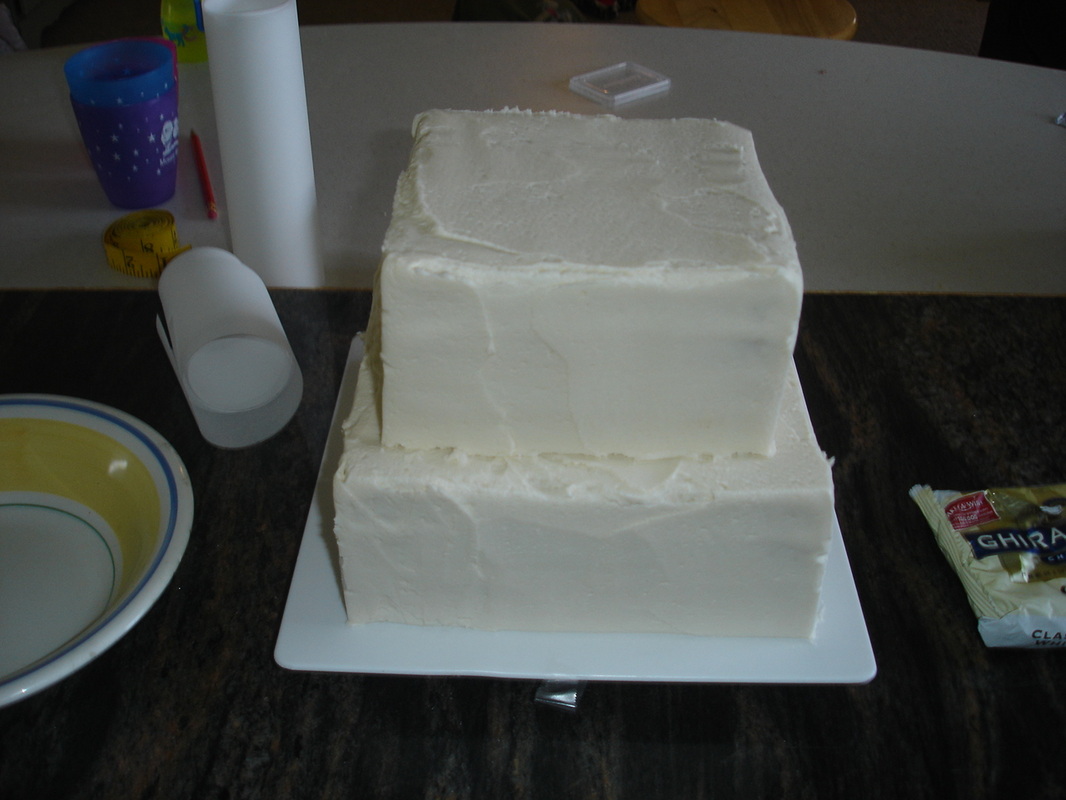
The stand was nearly 12 inches in length.  So I baked two 12 inch square cakes.  This was enough cake for the piano (and enough left over for my kids to do their summer cake making project).
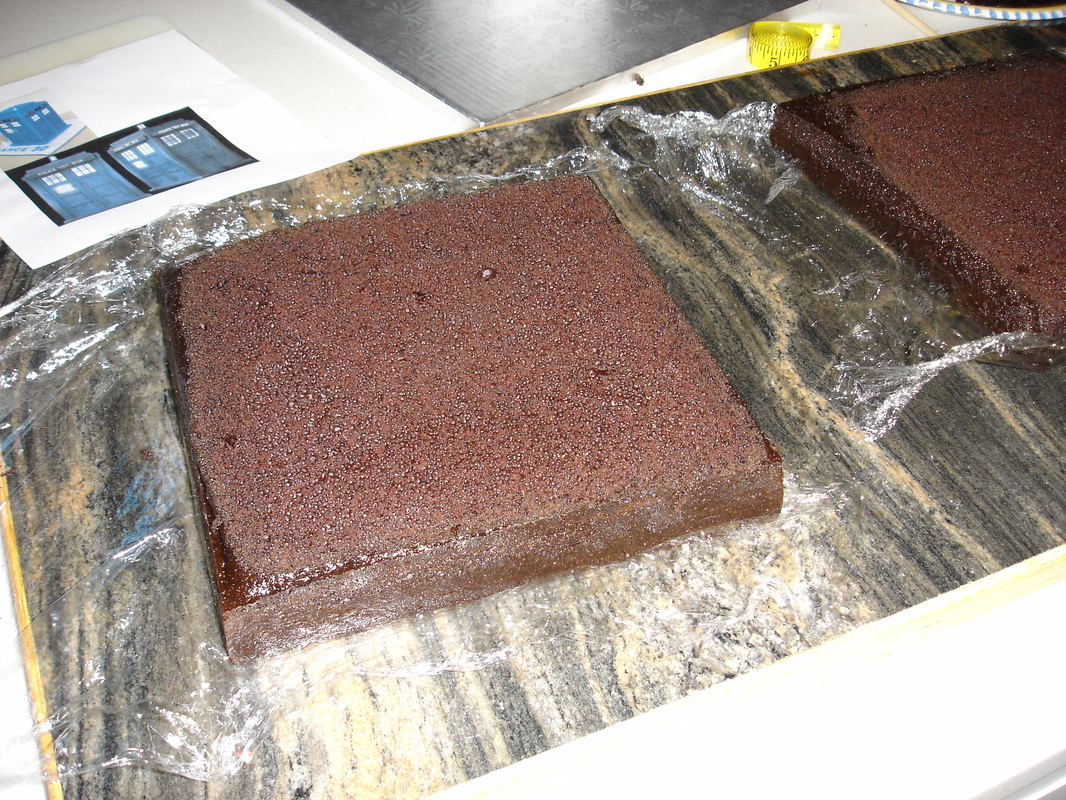
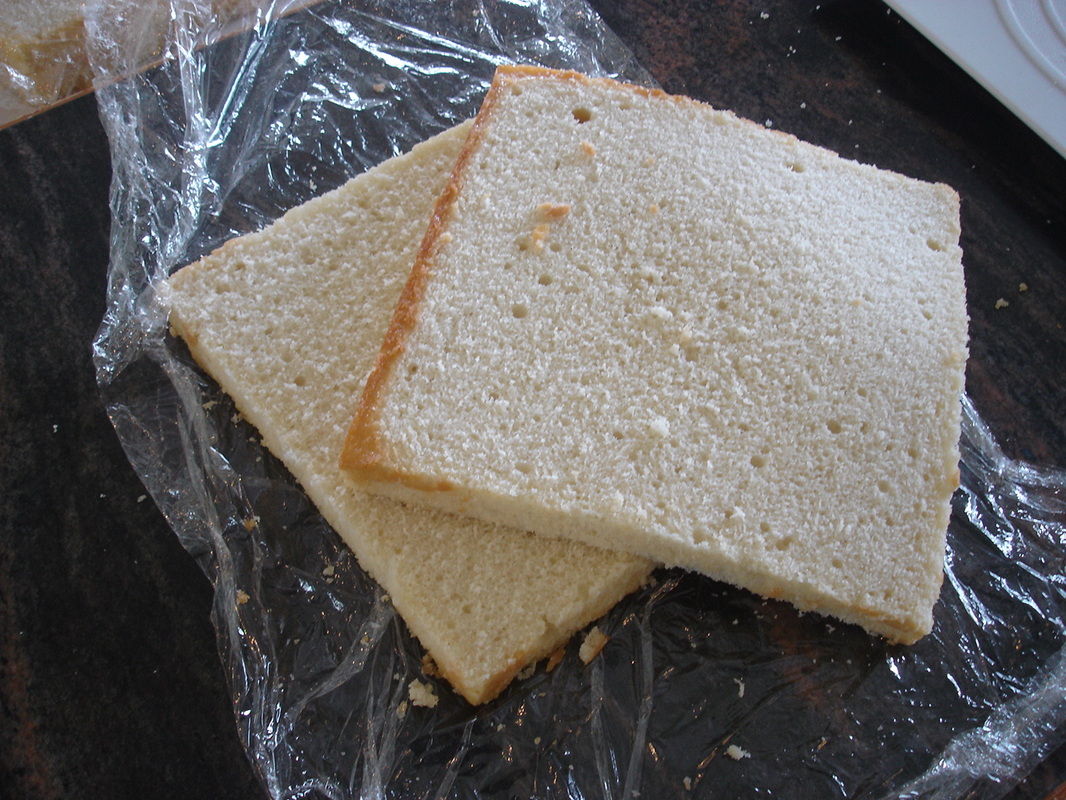
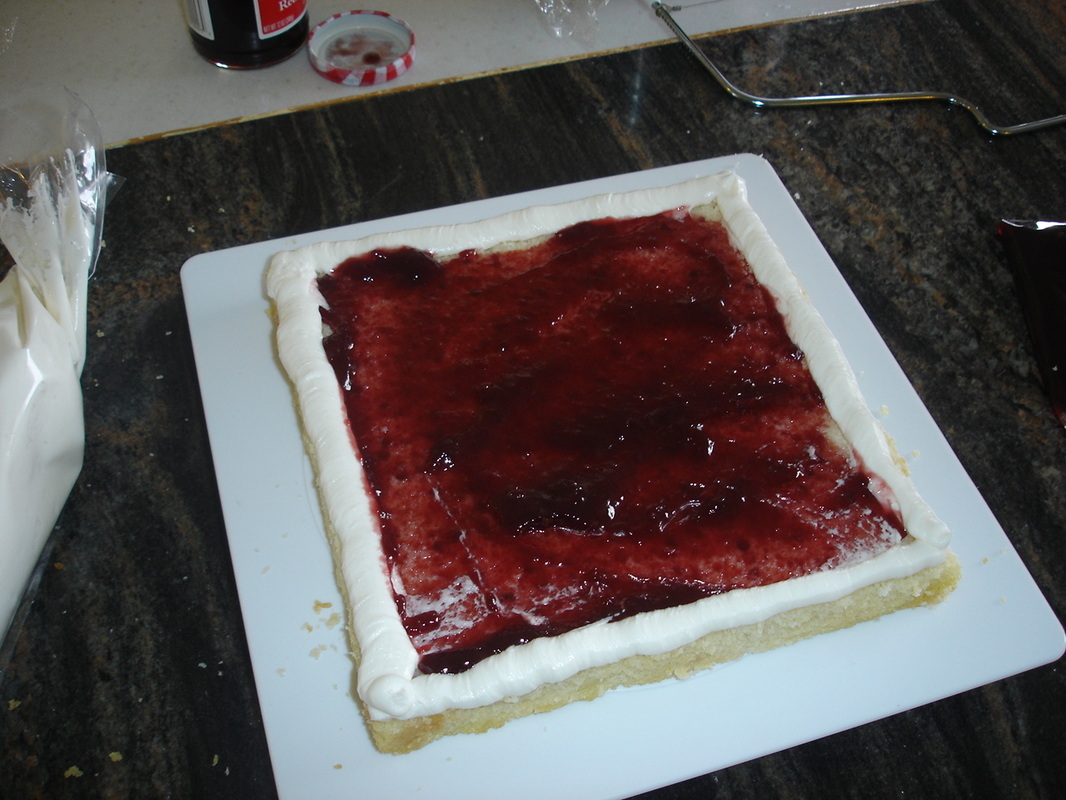
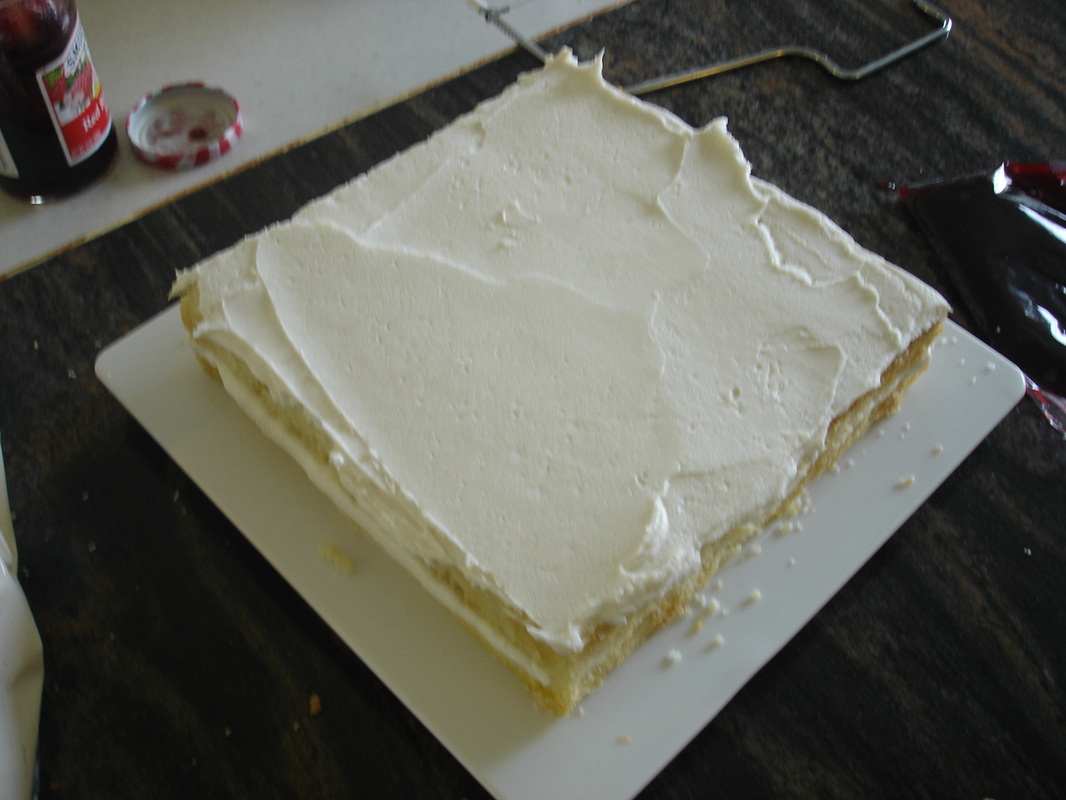
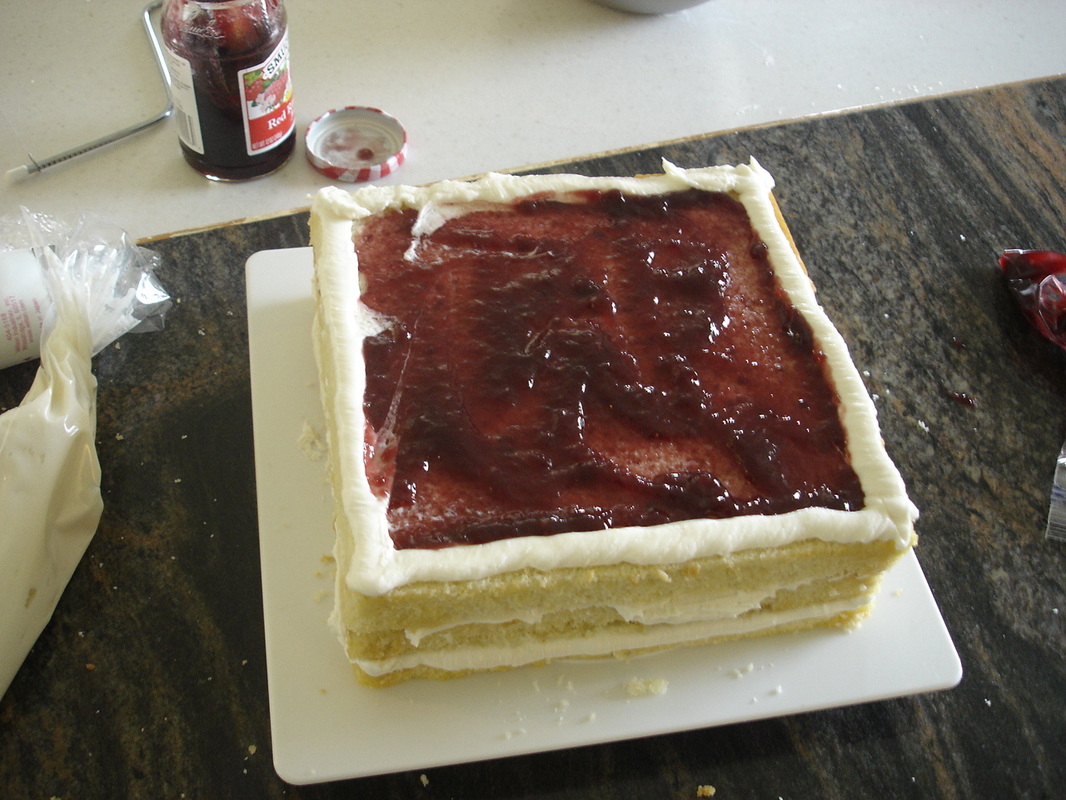
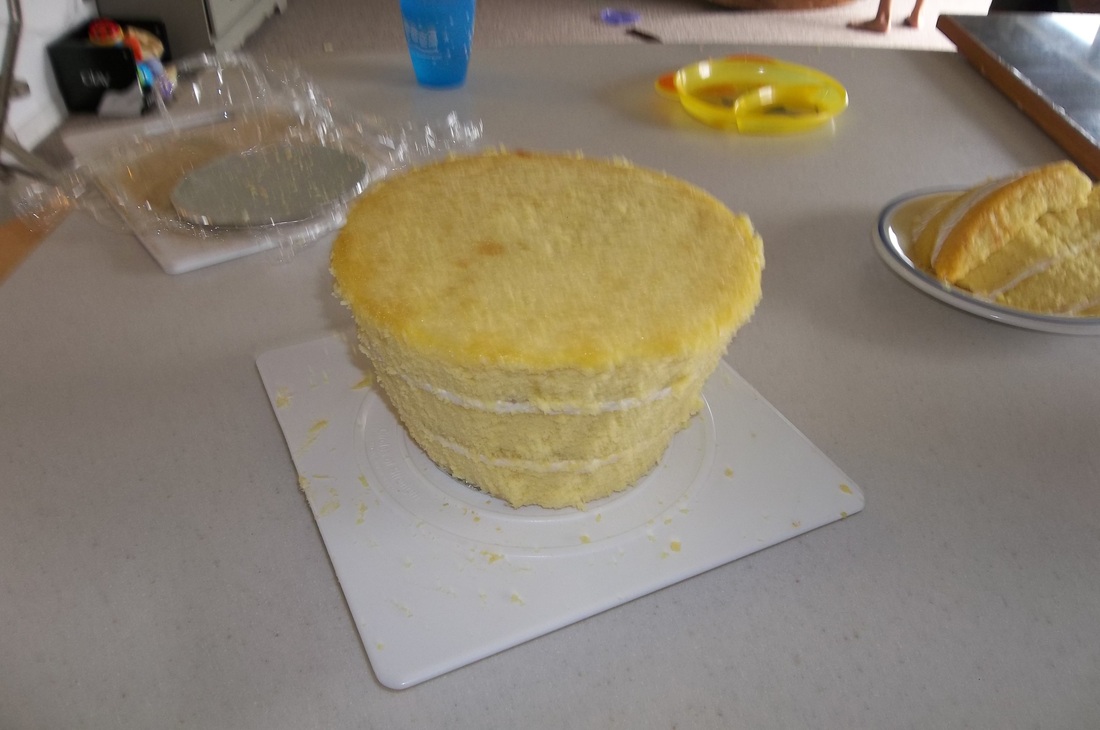
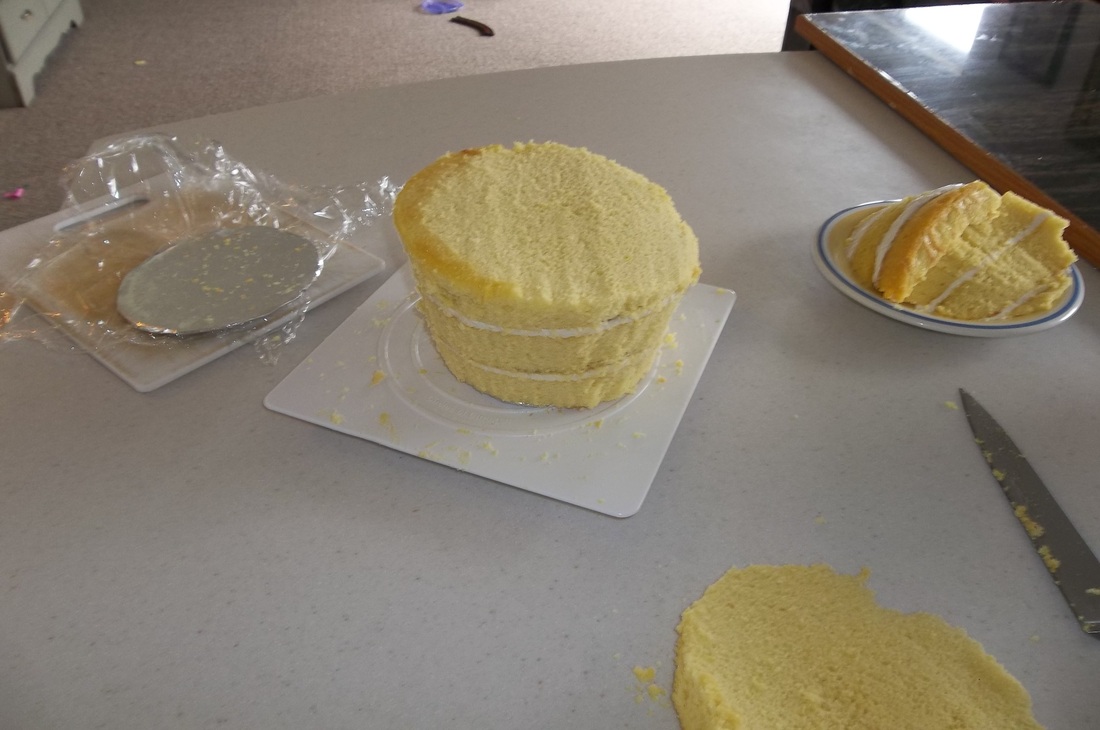
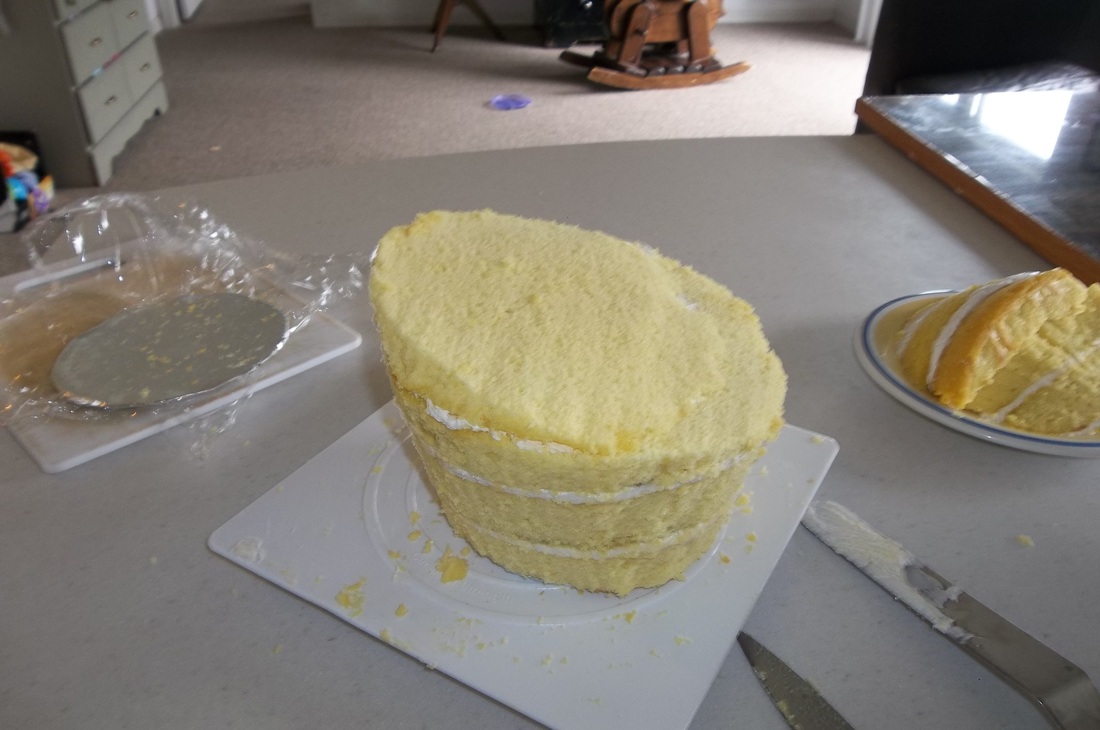
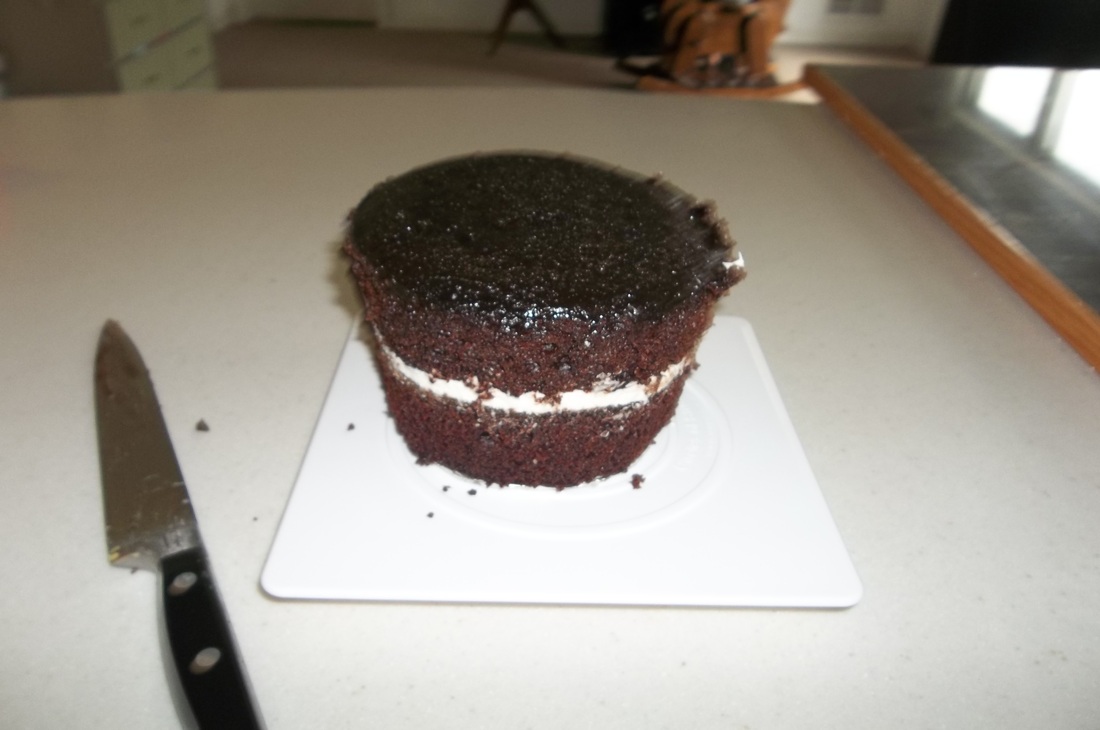
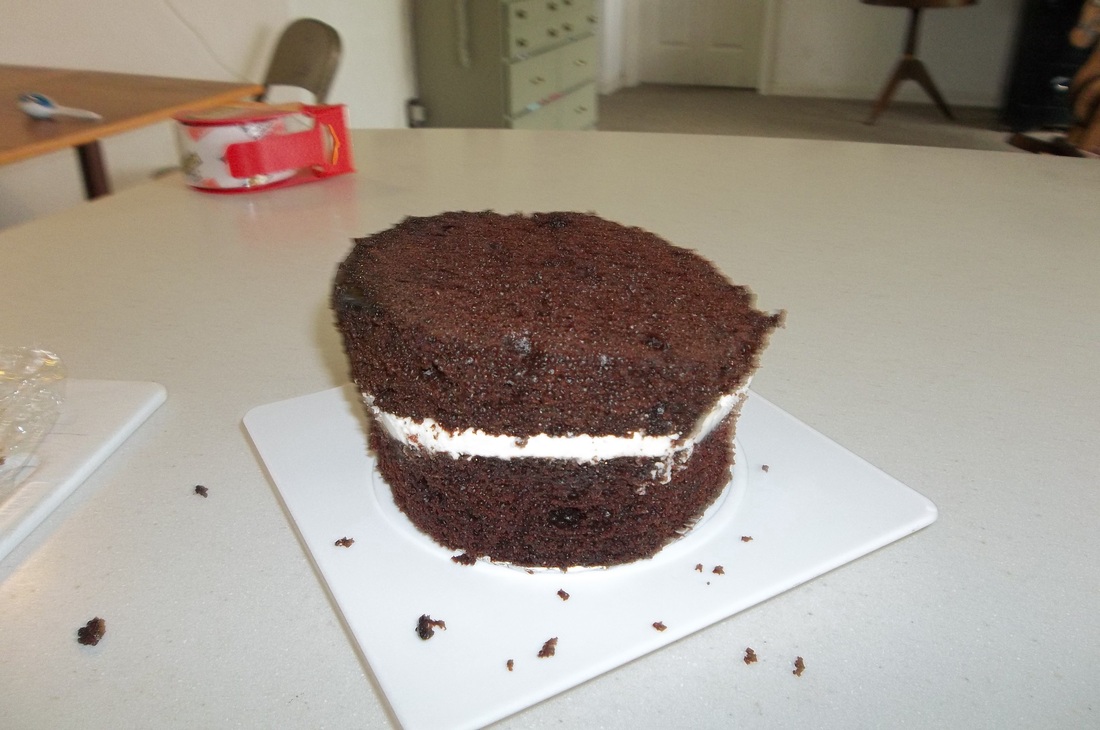
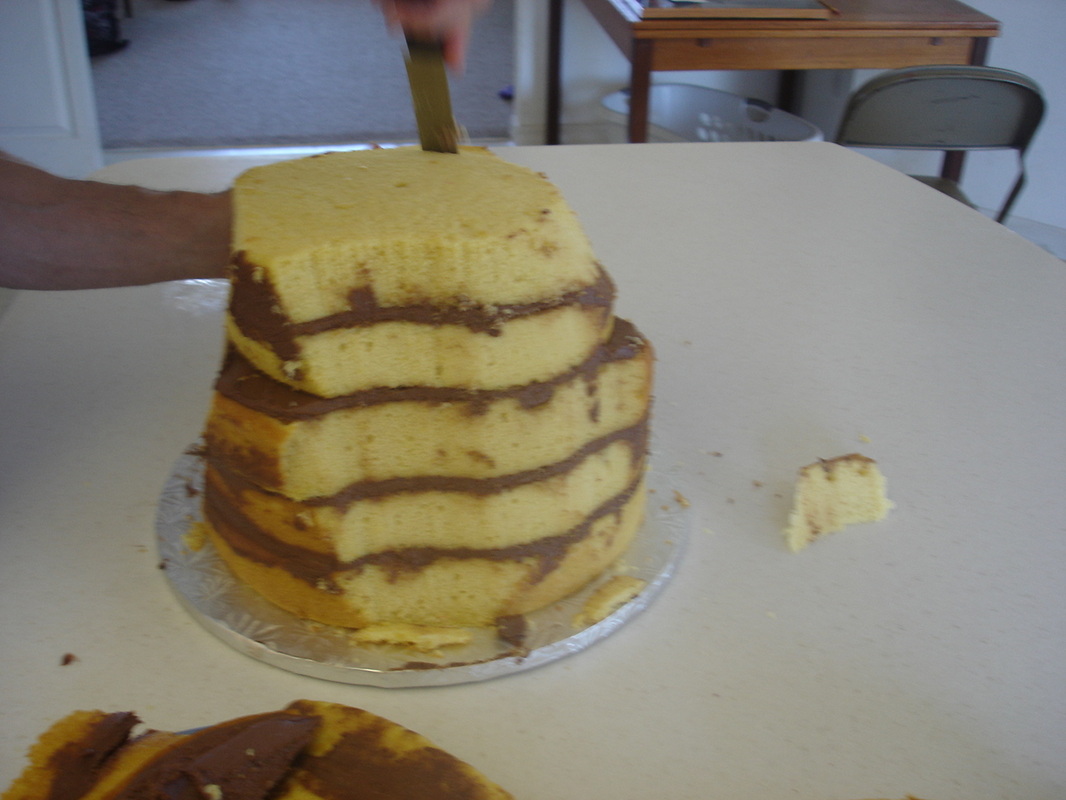
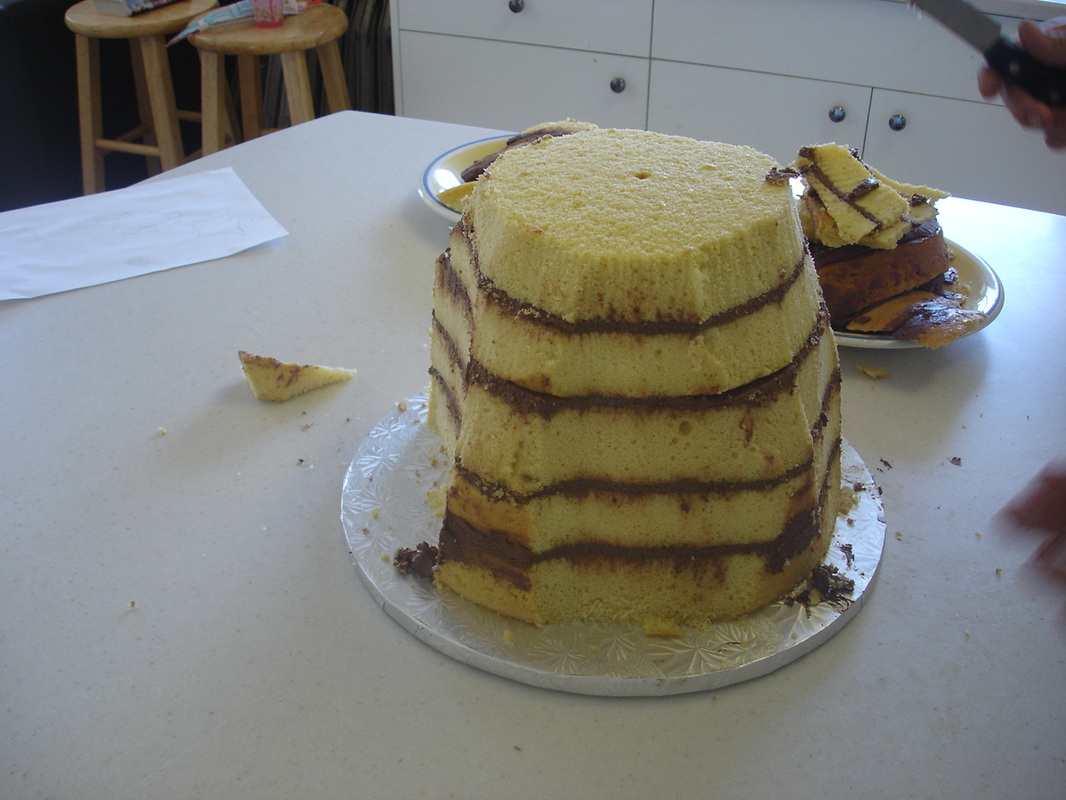
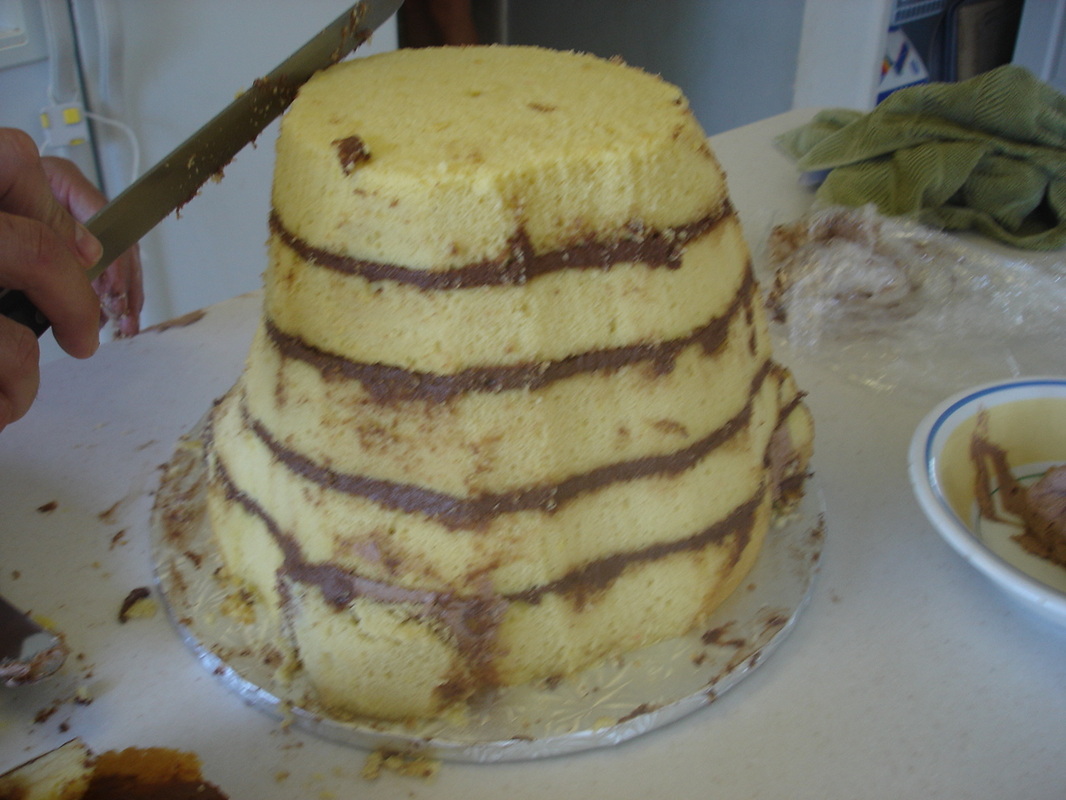
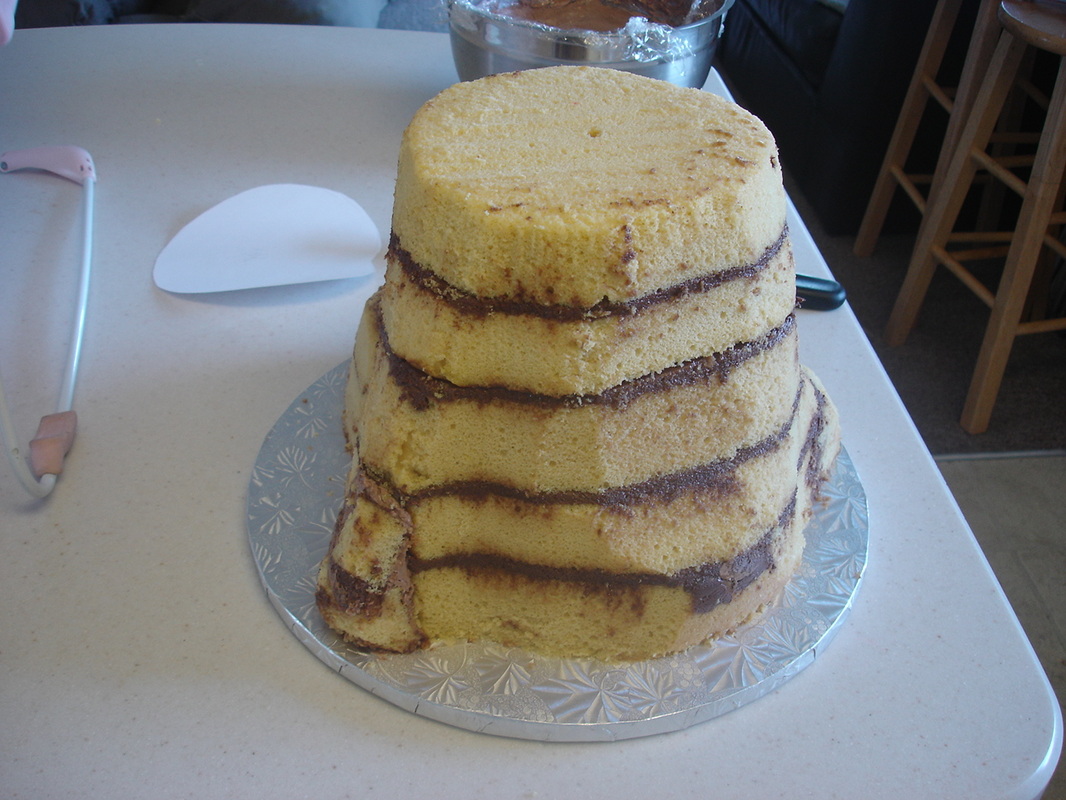
This wasn't a very thick cake.  I wanted the proportions to be as realistic as I could get them.  It probably would have been smarter to only make one thick layer but I wanted some butter cream in the middle to make the cake taste better.  As is, the two layers ended up too thick so I cut another 1/2 inch of cake away from this to get the height that I wanted.
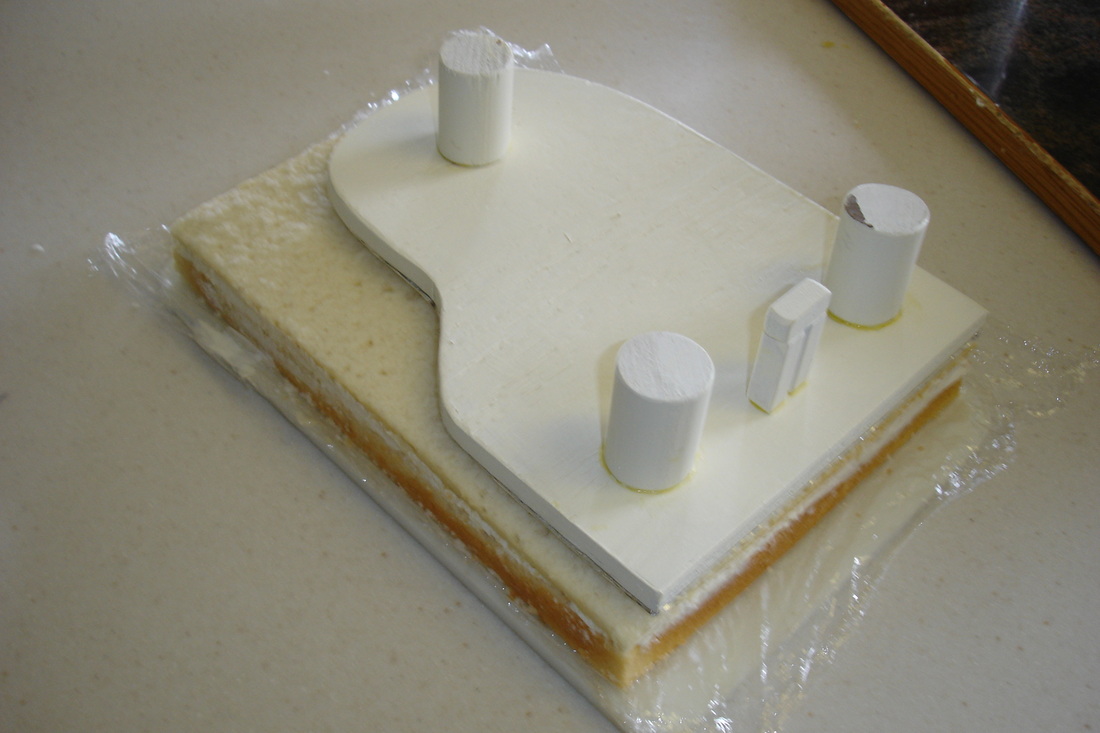
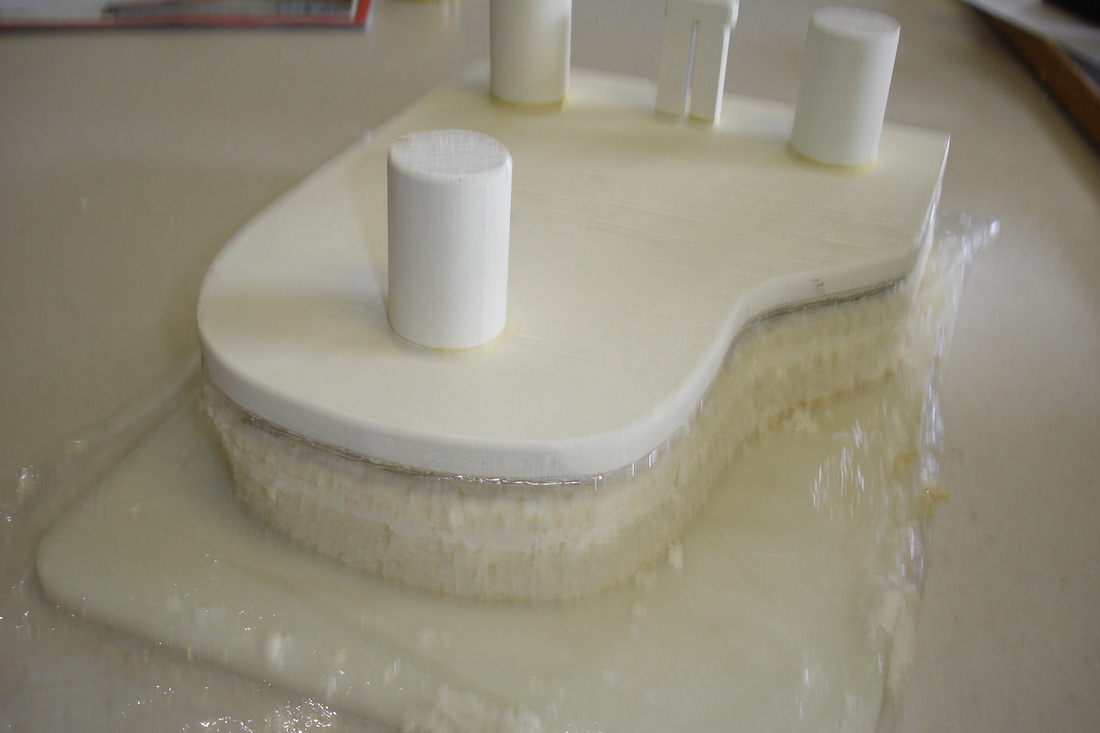
I let the cake firm up a bit in the freezer, and it was ready to cut.
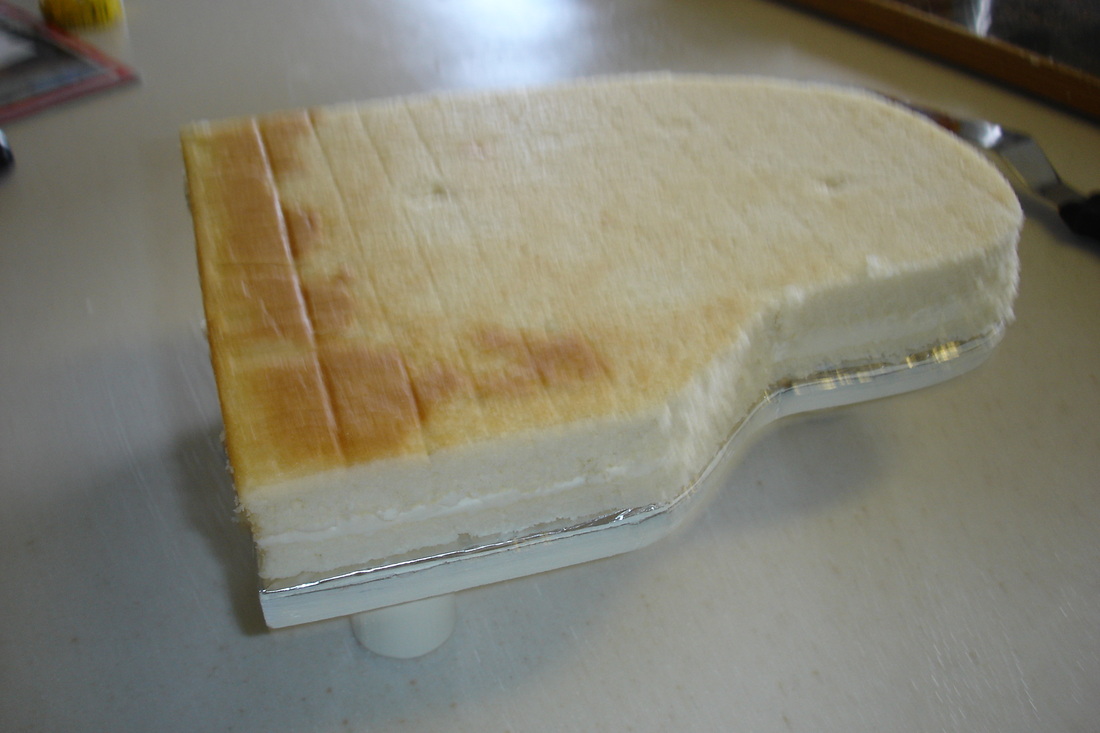
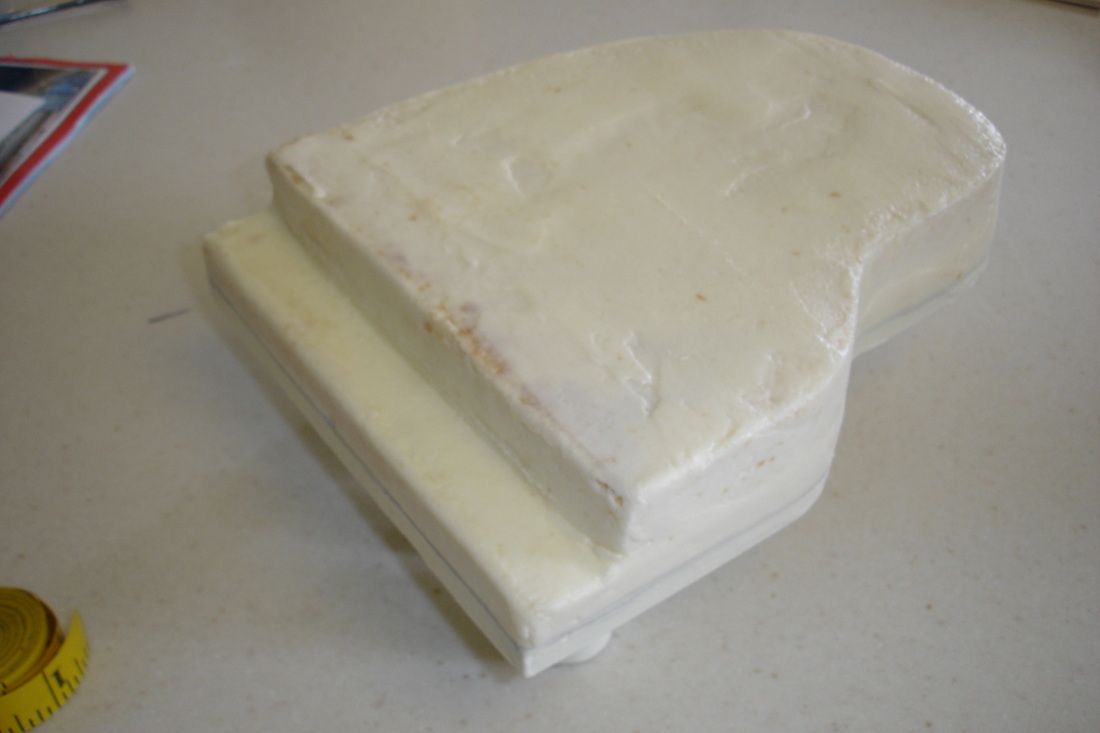
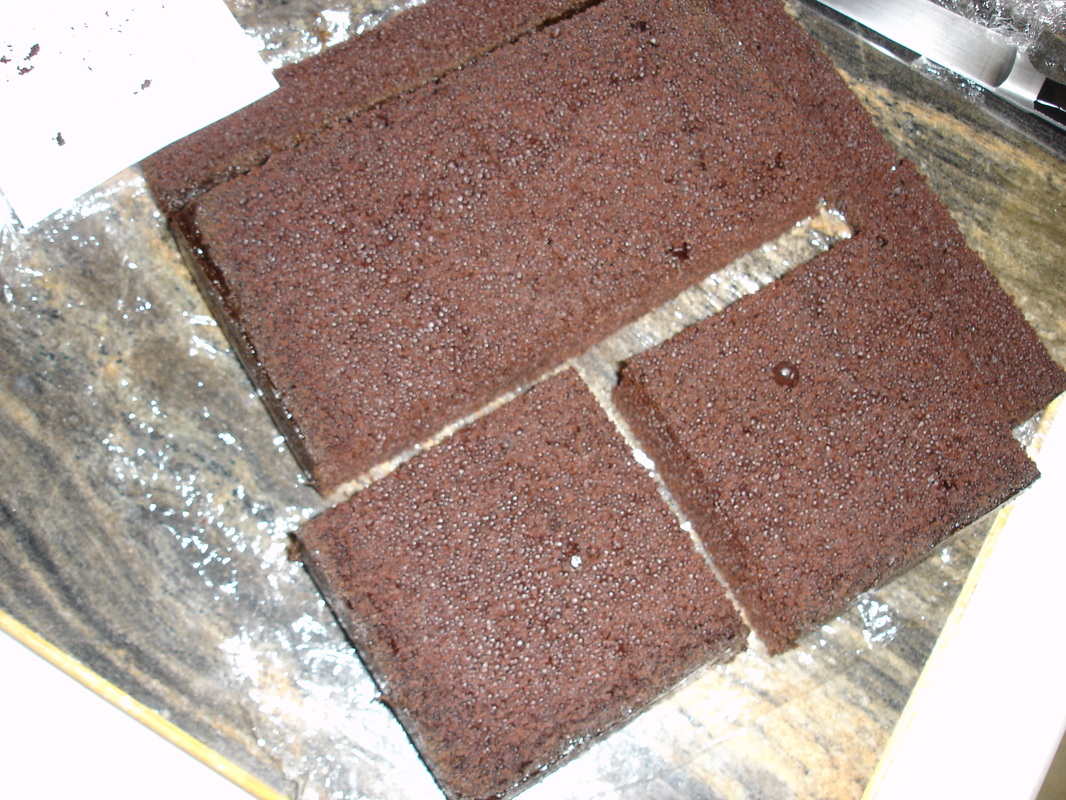
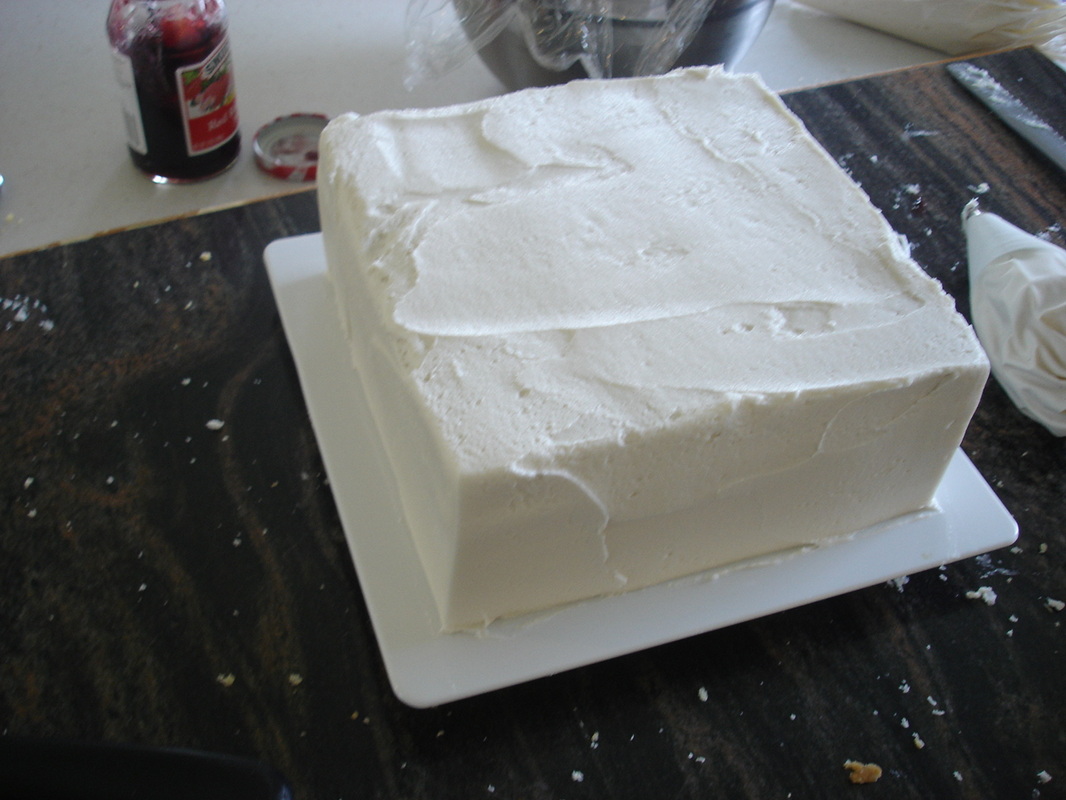
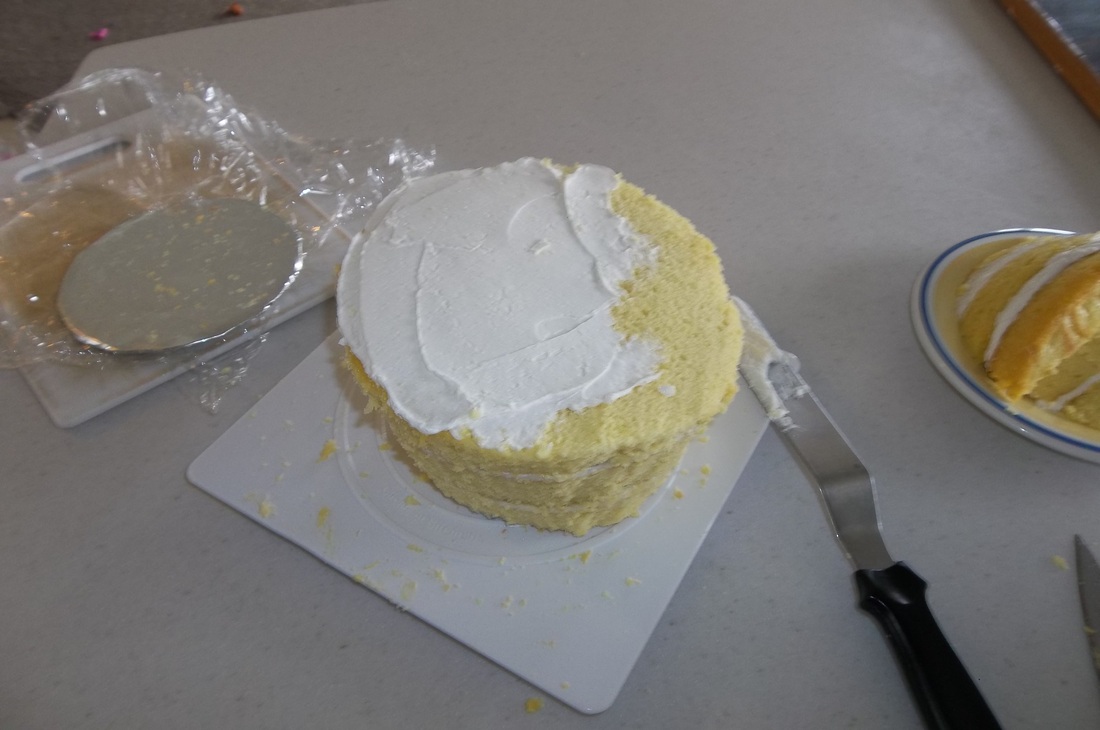
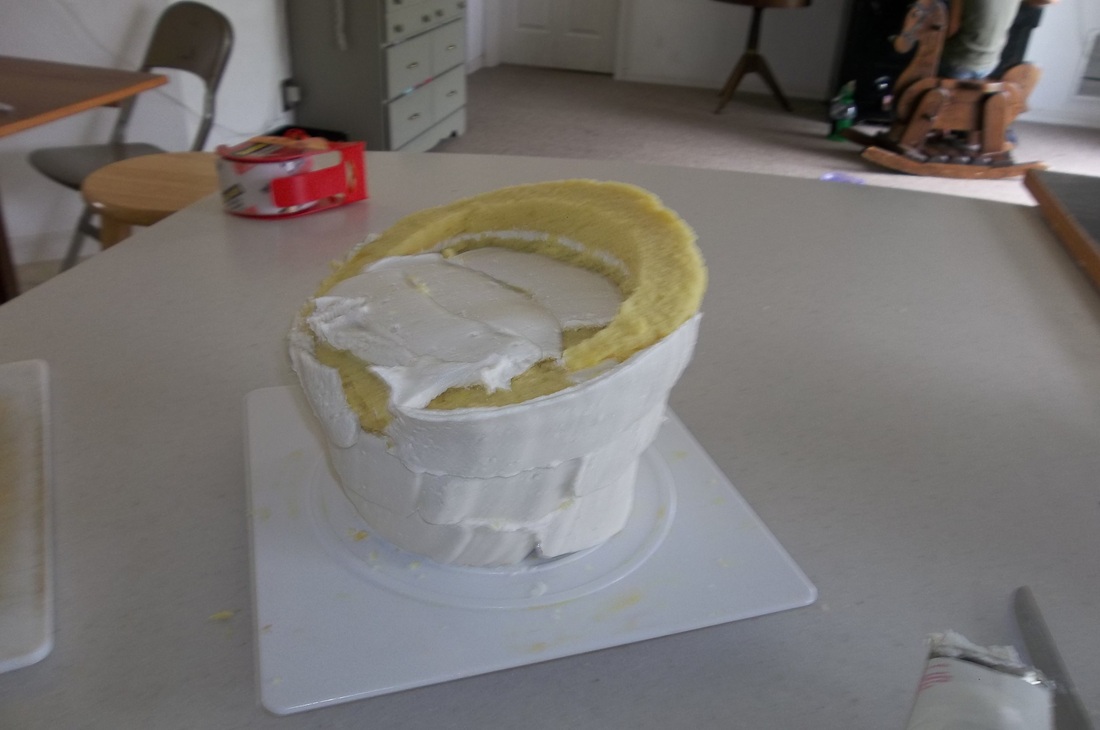
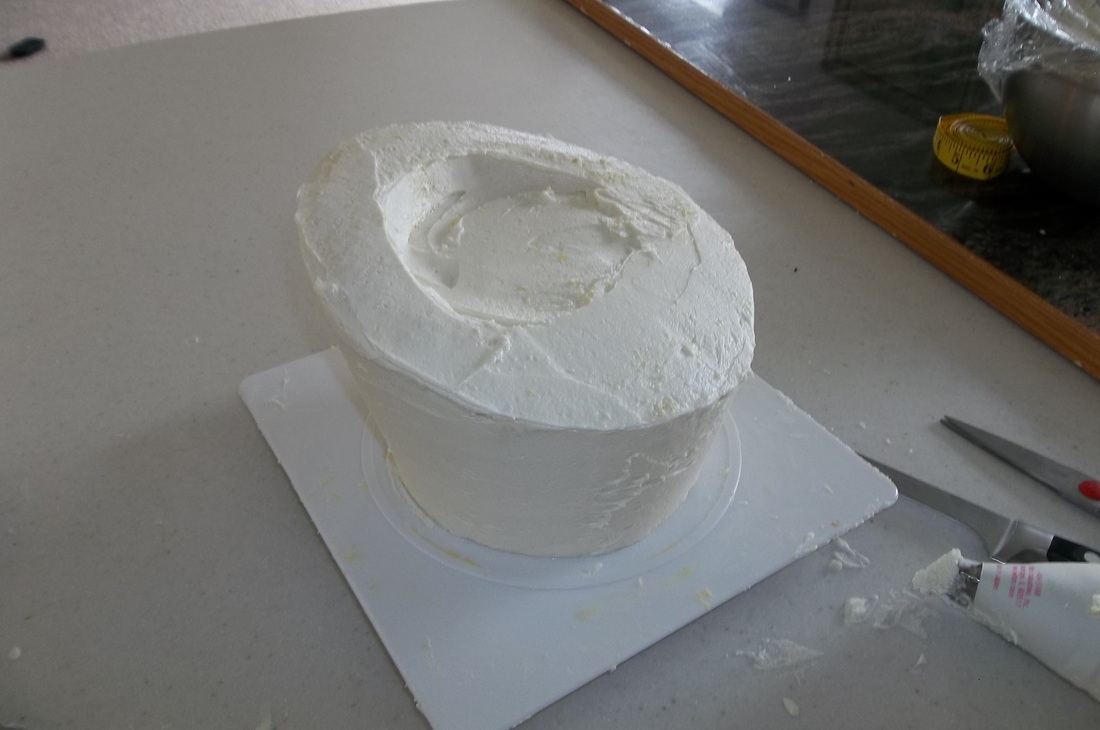
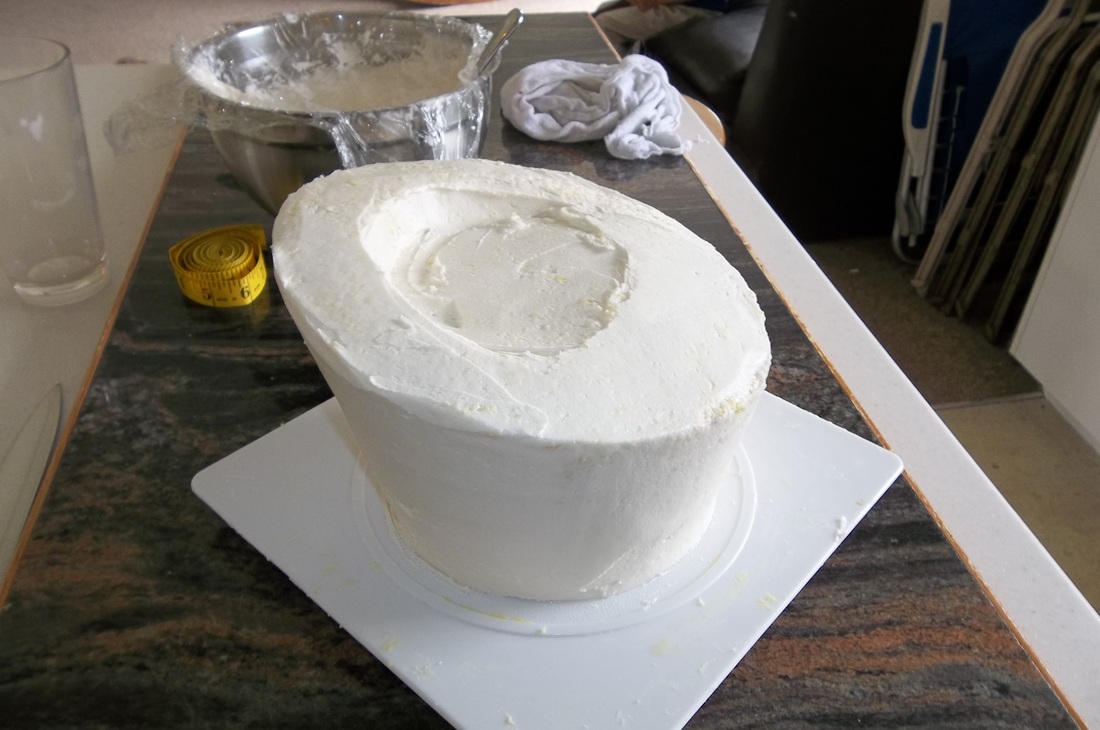
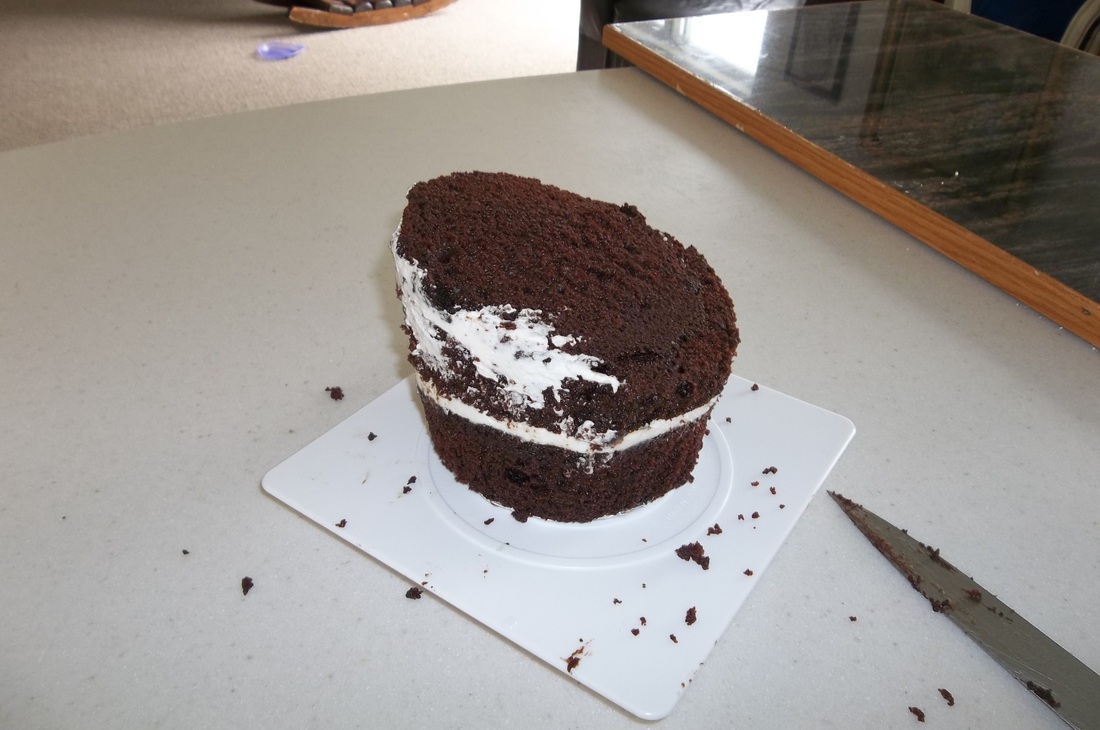
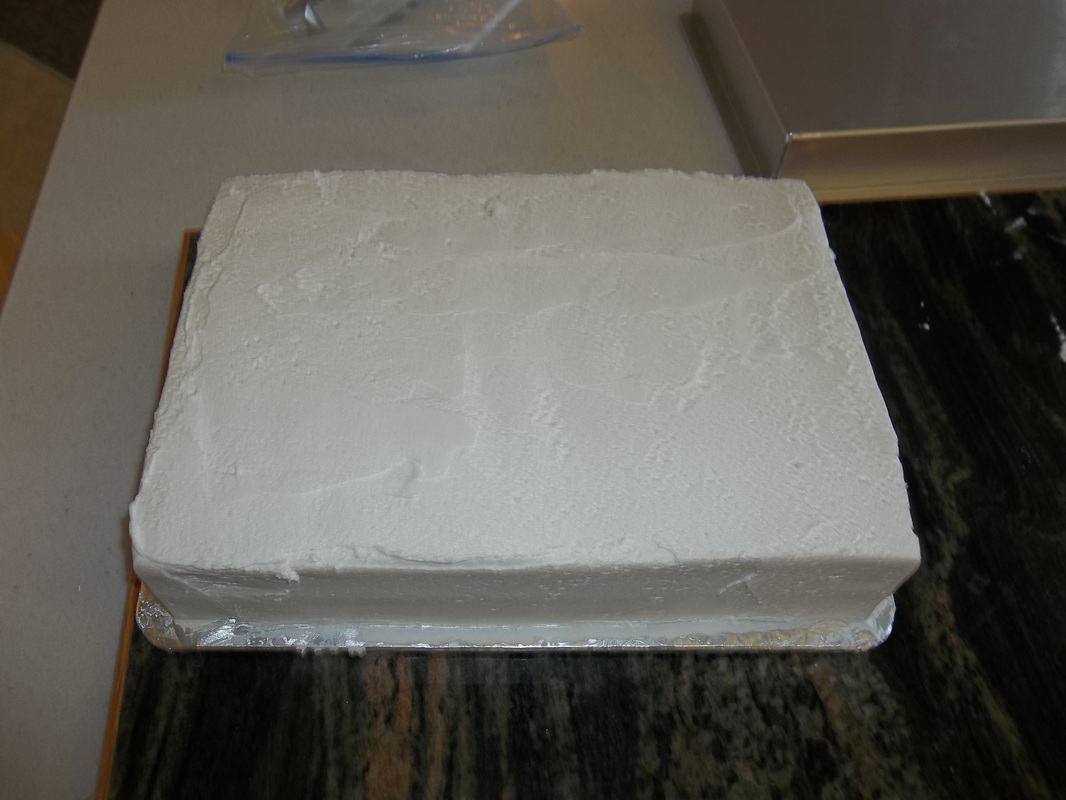
I cut out a portion for the keys and then frosted the whole thing.
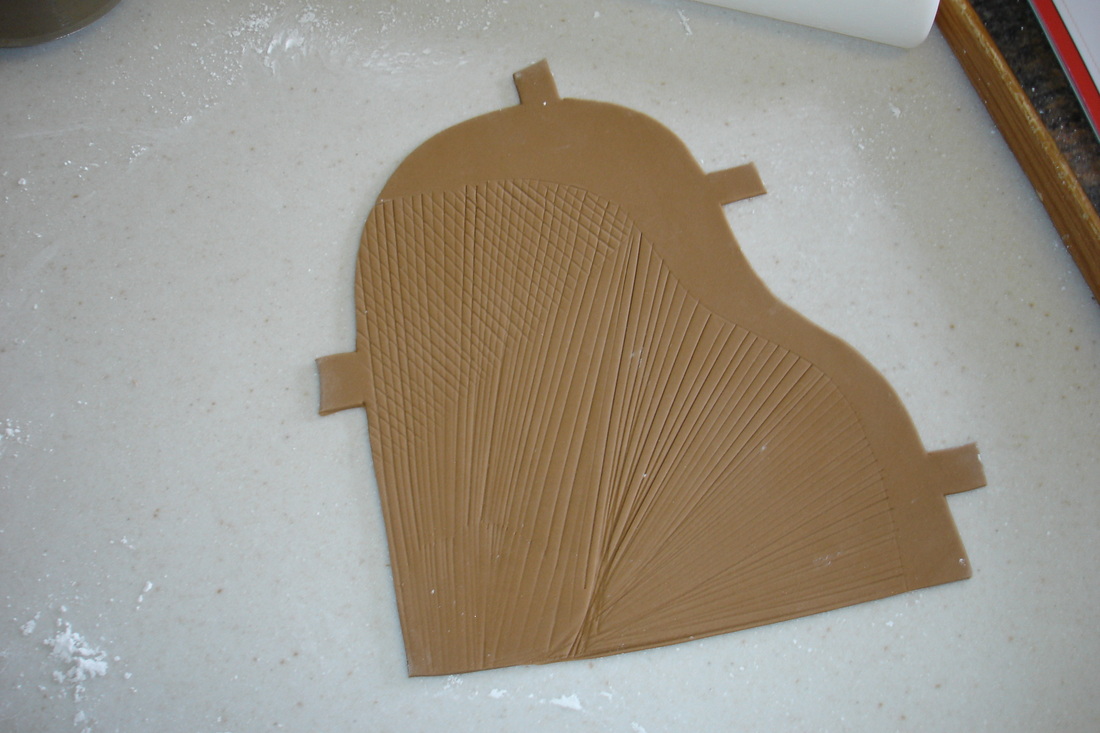
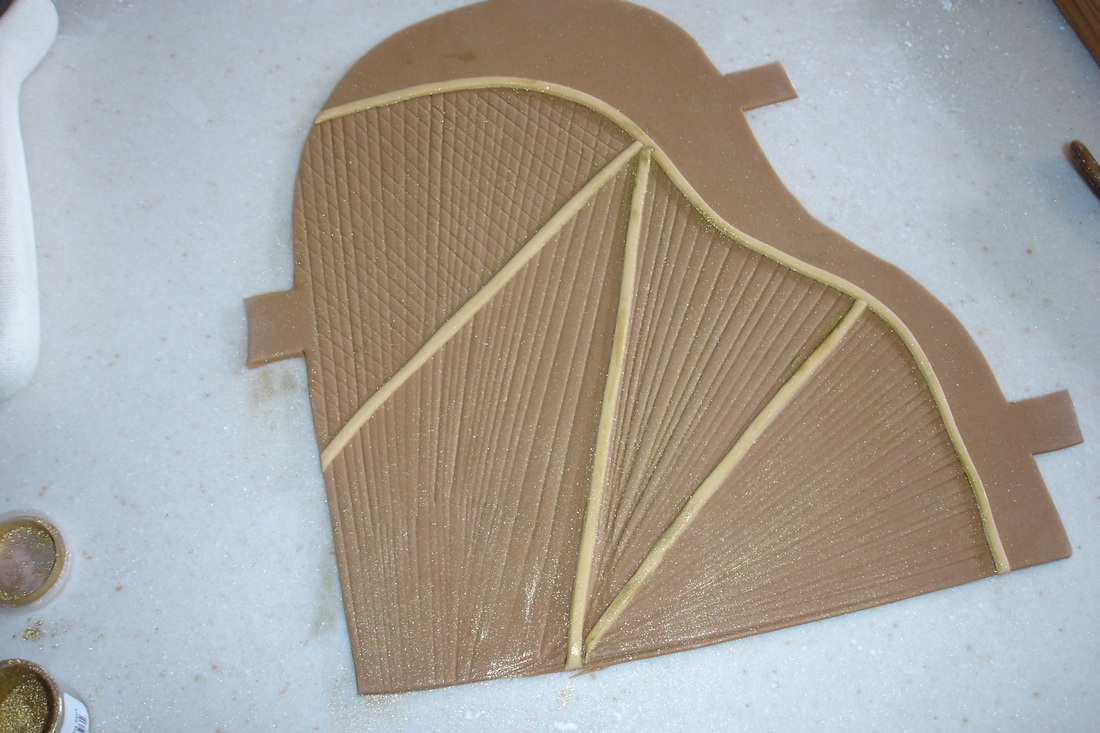
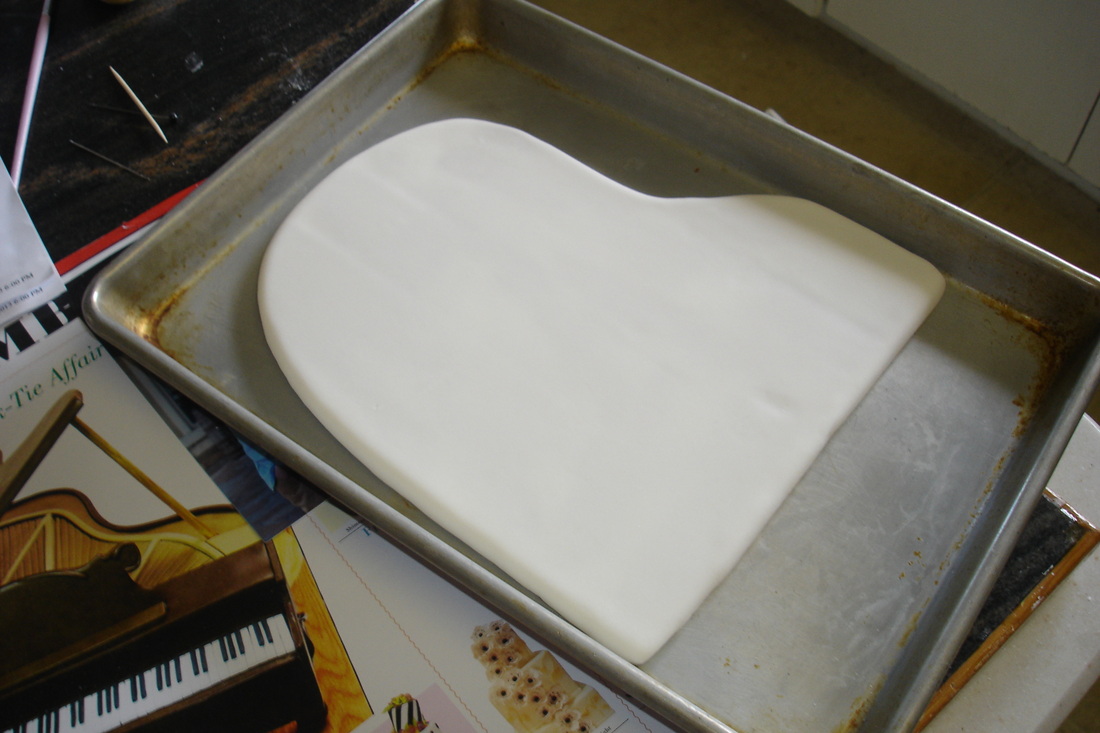
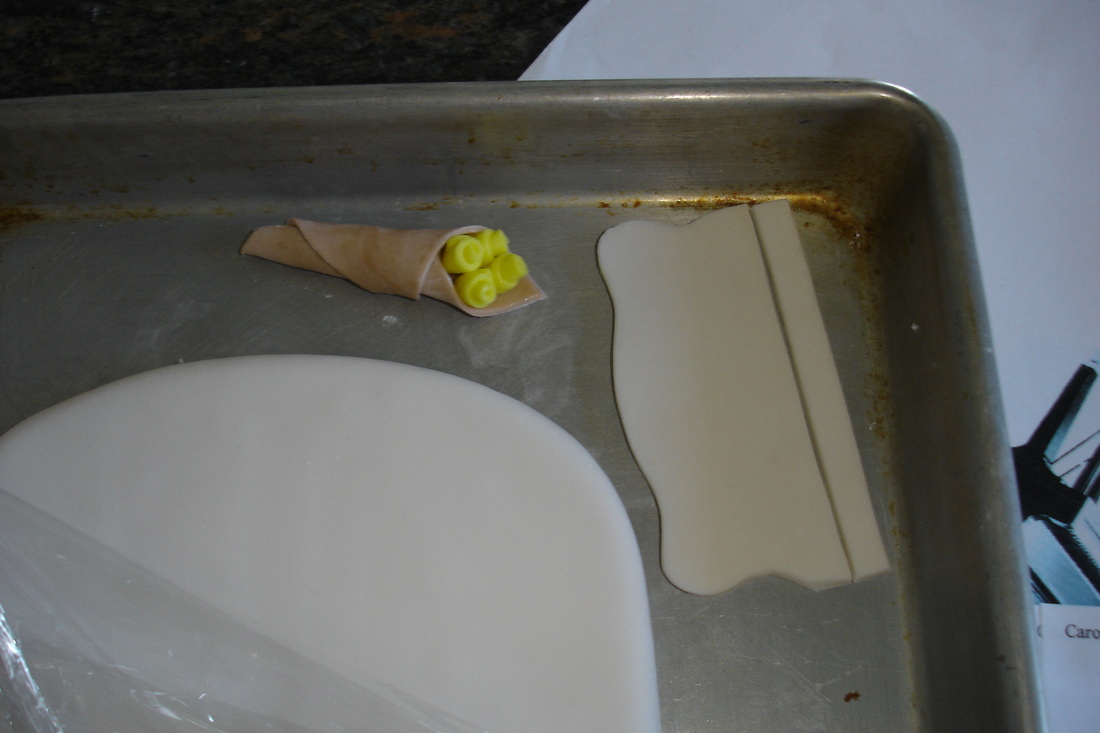
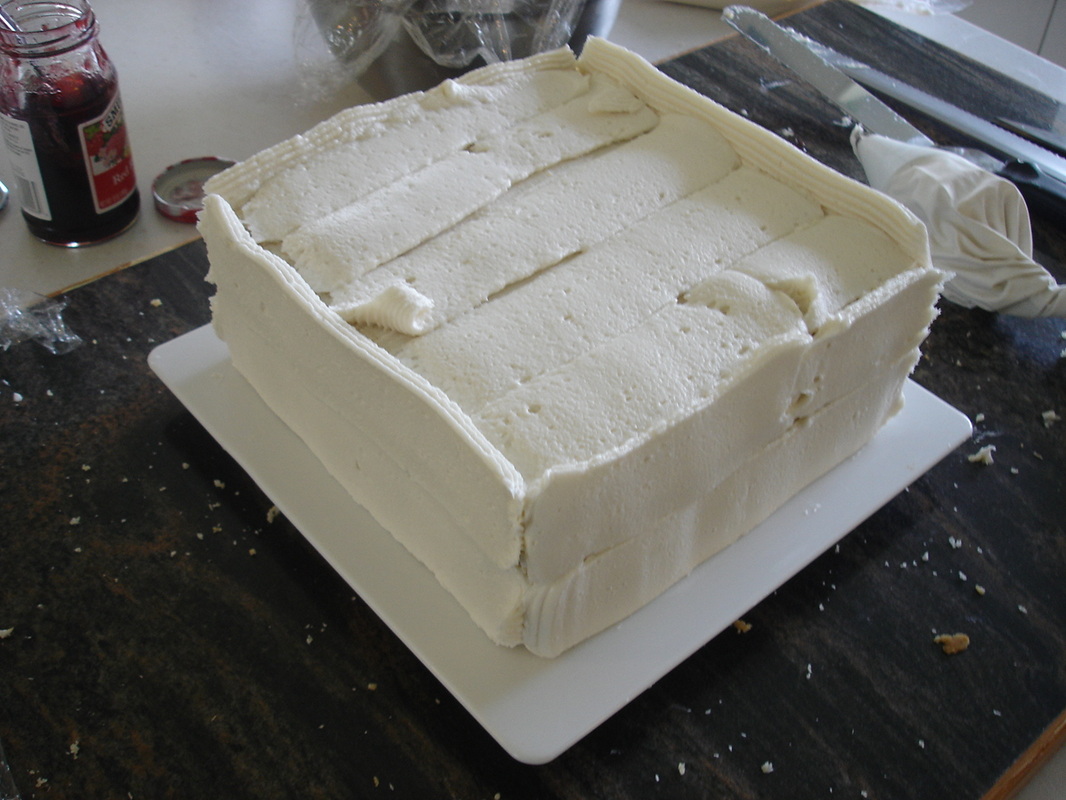
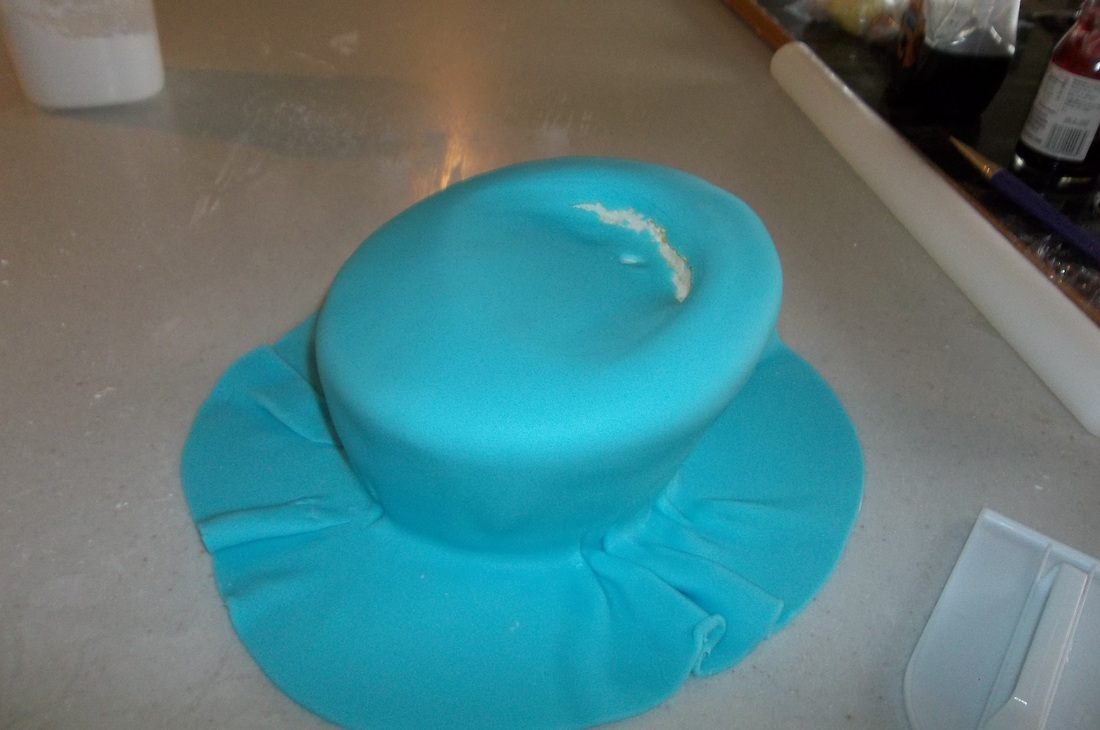
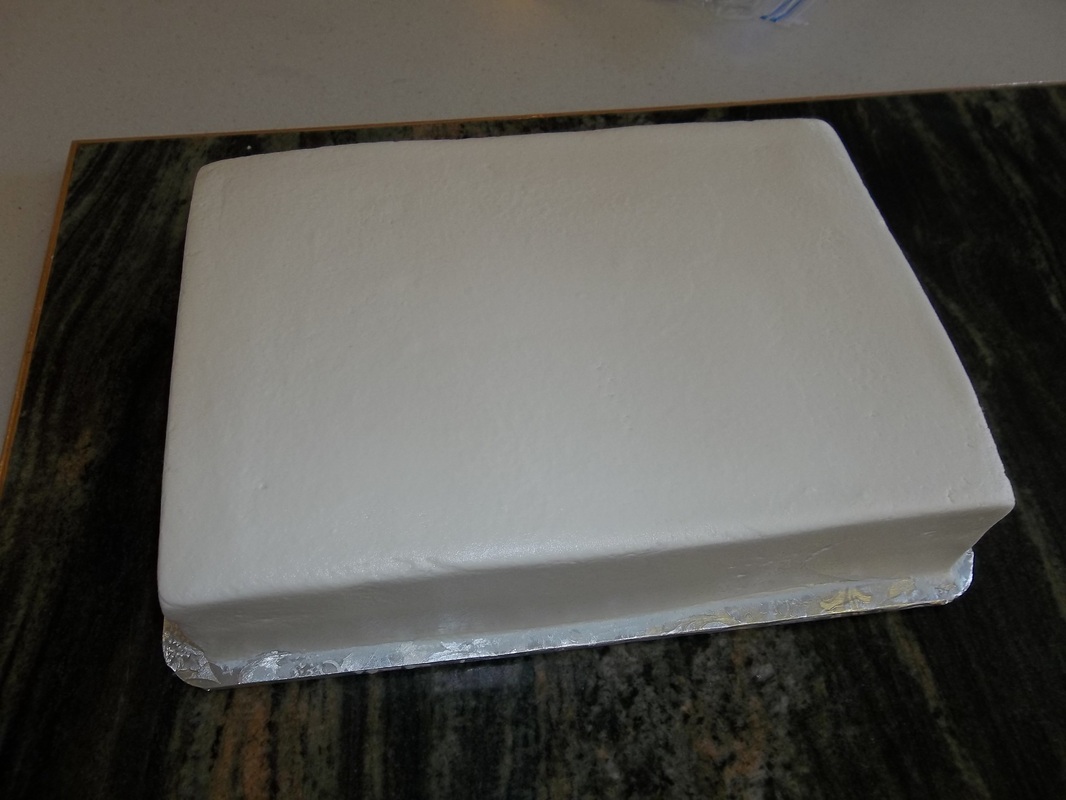
I let the cake firm up overnight in the fridge and got to work on the fondant.  Now I did something rather silly here.  I've never had a problem with fondant peeling away, but I've also only rarely pieced panels of fondant together to cover a cake.  In my experience, fondant is more likely to tear than separate once it has been bonded with a little water.  But I have seen far too many episodes of Cake Boss where the pieces just peel away.  I was nervous that might be an issue, so I decided to make some tabs that would hang over the sides and give the side fondant some added support.  This is completely unconventional (as far as I know) but seemed a good idea at the time.  I rolled the tabs out pretty thin after taking this picture because I didn't want them showing through.

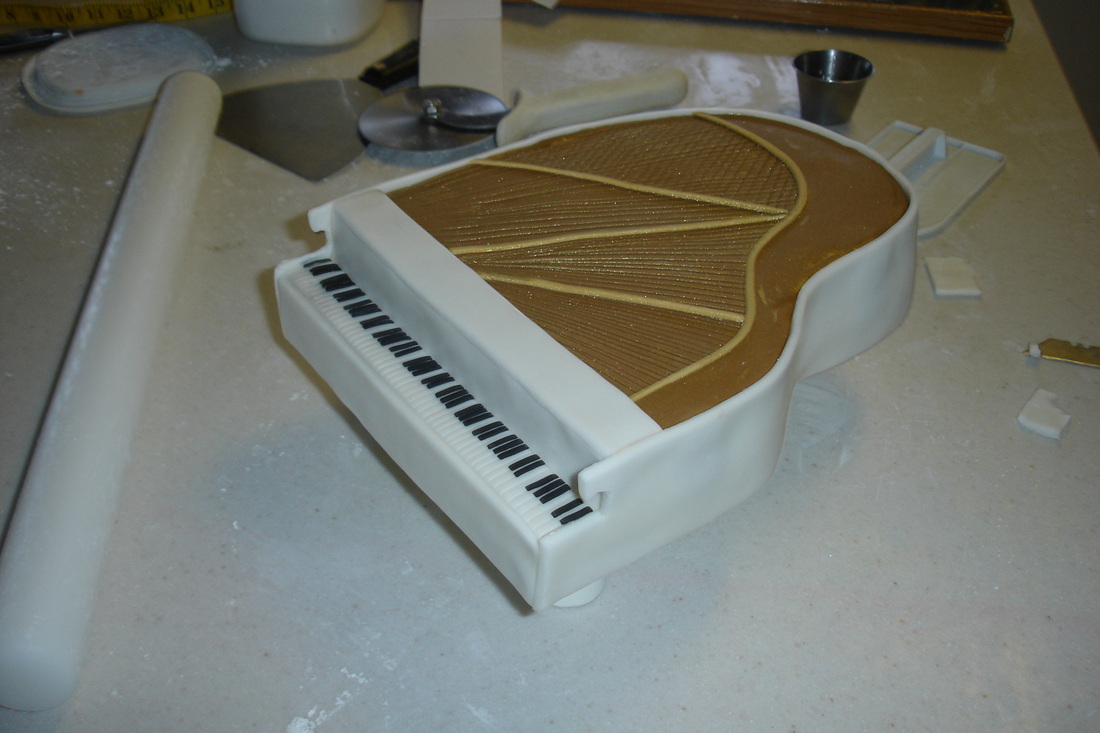
I then used my dough scraper to make the 'strings' for the inside o the piano.  I didn't worry about that area where all the lines crossed because I knew it would be mostly covered up by a different panel.
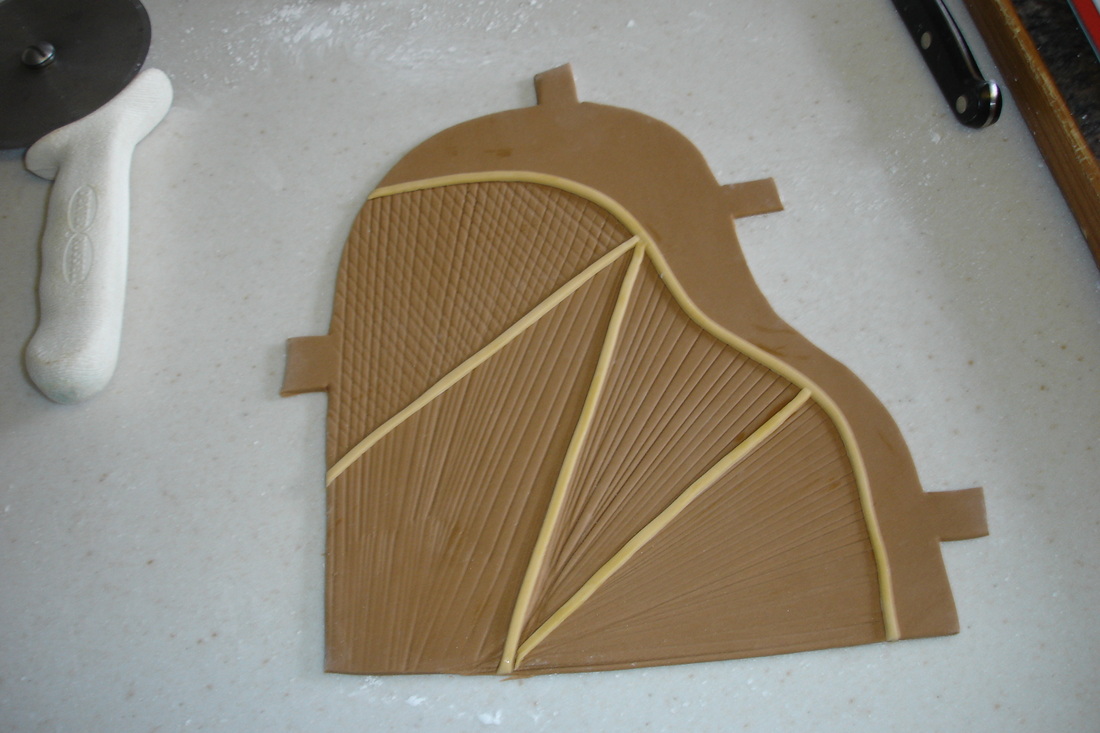
I rolled out some lighter tan and cut a small strip to start adding detail work.
Then I used a dry paint brush and dusted it gently with some gold so it shimmered.
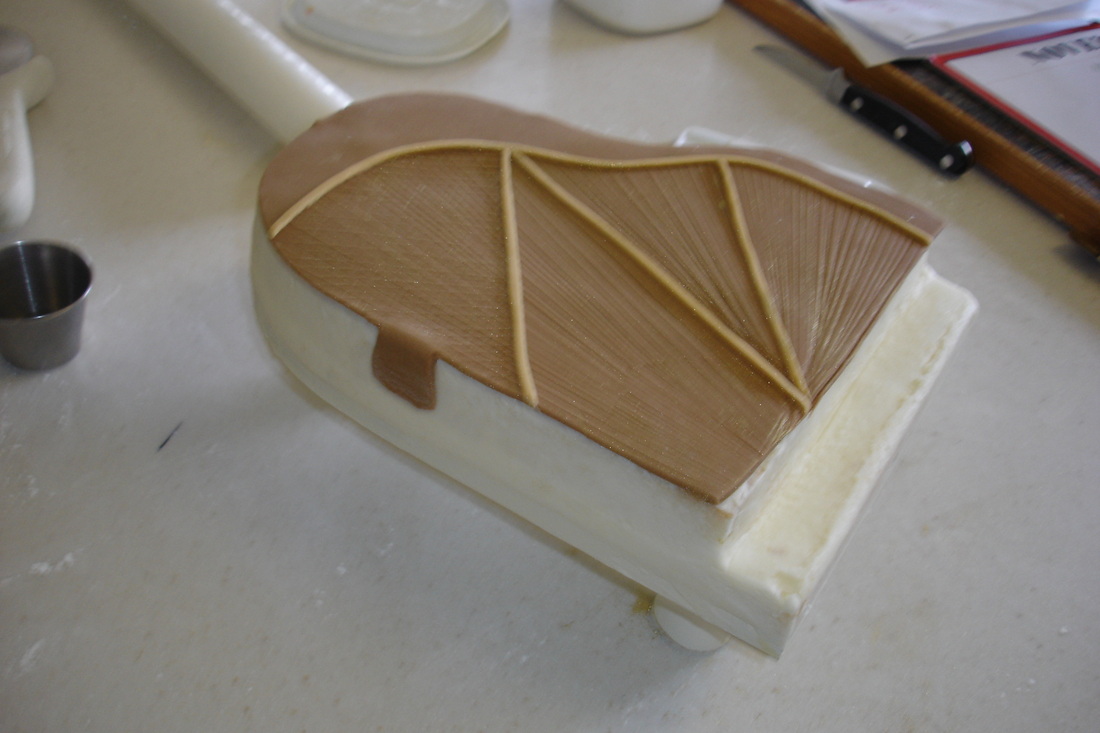
Time to put it on the cake...
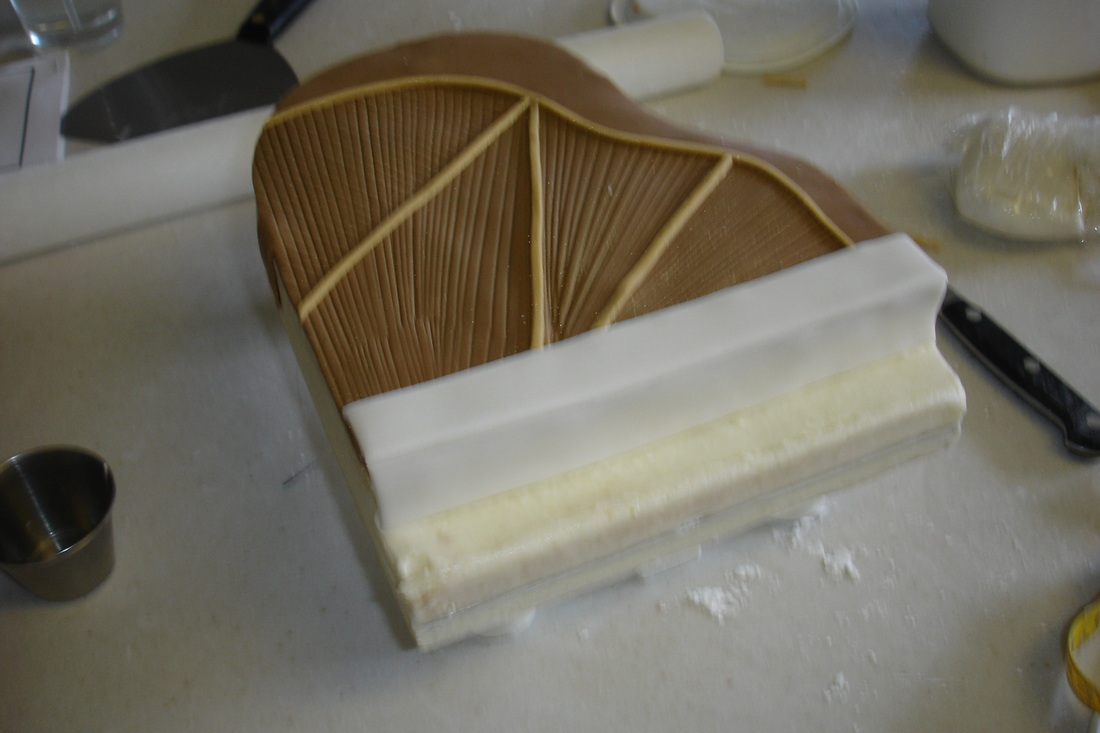
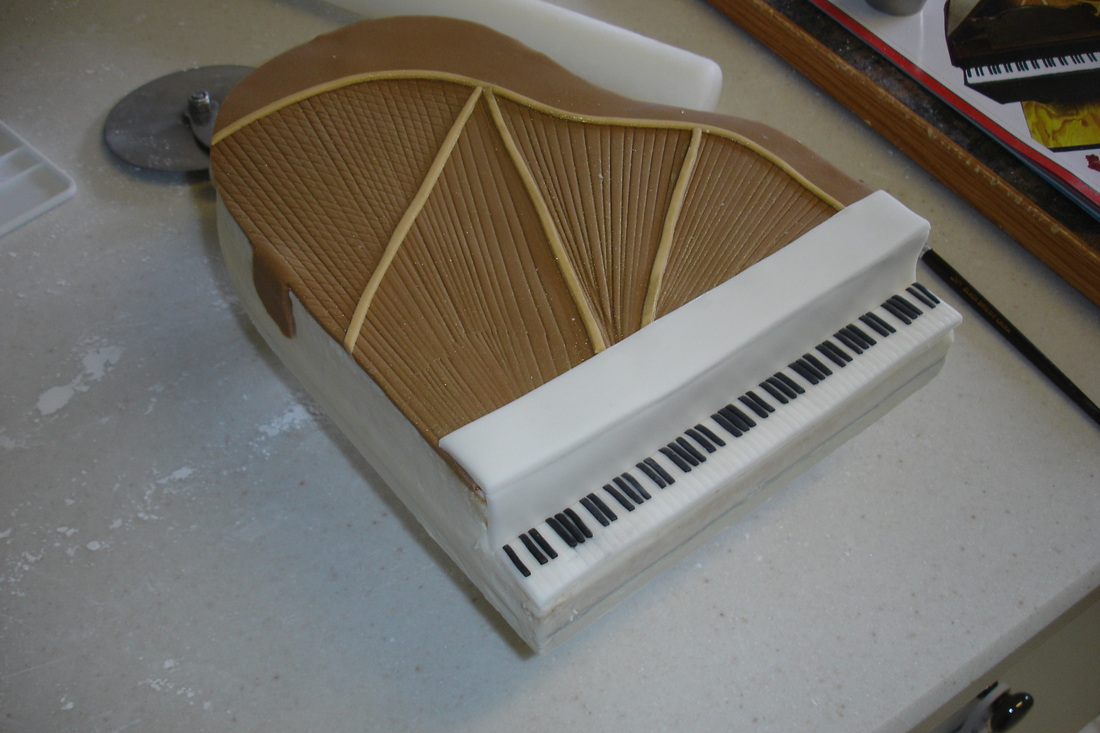
Now I started adding fondant details... a couple of white panels here....
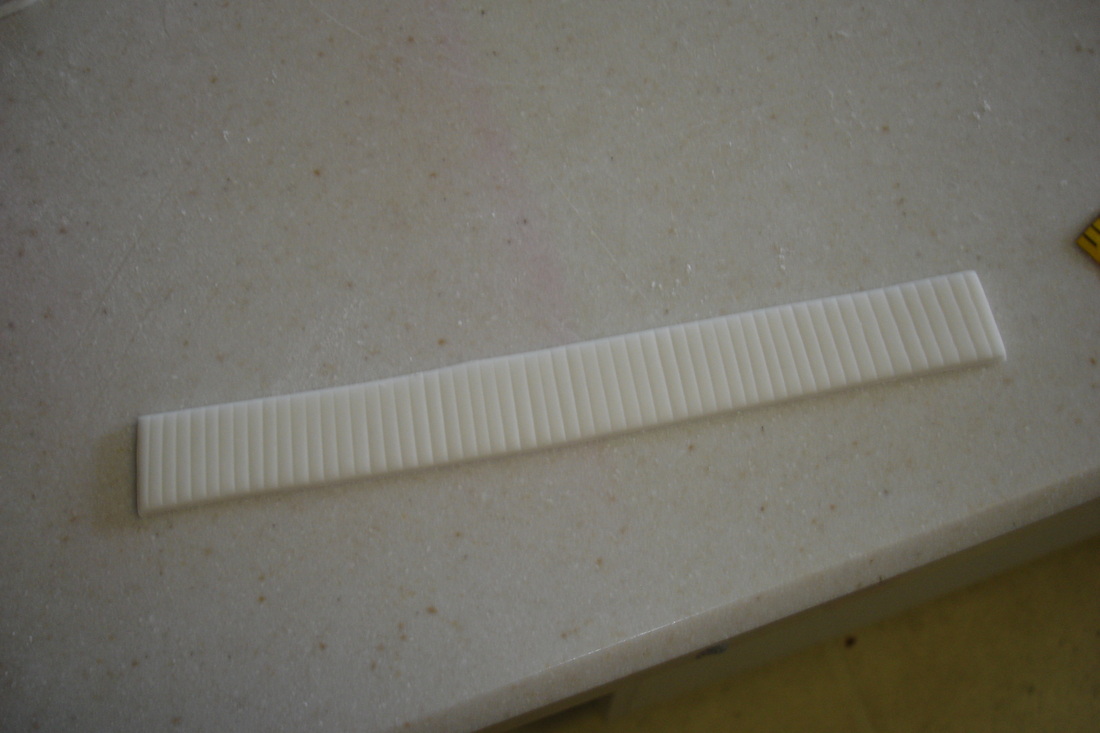
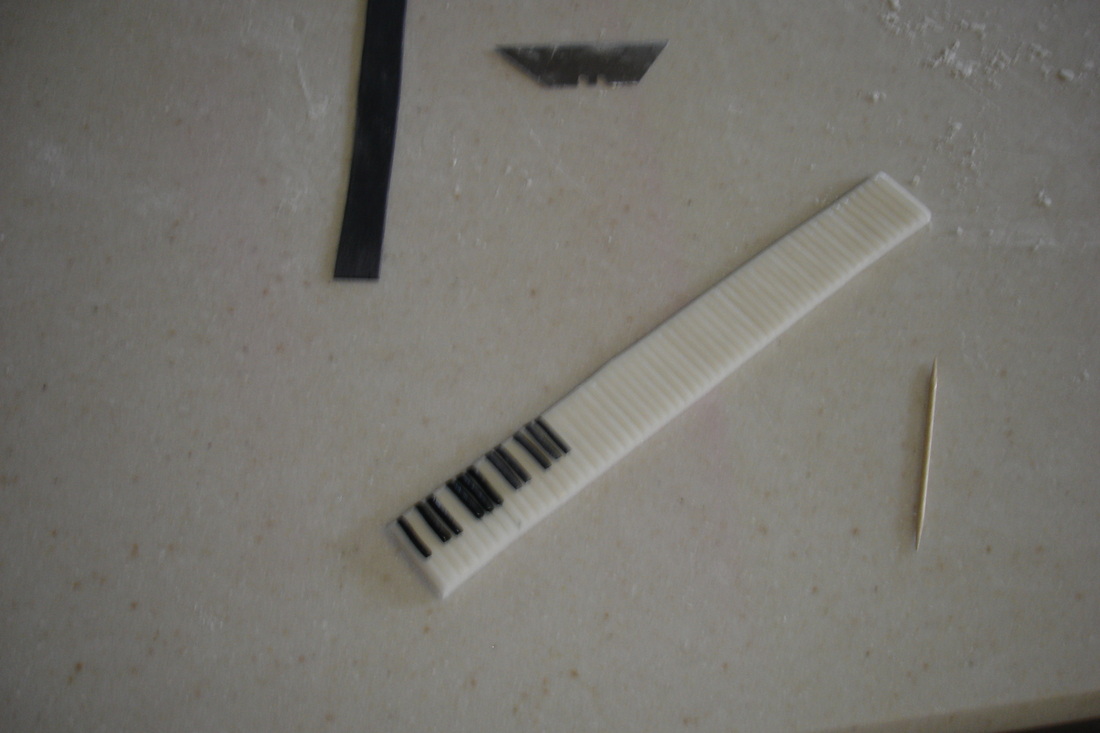
A keyboard there...  For the keyboard I just cut out a thin rectangle to fit the cake and used a razor blade to make slight indentions for the keys.
I wanted the details to really bring the cake to life...  black keys came on next.  I 'glued' them on using a bit of water (I glued all the panels together by slightly moistening them with water before I put them on the cake).  
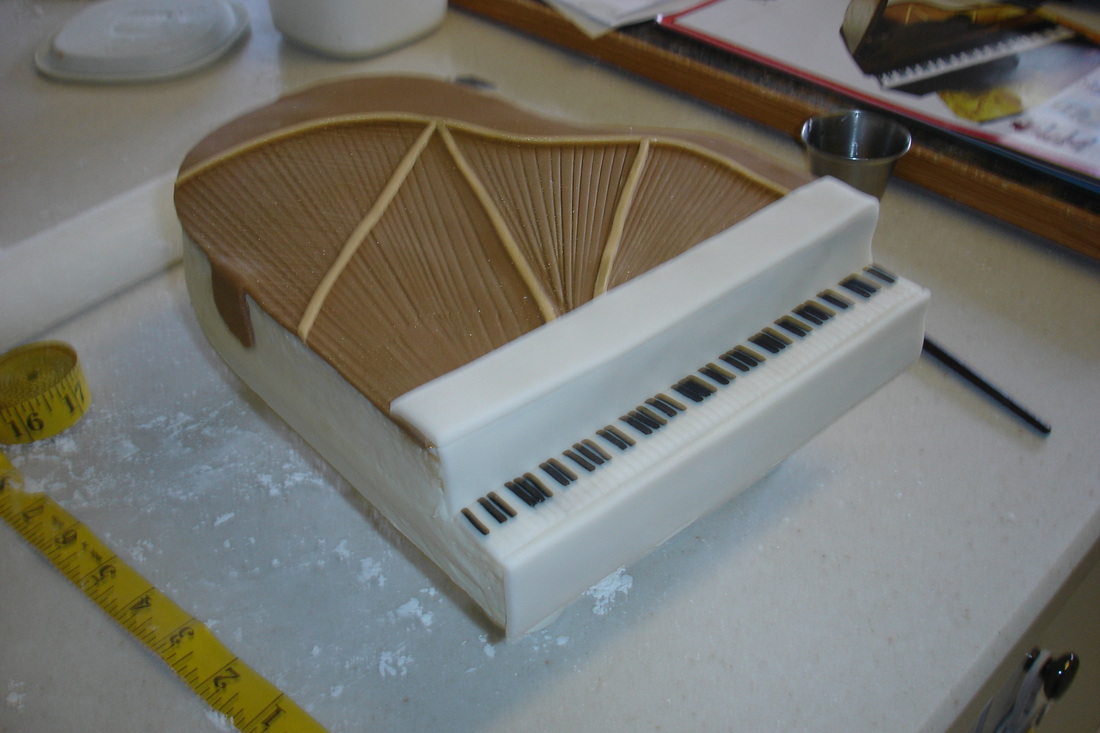
Add another panel to the bottom and it's really starting to take shape...
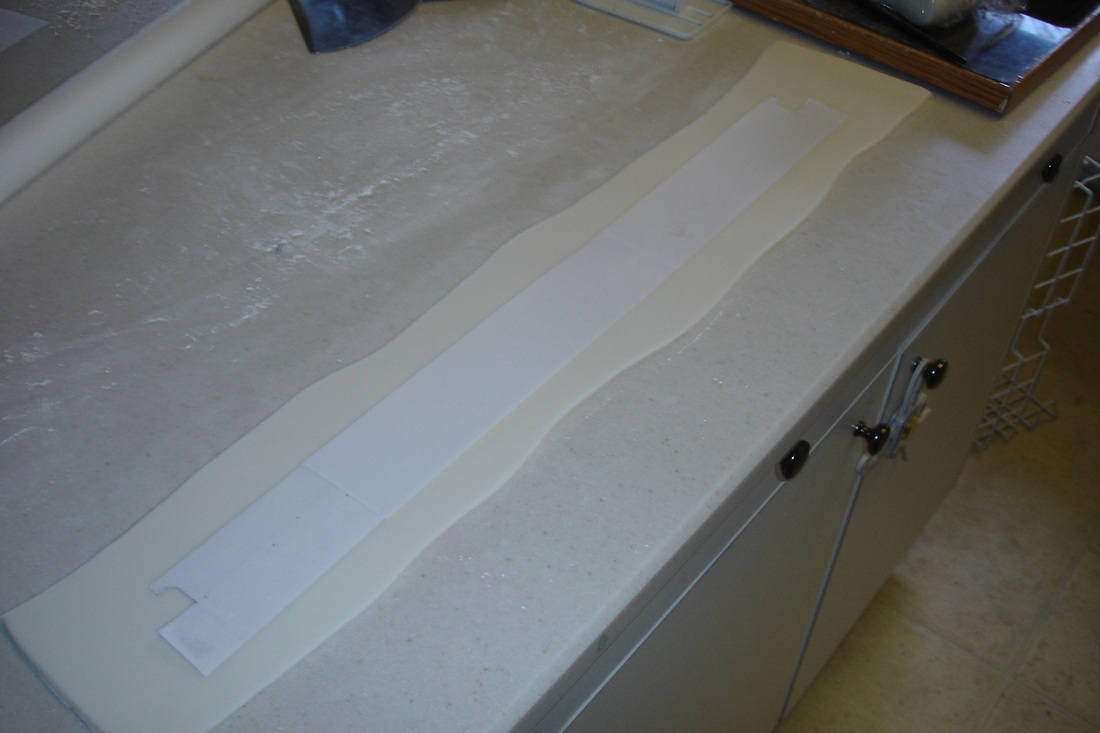
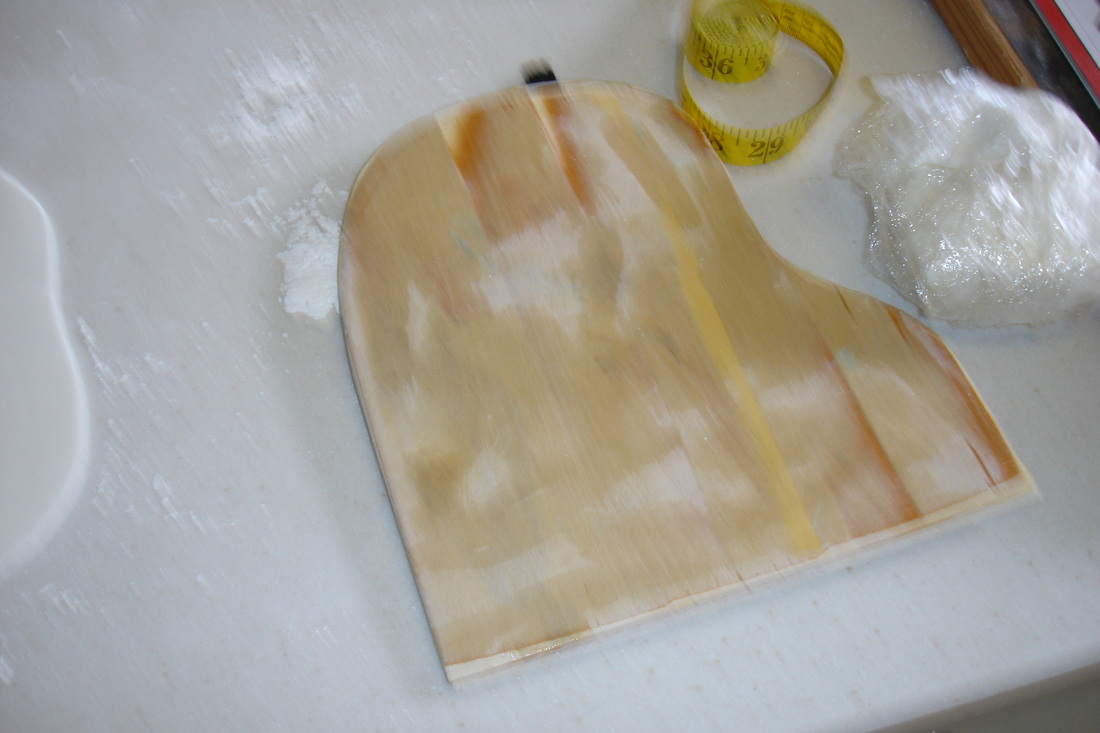
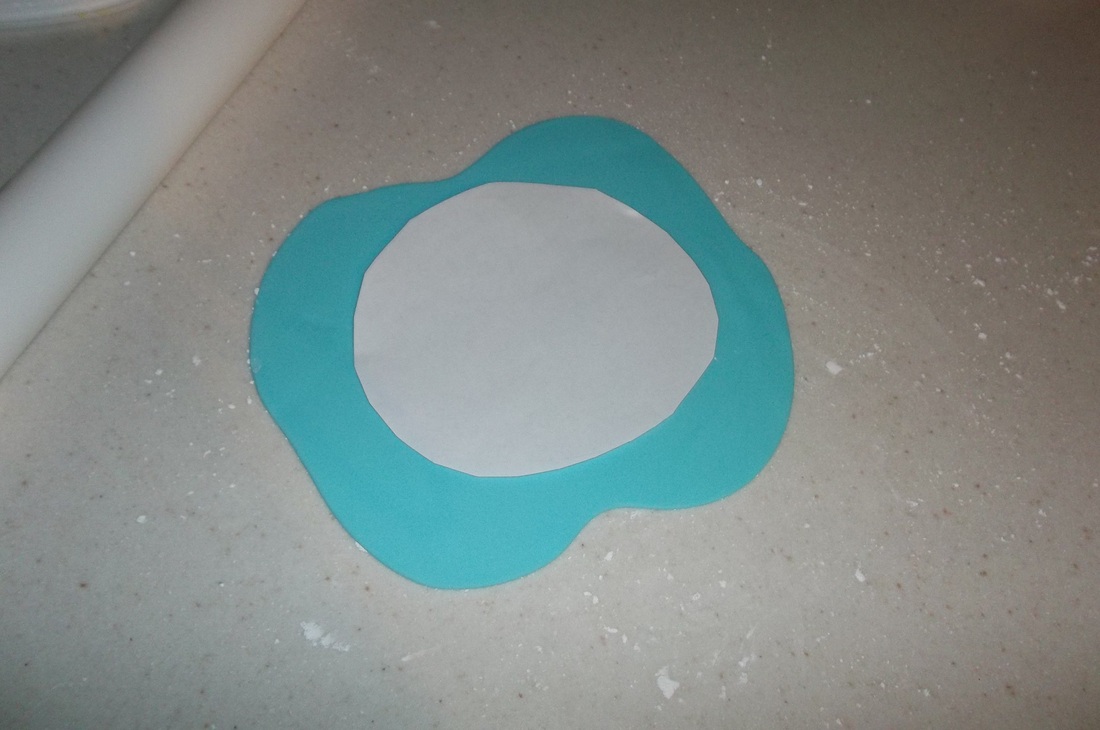
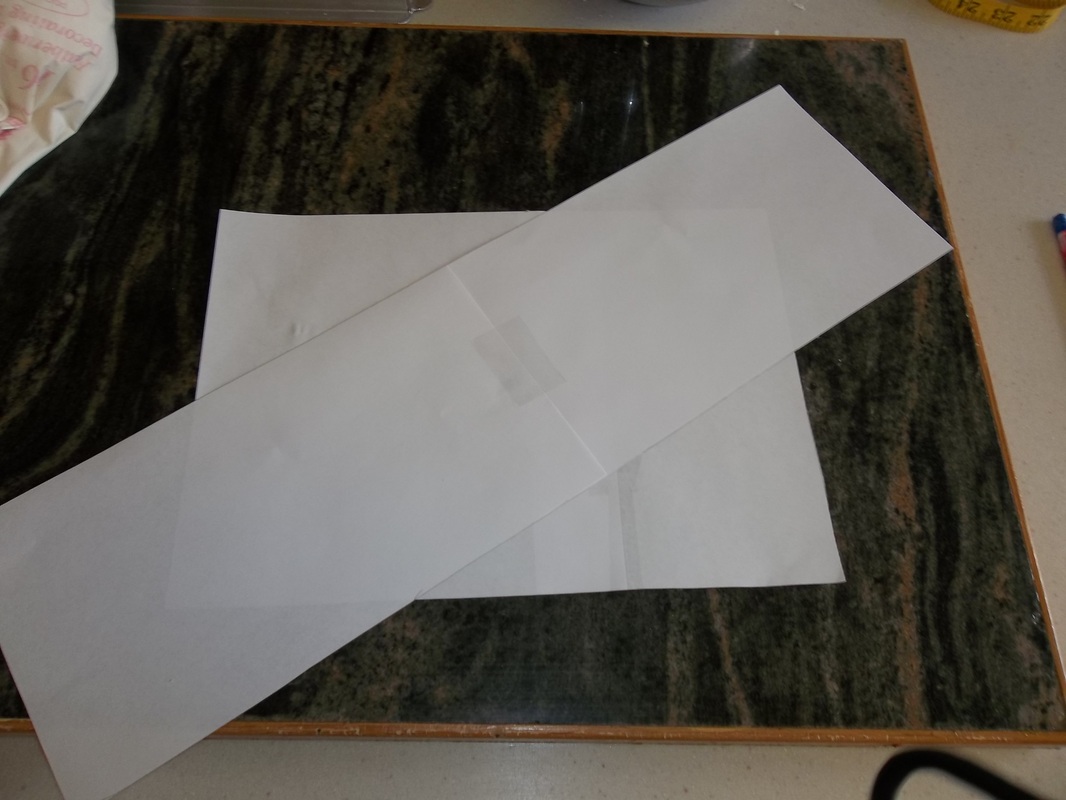
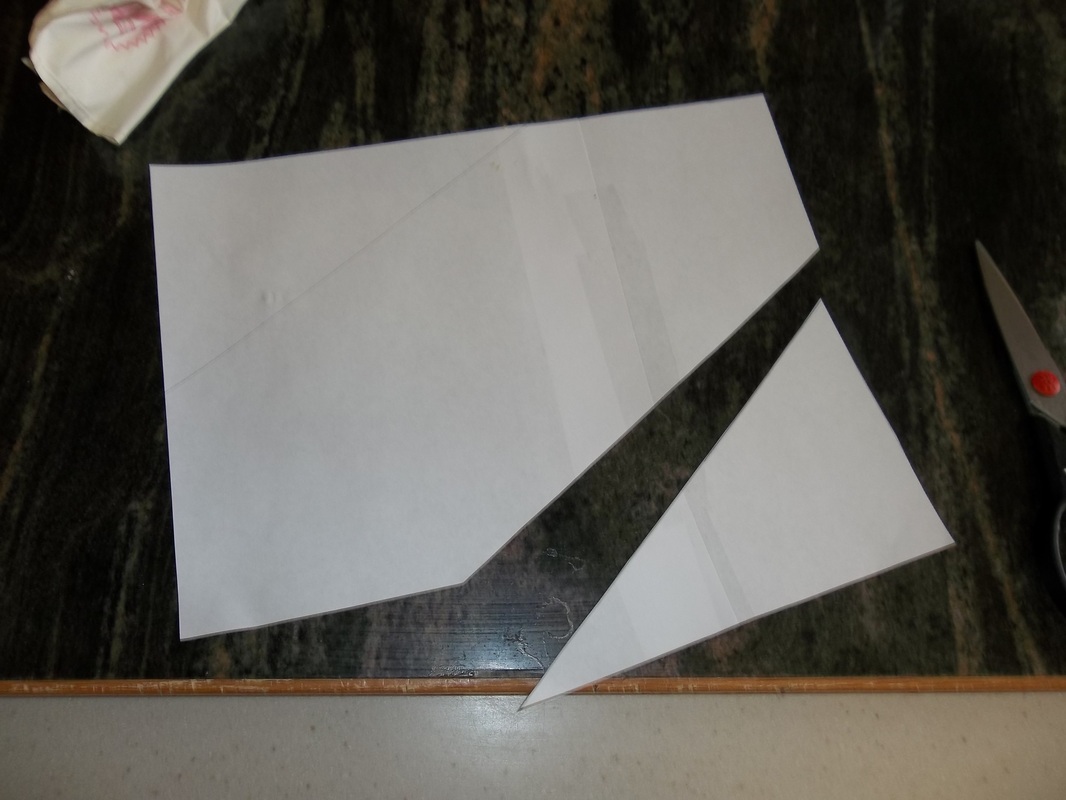
All the panels that I had made so far I just measured using a tape measure.  But the sides of the cake needed a bit more precision, so I made a paper cutout to use as a guide.
I moistened all the edges that would touch the side panel (as well as the butter cream side of the cake and the hang down tabs...and attached the side.  After it was attached, I immediately put the whole thing in the refrigerator in the hopes that it would firm up and hold together. 
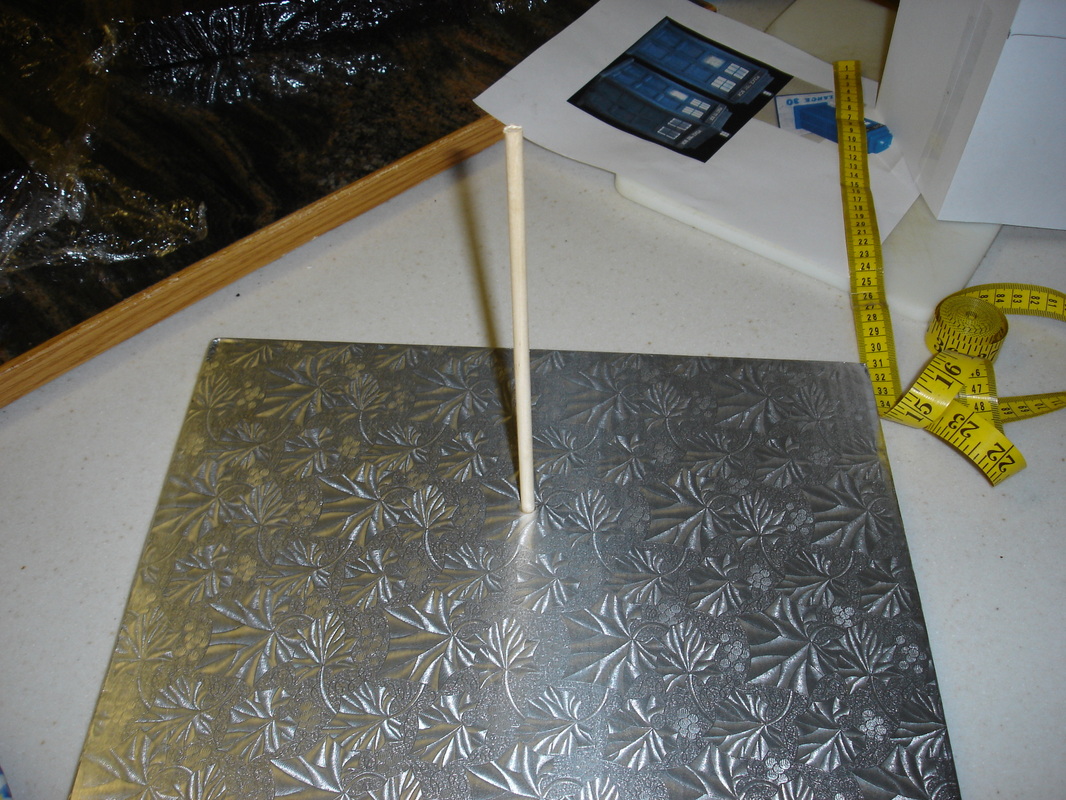
This was the board that the mother of the groom made for the top of the cake.
I added a bit of gum-tex to the fondant that I used for the top, and all the other details.  The gum-tex causes the fondant to dry stiff so the details were nice and firm.  I brushed the entire board with water and covered it with white fondant.   Then I set it aside to dry.
Then I made some more small details...the music stand and the flowers for the top of the piano.
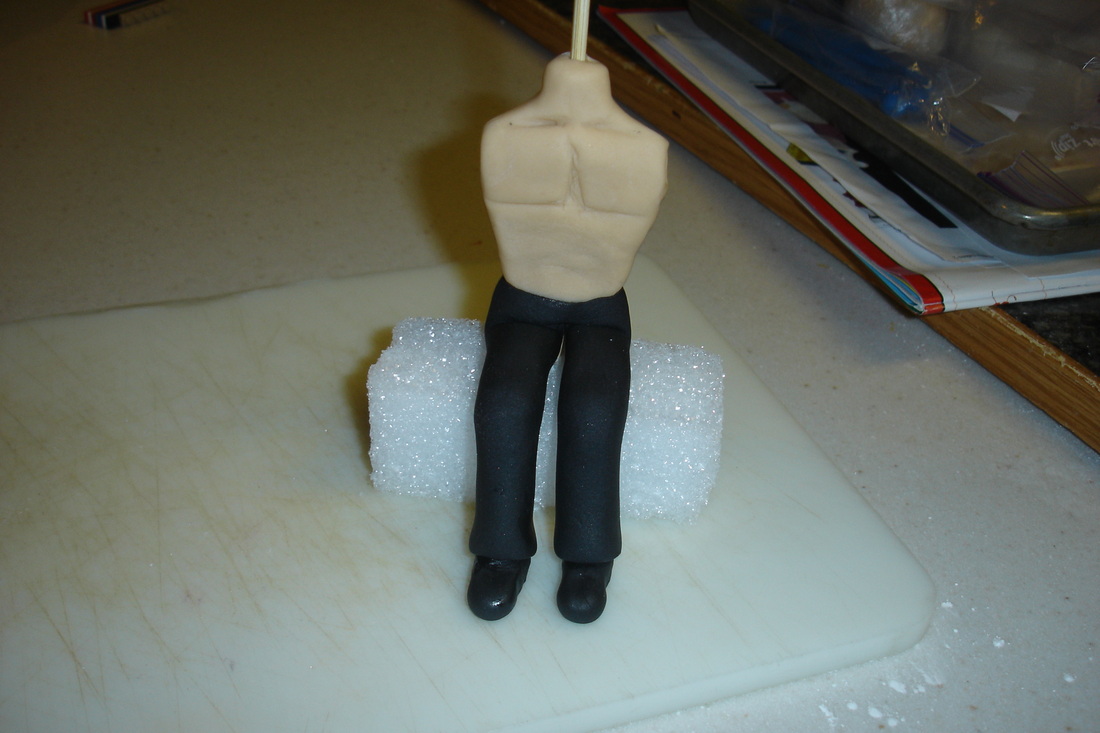
Time to start making the musician.  I'd never made a fondant person before so I was a bit nervous about this.  Luckily, I recently found a great resource online.  Her name is Liz Marek and she is AMAZING!  I stumbled across her tutorial for making a unicorn cake topper and it was wonderful...so I went online to see if she could help me make a fondant man.  This is what I found:  http://www.youtube.com/watch?v=v4di1fSfB10&list=UUskIPGdQ2oNmfm1UQgRwboQ

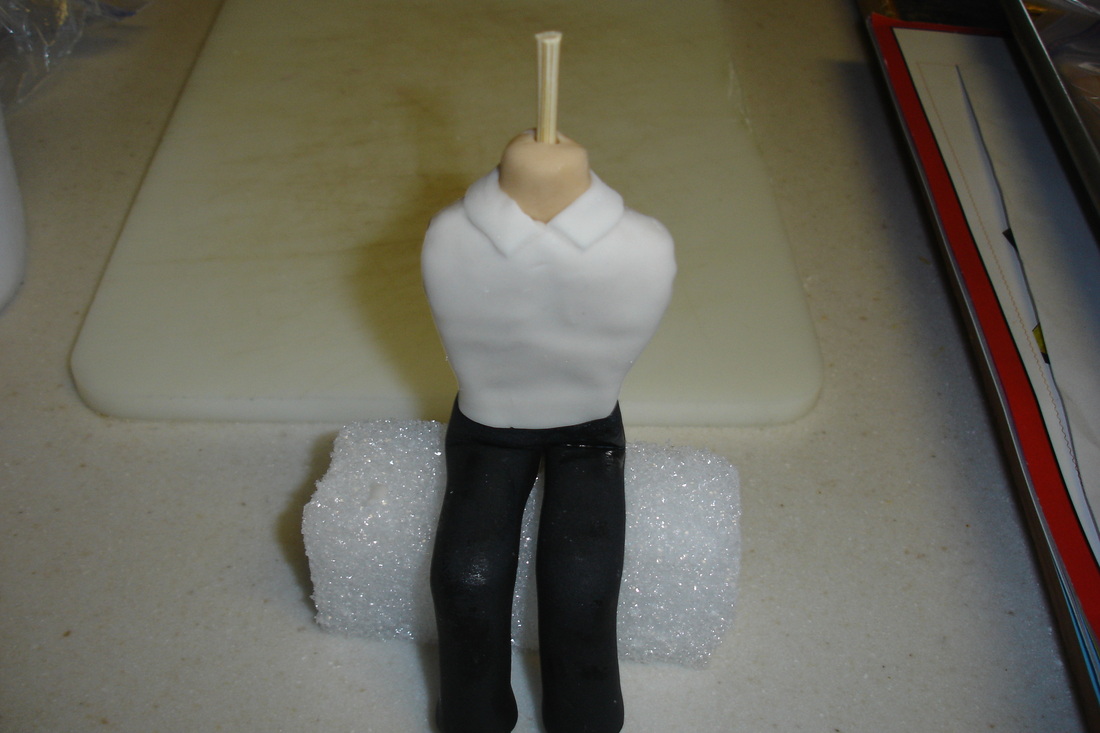
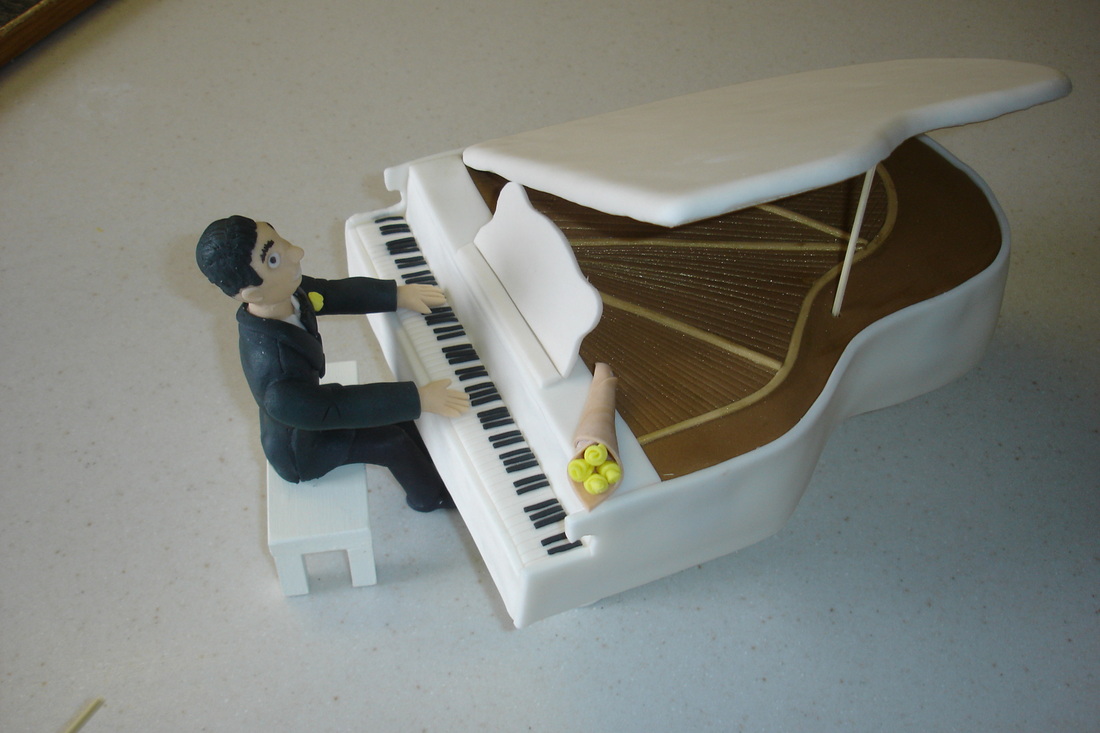
Her tutorial was great and very helpful.  The only thing that I did differently was adjust the clothes because I needed him in a tux.  I looked up some fondant tuxedo's and copied their details to make the difference.  I also waited until the last step to make the arms, as you will see in a bit.  

I started the cake four days before the actual event.  Usually I won't go longer than three days prior but there was so much here that I was unsure of.  I wanted a buffer just in case I had a cake emergency.  I also had to time everything right because some things needed to sit overnight (like the frosted cake before I started the fondant work).  This man was another example of that.  I couldn't start him early because I didn't know exactly how big the cake was going to be and I wanted him the right size.  But he had to sit overnight and dry before I moved on here...so I had to plan out all the timing.
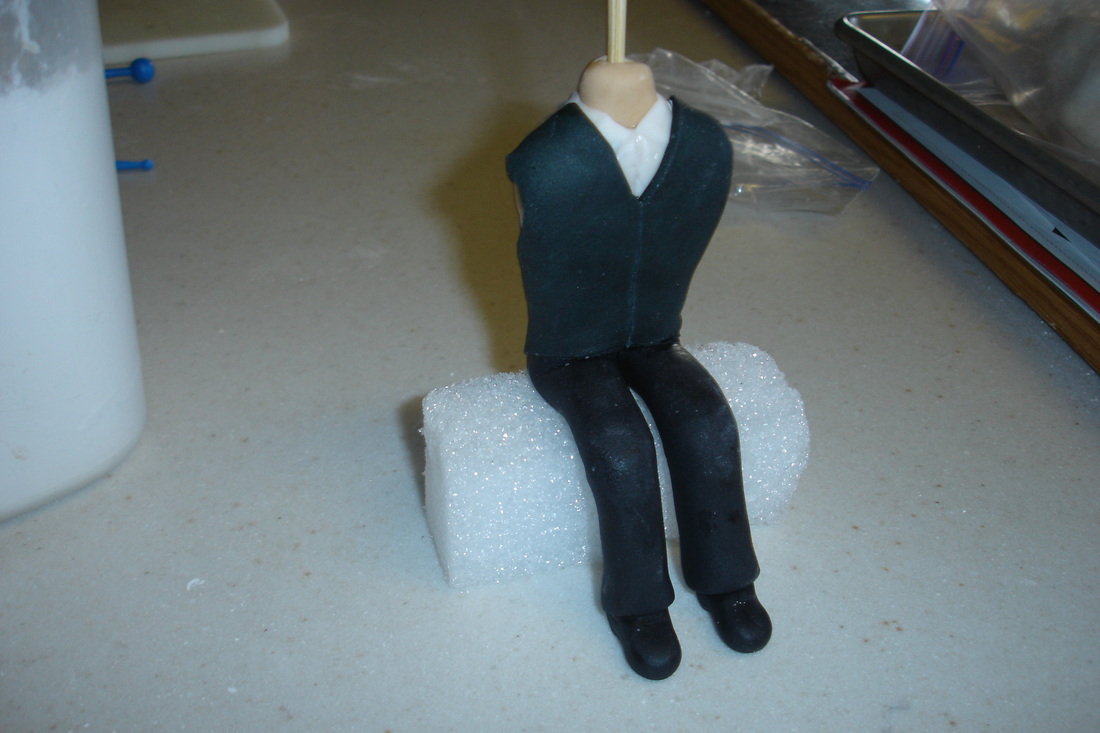
After he dried overnight, I started adding the clothes.  I actually ended up taking this black jacket off and redoing it because it was too short. 
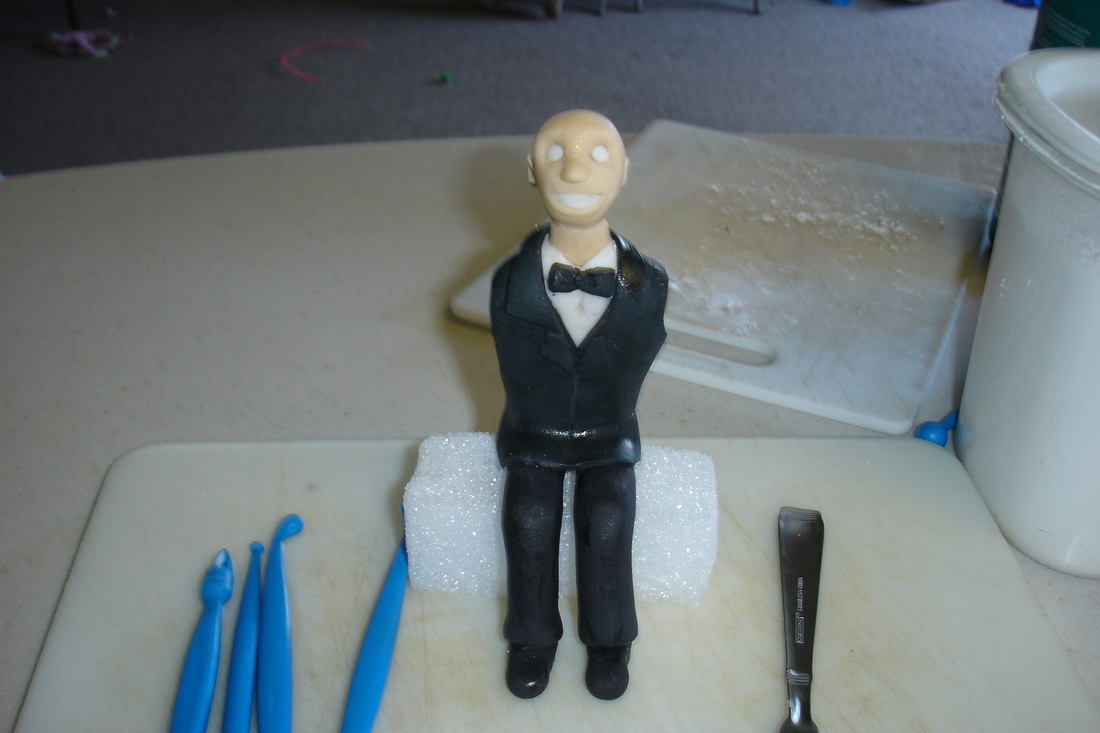
Little by little I added more details...
I saved his arms for last.  I really wanted him playing the piano so I needed the finished cake as a guide so his arms were the right height.
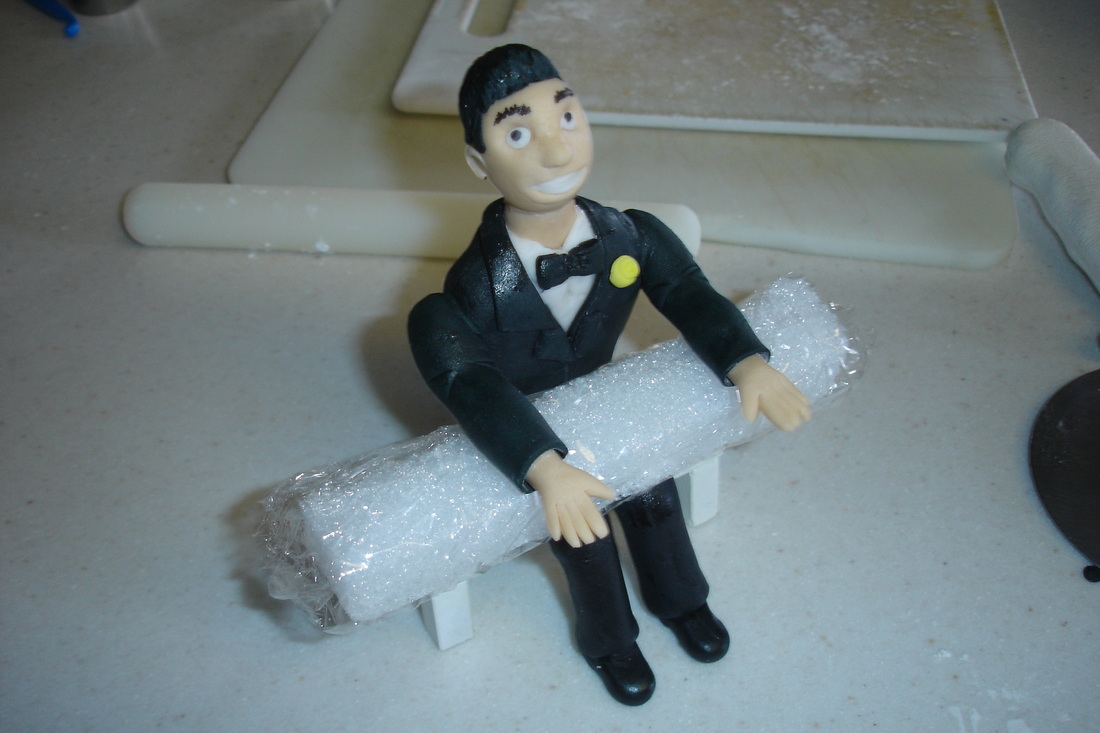
After I had the arms figured out, I cut out a foam piece to hold them at the right height while he dried and until the event.  I covered the foam in plastic wrap because I didn't want little bits of foam getting on him.
Finally I fitted the lid for the cake and readied the whole thing for the reception.  I had my husband drill a small indentation in the wood of the lid so the stick had an area to grab.  Then I put in the stick and gauged the height.  I took off the lid again so it didn't get messed up before the event.  Measuring the height of the stick ended up not working because when I got it set up at the event you could see the underside of the lid.  And it didn't look good.  So I ended up cutting a couple more inches off the stick and re-positioning it.  
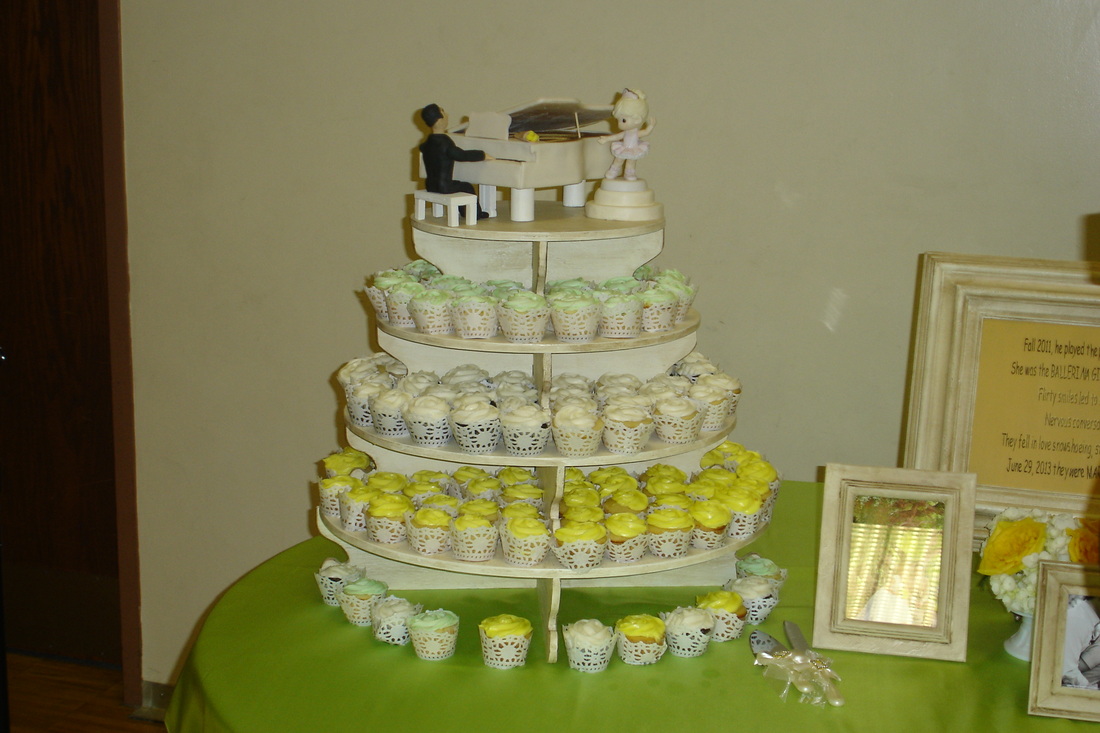
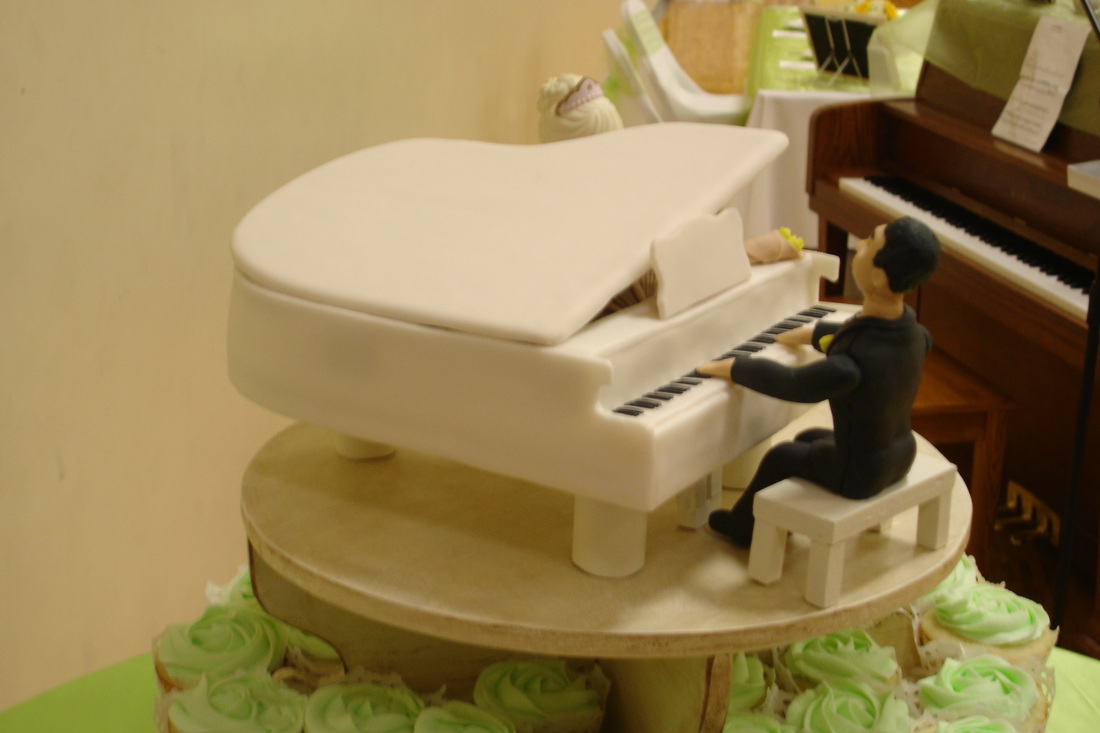
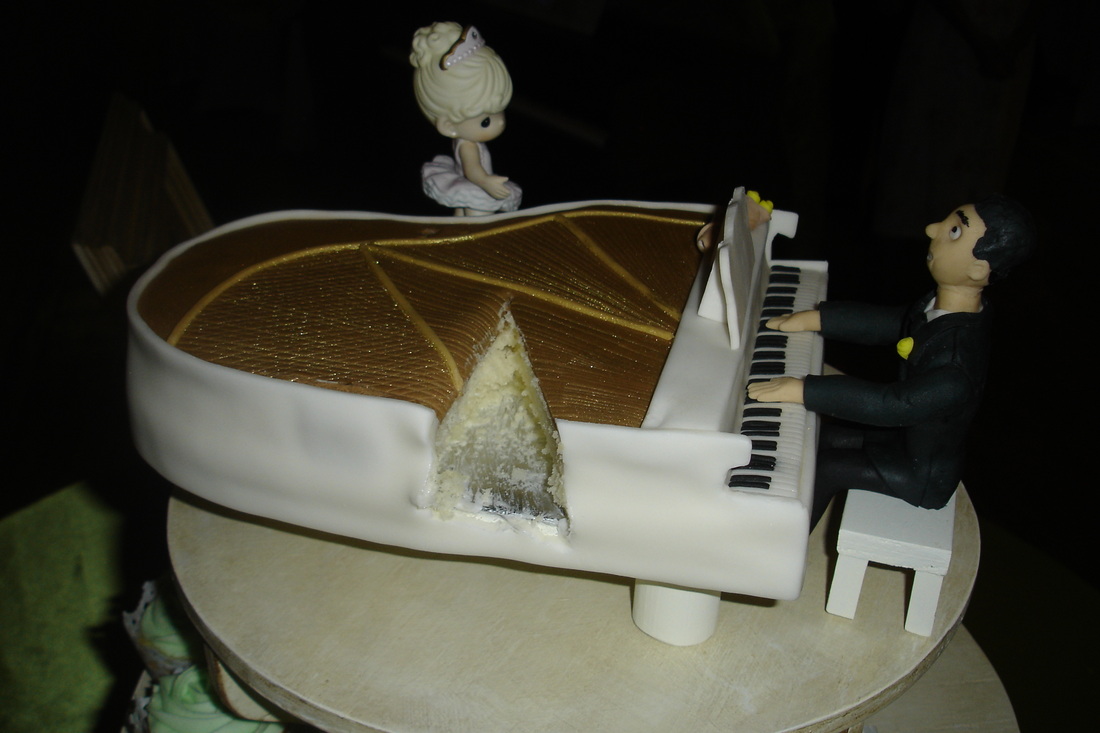
The is the finished product with the cupcake stand that they made.  They also added the ballerina.  The groom met the bride while playing the piano for an event in which she danced.  
You can see in this one how much shorter I cut the stick.
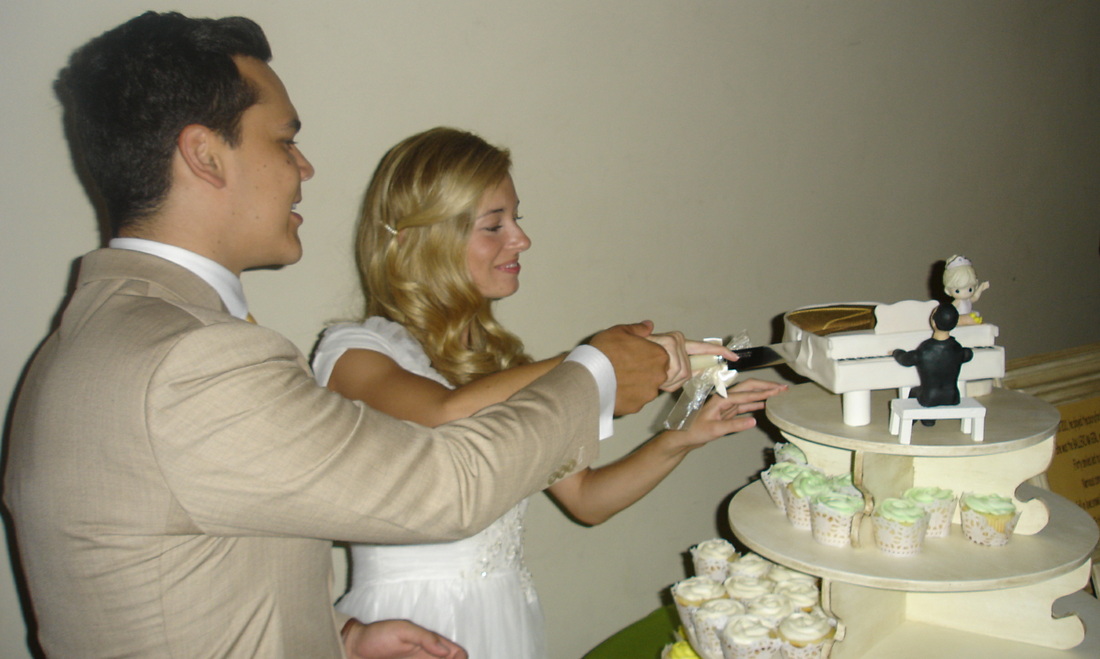
As a rare treat, I even got a picture of the bride and groom cutting the cake.  
Overall it was so much fun and I was really grateful for the opportunity. I've wanted to do a piano cake for years so I was really happy with this one.
 
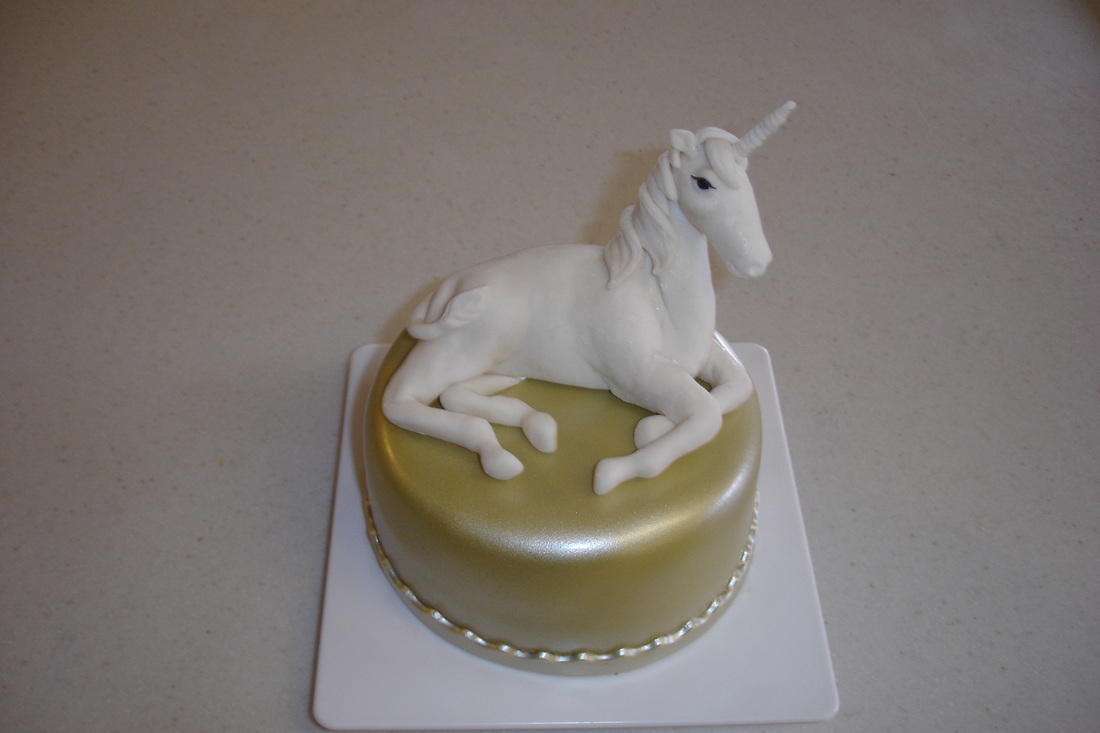
So I haven't posted anything in quite a while and was feeling creative.  I happened upon a GREAT instructional for making fondant unicorn cake toppers and decided to give it a go.  I was really happy with this first attempt.  But the ceramic sculptor in me struggled.  I had to keep reminding myself that it was sugar, not clay and that it didn't have to be perfect.

I didn't take pictures of my progress, because I literally just followed the blog.  I sculpted right in front of my computer, copying her as best as I could.  

The cake was just a six inch round covered in fondant, then airbrushed first with gold, then with a pearl sheen.

Here is the site if you want to try it:  
http://www.youtube.com/watch?feature=player_embedded&v=xtd3Pr3qCXA


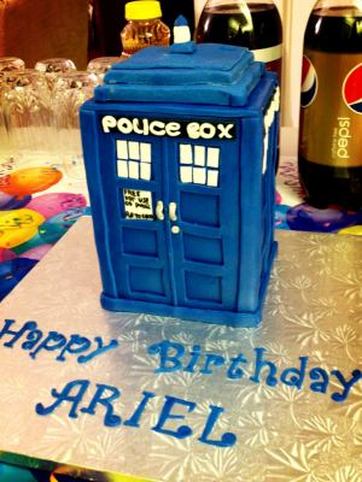
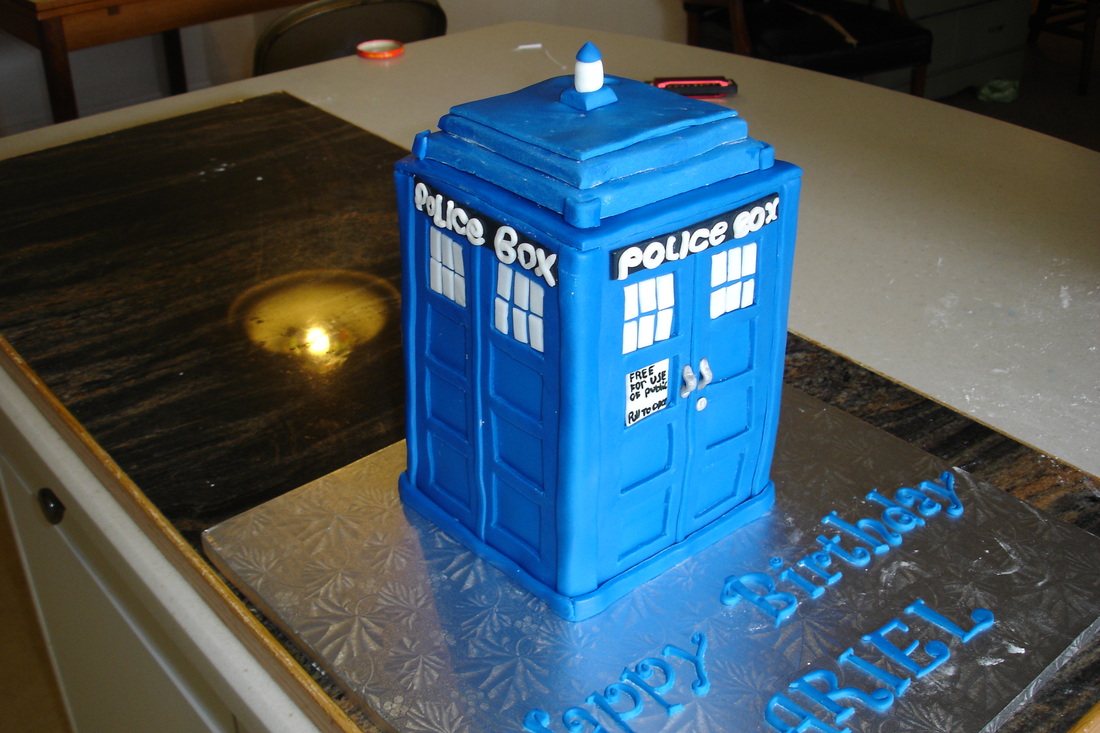
I was so excited to make a Doctor Who cake that I practically hugged the woman who asked me to do it.  Actually, in hindsight, I literally hugged the woman who asked me to do it.  And I had so much fun that I think I'll try a Dalek for my own upcoming birthday.
I started with two 10 inch cakes.  I was actually going for more accurate proportions but learned that you really can't stack my homemade chocolate cake 9 inches high.  It's much too dense and heavy.
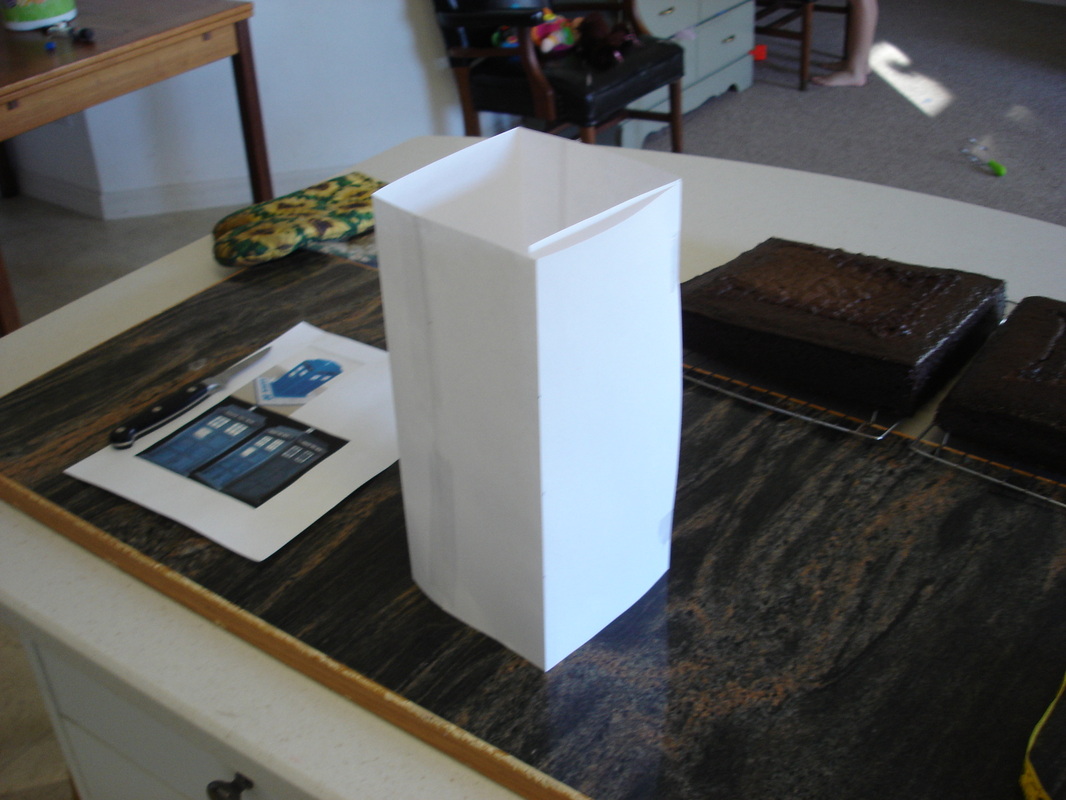
I used paper to gauge the size that I was shooting for.  As you can see, what I wanted and what we actually ended up with were two very different shapes.  I wanted tall and slender but ended up with short and not so slender.
I leveled the cakes...
Then I cut them into 4 and 1/2 inch squares.
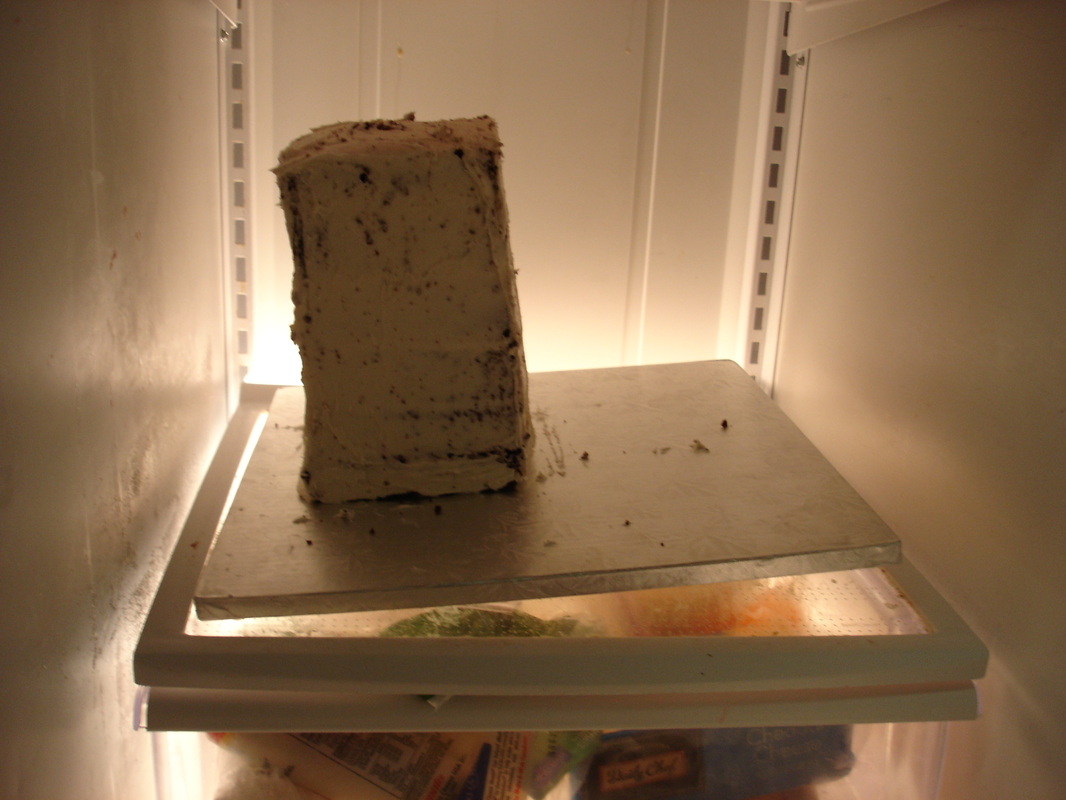
And here is where I made mistake number two (mistake number one being that I should have used a mix or lighter cake).  I sharpened a dowel using a pencil sharpener and stuck it in the cake board.  I even went as far as to put some hot glue in the hole so it was good and tight.  What I should have done from the start though was use three or four dowels.  One was definitely not enough to support this whole cake.
I then started stacking the cakes with buttercream in between each layer.  I had so much fun watching the cake get higher and higher that I completely forgot to take a picture of that stage.  After all 8 layers were stacked, I put on a crumb coat.  This is where it all started to unravel.  The cake was just too heavy.  It started to lean...BADLY.  It started to sink.....also badly.  The bottom layers started to compress and widen.  All of a sudden, my dowel was sticking out of the top of the cake.  It was a nightmare.  

I put it in the fridge with the hopes that I could halt further damage.  I had to prop it up at an angle to correct the leaning.  And I waited.  I was prepared to toss the whole thing and start over but I decided to let it sit overnight and see what I could do with it after it hardened.

In the morning I added two more dowels for support and trimmed the sides to make it more even.  I decided to go ahead with it because I really didn't want to start over...
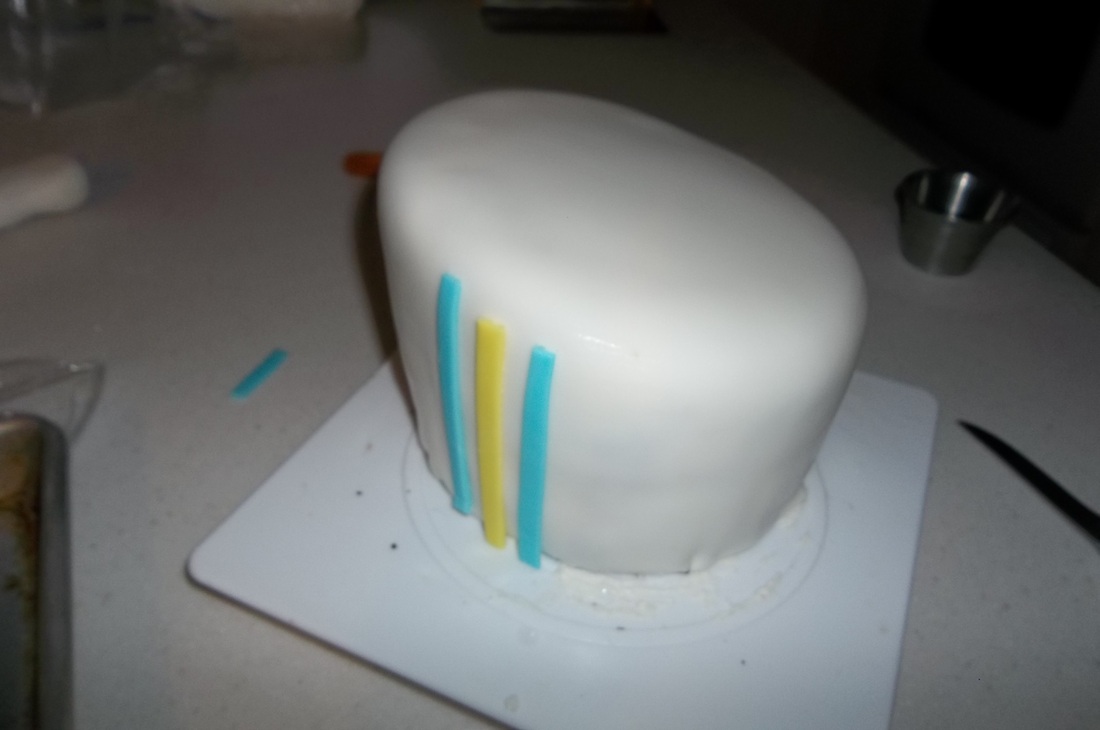
The next step was making the fondant sides of the cake.  This is the first cake where I pieced the sides together (as opposed to laying a single piece of fondant over the whole thing.  I was tense though because I've seen all too often on Cake Boss where fondant sides peel away from the cake and it all falls apart.  I can't just run back to the bakery to fix something like that, so I came up with some plans to avoid it (which included me telling my friend that I couldn't guarantee it would hold up after it came down to room temperature).

First I measured the sides of the cake and drew a basic outline for the side panels...
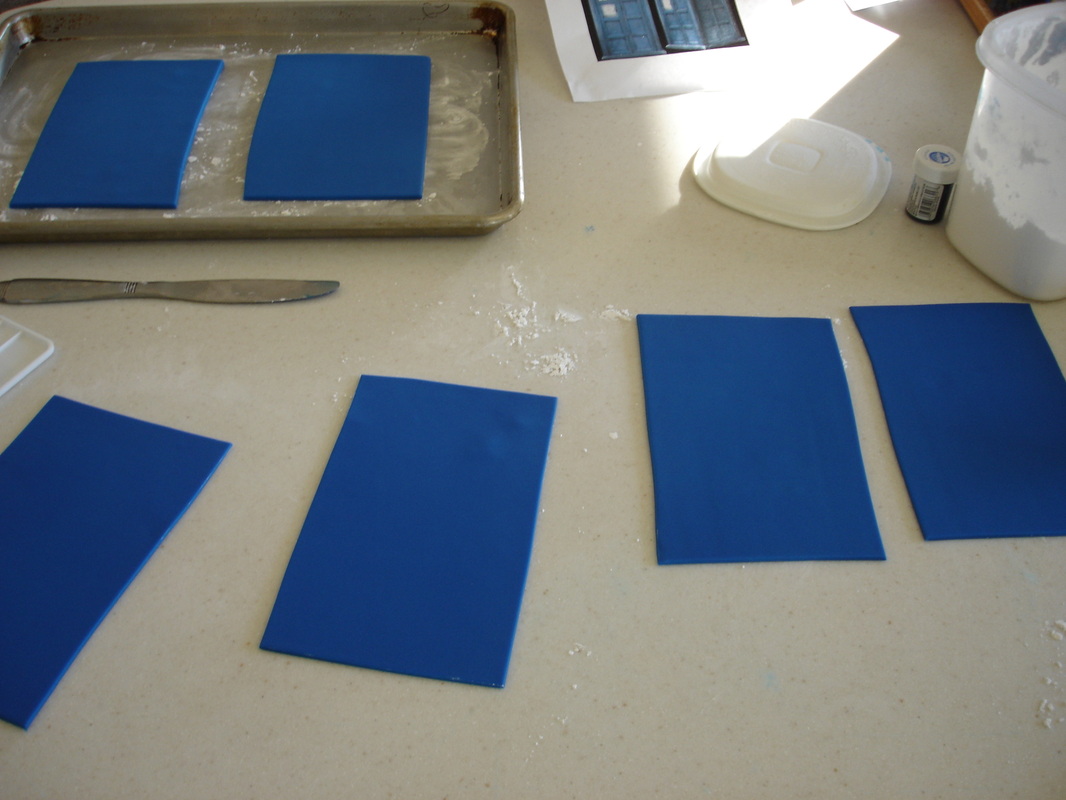
Then I colored the fondant....
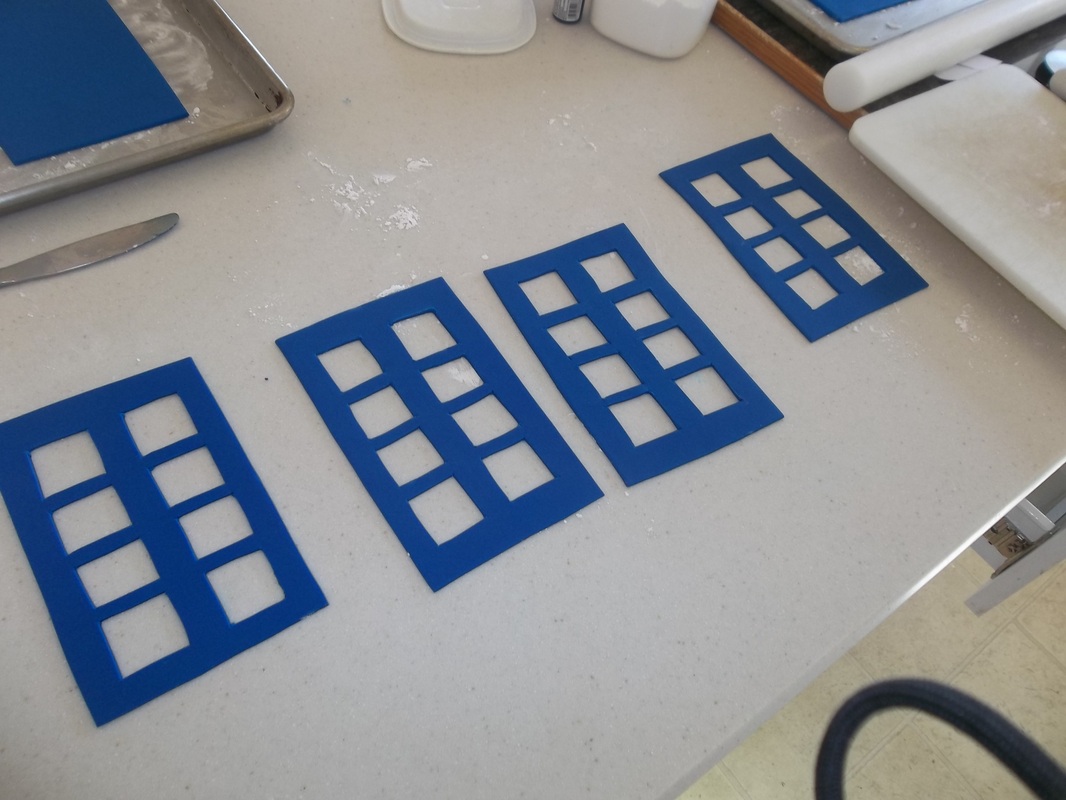
I cut out 8 side panels.  Four were pretty sturdy and four were as thin as I felt comfortable working with.  The thin ones were going to overlap the more sturdy ones after I had cut out the windows.
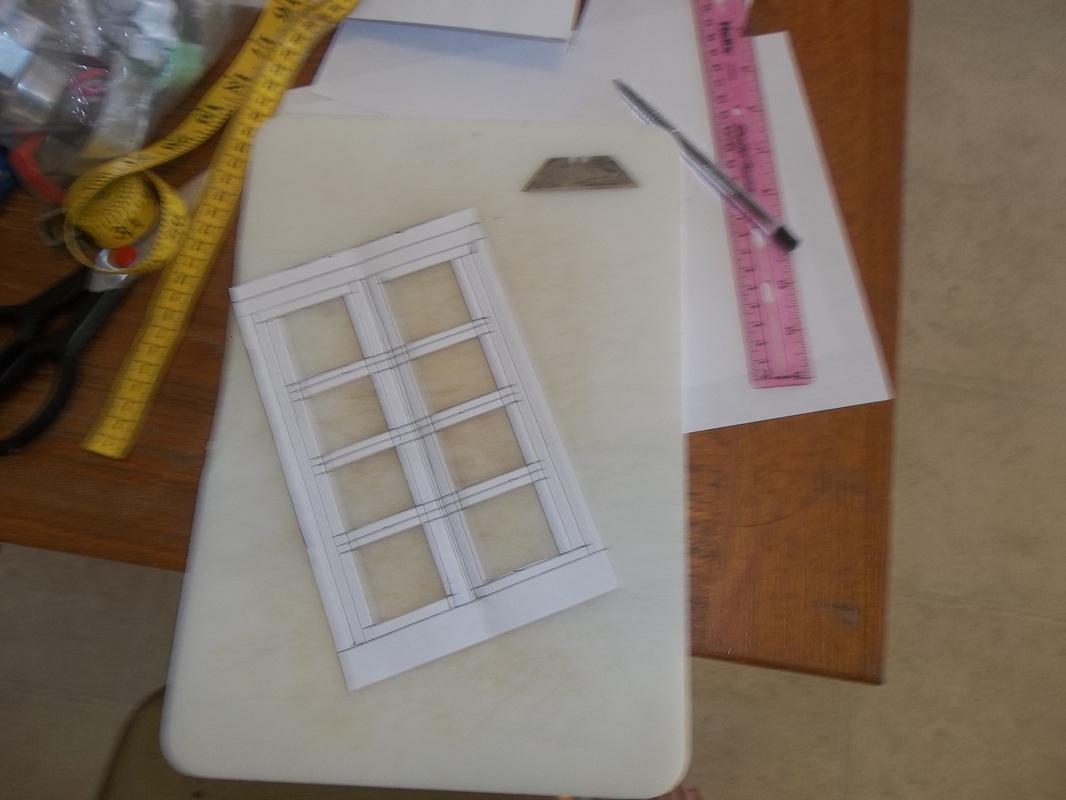
Next I started cutting out the windows on the thin panels...
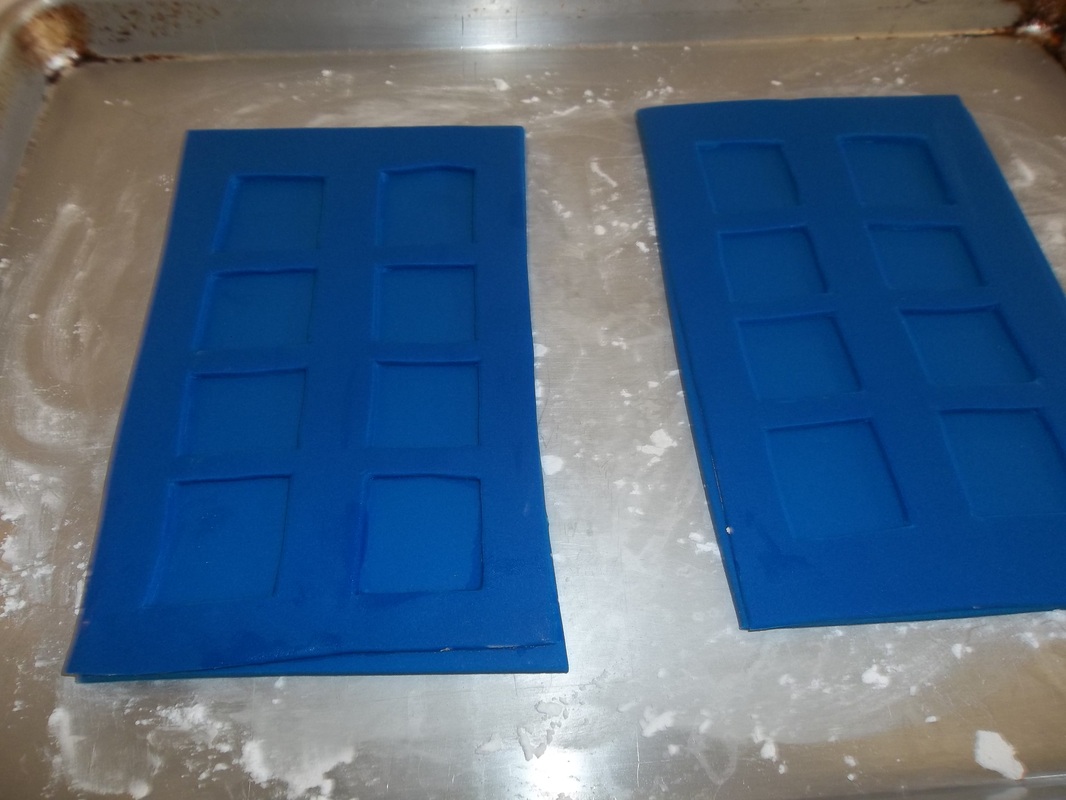
Using water, I overlaid the window panels onto the thicker panels...
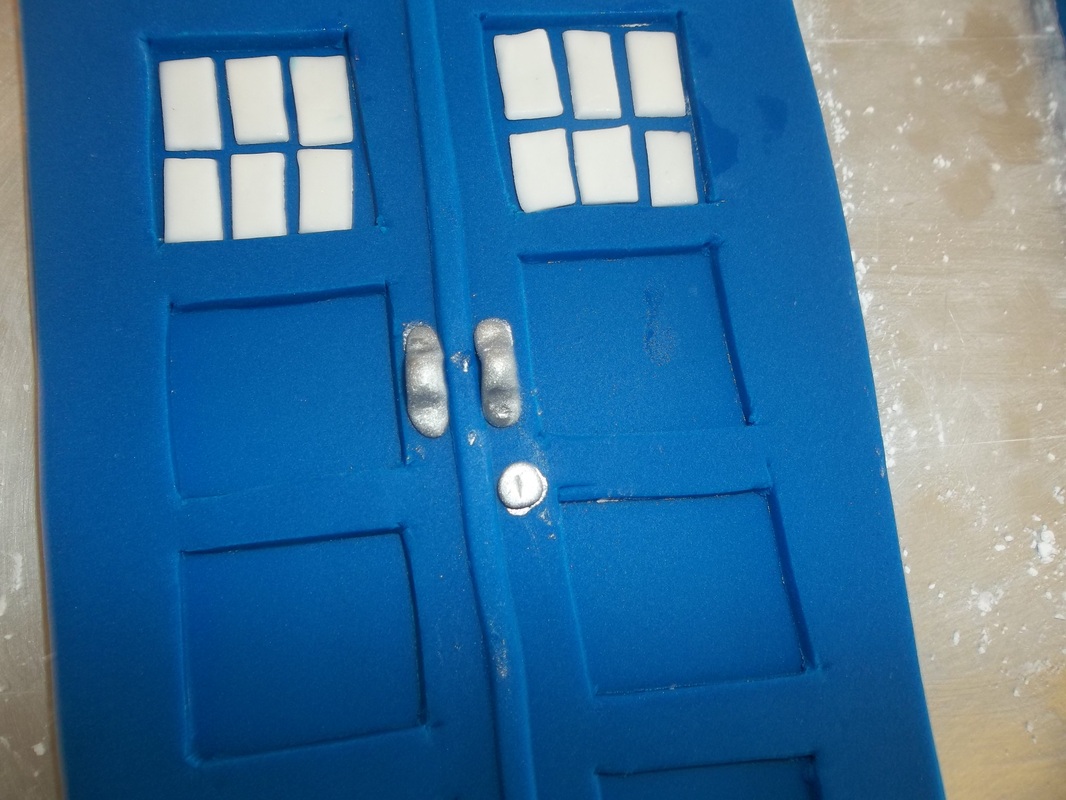
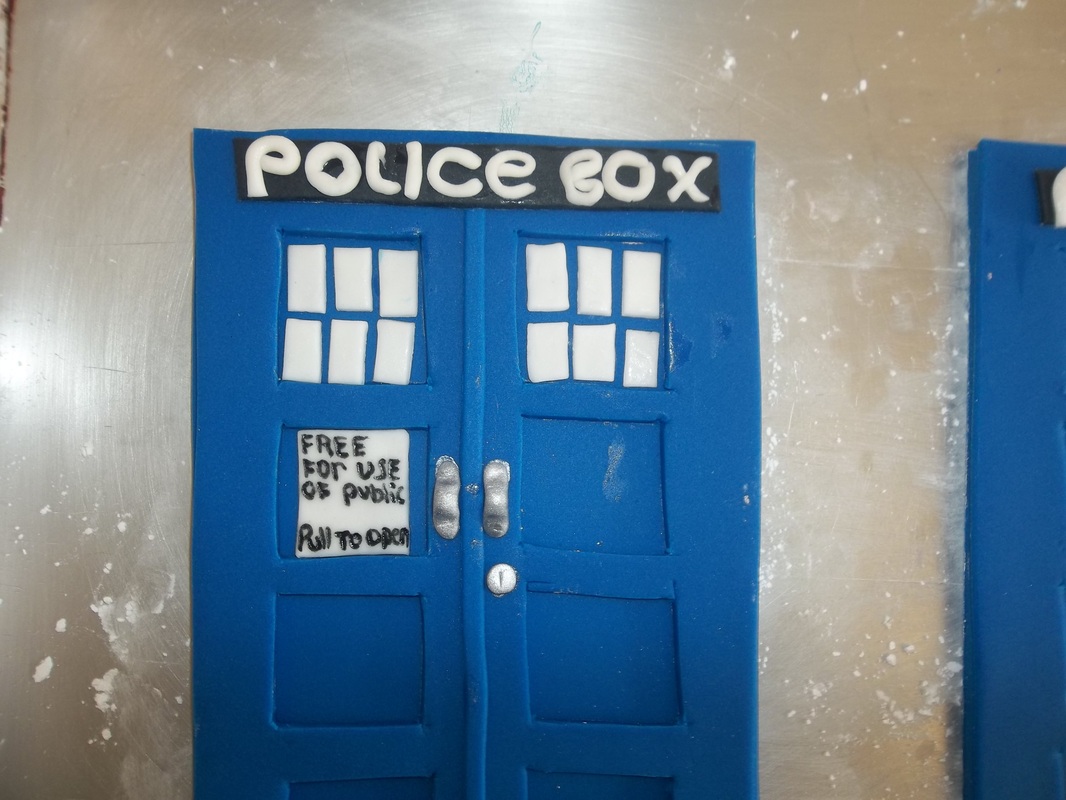
...and added details, like white squares to imitate light,  the little strip down the middle to separate the doors, door handles, and a key hole (which I dusted with silver).
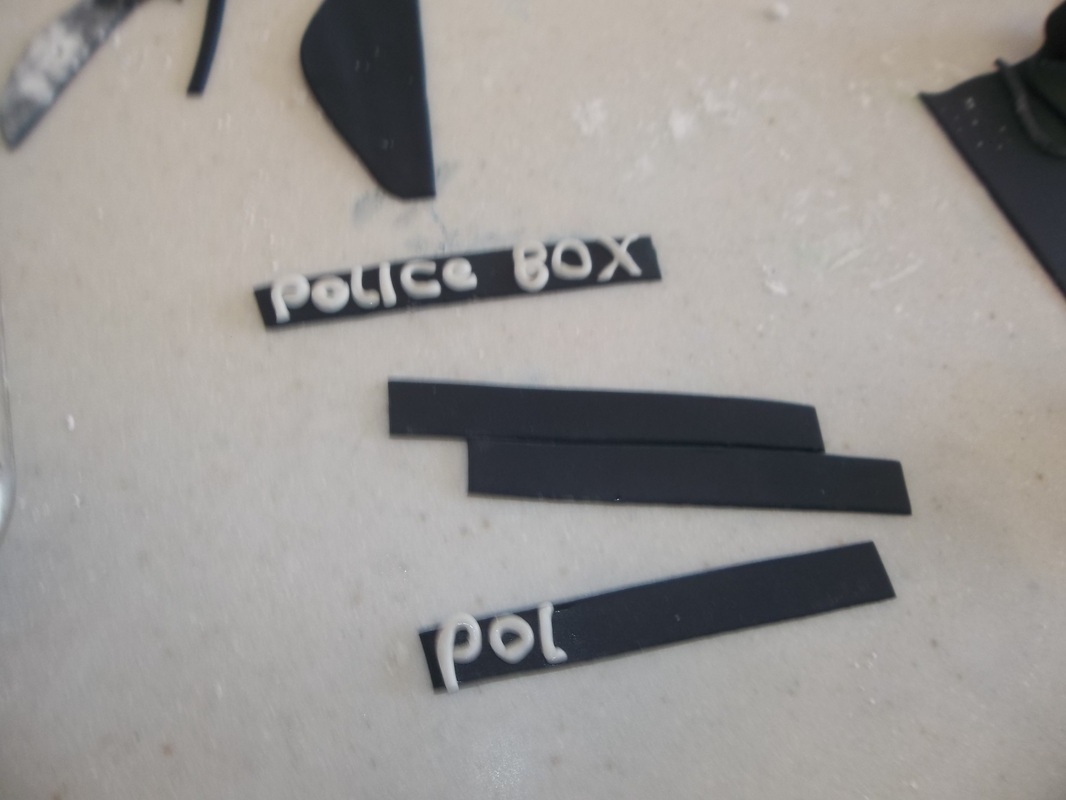
Never before have I wished so badly that I had an edible printer....or a friend close by who had an edible printer.  But alas, that is a $300 expense that I really can not justify.  Had I had a printer, I could have printed out the actual Police Box signs for the door.  As is, I had to wing it.  I thought the easiest thing to do would be to use strips of black fondant and just roll the letters with white fondant.  
For the second sign, I used white fondant and a black edible marker.  Yes, I know.  I have horrible handwriting.  But it was for a birthday party, not a wedding.  It was good enough.  
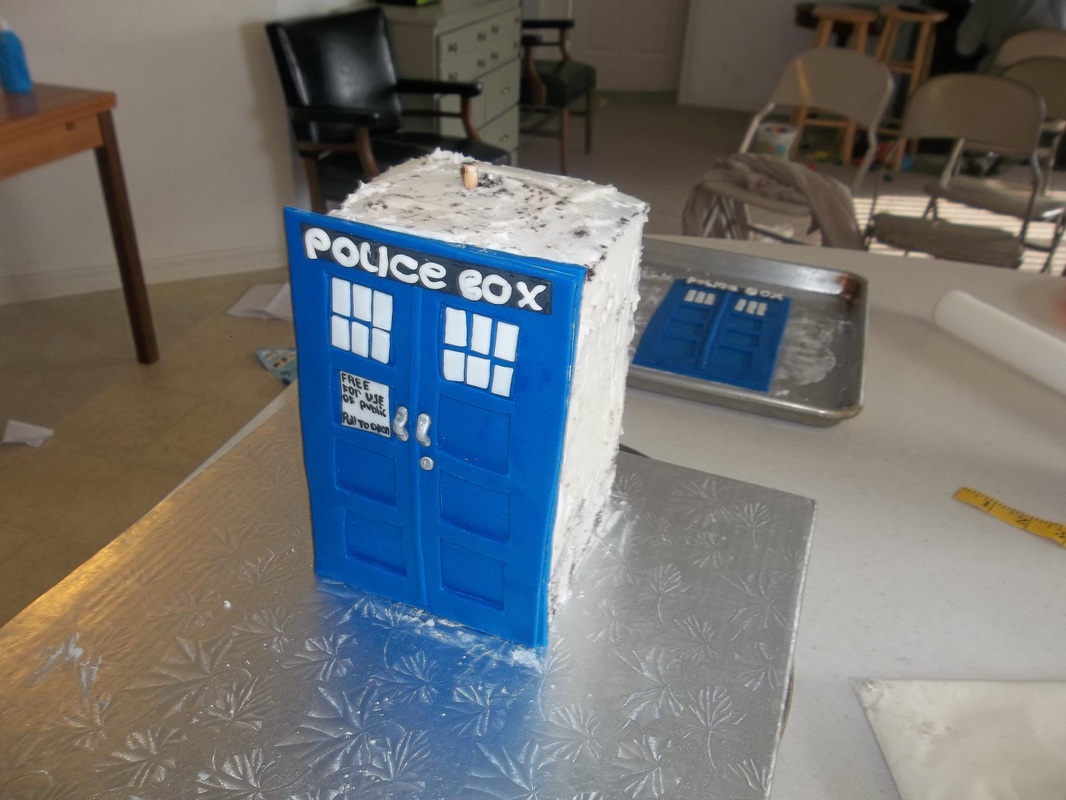
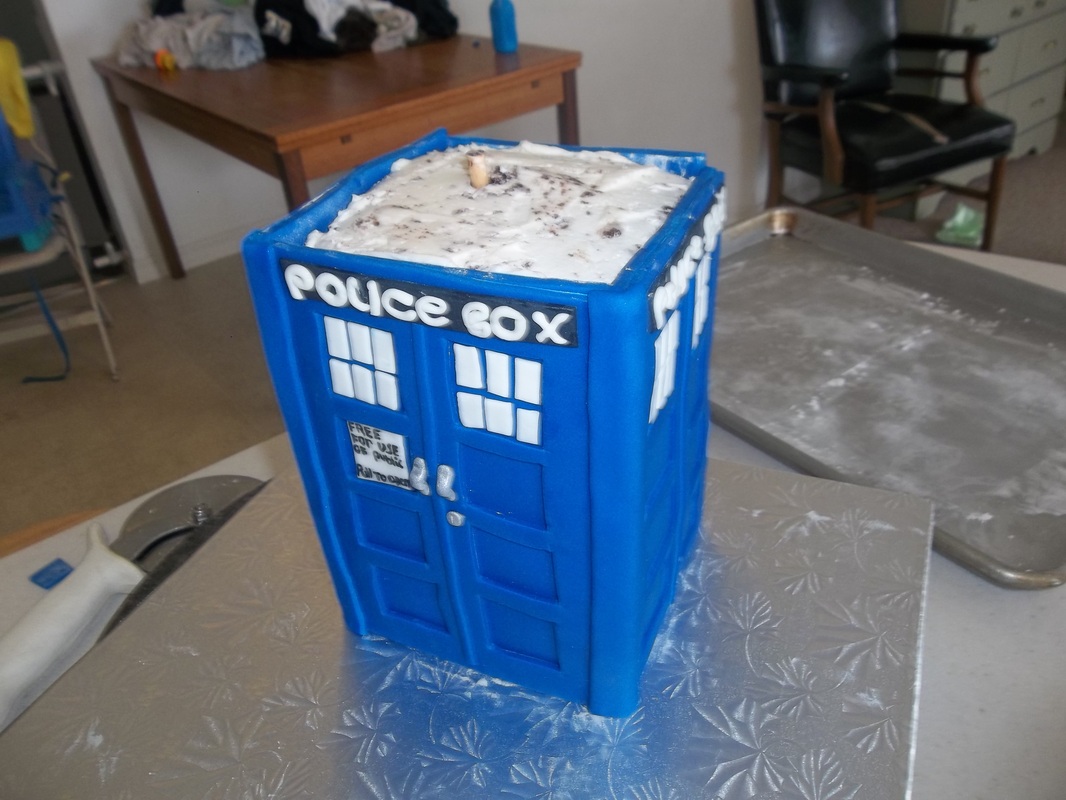
Once I had all the panels ready to go, it got really fun.   Time to put it all together.  I started by spritzing the entire cake lightly with water.  The frosting was solid from the refrigerator and I needed it a bit moist to help hold the fondant on.  I put on the first side and then started putting all the sides around the cake.

Notice the dowel sticking out the top?  It was a good inch in the cake when I started...that's how much the cake compressed.
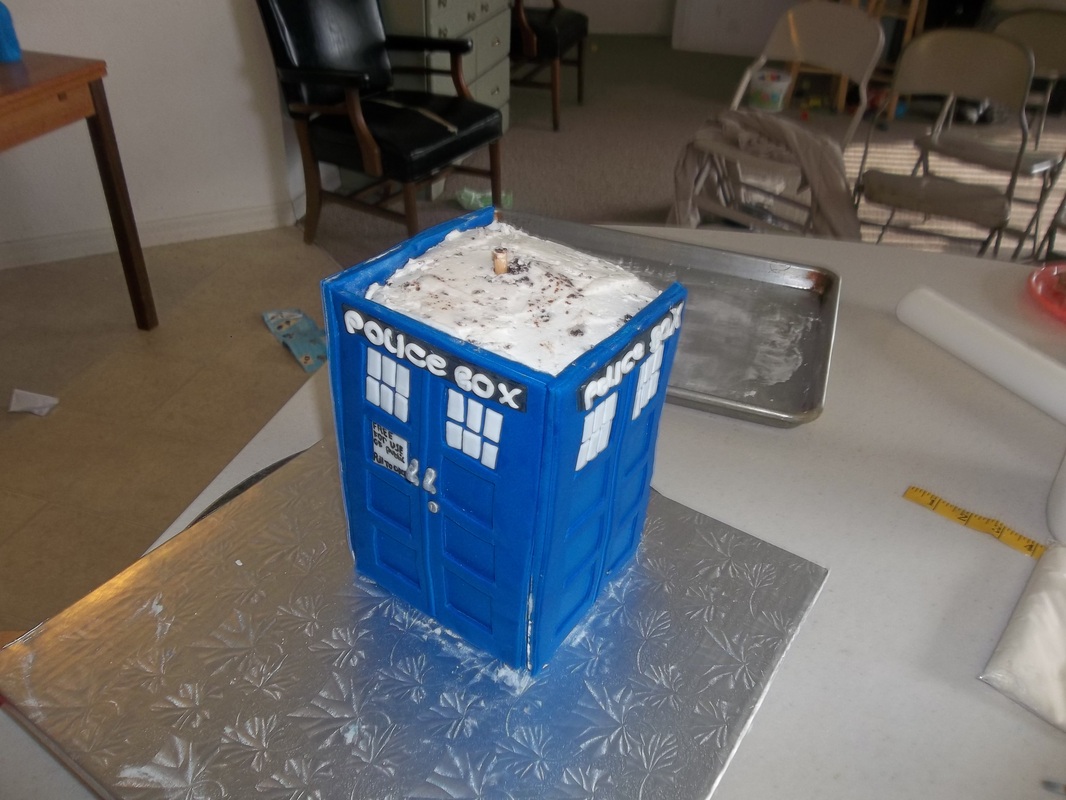
I noticed with past experience that once you bonded fondant with water, the fondant will usually tear before coming apart.  I was counting on this as I plotted to keep this thing together.  I wet each corner seam slightly and pressed them together the length of the wall. 
 In addition to that, I added a corner piece that had been wet to help bond the corner and hold it all in place and give it a bit more depth.
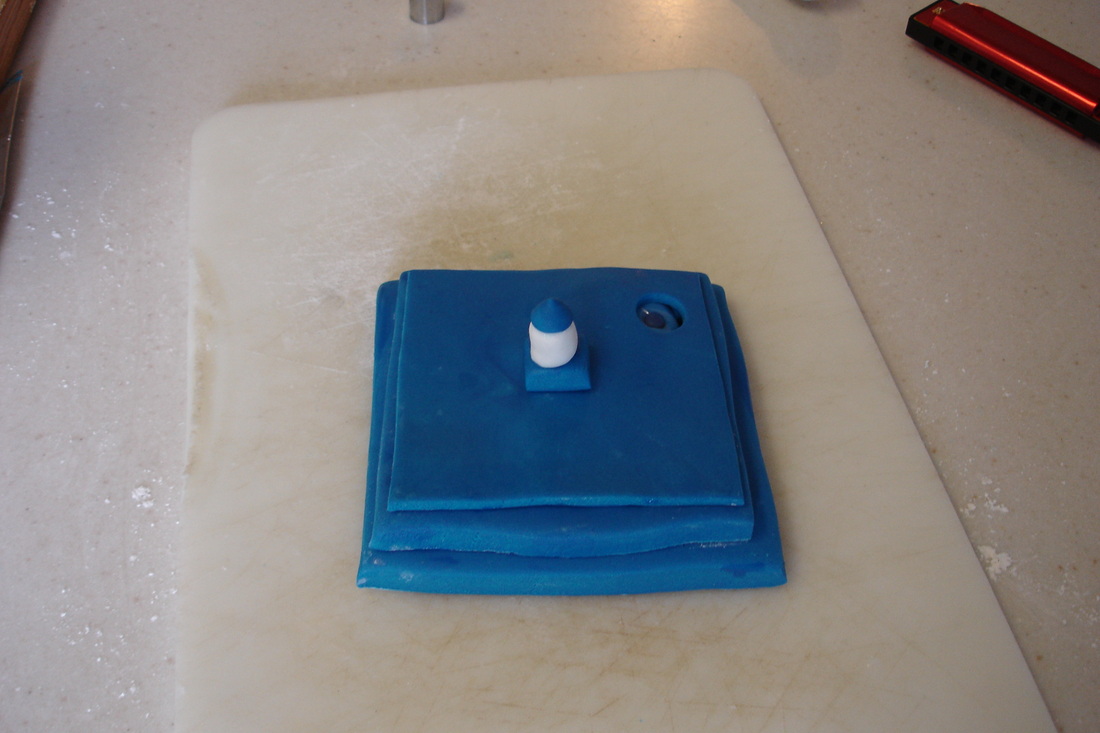
I added a square on top and the main body was done.  Time to start the top...
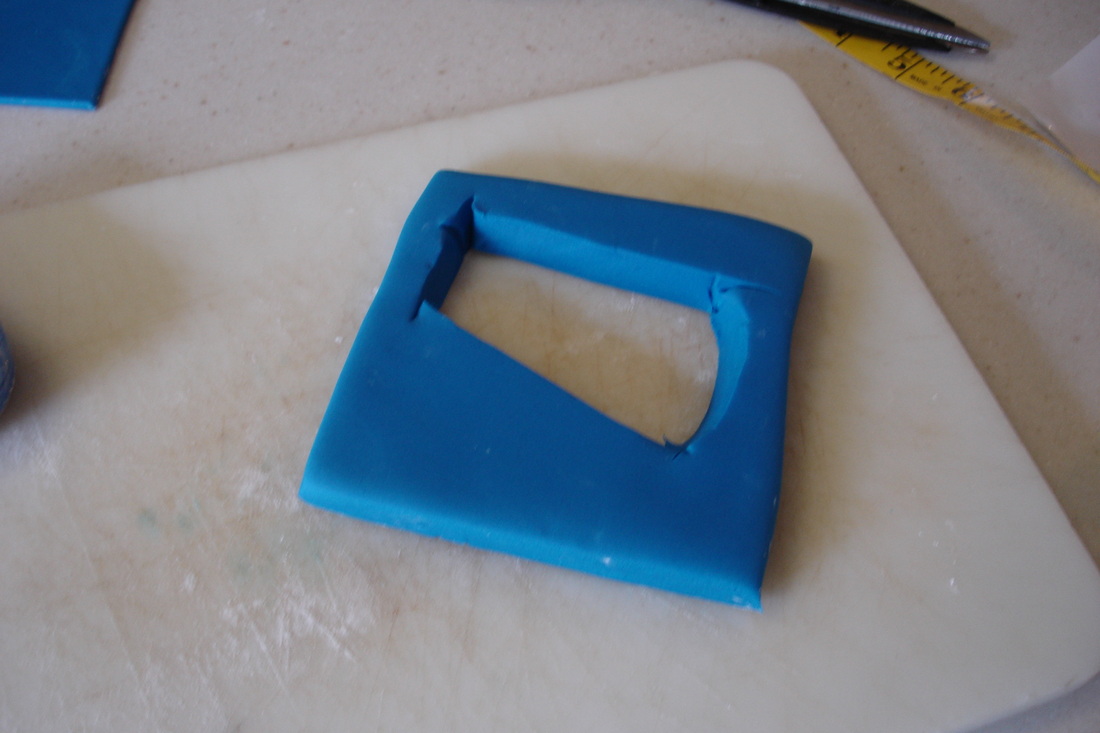
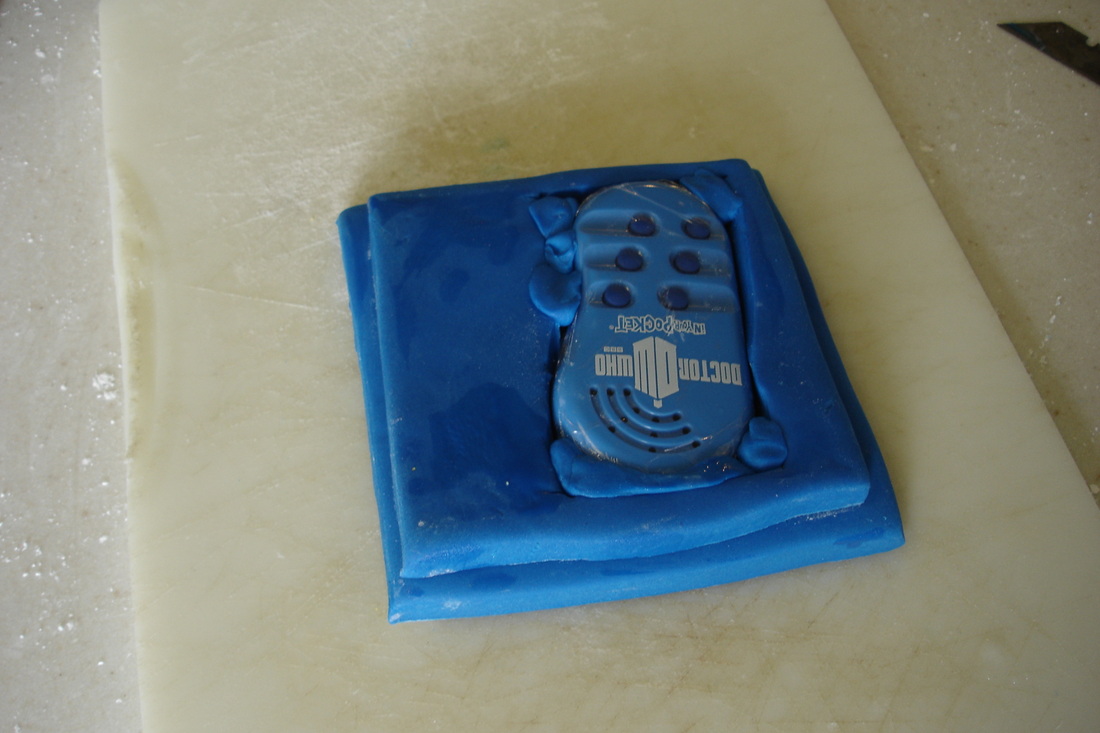
I bought a keychain that made Doctor Who sound effects (online from Amazon) because I thought it would be really cool if I could make the cake make the same noise that the Tardis makes when it takes off and lands.  I thought the easiest way to do this would be to conceal it in the thick top of the cake.  So I cut out some thick slabs of fondant and put the keychain right inside them (after covering it in plastic wrap to protect it.
I cut out a thin cover for it and punched a hole (using a small circle shaped cutter) where the right button was...
And added the little light and it was good to go.  The fondant muffled the sound quite a bit, but it still functioned so I was happy.  I kept the top separate from the cake until just before the party.  I didn't think it was a good idea to put the keychain in the cold...  So I attached the top just before leaving to deliver the cake.
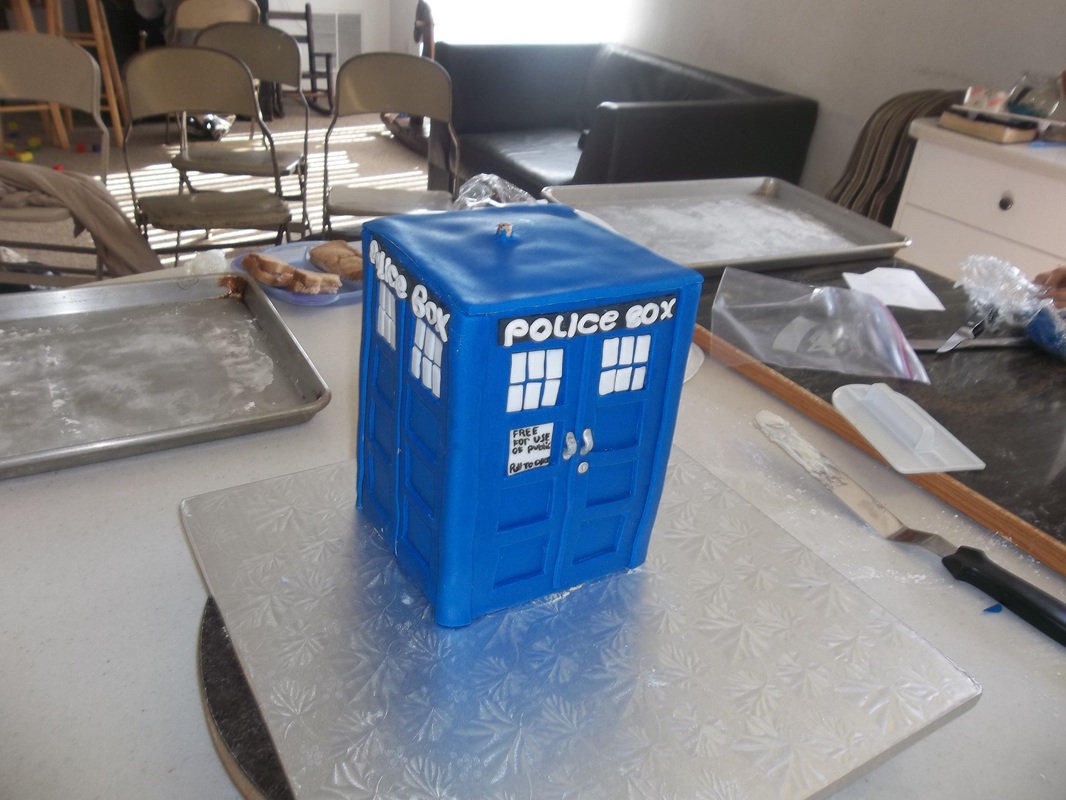
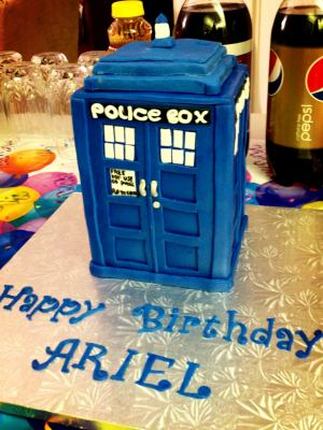
And here it is, all ready to go the the party.  So much fun!  Thanks as usual for reading my silly antics.  

Brandi :-)
 
Sorry that I haven't posted in FOREVER!  I've had a really  busy couple of months.  But fear not, I have several posts on the way and at least one more in the making.

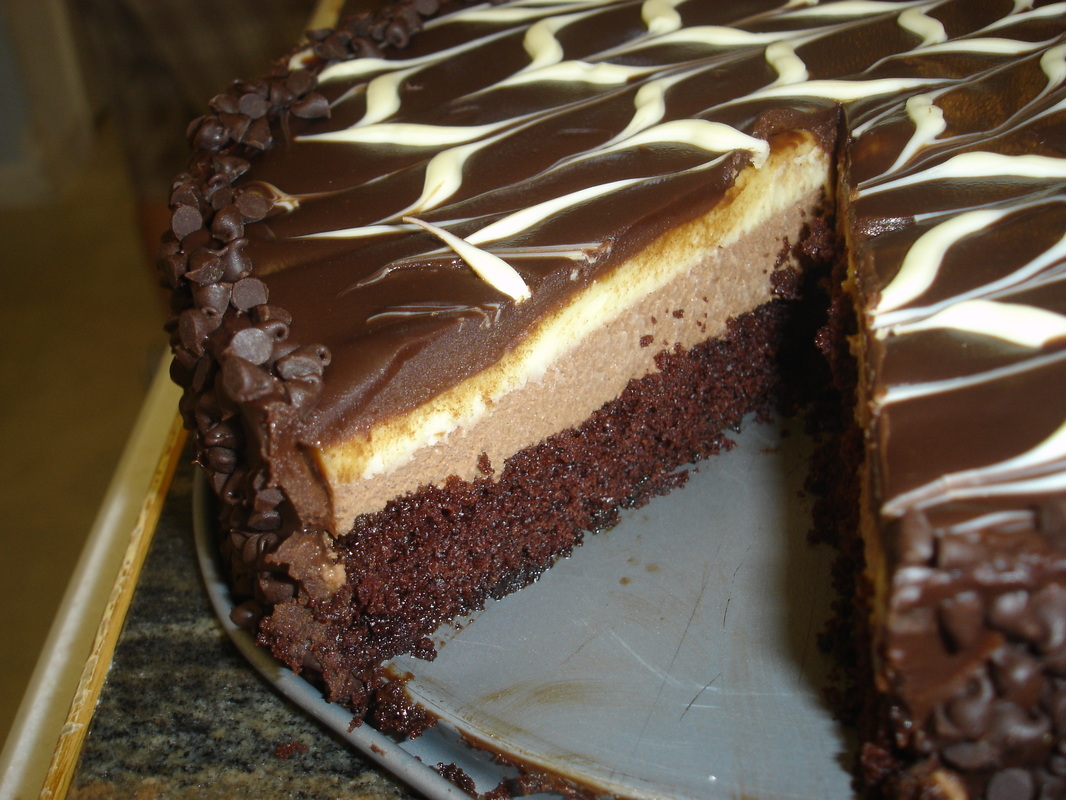
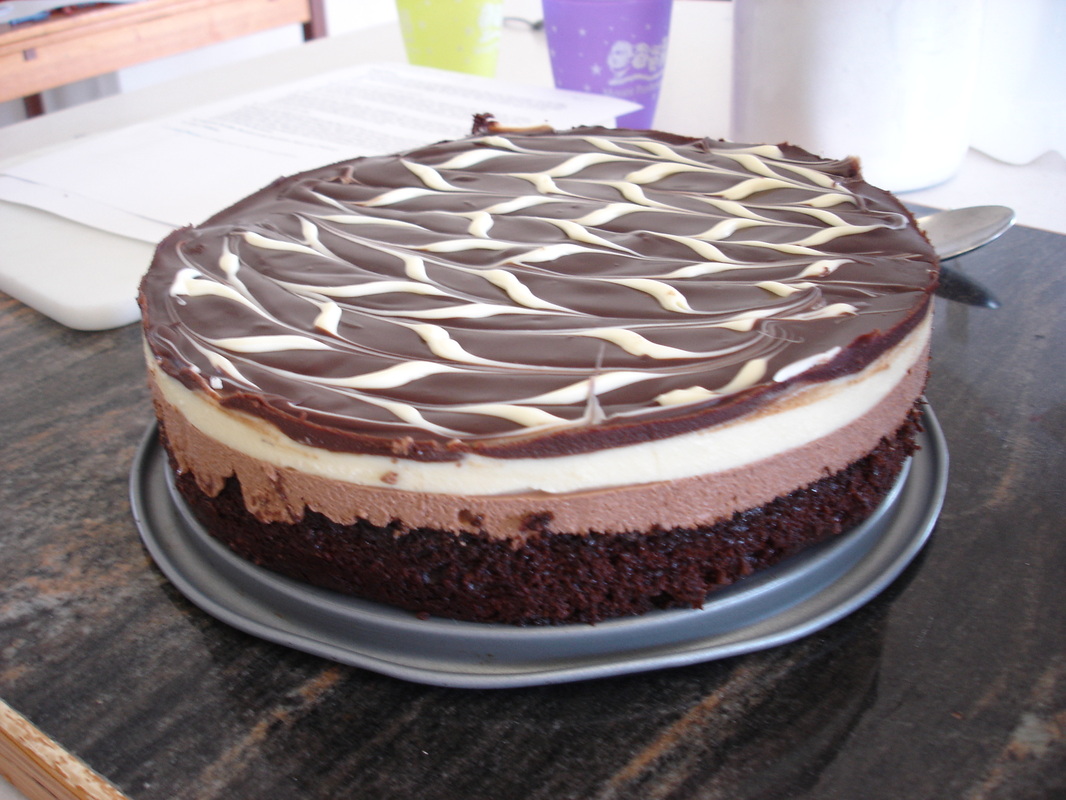
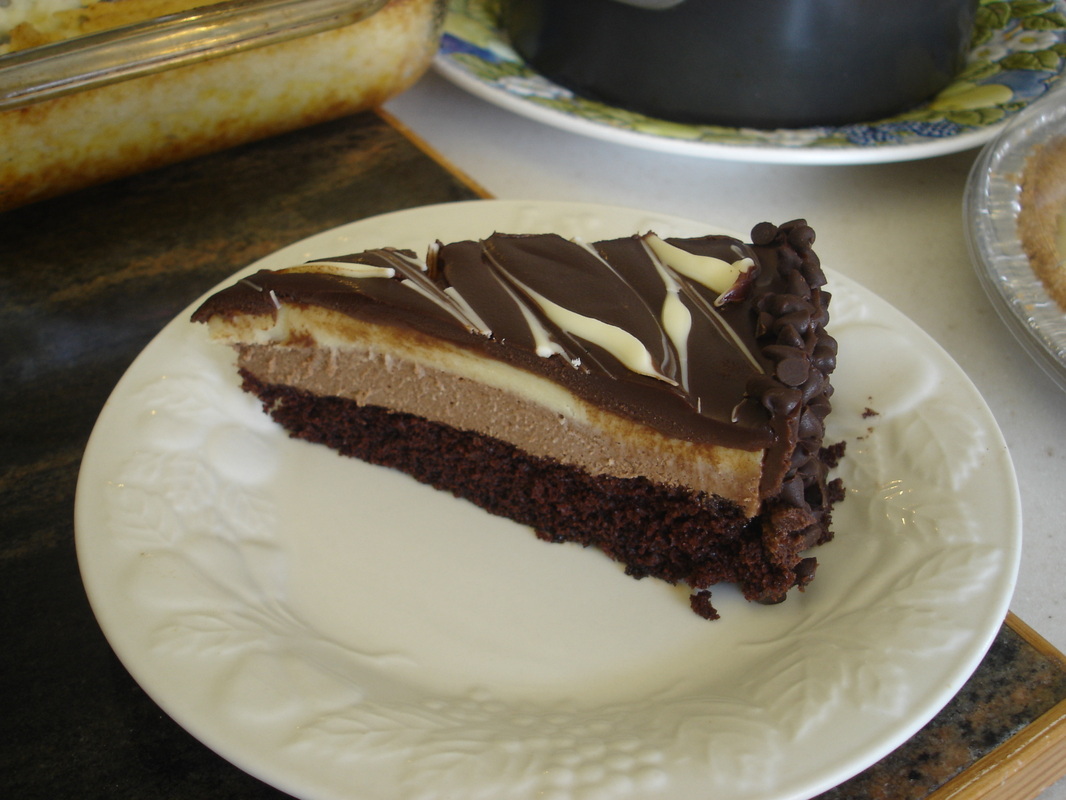
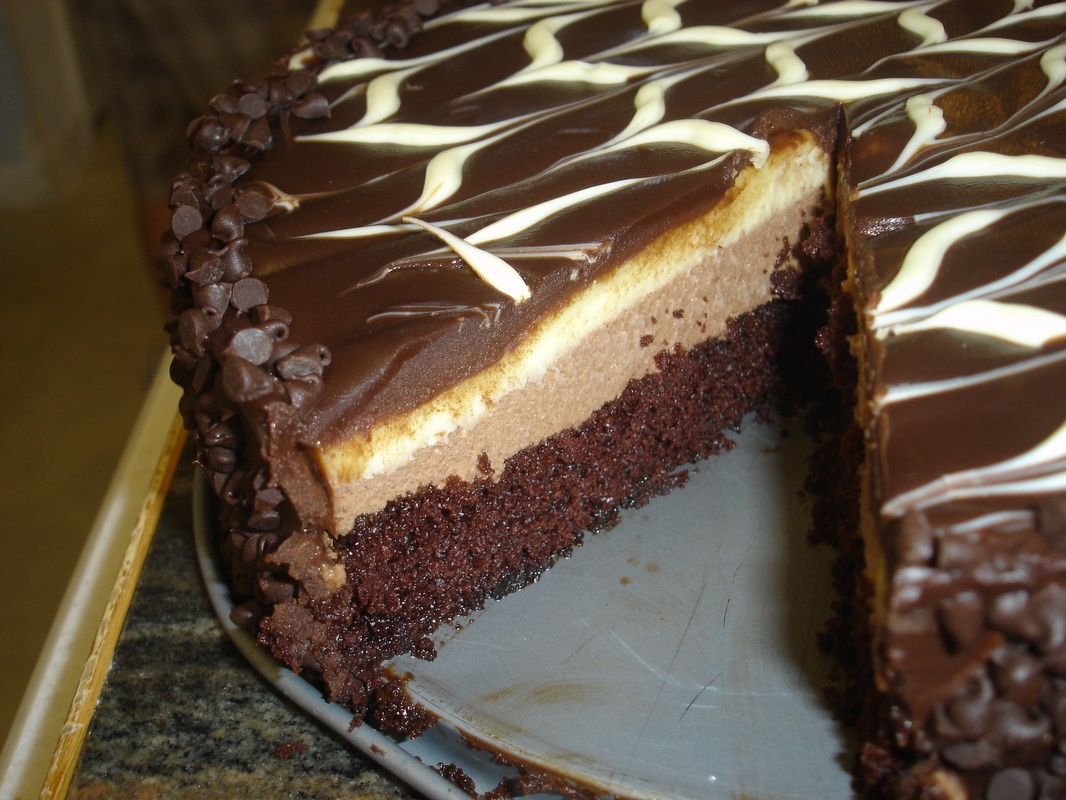
I made this Black Tie Mousse Cake for one of my Christmas desserts.  It's an Olive Garden copycat recipe.  Here is where I got the recipe:  http://www.food.com/recipe/the-real-black-tie-mousse-cake-by-olive-garden-392181

This was a really fun dessert to make.  It was different than any dessert that I'd made before.  People on the site kept talking about how many steps it took to make and how much time it took.  I've realized that I must make really complex desserts because I thought it was pretty easy.  I did learn a thing or two, and I followed some tips from others, so now I'll share them with you.


The first deviation had to do with the bottom layer, the chocolate cake.  Instead of using a box mix, I used Hershey's Perfectly Chocolate cake.  I'm obsessed with this cake!  It is by far the best scratch recipe that I have ever found.    https://www.hersheys.com/recipes/recipe-details.aspx?id=184

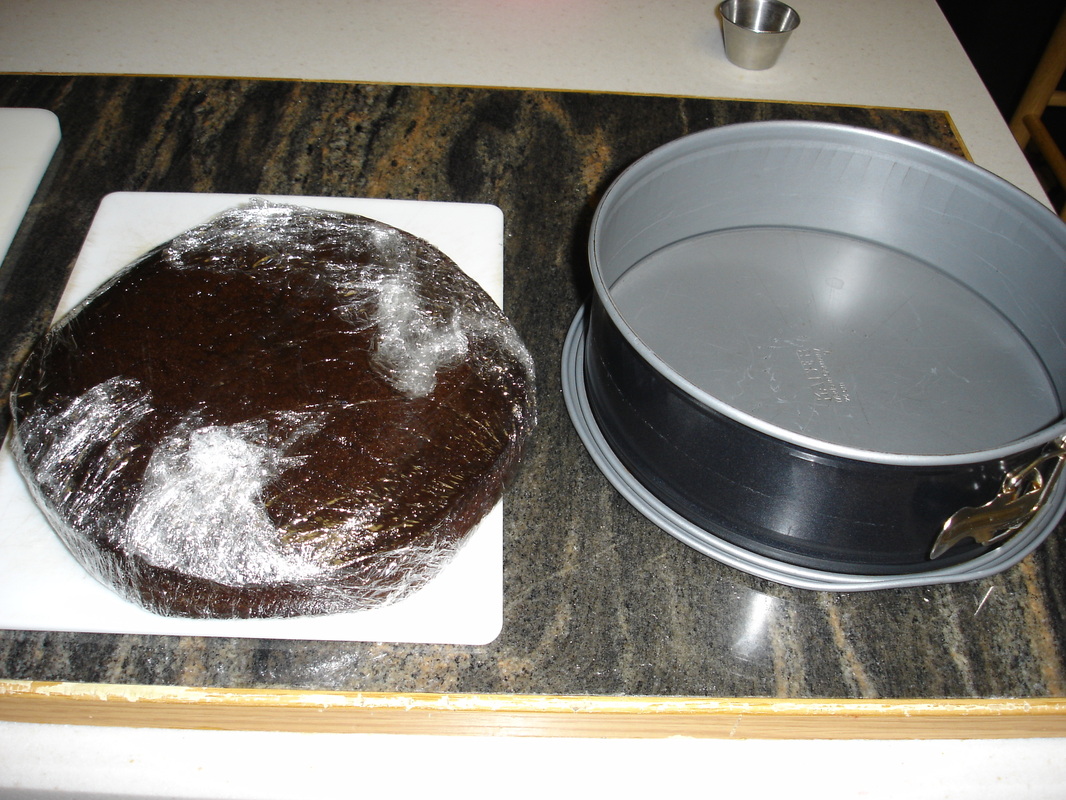
I also read a lot of complaints that the cake that was baked in a cake pan didn't fit properly in the springform.  So I baked my cake in the springform that I knew I was going to use.  This way I knew it would be the right size.
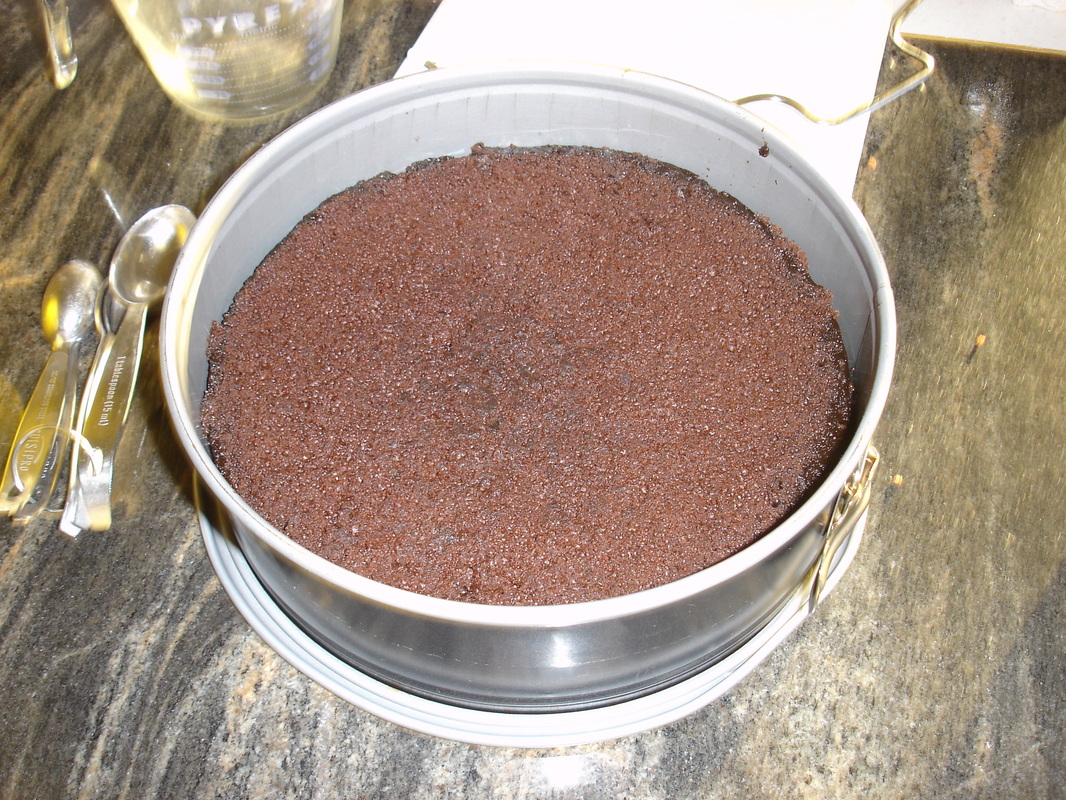
After baking and cooling the cake, I was ready to start.  I trimmed the top off the cake to make it level and put it back in the springform.  The cake had tightened up and was still smaller than the pan so I kind of stretched it and flattened it a bit to make it fit the pan.
This was such a fun experiment for me because it had a lot of firsts!  This was the first time I've made mousse, custard, or chocolate ganache.  It was also the first time that I put chocolate chips on the side of a cake and made those pretty swirly's on the top.  So I really had no idea how it was going to turn out.
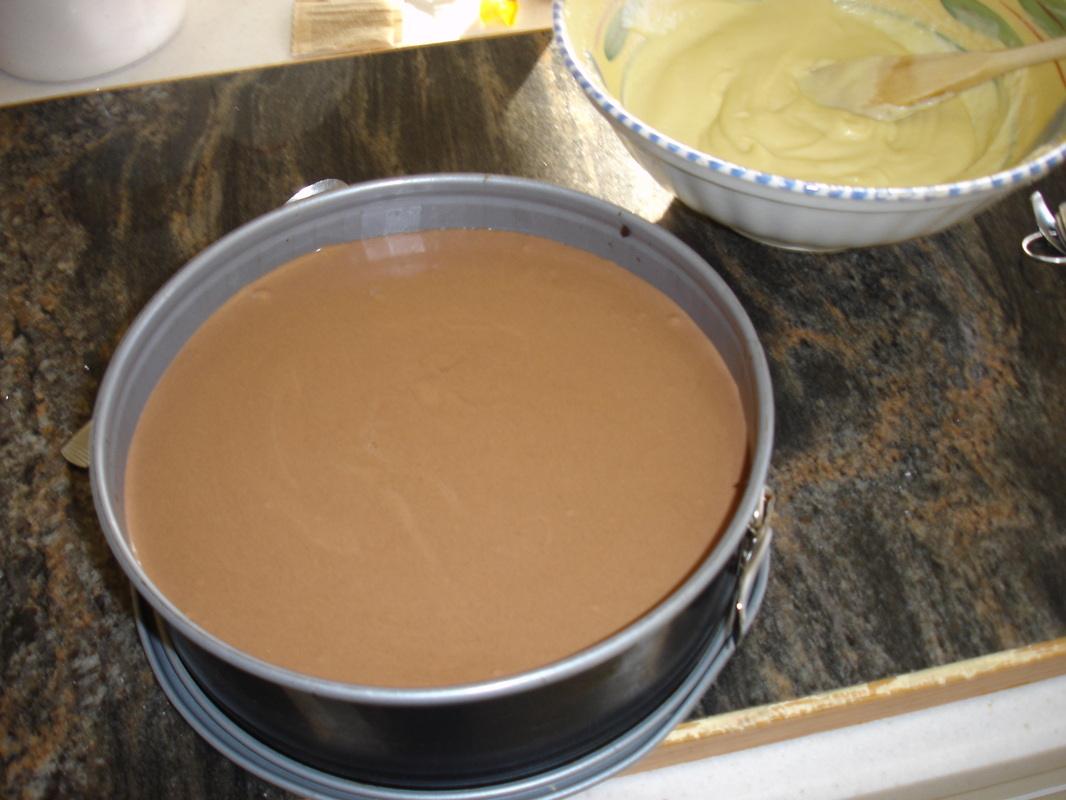
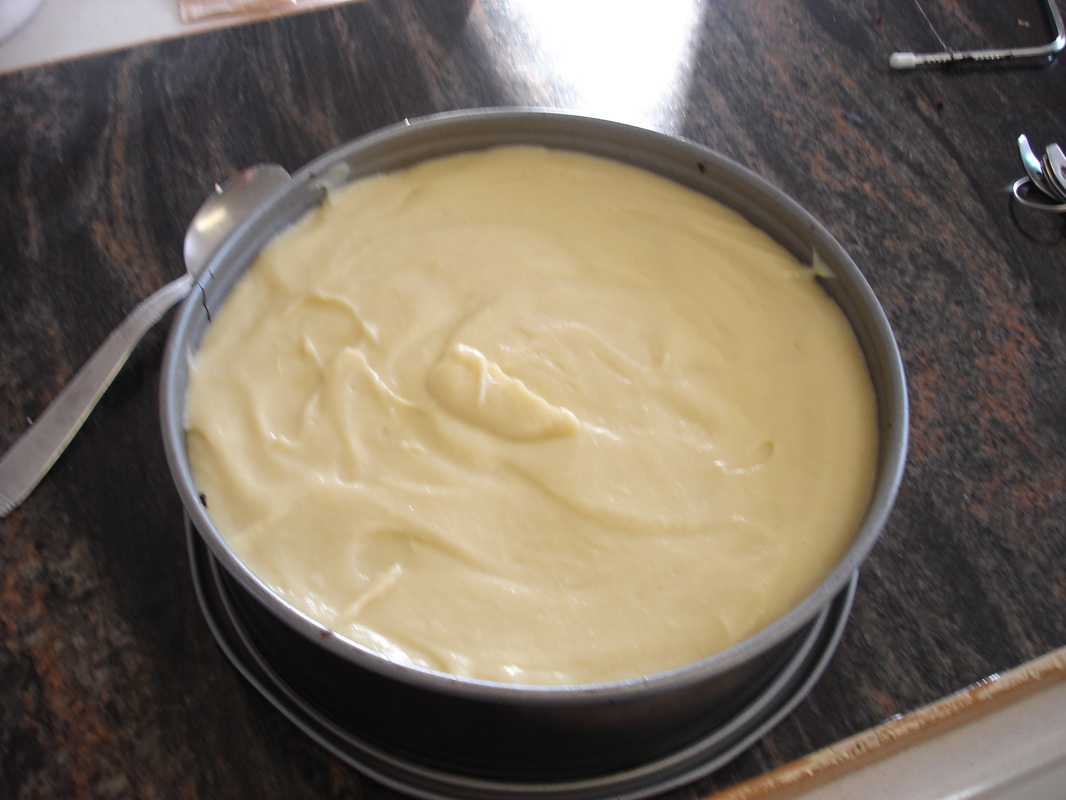
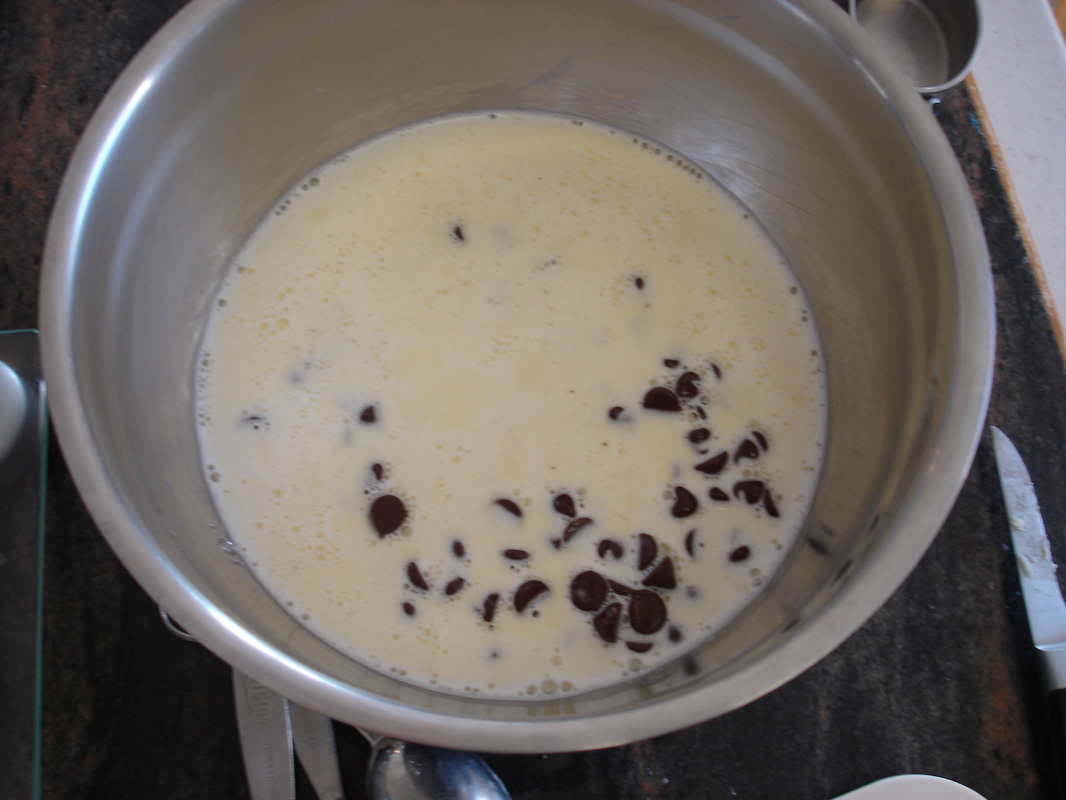
I followed the instructions to make the mousse and had no problem.  
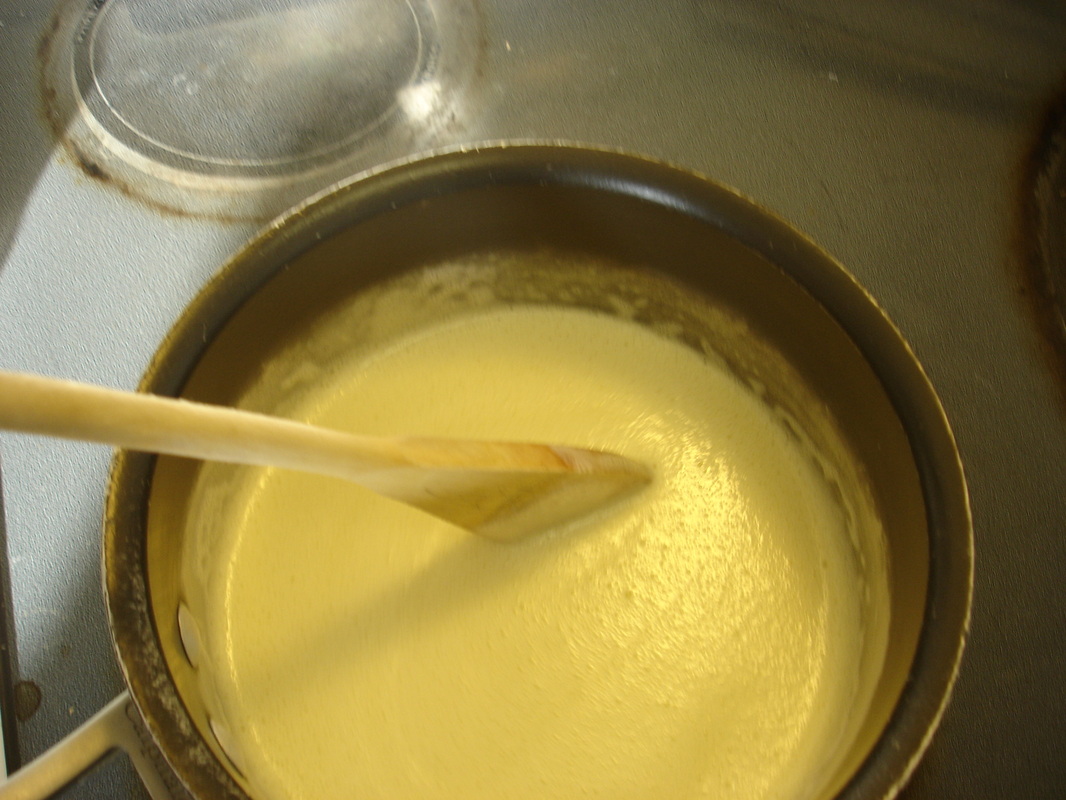
Then I went onto the third layer (the vanilla custard).  Some people said that you have to double the custard recipe to get the amount shown in the picture (from the recipe site that I used).  I wasn't concerned about having it that thick though, so I just made the amount called for in the recipe.  

Now you custard makers already know this, but the biggest thing I learned while making this cake is that custard curdles if you cook it too long.  Now I know.  As I was cooking it, it started to separate.  I panicked and took it off the stove, stirring it until it came back together.  Luckily, this is exactly what I was supposed to do to save it and I didn't have to start over.  

 
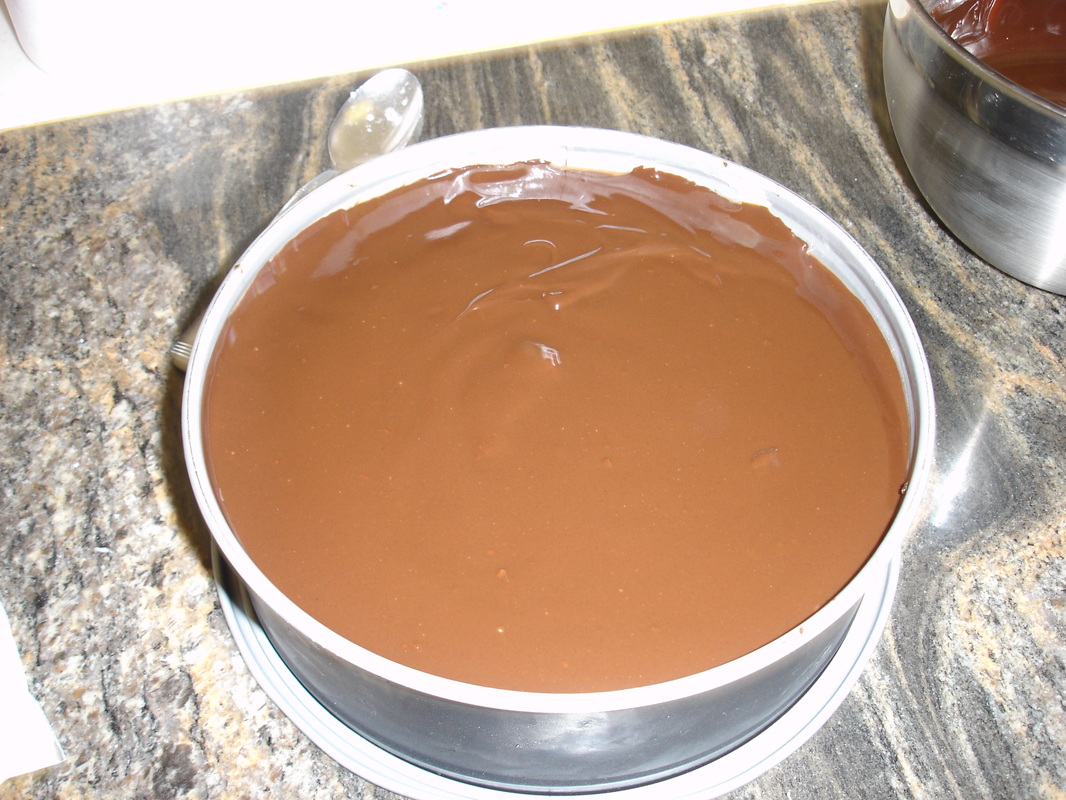
I continued to follow the instructions for the chocolate ganache.  This ganache was wonderful!  I have been looking for a good recipe for a while, and will definitely keep this one because it was really easy and tasted heavenly!
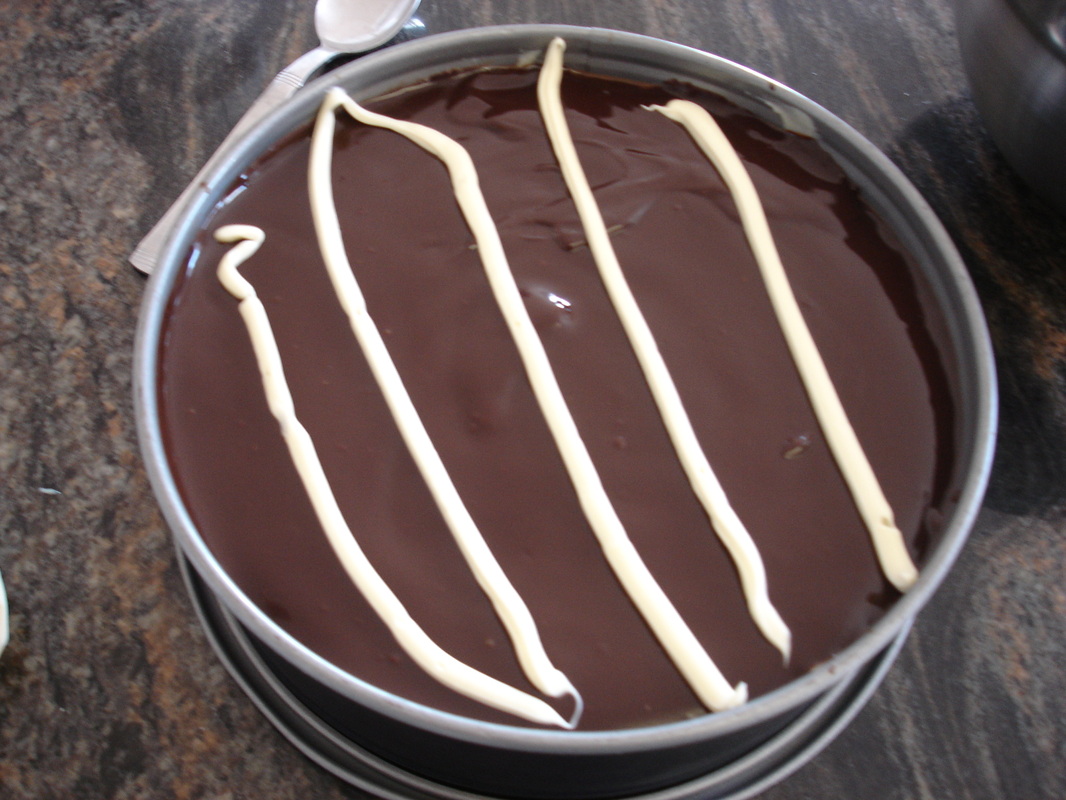
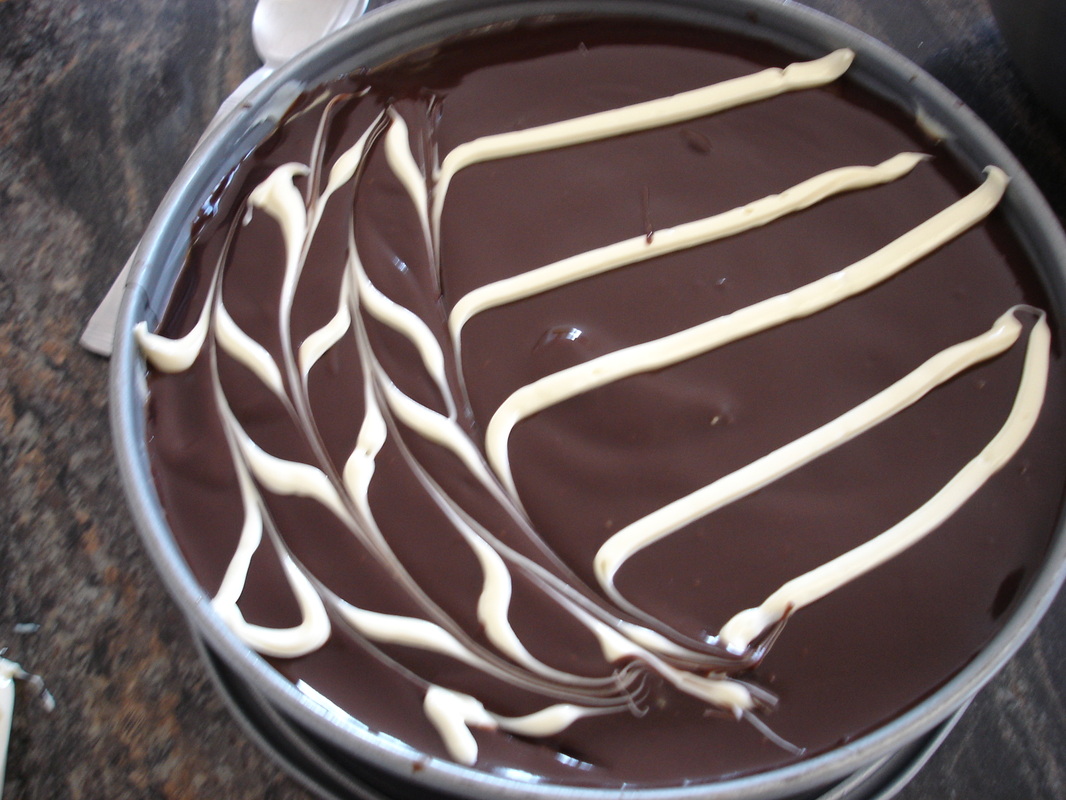
I knew that if I tried to cover the cake with the ganache I would turn it into a sloppy, unprofessional mess, so I did a little cheat. I went ahead and pored the top while it was still in the pan.  I made the white chocolate swirls, then I put it in the fridge to set up.  
A friend told me how to make the swirls.  Simple melt some white chocolate and pipe it in stripes on the warm ganache.  I didn't even bother with a pastry bag.  I just piped it from a zip lock bag that had it's corner cut off.  
Then I ran a knife back and forth perpendicular to the strips to make the pretty swirls.  Pretty, huh?  You'd think I knew exactly what I was doing (as opposed to just hoping that it would actually work the way she said it would).  

After I was done with the pattern, I put the cake back in the fridge to set up.
Once it was set up and the ganache had thickened a bit I removed the pan rim and frosted the sides.  Normally I would have transferred the cake before frosting the sides to a pretty cake plate, but honestly, I had so much going on that day.  I really didn't care about the ugly serving plate.  I had been out of town until Christmas Eve morning and had about a million other cooking projects to finish that day, so I just let it be.  This goes along great with one of my baking philosophies.  Not everything has to be perfect.  Sometimes things are good enough when it's just the amount you can handle.  
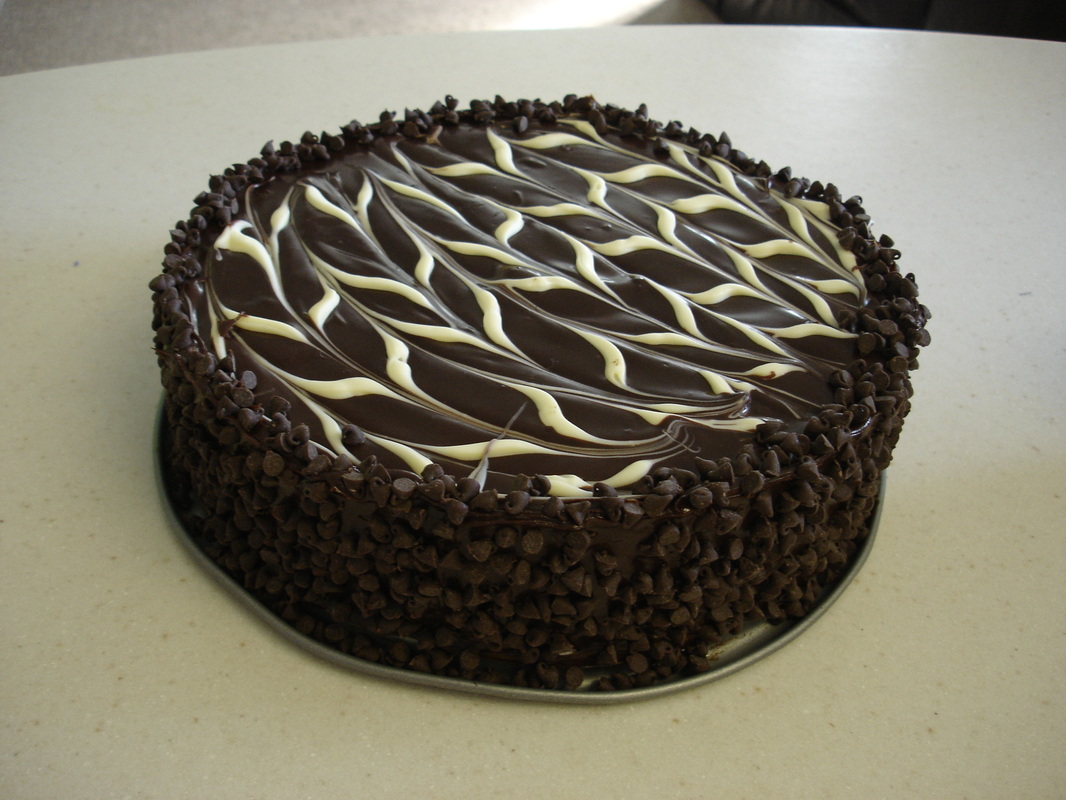
After frosting the sides, I used mini chocolate chips as a garnish.  I have a few thoughts about this as well.  While the chips certainly looked pretty, the problem that I had using them is that the quality of the chips didn't match the wonder of the ganache.  So when I got a bite with the chips, it was like this smooth wonderful ganache mixed in with hard waxy tasteless chips.  I found myself not eating the parts with chips at all.  A possible solution to this could be to use a finer chocolate and maybe shave it (or finely chop it).  Or omit the chips all together.

The other thing I learned is in regards to decorating sides of cakes.  I used to think it worked best to put your chips in your hand, then try and pat them on the cake.  I've since figured out that you can hold them in one hand, then use the second hand as a shield on the cake and drop them down between your hand and the cake.  This worked really well.
So here was the finished product.  It turned out great and impressed my dinner guests.  All in all, it was a really fun dessert to make.  Hopefully my tips can help you if you decide to give it a try.
 
Hi guys.  Sorry that it has taken me so long to get to the Ombre Wedding Cake post.  I'd say I've been super busy but it seems like I'm always really busy, so that's not a good excuse. 

This was an extremely fun cake to make.  It was a lot of trial and error because, once again, I had no guide as to how I was to do it.  I simply looked for tips online and had to copy what I saw.  I did do a practice cake first because I wanted to be sure of the colors.  I learned from the practice cake that I wanted to go very very very light at the top and very very very dark at the bottom.  That helped emphasize the color changes. 
Okay, so this entry is going to be a bit wordy as I try to describe what I did.  We didn't want the tiers ridiculously high but we also wanted at least 5 layers, so we opted for a 3/4 inch layer.   This would put the tiers at about four and a half inches high.  

I started by making up a lot of batter.  With this particular cake I opted to use cake mixes because I wanted a reliable cake where I could focus solely on moisture and color.  I love a scratch cake, but I really needed something that I could count on.  The white cake mix works great.  Just make sure that you don't over bake it.  Your toothpick should come out clean and your sides of the cake should pull away from the pan after you take it out of the oven.  If your sides have pulled away from the pan before you take it out, chances are you're over baking it.  I used three mixes and divided them up between 5 bowels.    
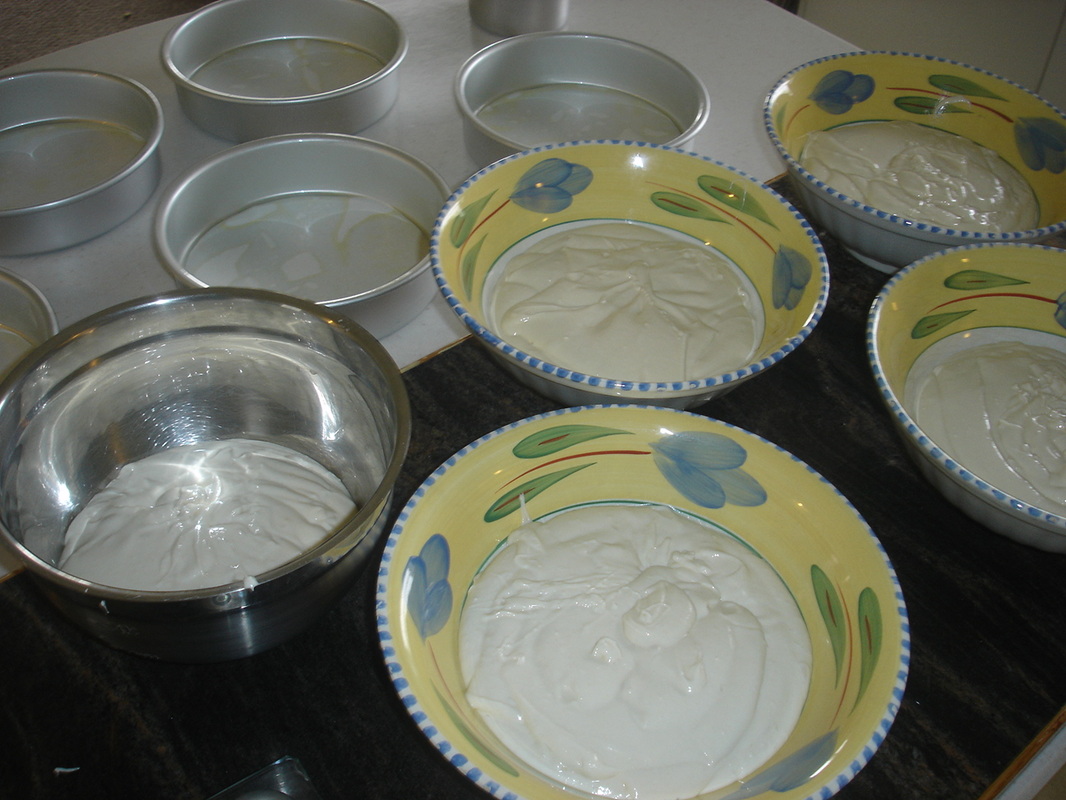
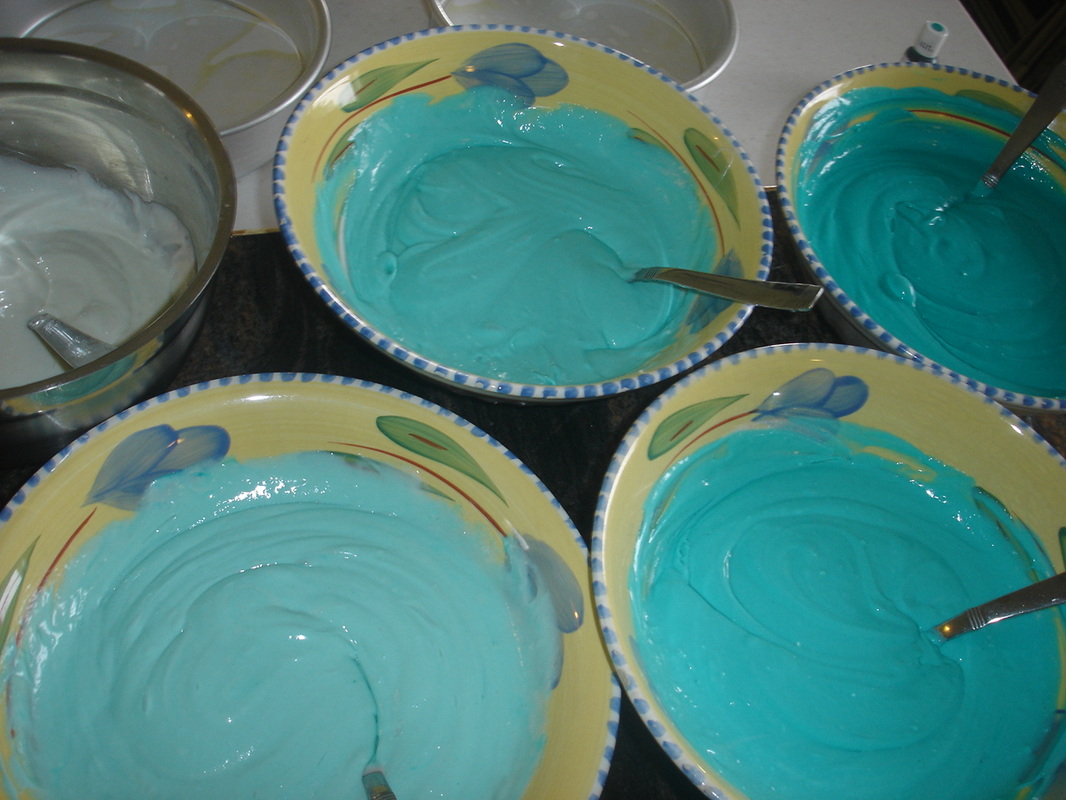
Then I started coloring the layers.  I only put a hint of color in the first one (the metal bowel).  Then I progressively added color to each bowel.  I started off light on the theory that I could always go darker if need be, but couldn't lighten up if I made a mistake.  
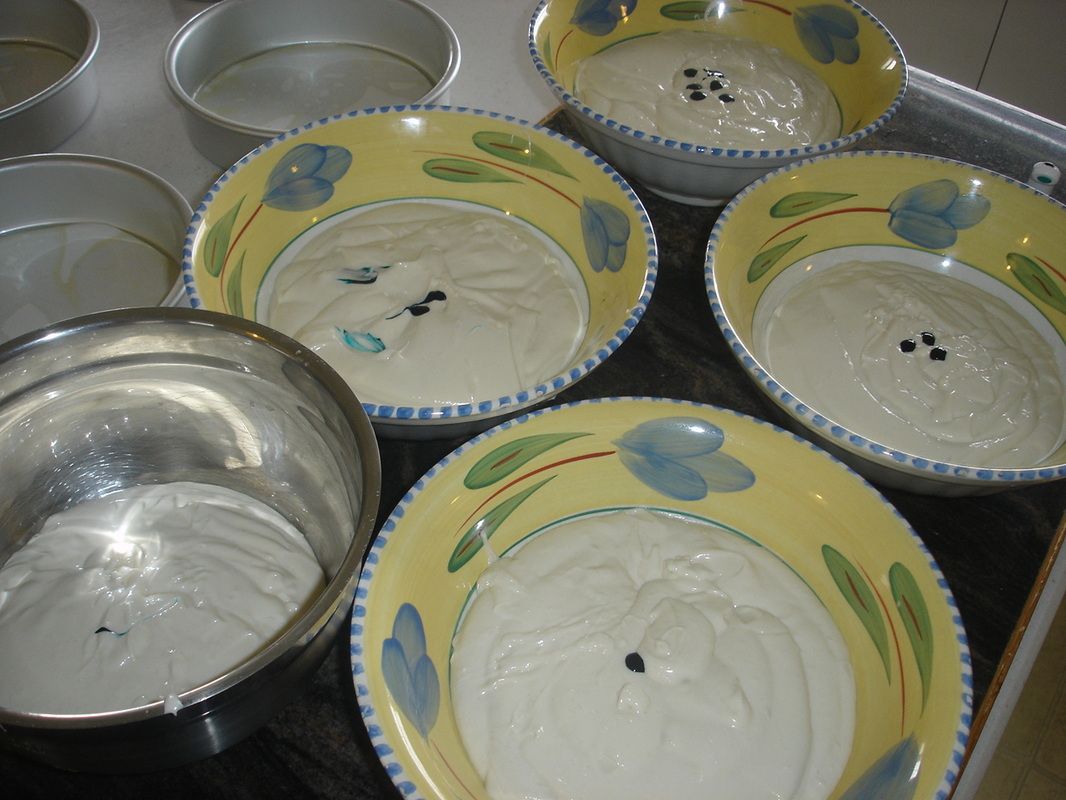
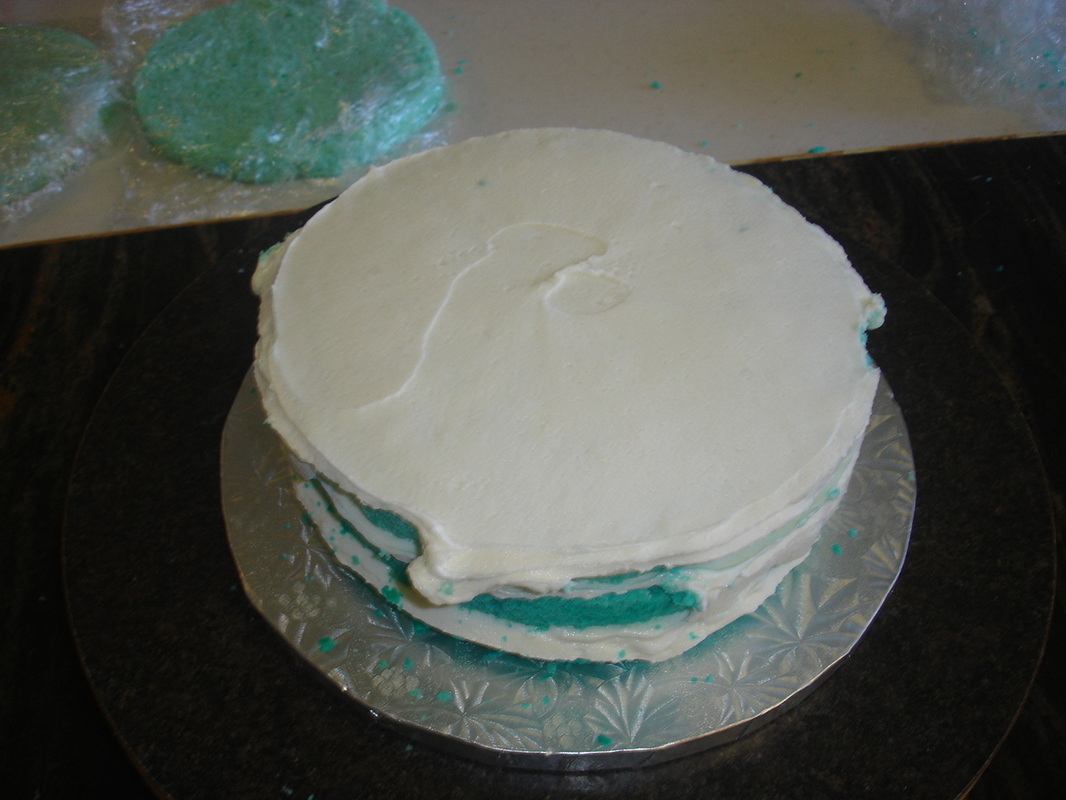
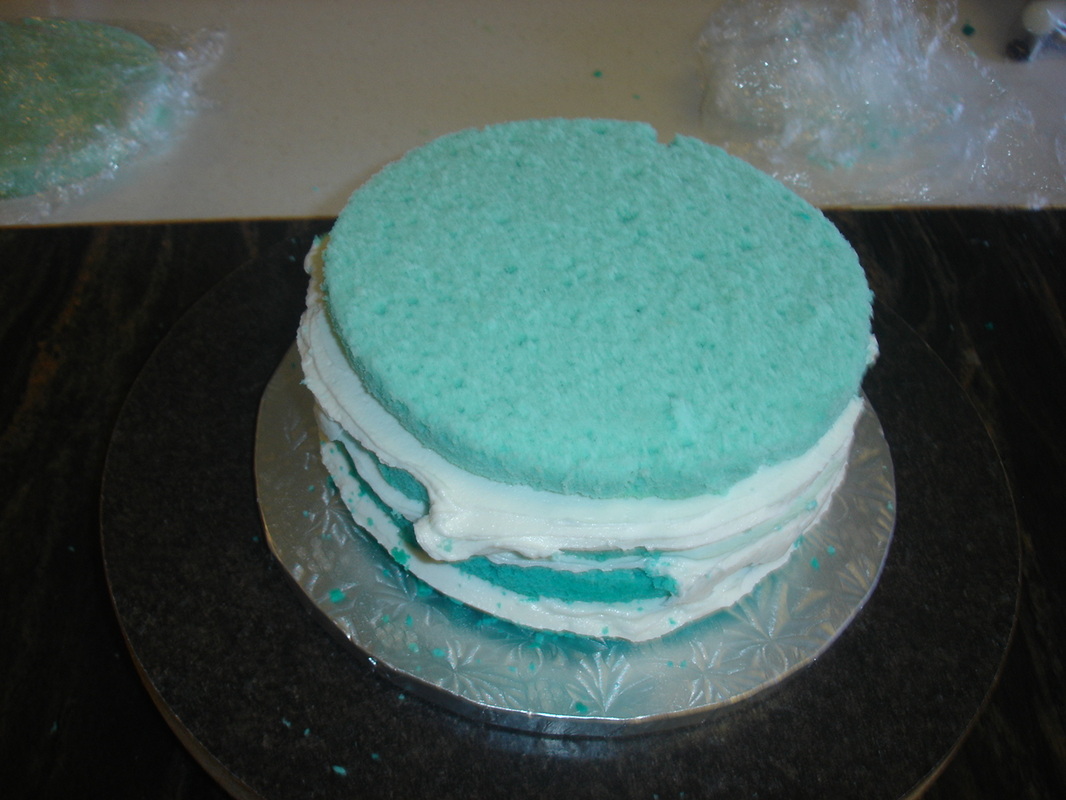
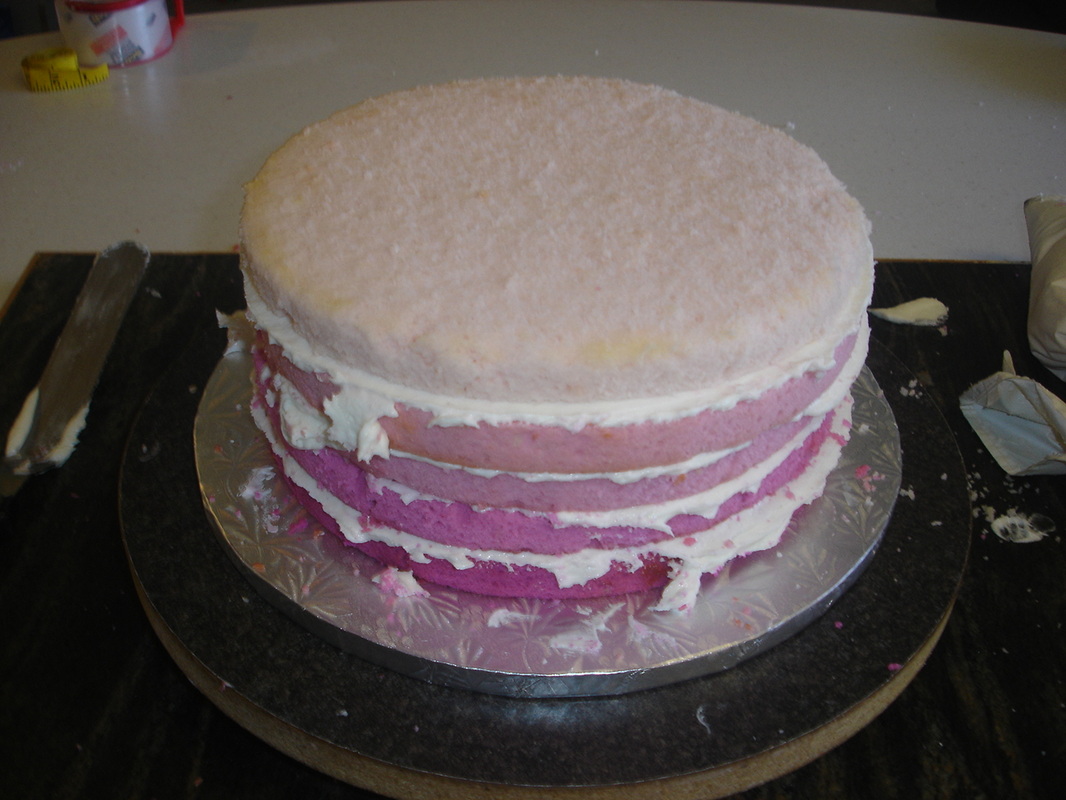
When it was all done, this is what I had.  One thing that I did notice is that depending on the color, the top tier needed differing amounts of dye.  With this teal cake I only colored it slightly (as you can see) but when it was baked, it came almost completely white.  It looked as though I didn't color it at all.  I'd seen pictures online where the top layer is white and didn't feel like it matched the cake color progression, so I tossed that layer (well, put it in my freezer to eat later) and made another one (I actually ended up remaking two layers).  However, with the fuchsia colored cake, I only put a slight bit of dye in and it came out looking great.  So a lot of this really is trial and error.    
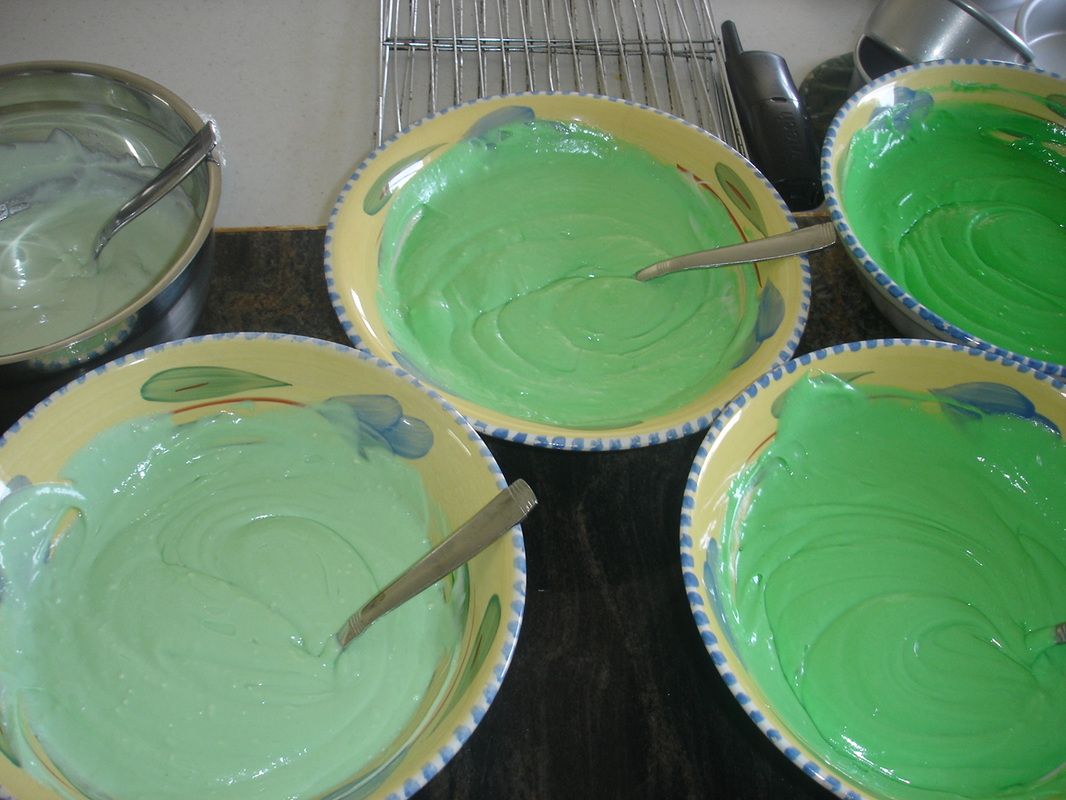
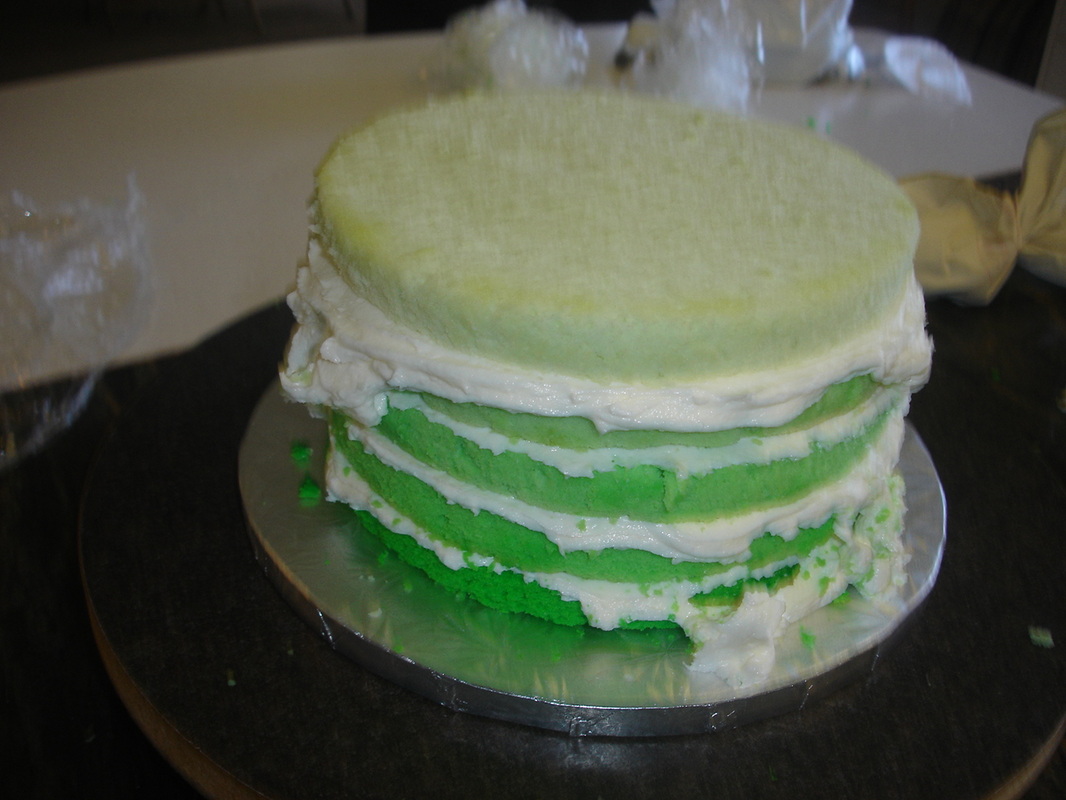
Here is a picture of the green batter...
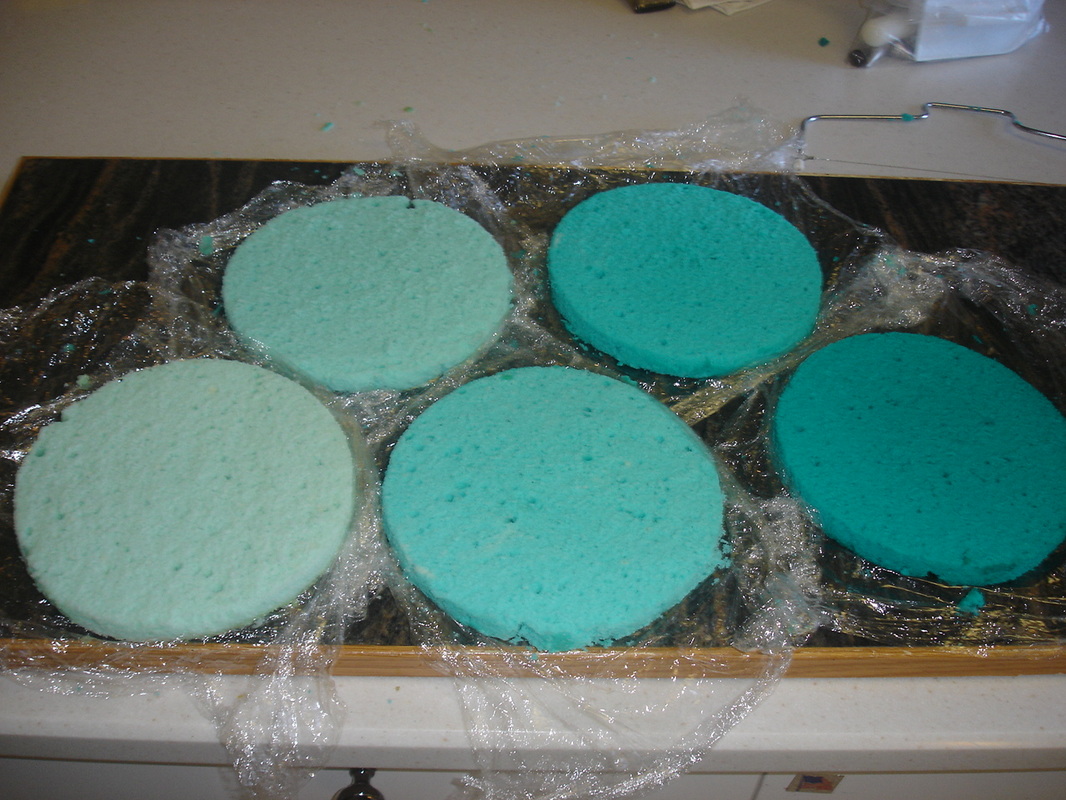
And here are the teal layers, ready to assemble.  With this cake we made 10 inch tier, two eight inch tiers, and a small anniversary tier.
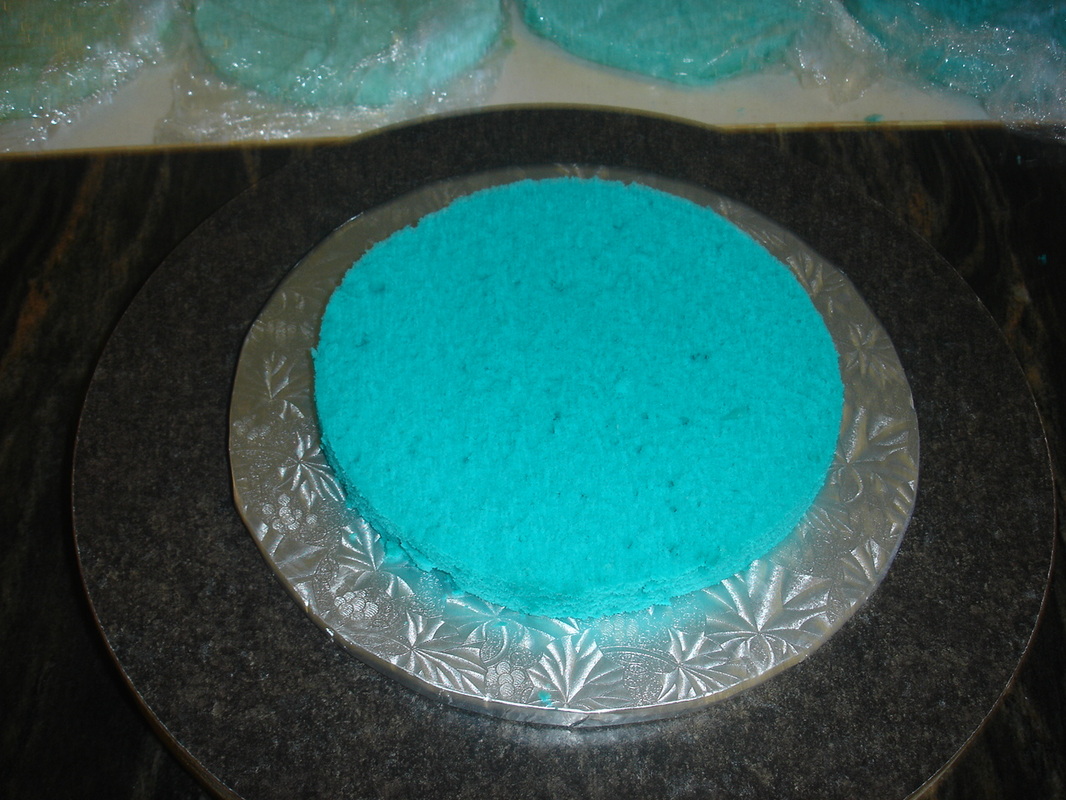
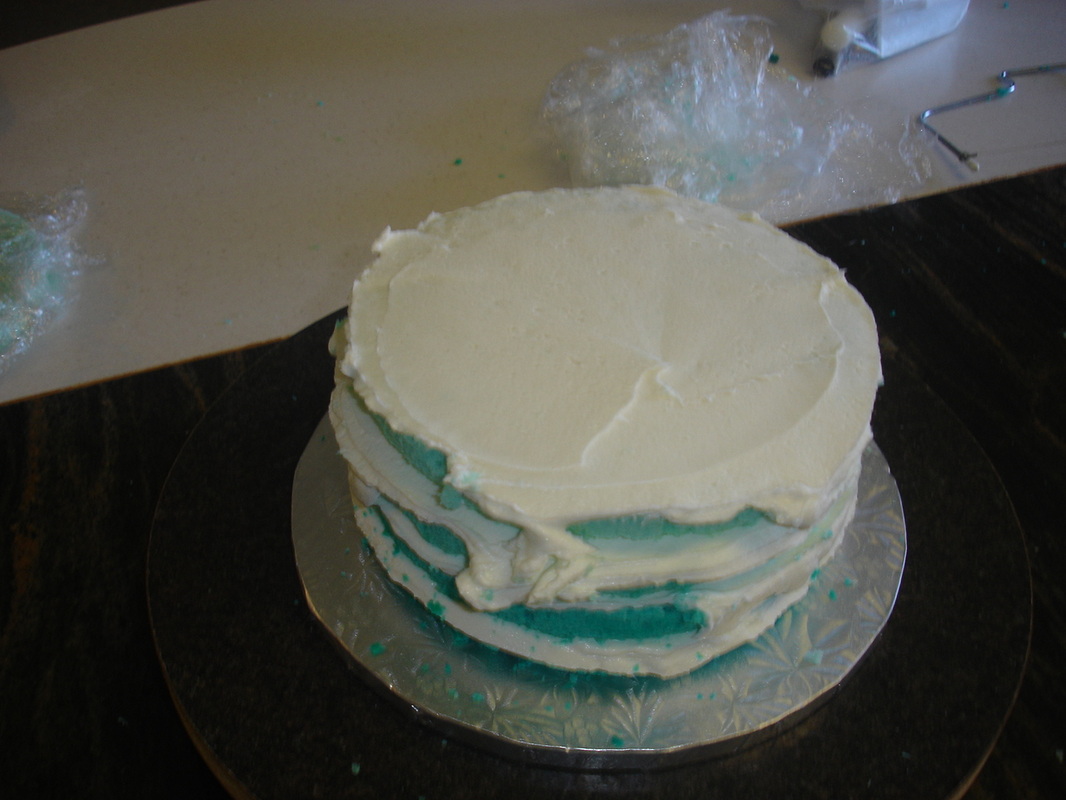
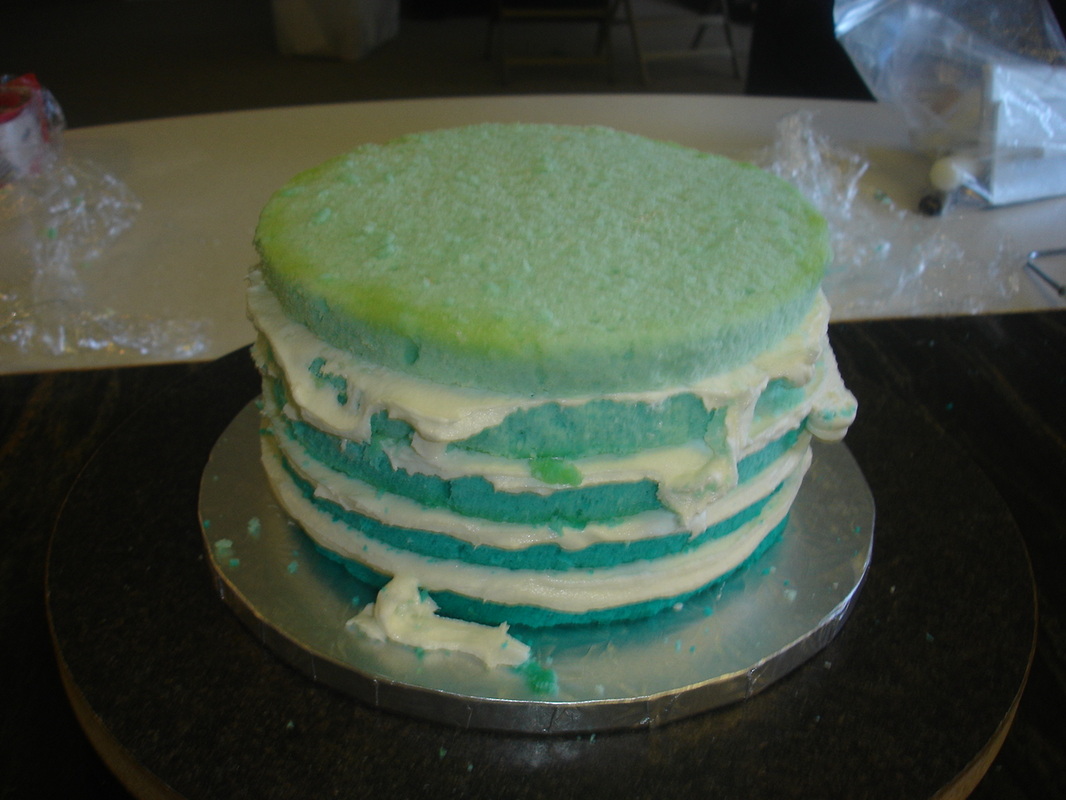
So after all the cakes were baked, I started assembling them (taking care to make sure the colors were all in the right order, obviously).
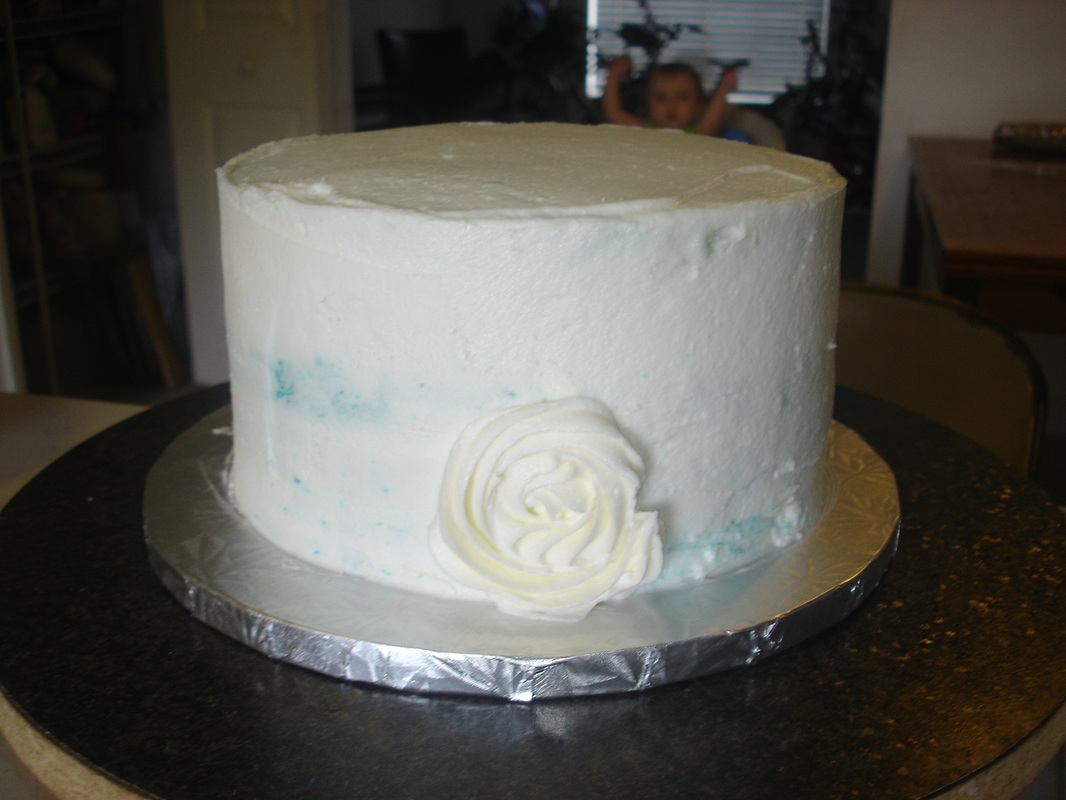
After assembling the cake, I did a light crumb coat.  I wasn't concerned about the cake showing through because the flowers would cover up anything that the crumb layer let through.
I then did the same with the green tier...
...and the fuchsia tier....
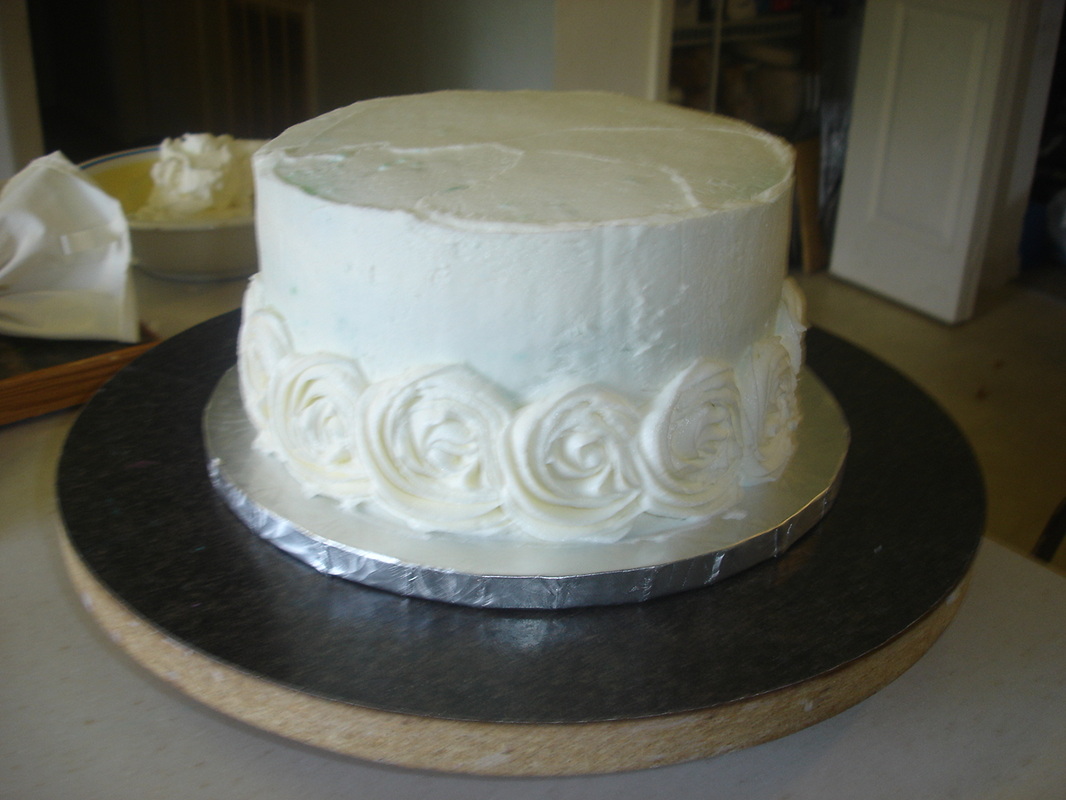
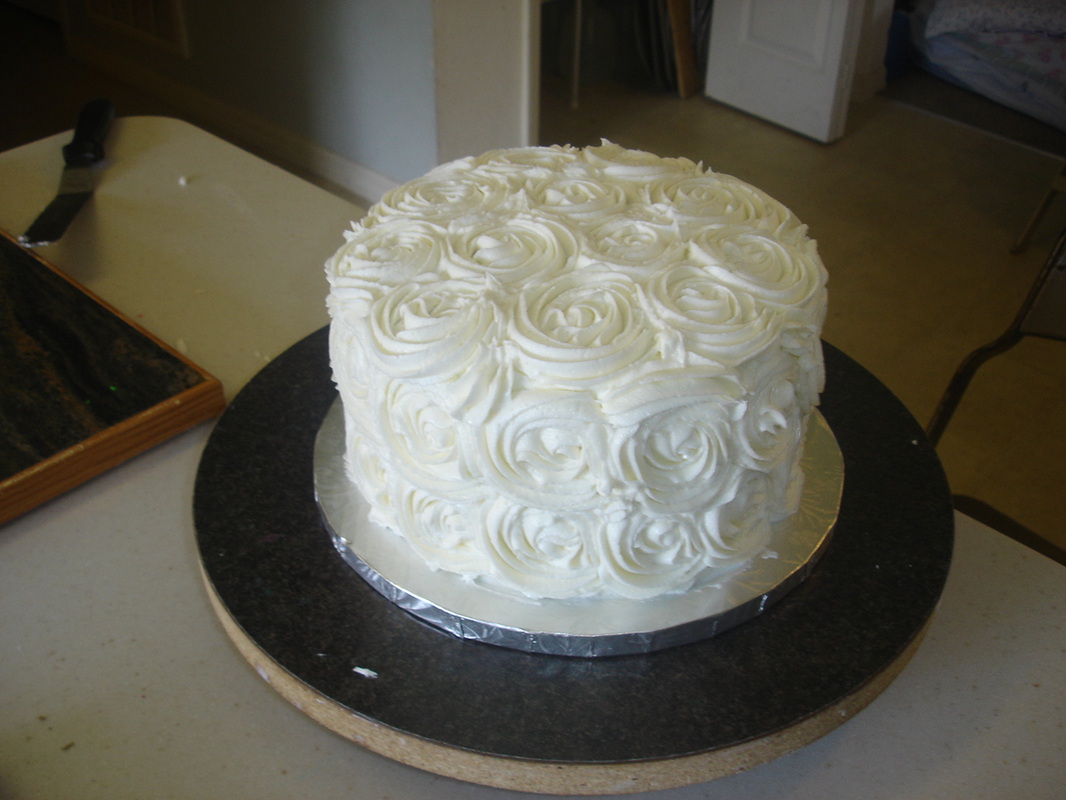
After giving each of the cakes a light crumb coat, I set to work piping the roses.  I used the 'i am baker' tutorial for the roses: http://iambaker.net/rose-cake-tutorial/  Basically, you use a 1M star tip and just start piping circles on the cake.  If you don't like how they are looking, just scrape them off and start again.
I piped roses all around the base of the cake...
Once the sides were done I did the top.  Then I filled in the gaps with swirls of frosting, trying to follow the curves of the roses, so they would blend.
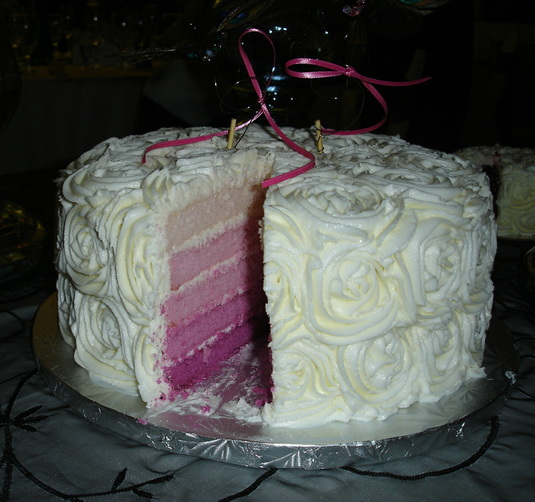
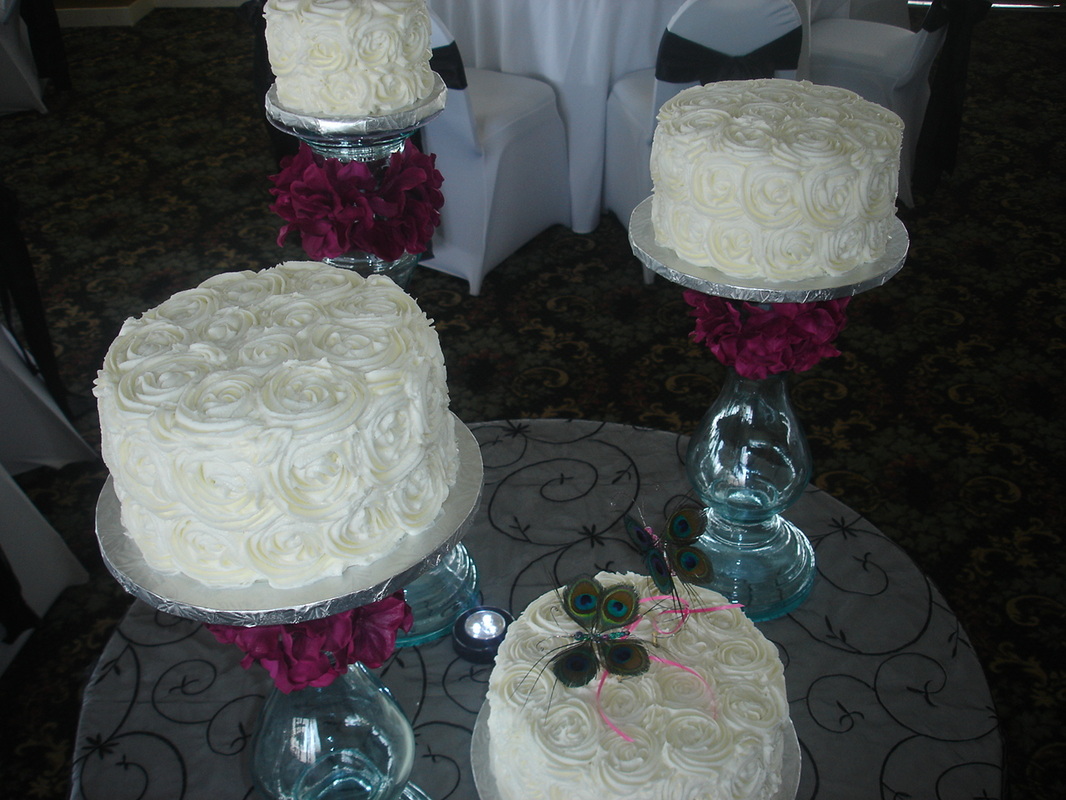
This is what the cakes looked like at the venue  She had the smaller tiers up on the pedestals and the larger tier flat on the table.
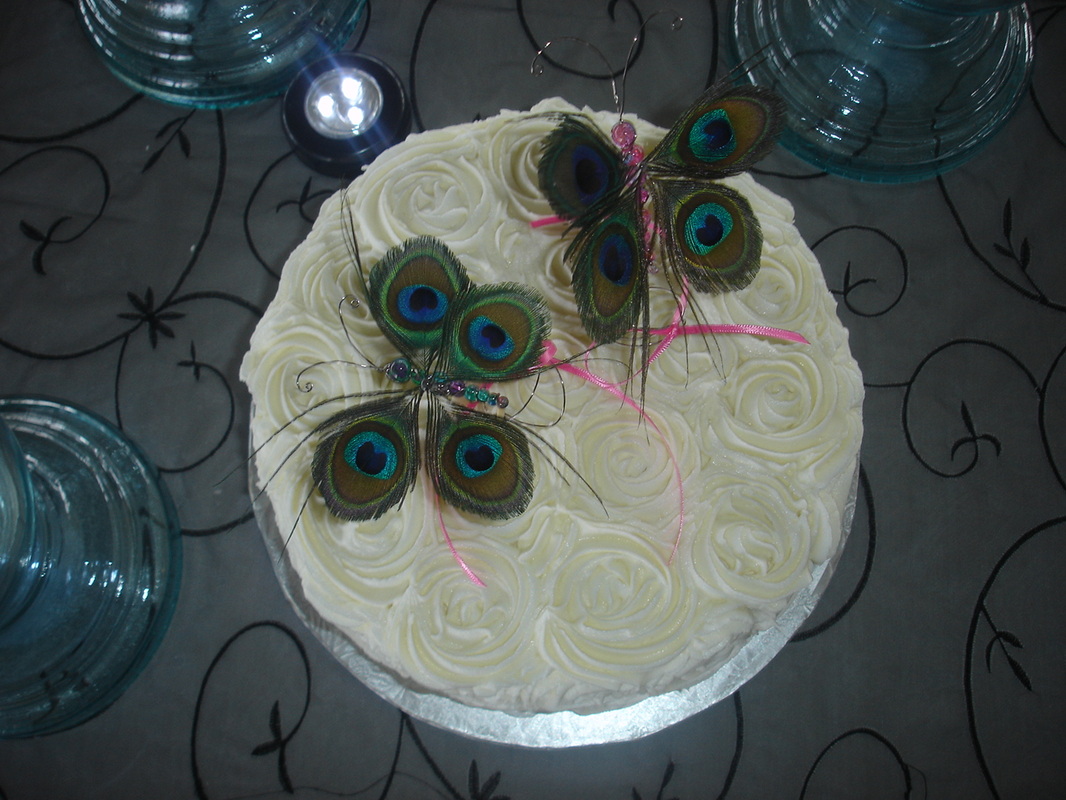
The bride made these beautiful peacock feather butterflies.  
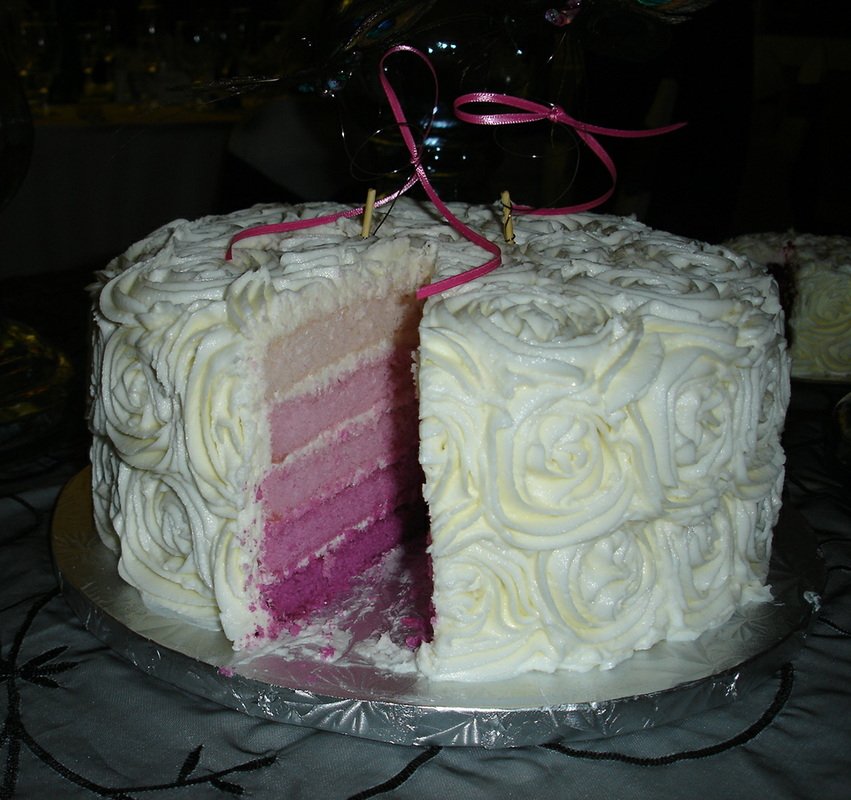
Everyone was really impressed with the cakes, but of course, the real surprise came when they cut into them and the guests got to see all of the colors.  It turned out beautifully and was a wonderful night!  
 
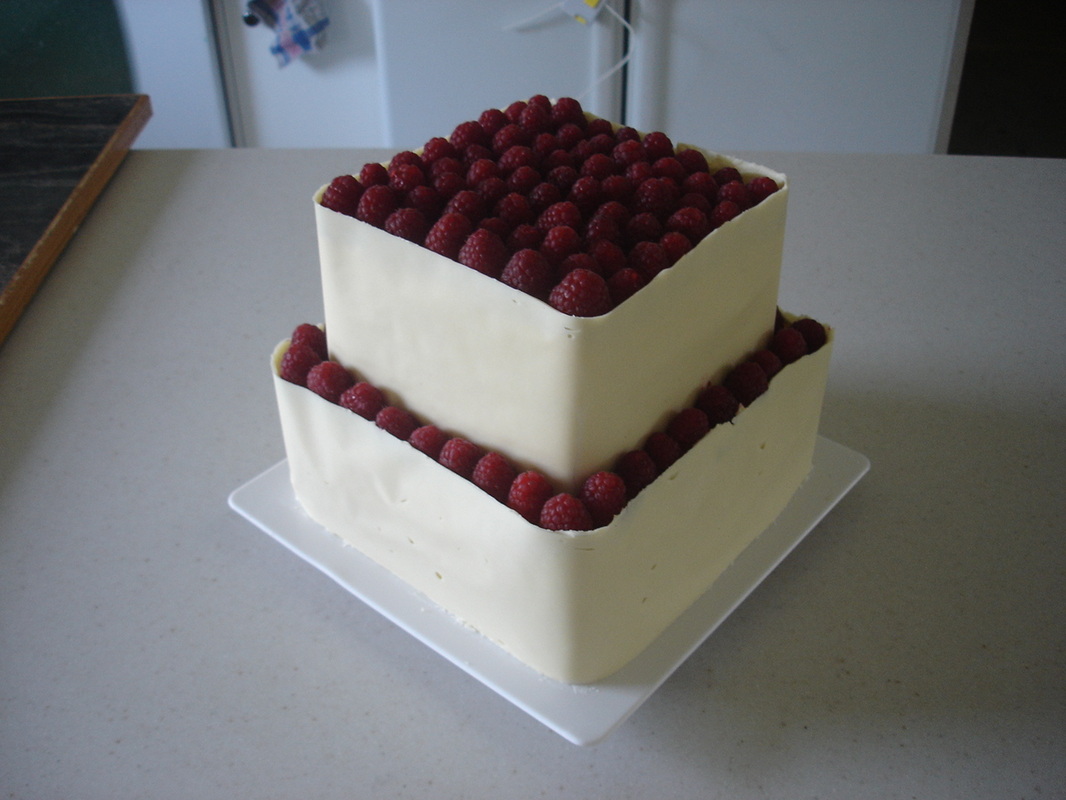
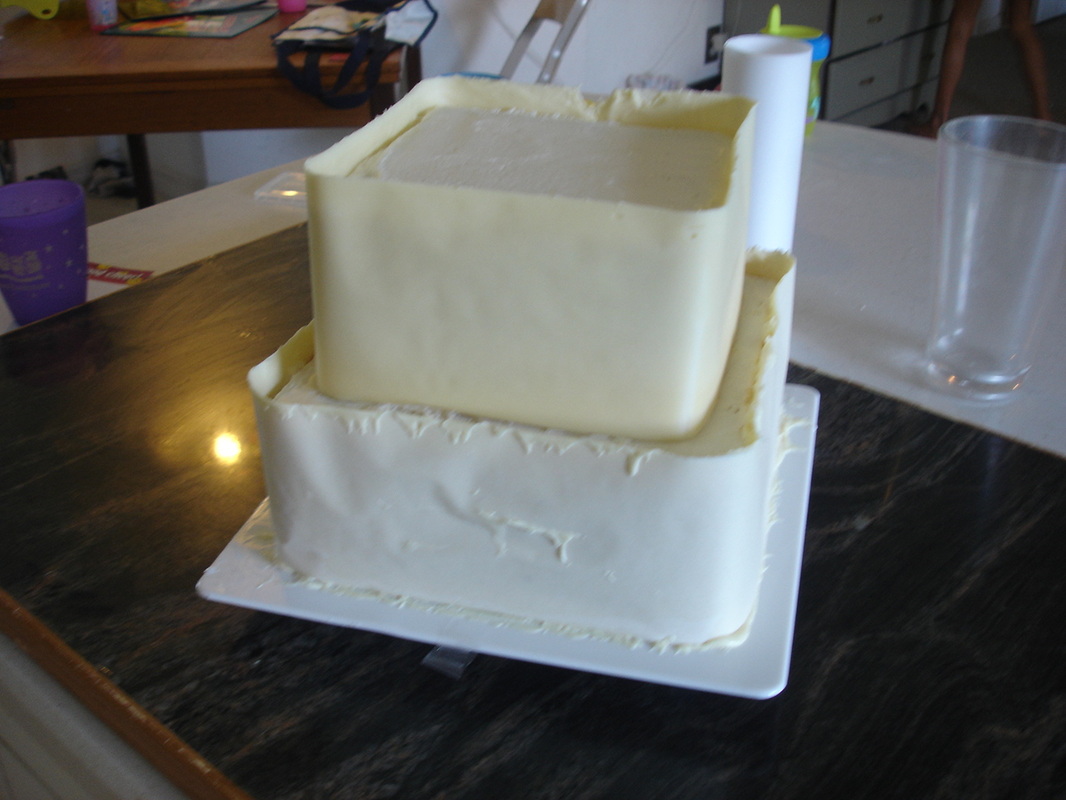
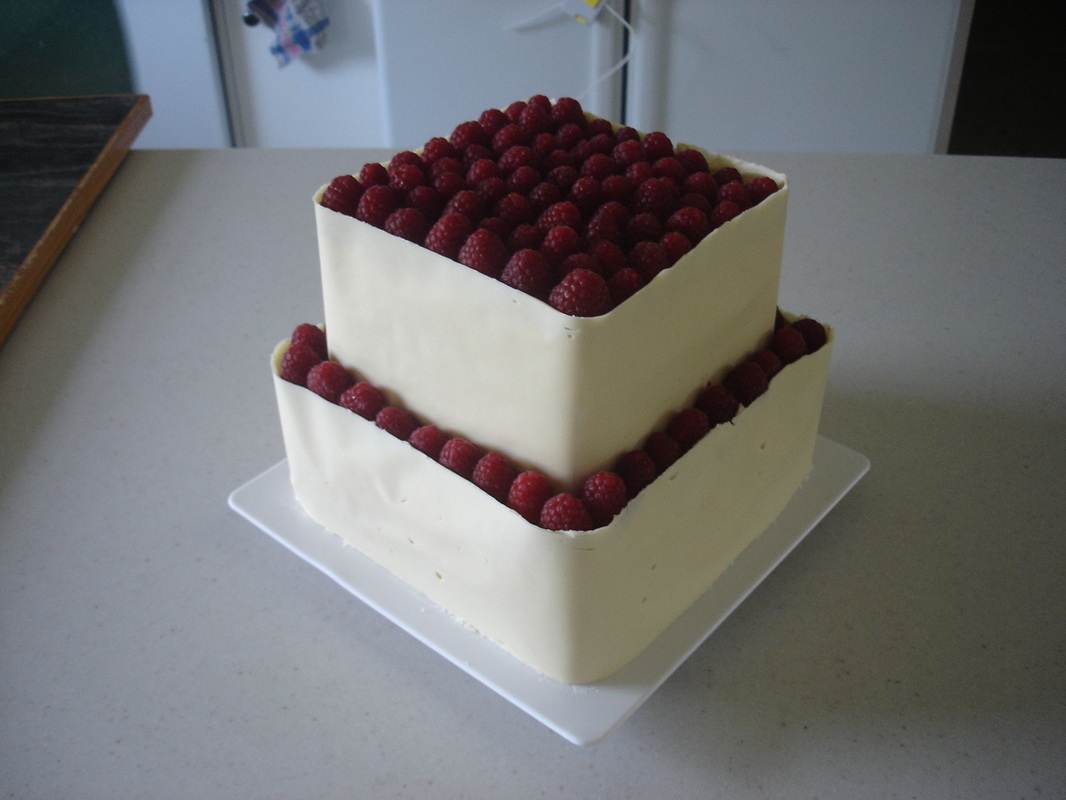
This is a cake I made for a small wedding reception.  It was a white cake with raspberry filling.  I saw a cake wrapped in chocolate and thought it would be pretty (and tasty) to do the same with white chocolate and raspberries, so I pulled up my trusty youtube and googled how to wrap a cake in chocolate.  
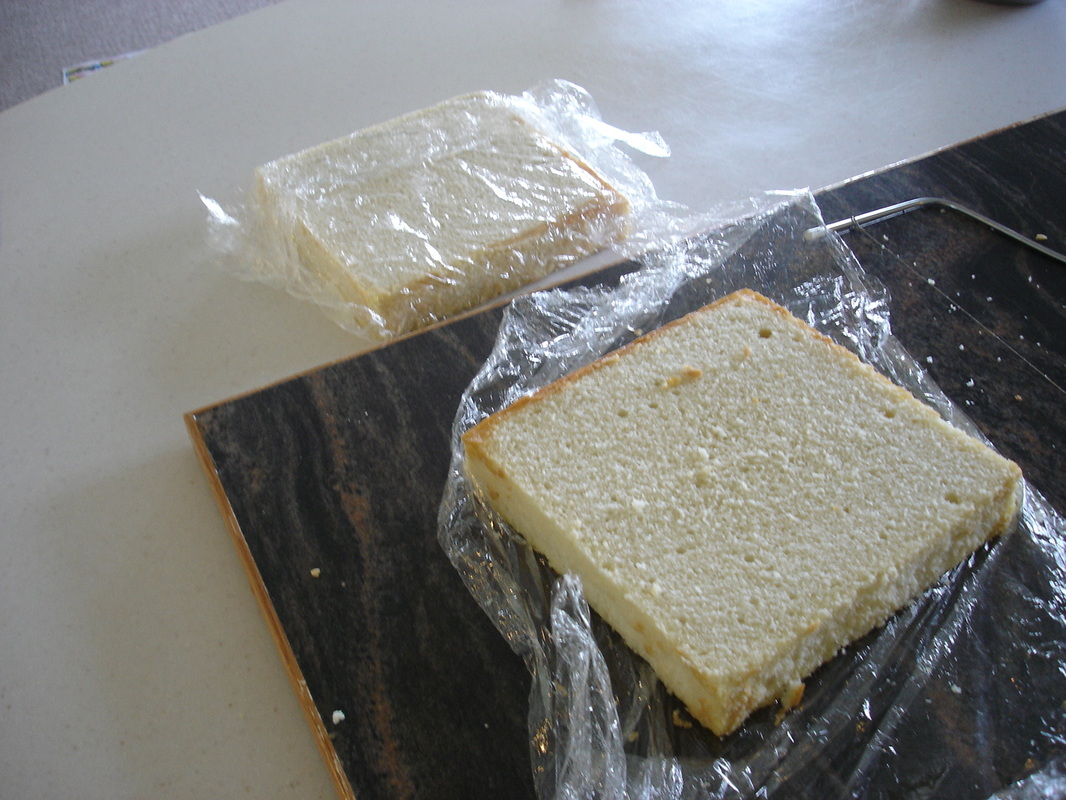
I didn't want the layers as high as my normal ones, so I only used two layers.
I cut each layer in half so I could alternate between filling and buttercream.  I thought that would make the cake more elegant.
I started with raspberry filling...then butter cream...then raspberry again.
After it was all assembled I frosted it...
I didn't worry about smoothing it too much because I knew I was going to cover it anyway.
After both cakes were made, and refrigerated overnight, I added dowels to the bottom layer (to support the top) and stacked them.  I thought it would be more prudent to wrap them already stacked rather than risk breaking the top as I tried to stack them.
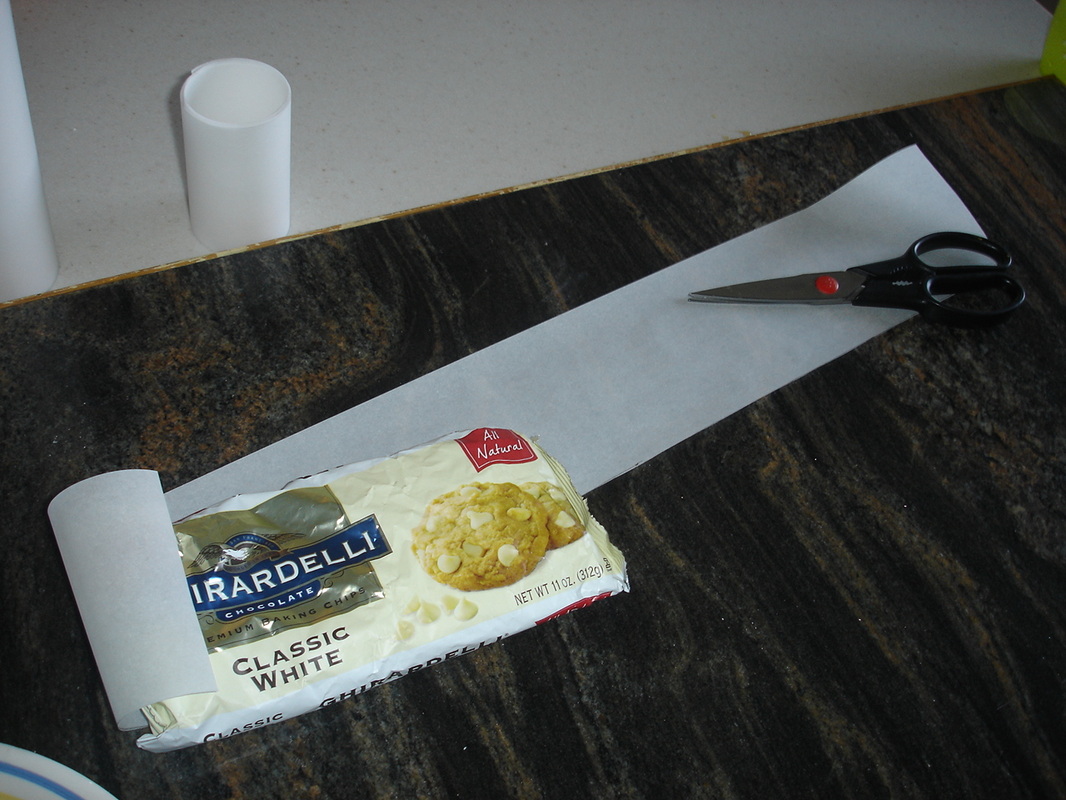
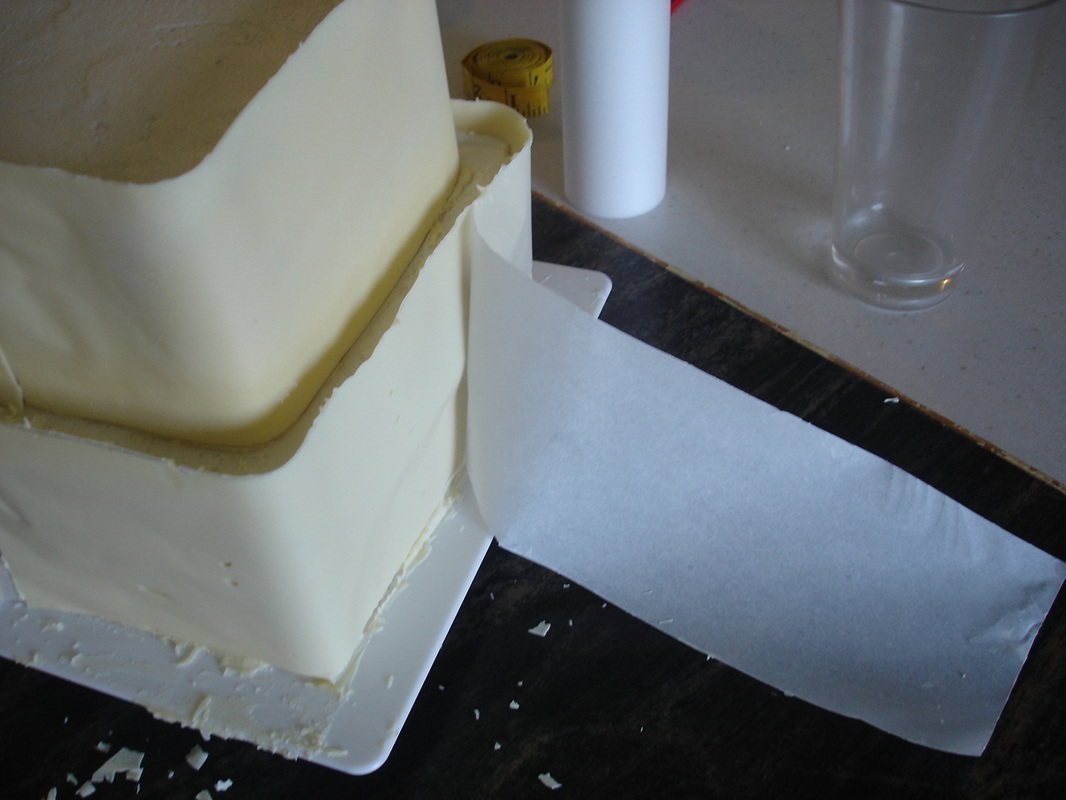
Now comes the tricky part.  I cut out parchment the size that I needed (just enough to slightly overlap the cake.  I did this for both layers.  I used Girardelli white chips.  I would have liked to use a better quality chocolate but it would have cost a whole lot more to use actual bars.  This was a cost effective compromise between real chocolate and candy coating (which I considered using). 
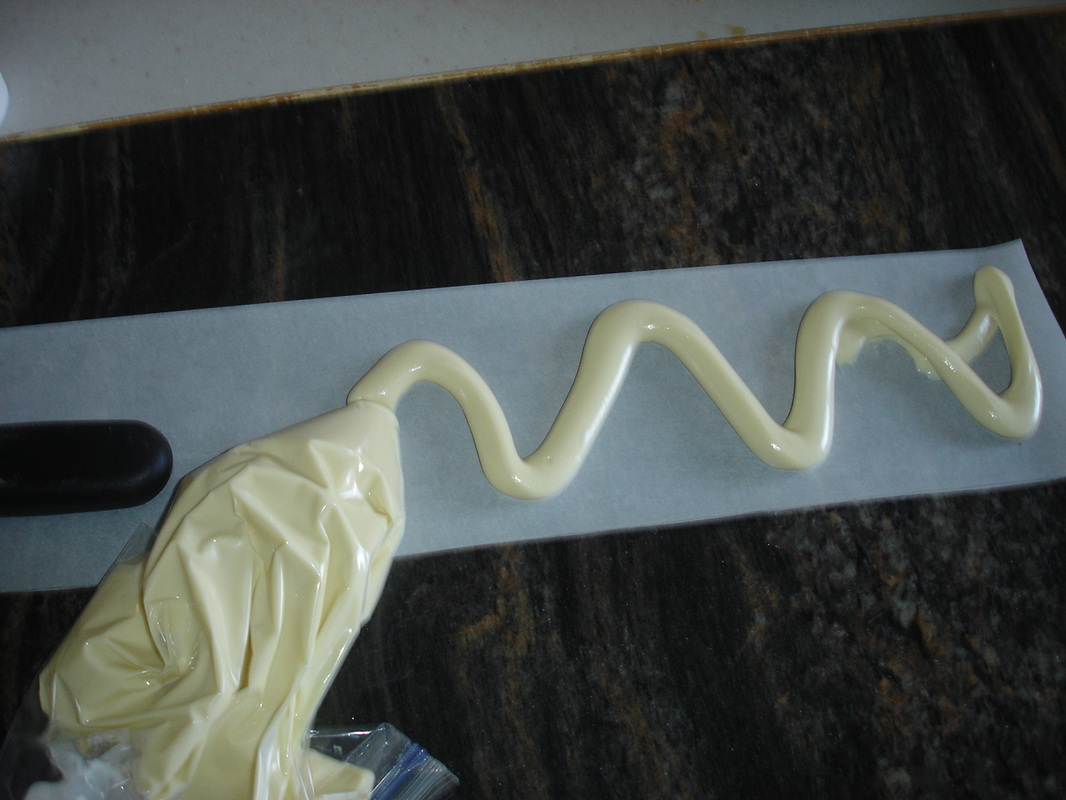
I melted one bag of chips for the top layer, put it in a zip lock, cut a hole in the corner and piped it onto the parchment...I used about a bag and a half for the bottom layer...
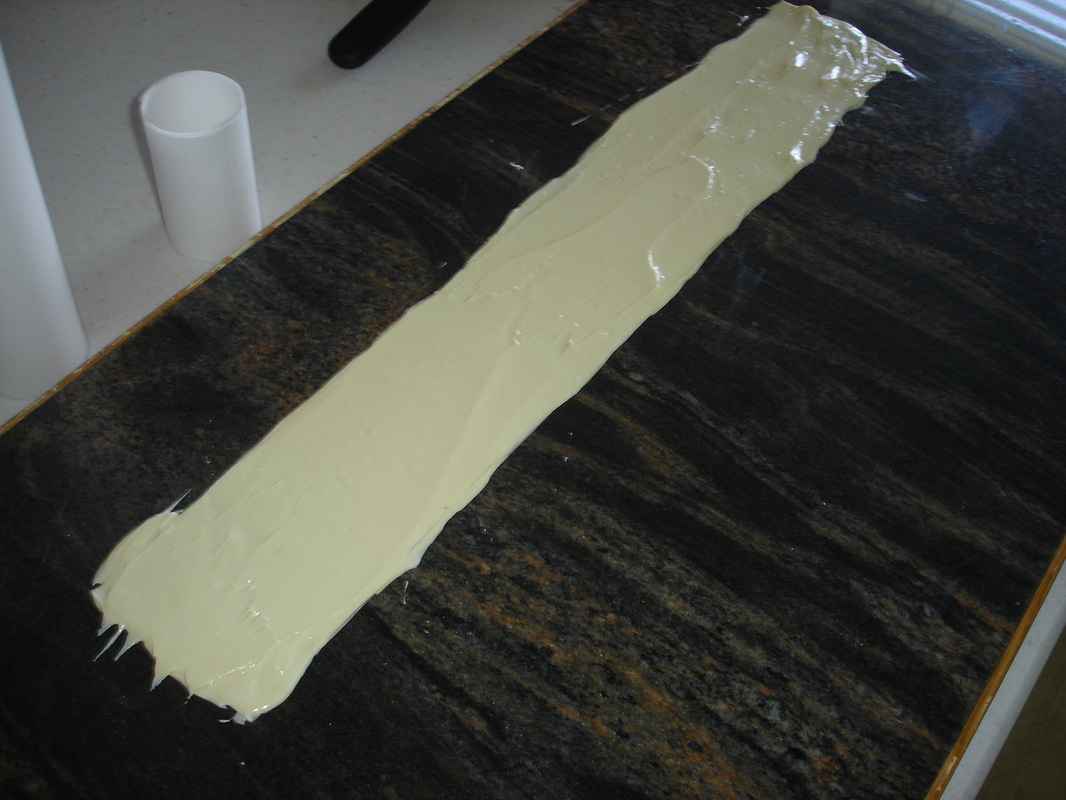
Then I used my spatula to spread the candy across the paper.  After it was covered, I waited a few minutes for it to set up a bit.  You don't want it to run off your paper when you try to put it on the cake.  I waited until it started to lose it's shine and I could see it was starting to set up.
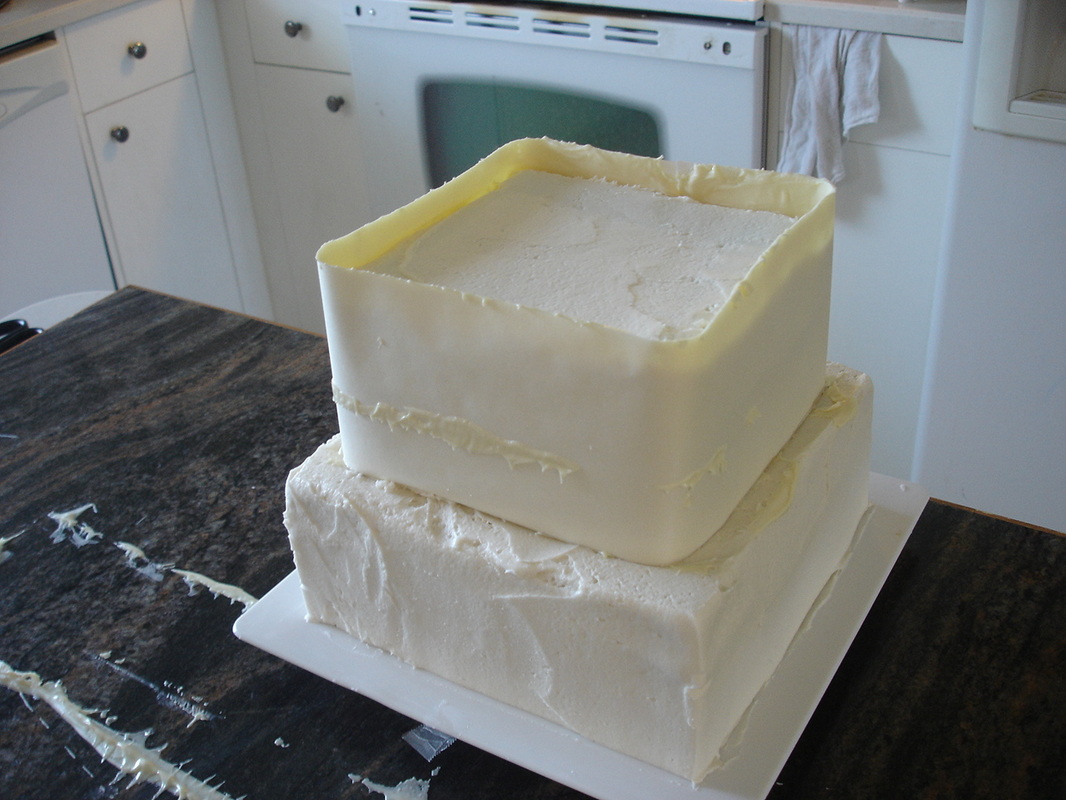
When it was ready to wrap I pulled the cake from the fridge and carefully picked up the paper by its corners.  I then gently wrapped it around the cake and immediately threw it back in the fridge for a couple of minutes to set up.  
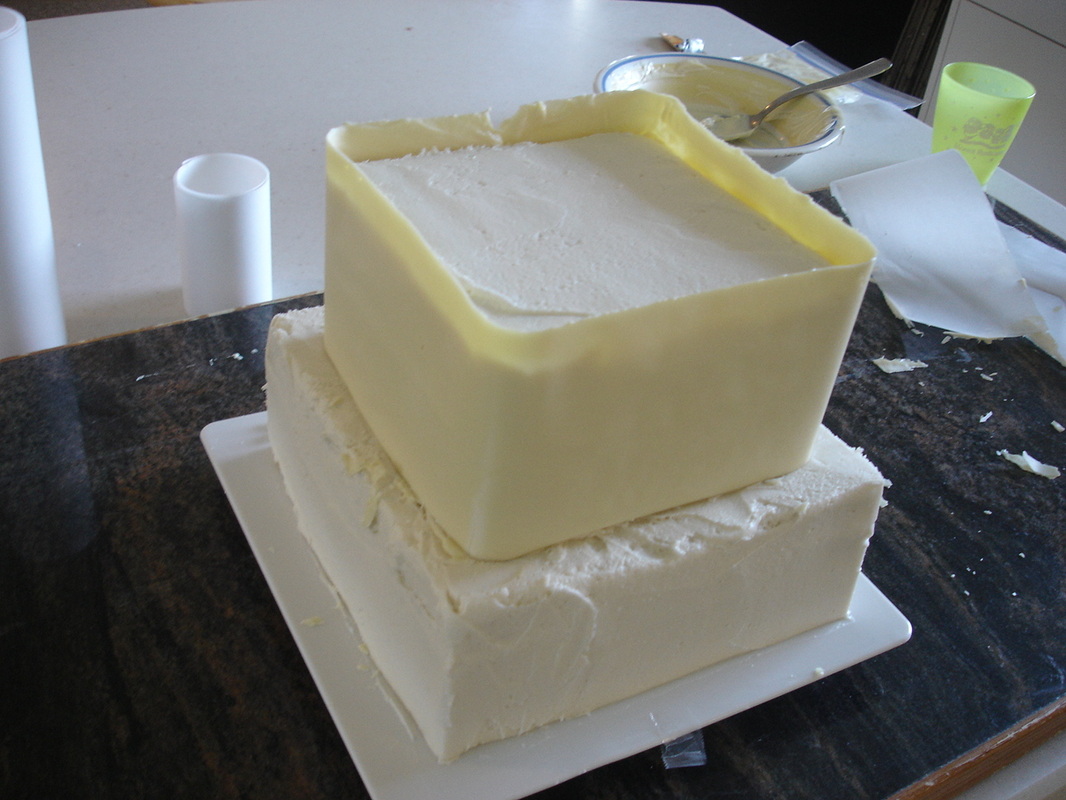
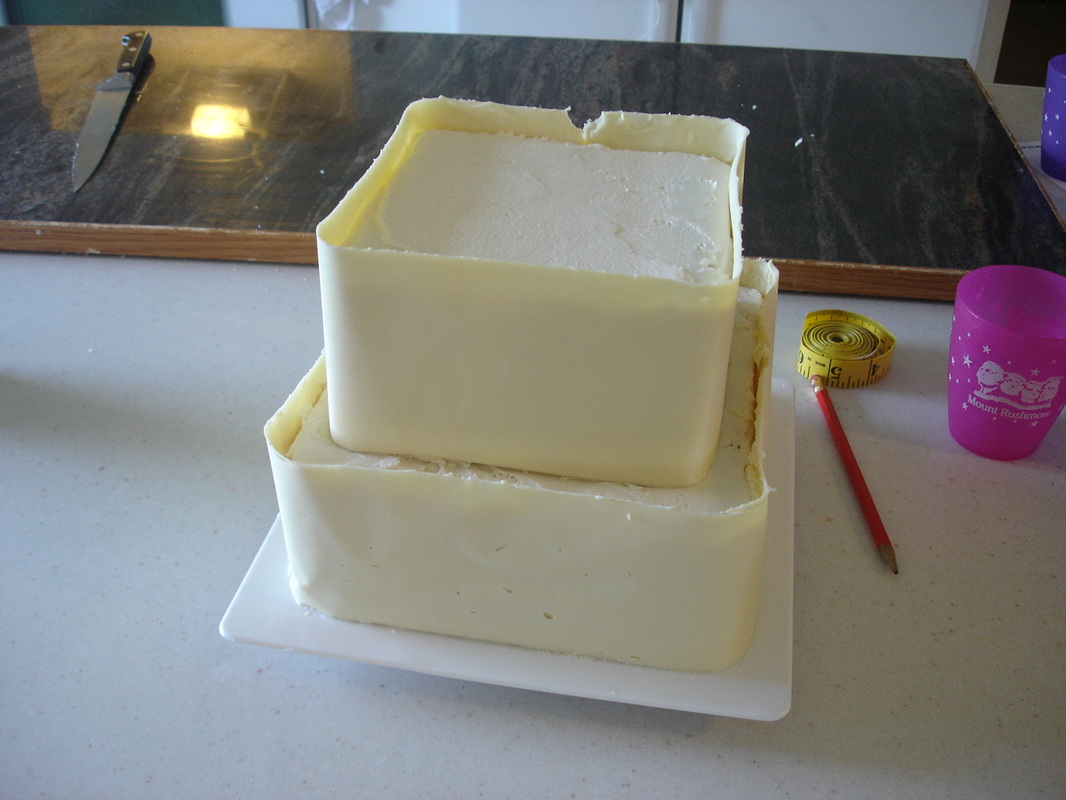
After it was set, I pulled the cake out again and gently peeled away the parchment paper.  One of the things I learned about doing this is that you don't want your cake corners sharp and you can't tug very tightly on the paper when you apply the candy, or it will leave an open spot on the cake.  You can see on this front corner that there is a white spot where the corner pushed through the candy.  It was pretty subtle, but I did avoid it on the bottom cake by rounding the corners a bit and not tugging it quite so tight.
Wrapping the bottom tier was more tricky because it was so long.  The parchment was 32 inches long and that was a lot of heavy paper to pick up and wrap around a cake.  I would have asked my husband to help me support it as I wrapped, but he wasn't home.  As is, I have a few wrinkles in the paper that I wasn't able to straighten out.  Overall though, I was very happy with it for a first attempt.
The bottom layer also had a few bubbles in it.  I suppose that could be avoided by working with the coating a bit more to make sure that it is smeared across the paper well...
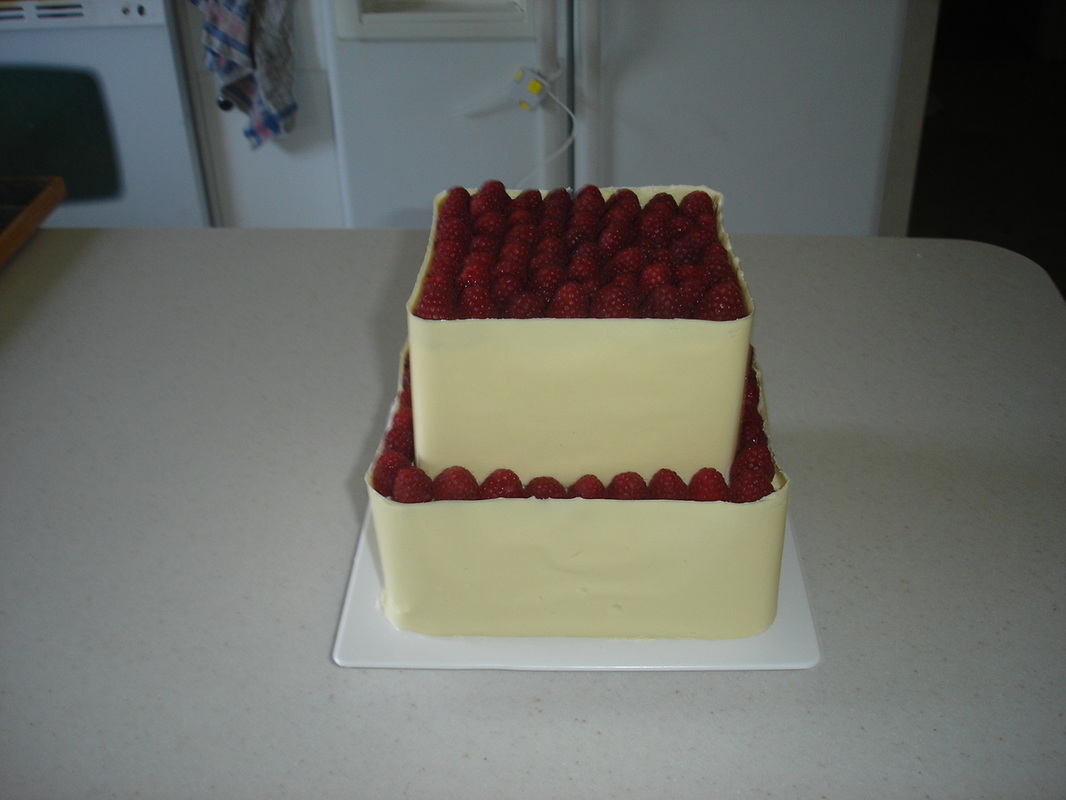
Finally I covered the top and side with raspberries and it was complete.  My mom mentioned it would have been pretty with a red ribbon tied around it and I think that would have made a nice finishing touch.  Wish we would have thought of it before the party.  Oh well, next time I guess.  Overall though it turned out lovely.  The cake was elegant and everyone enjoyed it's novelty.  So I'd say it was a big success.
 
Picture
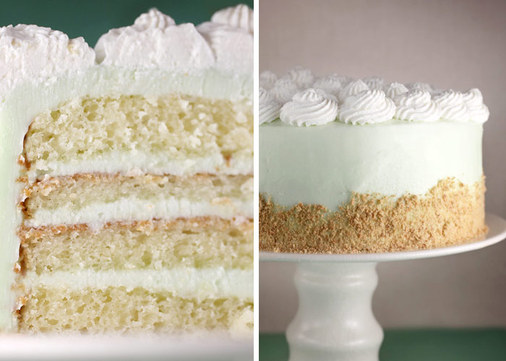
Can I tell you all how much I love the Bakerella blog?  She is wonderful!  I've found lots of tips and great recipes.  She is really a great resource.  I recently made her Key Lime Cream Cake and it was heavenly.  It was so good, I looked for an excuse to make it again just a couple of weeks later.  Here's her blog about it.  You should all try it because it's divine.  

http://www.bakerella.com/key-lime-cream-cake/comment-page-7/ 

On a side note, I went ahead and put lime juice and extra sugar in the frosting recipe (as she suggests).  I also didn't need as much frosting as the recipe makes (though you could certainly use the extra on other things).  The second time I made it I only made a 3/4 recipe of frosting.   

 
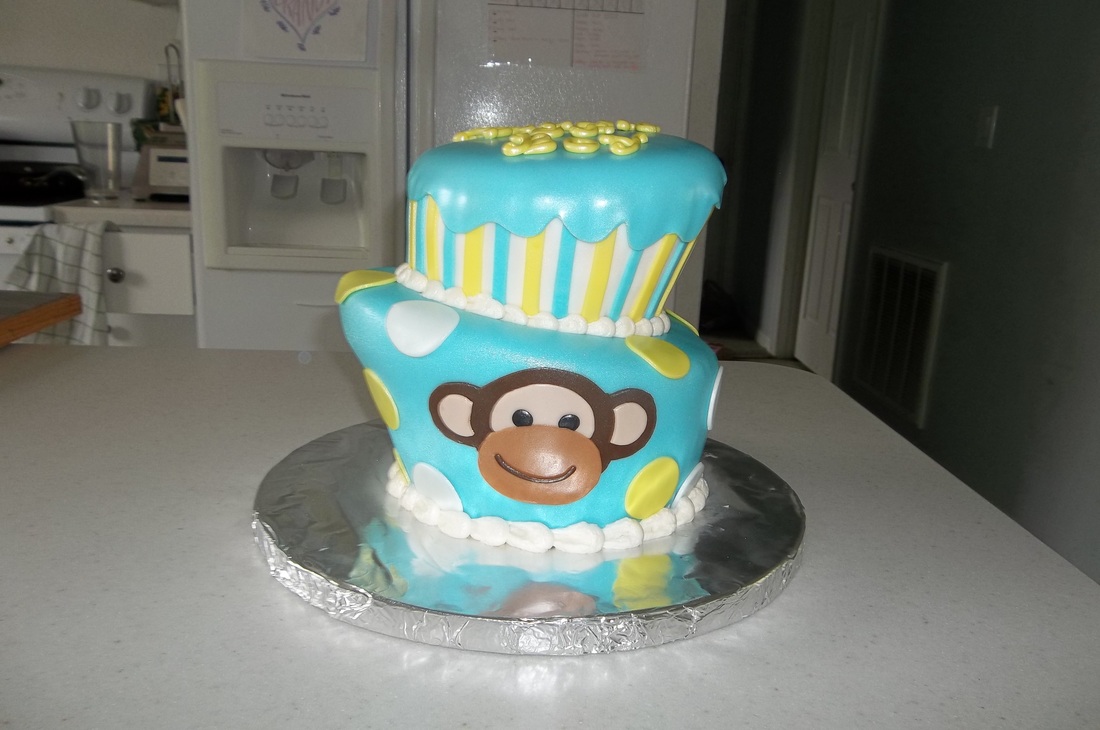
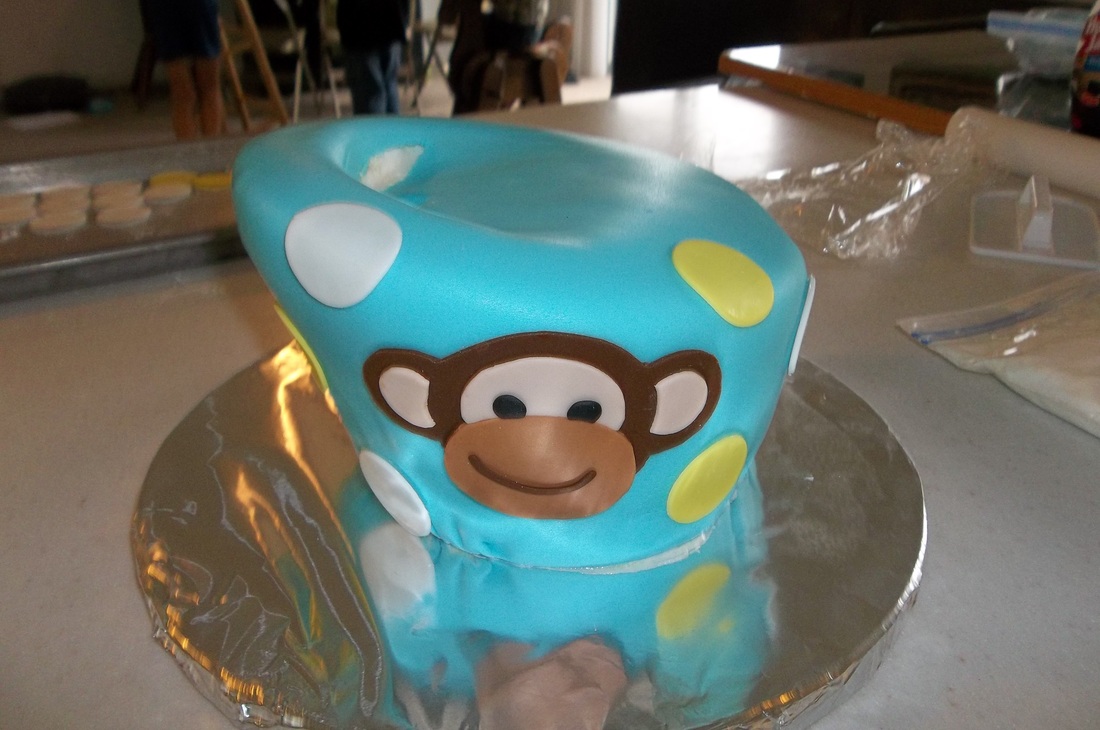
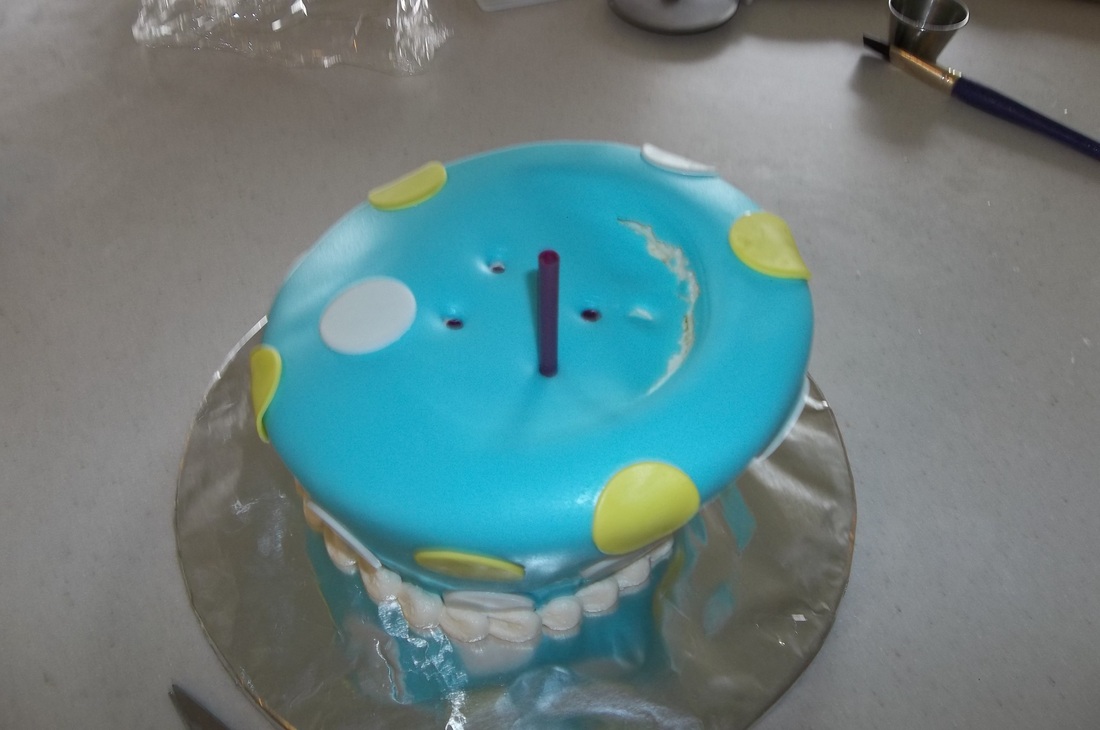
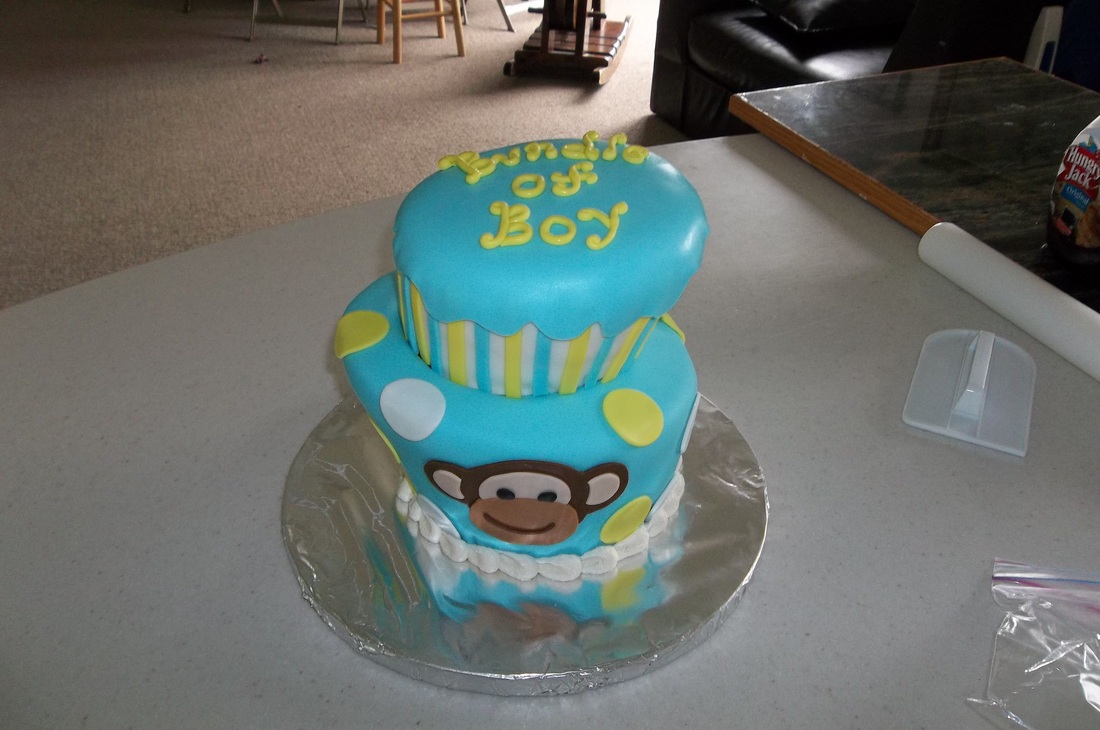
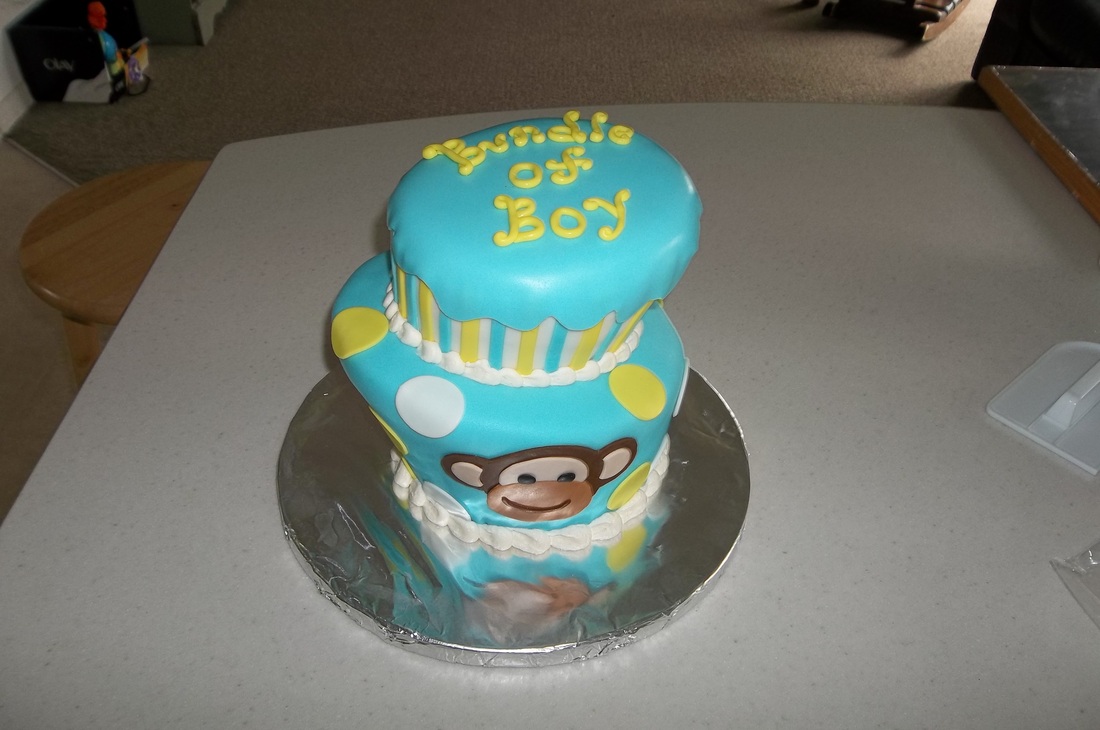
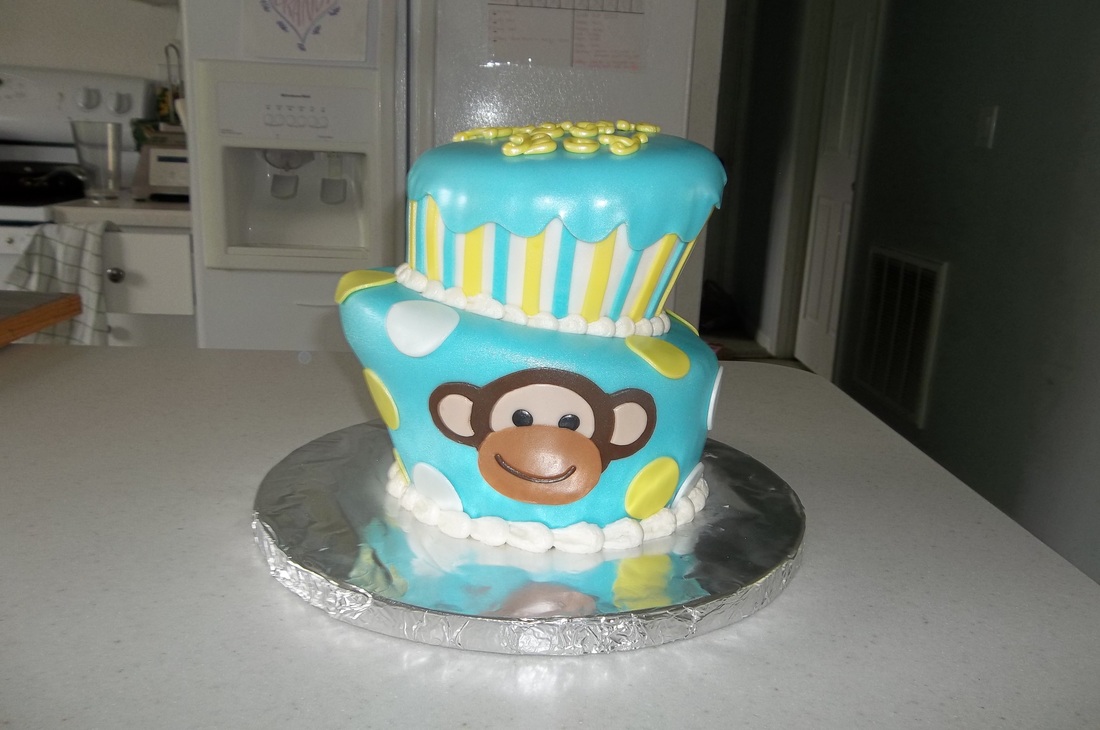
This boy monkey baby shower cake was a lot of fun.  I made it for a friend's baby shower and was actually bummed when I found out the theme was boy monkey because I just did a girl monkey cake last month.  I wanted to do something different.  I decided to stick to the theme, however, and make it my own by doing it topsy turvy and kind of zany.  I was really happy with how it turned out.  
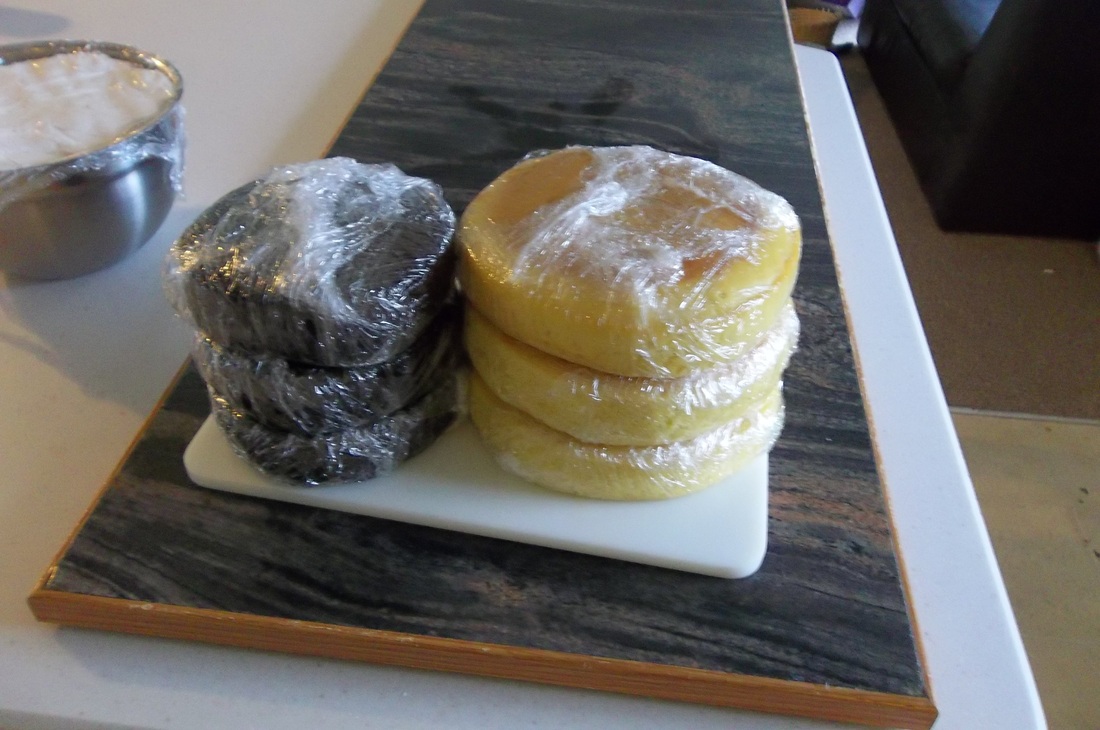
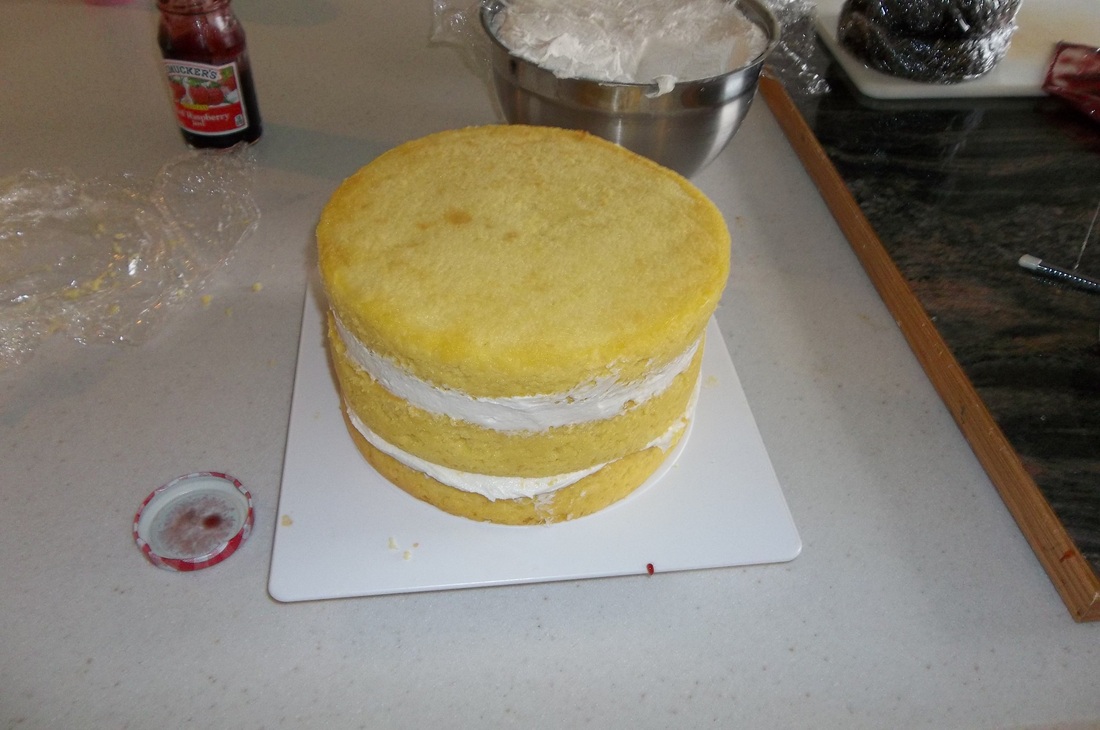
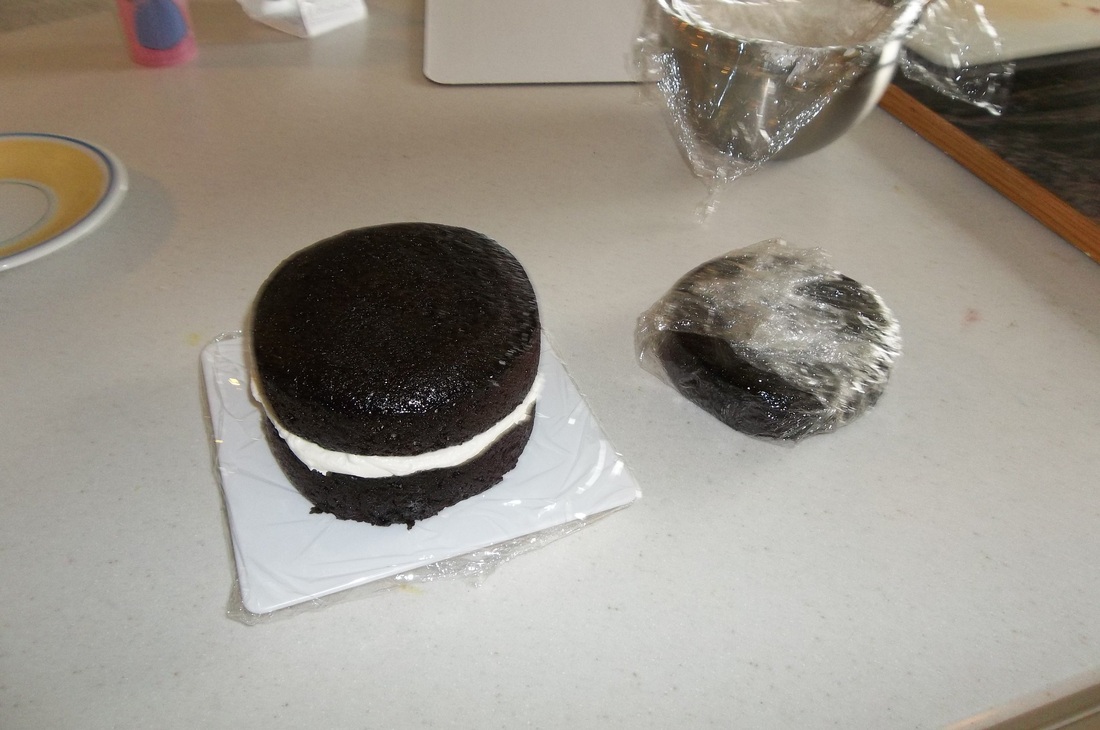
I started by baking three layers of cake, lemon and chocolate.  The bottom tier is 8 inches and the top is 6.
The 8 inch lemon tier was raspberry filled, so after I made the frosting (Wilton butter cream) I leveled my layers and got to work assembling.  I left a wide rim of  butter cream because I knew that I would be trimming off a good portion of the bottom layer.
I usually don't bother piping a rim to hold in the filling.  I usually just use my spatula to make a slight indention for the filling.
For the top tier, I started with only two layers.  Too much height with such a narrow bottom makes for a really unstable cake, so I just used two (but I made three just in case I needed it...I've only made one topsy turvy cake before)...plus now I have an extra layer I can eat.
After assembling the cakes they went straight to the freezer for about two hours.  Cake is a bit easier to carve if it is partially frozen. 

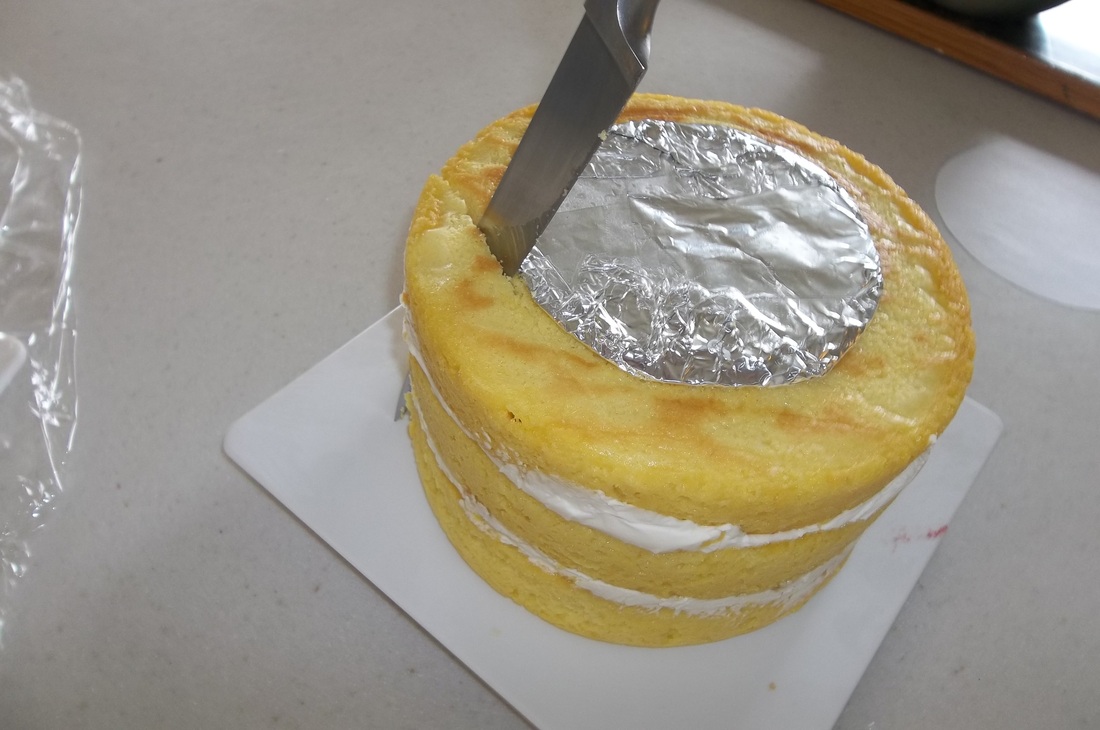
While they were in the freezer I cut out some circles and covered them with foil.  I used a 5 inch cardboard circle for both tiers.  This left a small bottom for the top tier and it was a risk but it held the weight well.  If doing it again, I think I would use a 6 inch board instead.  The 5 was a little scary.  

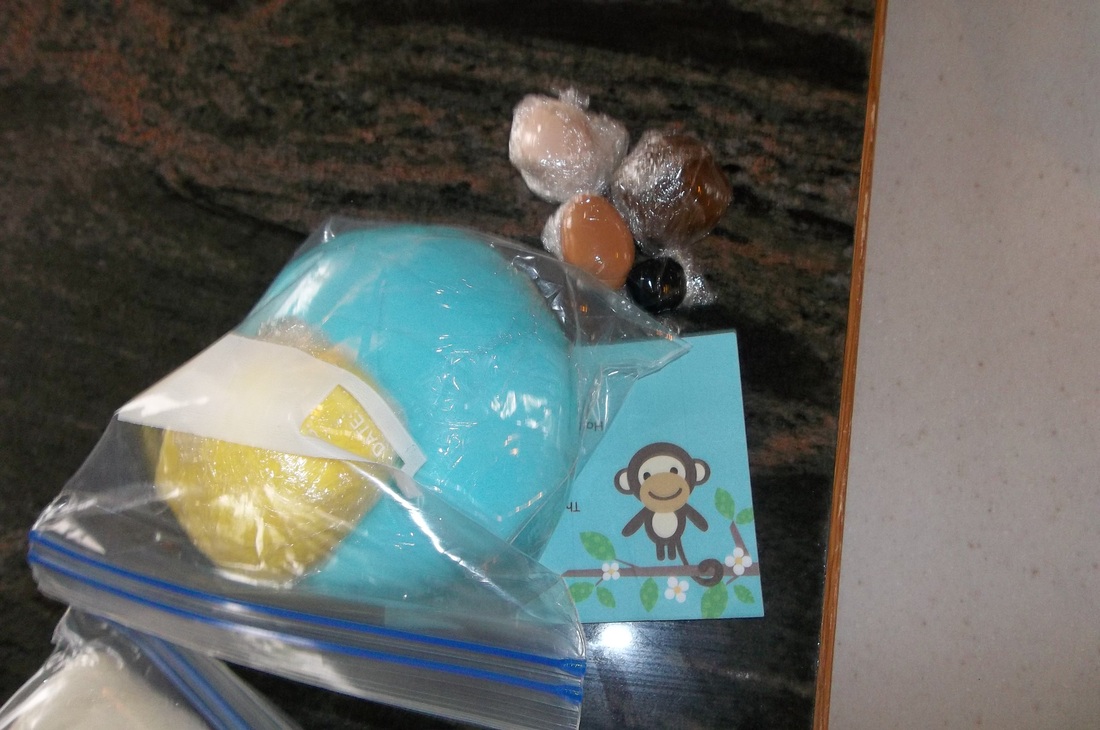
I also went ahead and colored all my fondant.  This was the announcement that was their theme.  On the invite it had the phrase 'bundle of boy' so I decided to incorporate the monkey, the background color and that phrase.

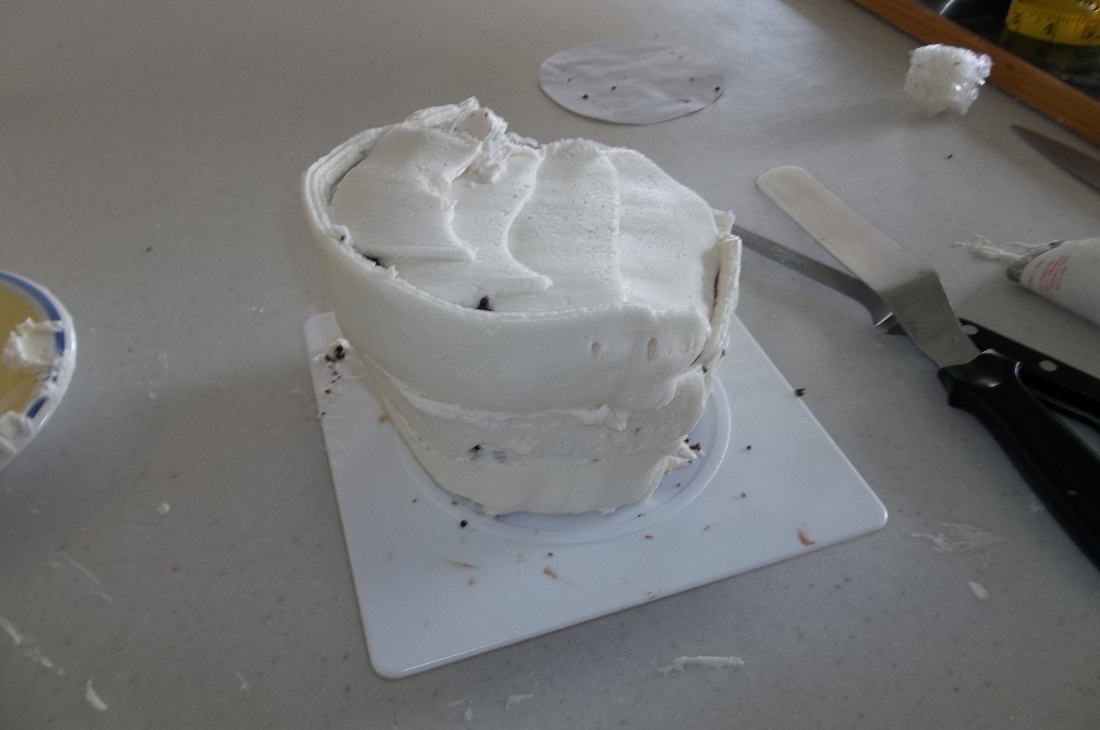
Once I was ready to start carving, I turned the cake upsidedown (so the bottom of the cake was now on the top).  I put on the 5 inch cake board (adhering it with a bit of frosting) and started carving the sides at an angle.  I like straight angles, so I tried to cut a straight line from the board to the top corner (bottom since it's upside down) of the cake.
After I finished carving the sides, I turned the cake back over so it was right side up.  You can see that the base is pretty small. I started to get nervous at this point.
Next I cut a slice off the top to make the top slanted.  I roughly aimed to cut from the top corner to the bottom of the top layer.
Then I added some frosting and flipped over the layer that I had cut off and added it to give the cake a bit more height.
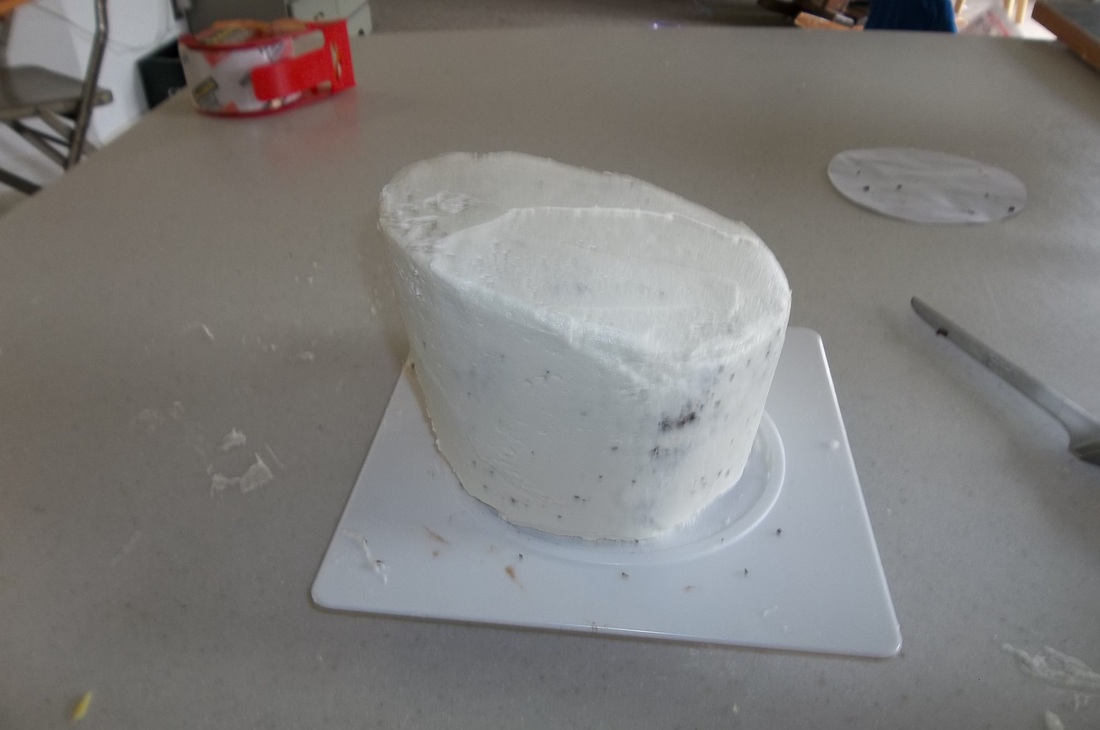
I trimmed it up a little, and I was ready to cut out the top.
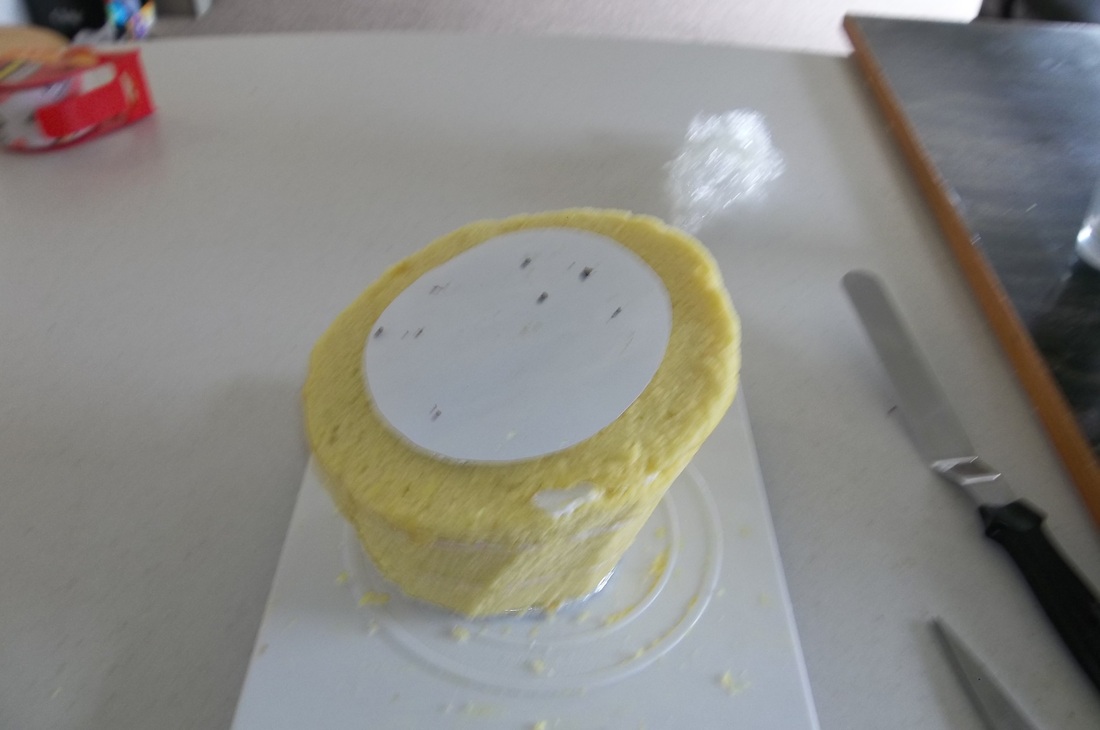
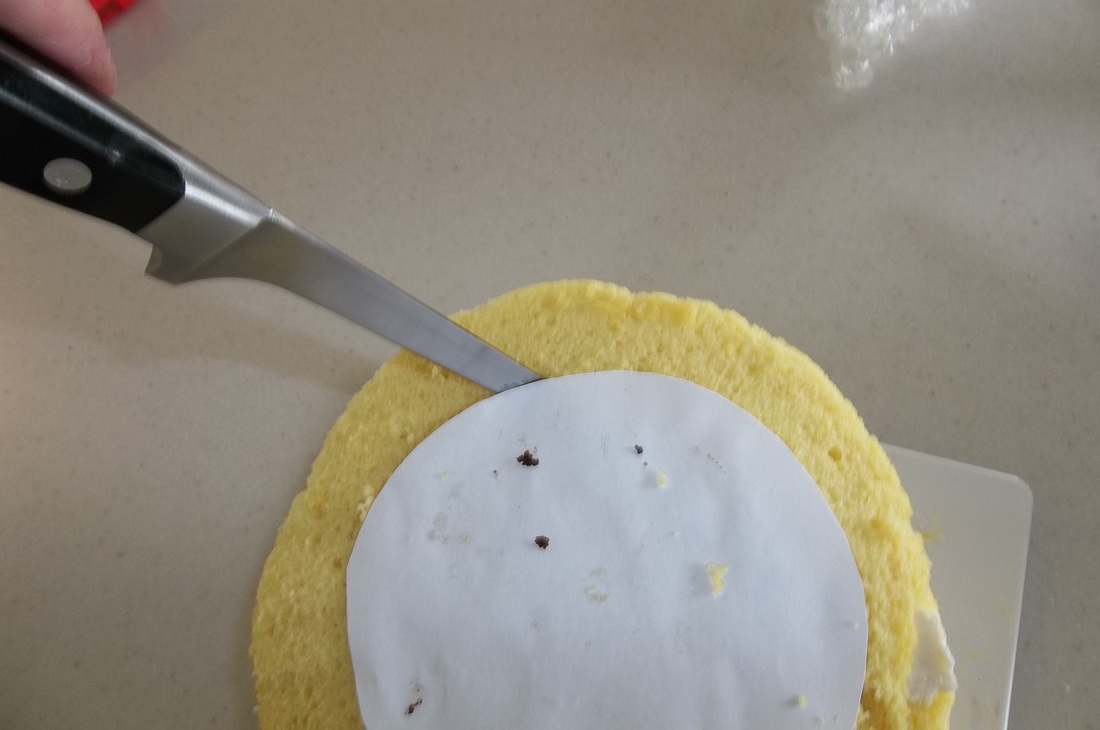
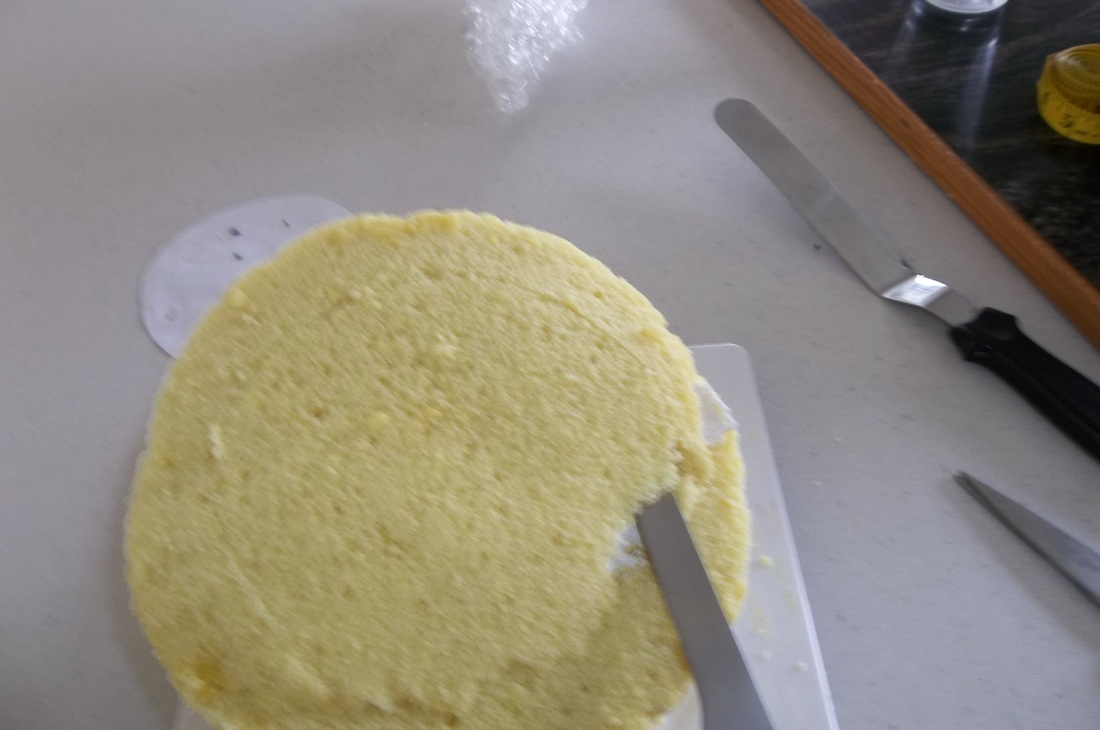
A topsy turvy cake isn't really stacked at angles.  It's actually stacked flat, so the angled layer needs to be cut flat.  This way I can put the top layer right on the flat surface of this layer.  I made a paper guide of how big the bottom of the top tier would be (I had to estimate by putting the tier on the paper (thus the chocolate crumbs) and adding some space for butter cream and fondant.  I then used this guide to cut into the high side of the cake and level out the circle where the tip tier would go.
I then cut straight down a little over an inch at the highest mark, around the high half of the tier.
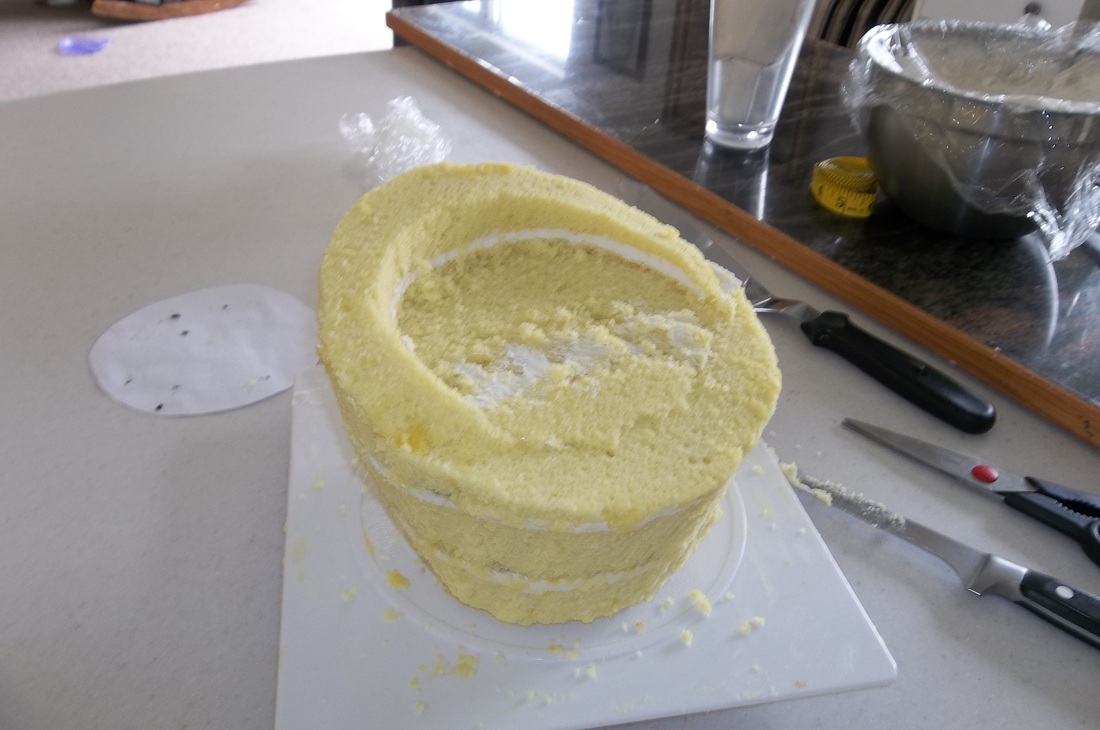
After that, I cut out the portion of the circle that was to be flat.
Now, there are a ton of ways to do this...Youtube has great how to videos.  Some people frost and cover the cake with fondant before cutting out the circle on the top but that just doesn't make sense to me.  First off, it's a waste of frosting.  Secondly, it's messy.  I felt it was better to cut the cake first, then frost and cover it.

So this is what the carved cake looked like.  Now it's ready to be frosted and covered with fondant.
This was kind of a mess, but it doesn't matter.  All that really mattered is that I frosted the cake.  I know that people suggest only a thin layer of butter cream under the fondant (enough to help the fondant adhere to the cake) but it's my experience that most people (adults anyway) don't eat the fondant.  For this reason, I always put a good layer of frosting under my fondant.
I smoothed the frosting and put the cake in the refrigerator to allow the frosting to harden.  I could have gotten it smoother using the paper towel method of smoothing but I am out of paper towels, so this was it.

I always wait until the next day to cover a cake with fondant.  This allows the cake to get good and firm before covering.
The bottom tier is a lot more simple.  Again, I turned the cake upside down and placed the cake board on what was then the top of the cake and carved the sides.
Then I turned the cake right side up and carved the top angle.  Again I frosted the top and flipped the slice I had cut off and added it for more height.
Sloppy sloppy sloppy!  :-)
I didn't worry about crumbs because I knew I would cover it up anyway.  If it was plain white, I'd be more careful (they can show through) but with the other decorations I knew I didn't have to worry).
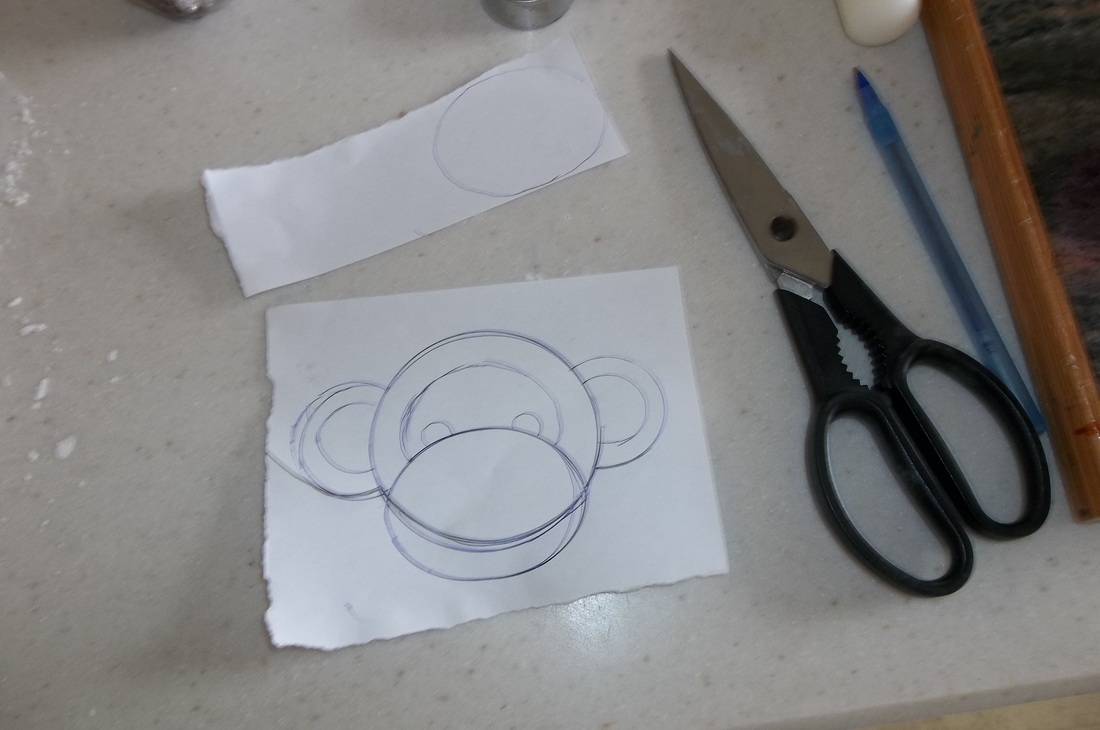
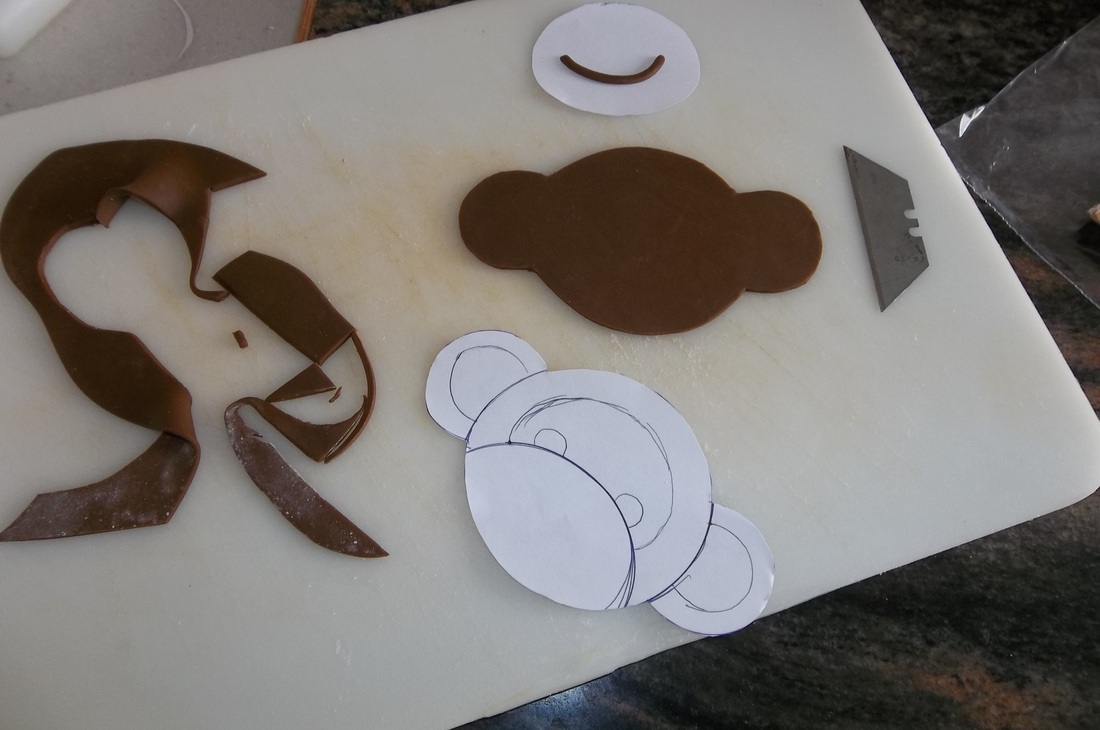
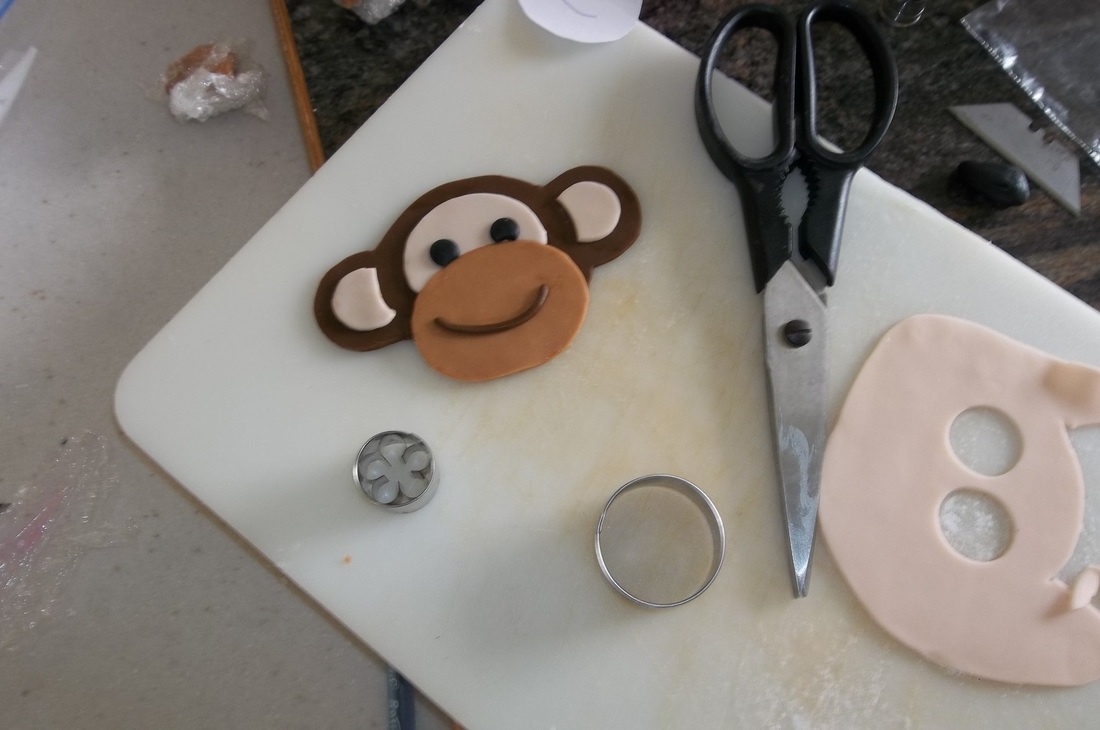
While the cakes were hardening in the fridge, I decided to get the fondant details done.  Normally I print my pictures from the computer and trace them because I am no artist!  My 9 year old daughter draws better than I do.  This time, unfortunately, I had to go off of the invite and had to freehand it.  No laughing at the art!  

See!  He turned out pretty cute for such an ugly drawing.  
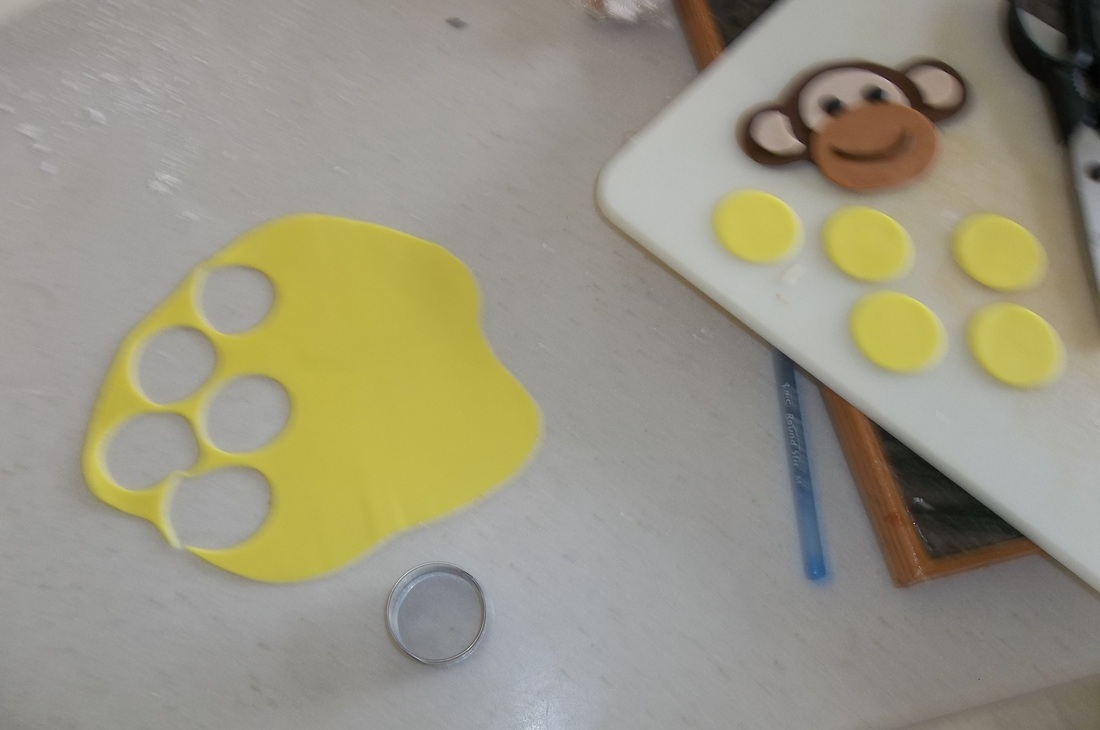
Next I used a circle cutter to cut out all of the polka dots...
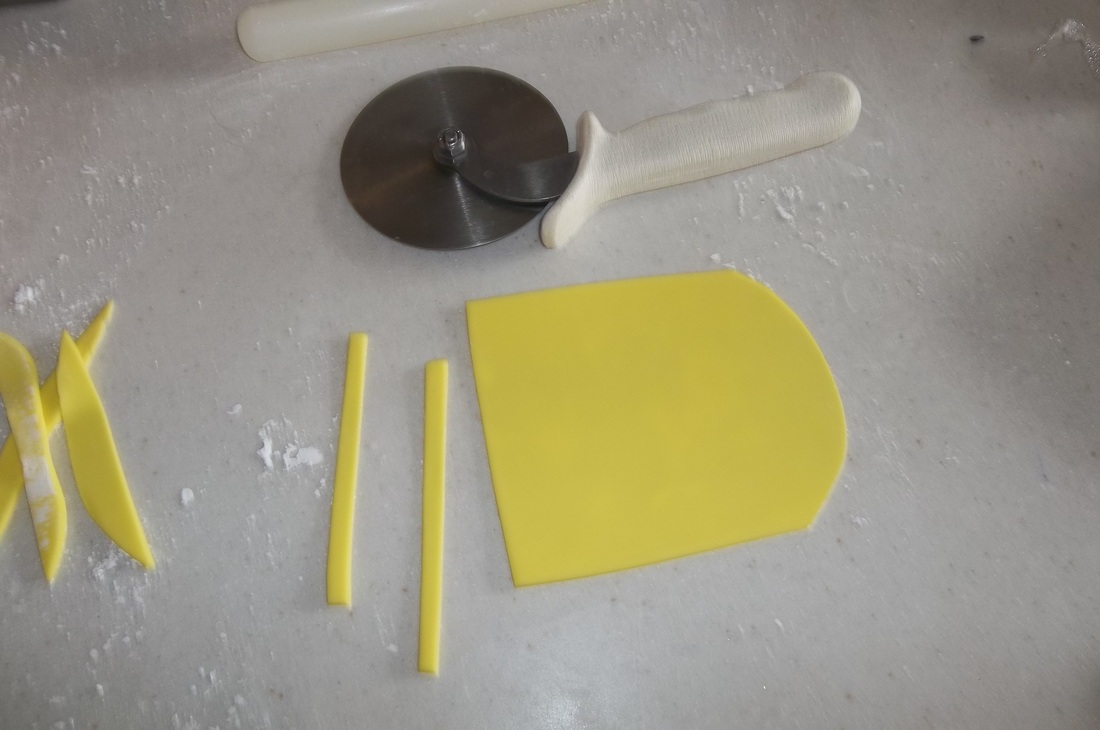
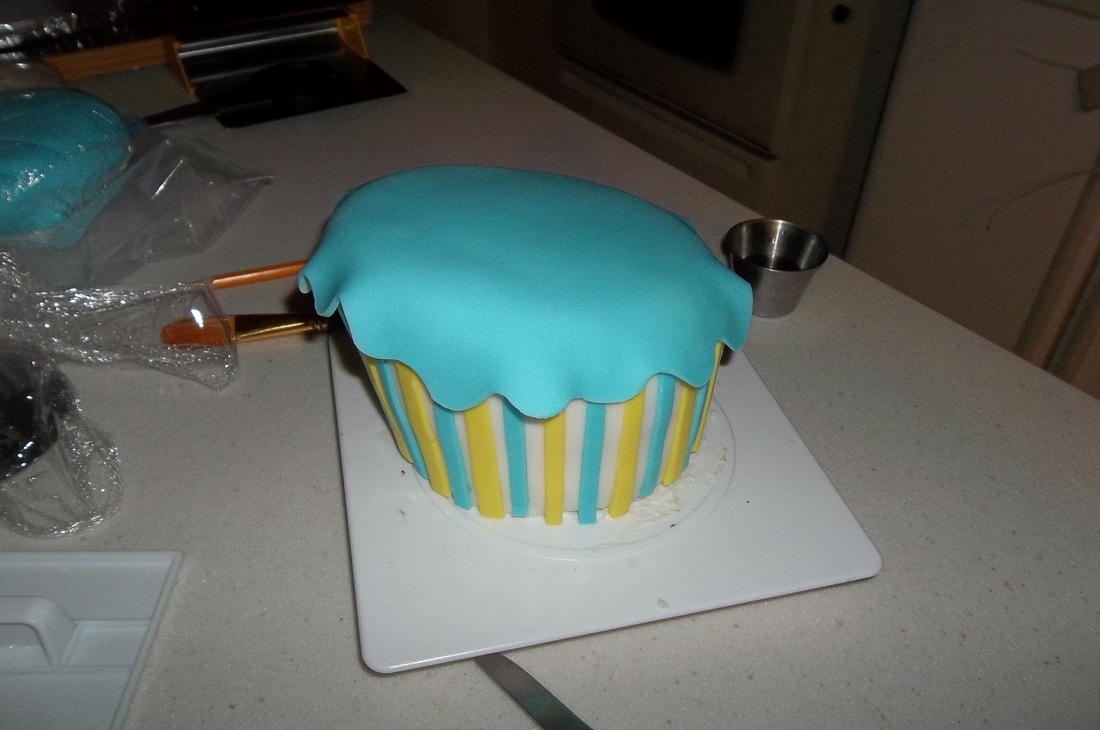
...and I used a pizza cutter to cut out the stripes...
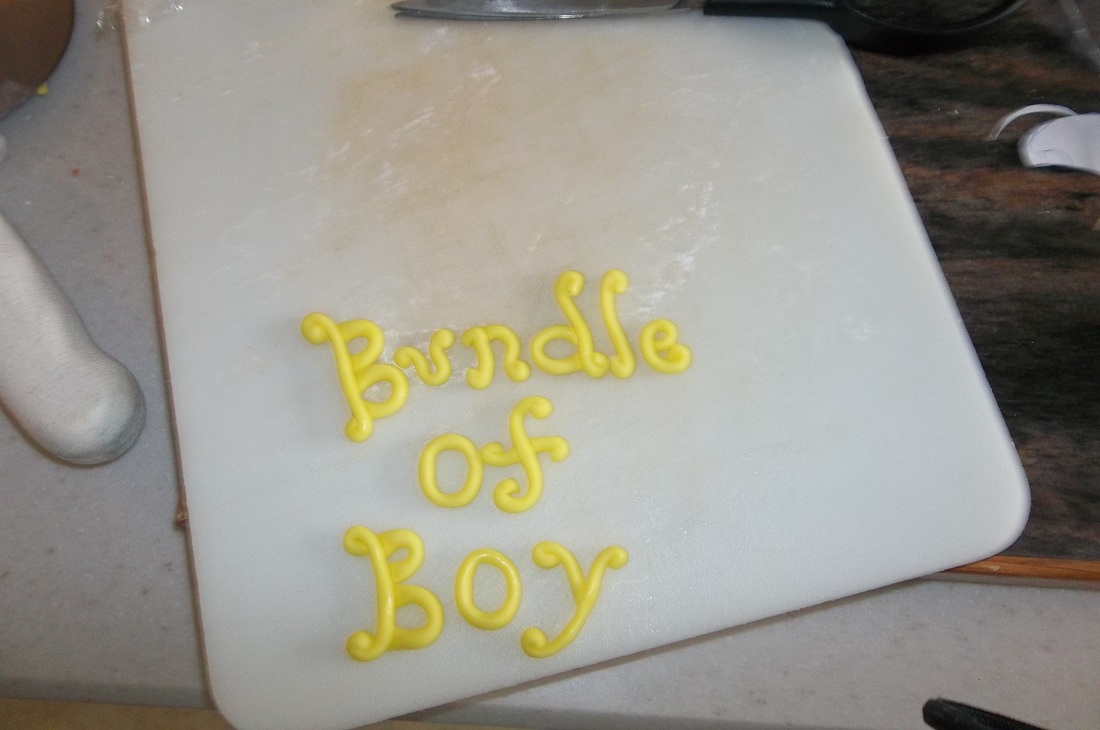
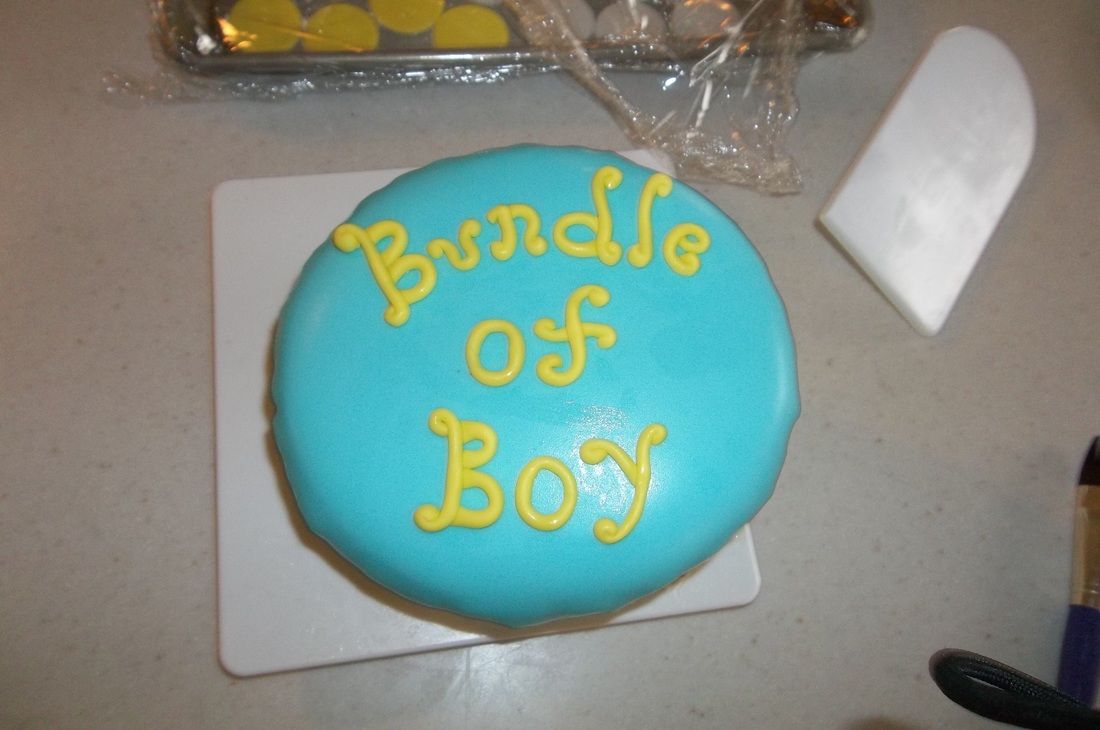
I saw this style of letters and really liked it!  Decided to give it a try.  All I did was roll out thin strings of fondant with my hands and free formed the letters (using water to adhere the parts that needed to stick).  Easy Peasy. 
Then it was time to cover the cakes with fondant...
Covering a topsy turvy cake with fondant is a bit tricky.  It's a high cake to begin with and it gets narrower as you work it down.  I just kept working with it until it was covered.
The fondant separated when I was covering the gap, but I wasn't concerned about it because the top tier would cover it up.  I would have taken more care to avoid that if it would have been visable...

After I'd covered both cakes I returned them to the fridge to set up some more.  
After a couple of hours I was ready to start decorating.  I adhered the decorations by moistening the cake with water using a paint brush.
I cut out a circle that was roughly the size of the top of the small tier and used it as a guide for the top fondant piece.
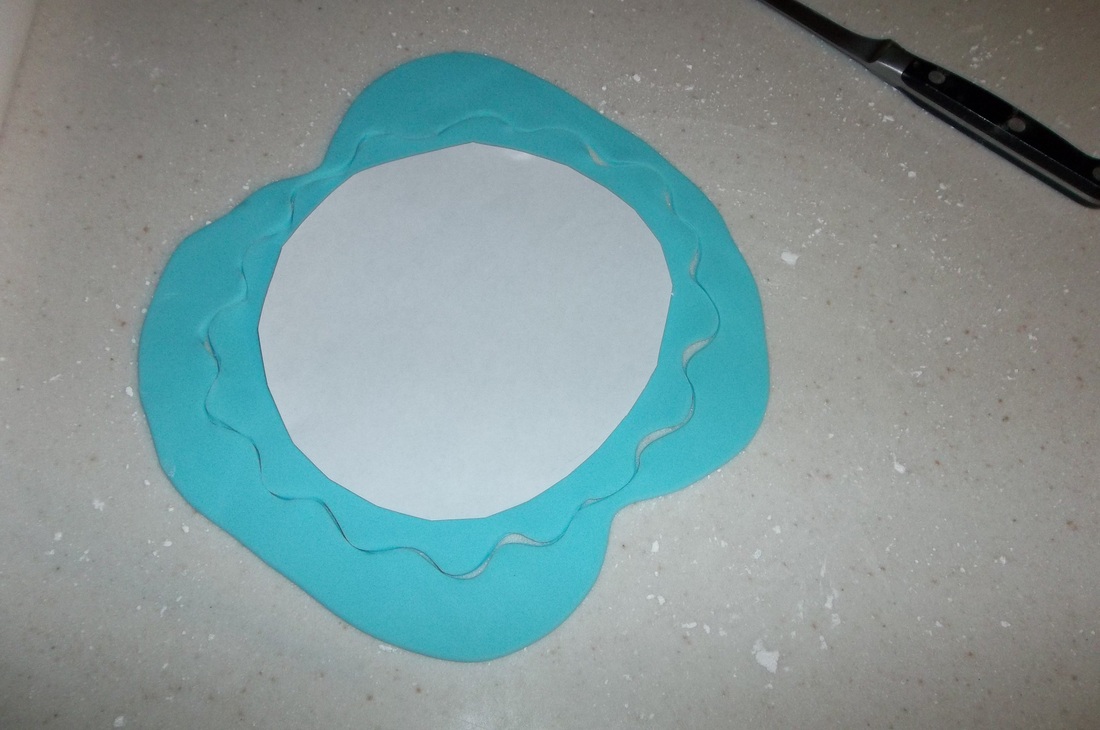
Then I used my razor blade to cut a swirly edge that would hang over the side of the cake...
...and I adhered it to the cake...and pressed down the sides (not shown).
Finally, I put the letters on the top and the top tier was ready to go.
Then I added the decorations to the bottom tier...
...and added plastic dowels to support the weight of the top and they went back into the fridge until I was ready to assemble the cake.
When it was time to put it together, I stacked the cakes....
...and added the final border.
I finished it off by airbrushing the whole thing with a pearl sheen.  So overall, it was super fun to make and got devoured in a matter of minutes.  Thanks as usual for reading.  :-)
 
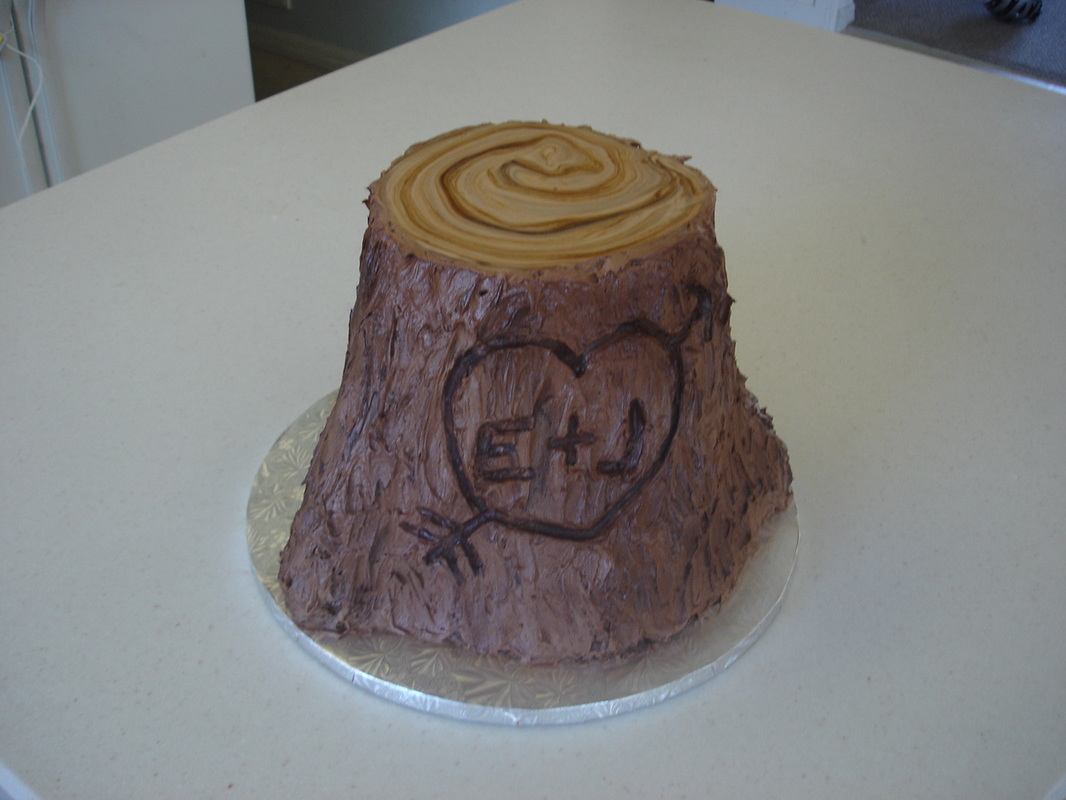
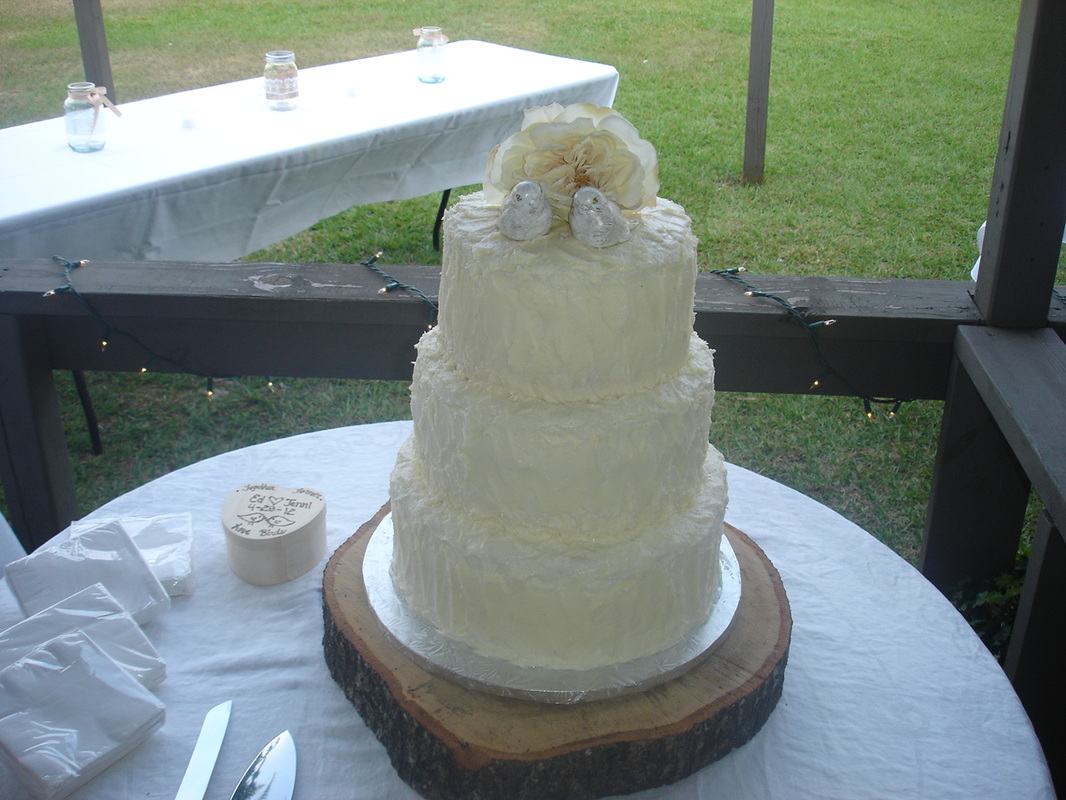
For this wedding I made both the wedding cake and the grooms cake (a busy feat for sure, but the wedding cake was a simple cake, so I decided I could do it).  This cake was a yellow cake with chocolate buttercream and the wedding cake was a three tiered, roughly frosted, red velvet with cream cheese frosting.
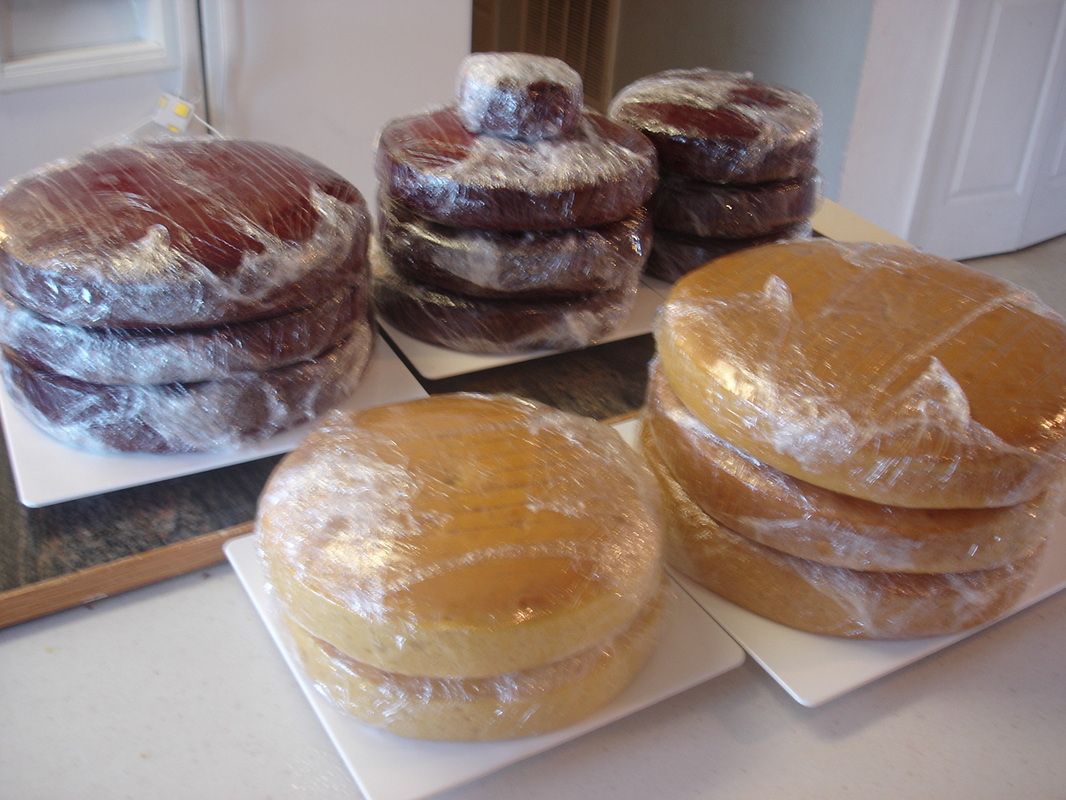
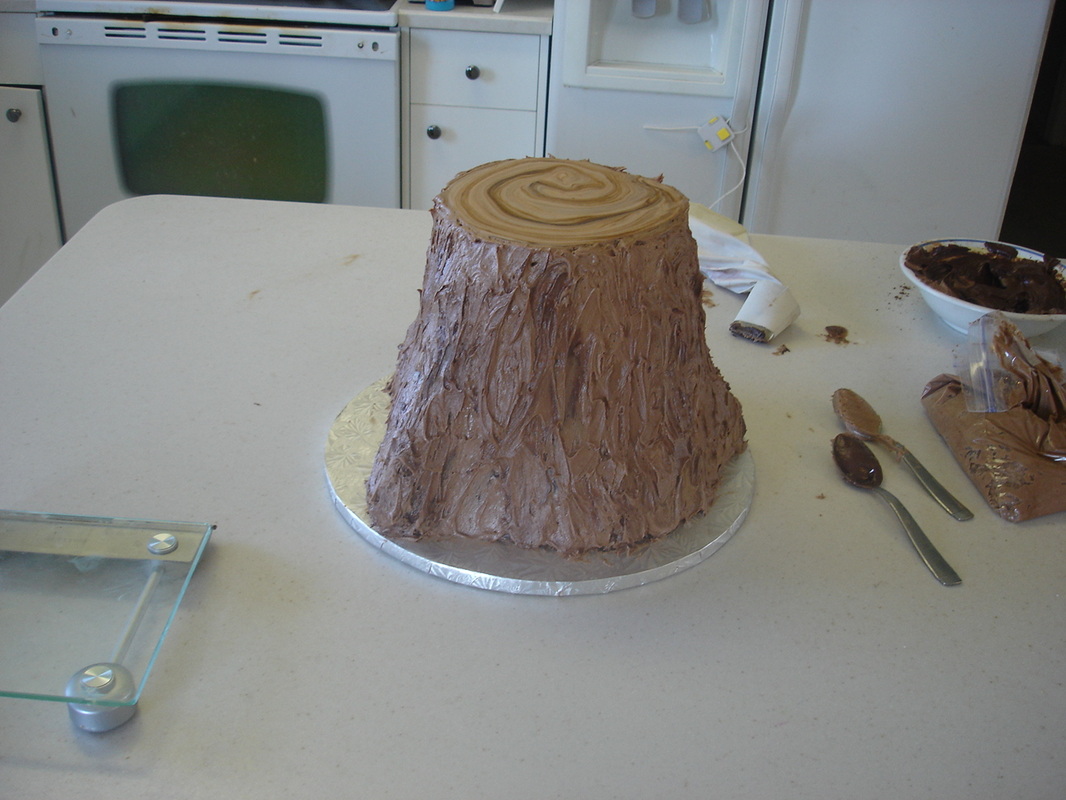
I started by baking all the cakes...9 layers and a small anniversary cake for the wedding cake and three 12 inch and two 10 inch yellow cakes for the tree stump cake.  
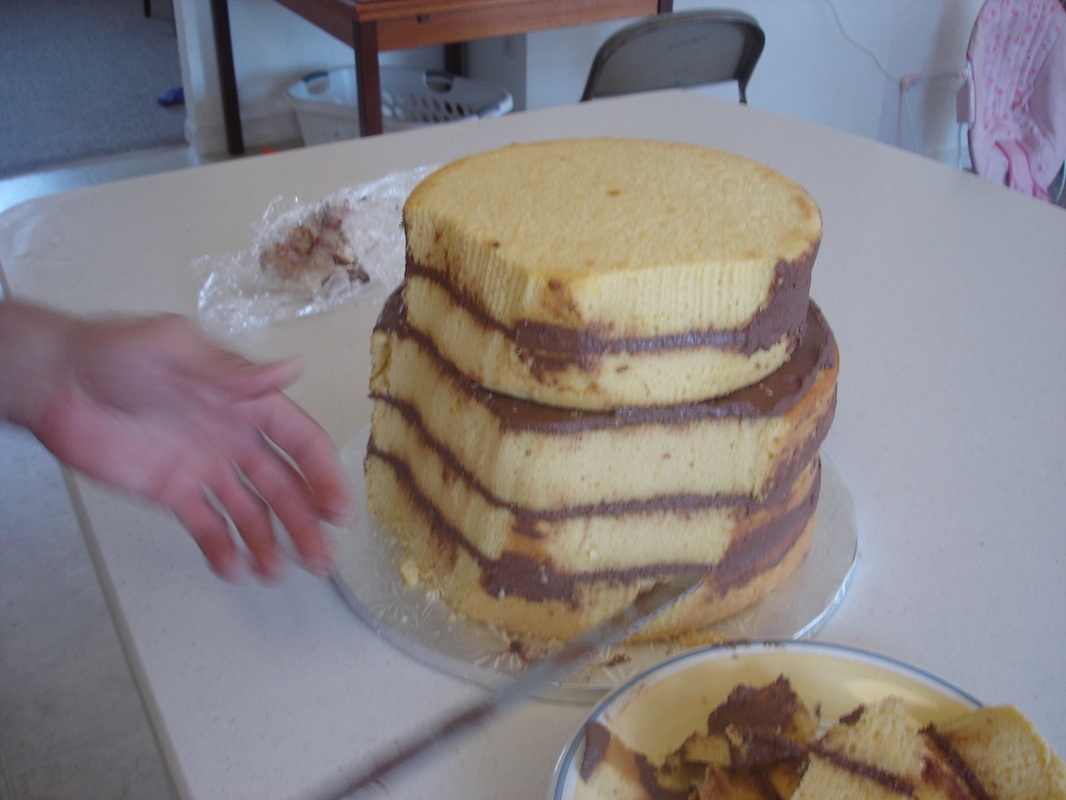
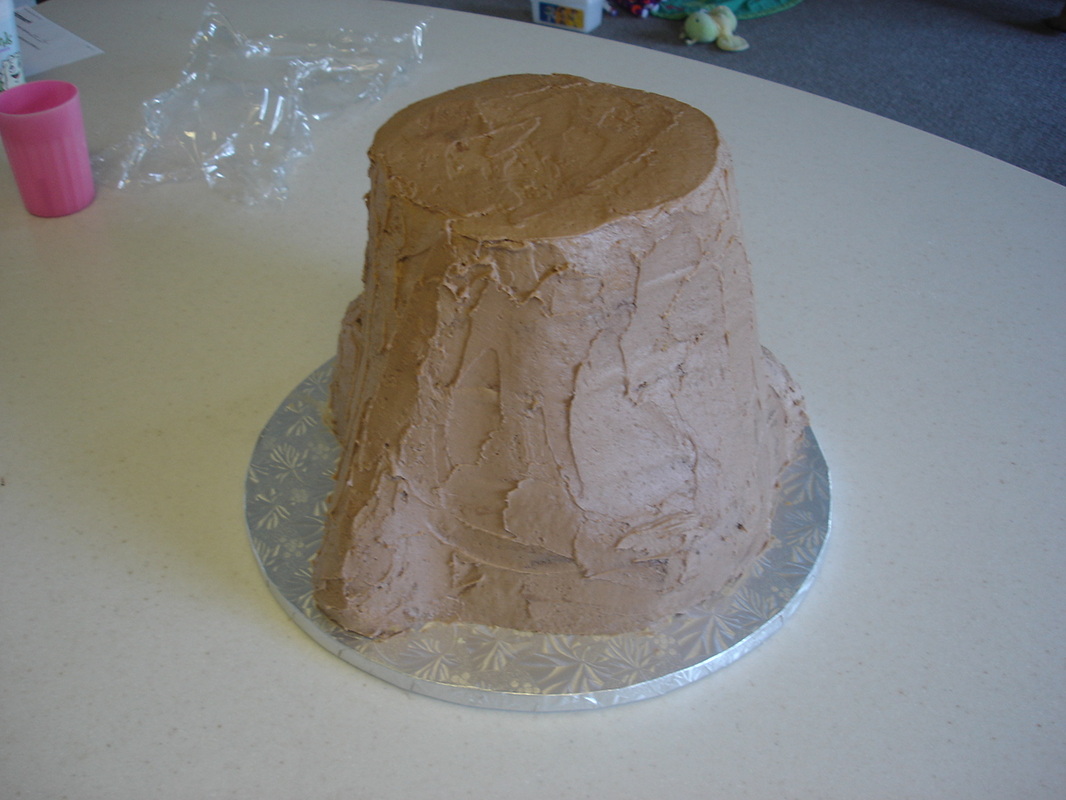
I stacked and filled the 5 cakes with chocolate buttercream.  I was concerned that there would be too much unsupported height with this cake, so I added an 8 inch cake board and some dowels to hold up the top two layers.  Then I let my husband start carving.  I think my husband is much more artistic than I am and trusted his vision of a more realistic shape.  So he went to work cutting the basic shape.
We built out the roots just a bit with some of the scraps and buttercream to hold it together...
After getting the shape how we wanted it, I covered the entire cake with buttercream frosting.  I used less cocoa in the lighter frosting (because the full chocolate recipe was just too dark for the finished product).  The problem with this was that I didn't think the frosting tasted as good as I wanted, so I used a darker frosting between the layers.  Then I decided to go ahead and throw a layer of dark frosting on there as well, then texture the bark over that.  This gave the cake a light/dark contrast that I liked.  Had I planned it better, I would have just dirty iced it with the dark frosting, but I didn't decide to use the dark until later...
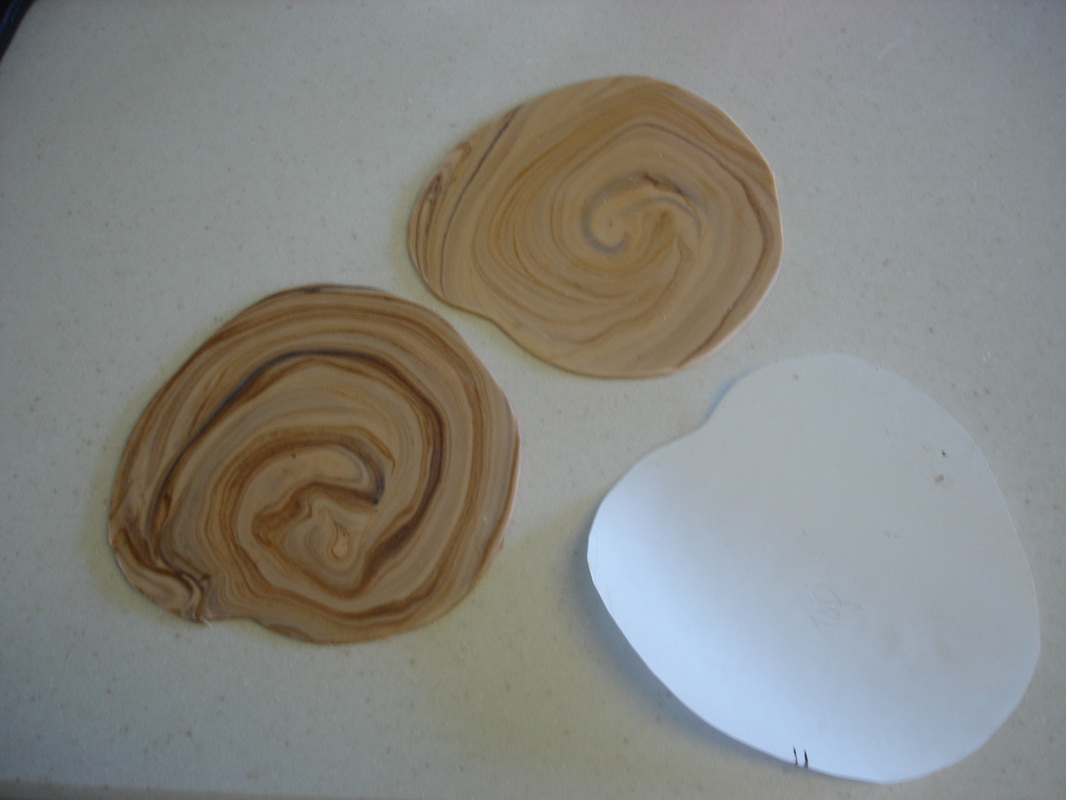
Now I had a few ideas about how I wanted to do the inside of the stump.  I'd seen some done with swirling buttercream but I just didn't like how they looked.  The best ones I saw online were done with fondant, nice and smooth.  Originally my plan was to use a light brown fondant and paint darker swirls on it.  I tried this and didn't like the results.  I just couldn't get it to look like tree rings.  Then I thought maybe i could experiment with coloring the actual fondant.  So I took a light brown fondant and put some food coloring on it, then I started to stretch it like taffy.  I pulled it, and folded it in half, then pulled it again.  I did this until I started to see the colors coming through.  Then I flattened it out with my hands taking care to keep the swirls going in the right direction.  From there I rolled it with a pin and came up with these.  I made a couple for some perspective and ended up using the darker one.  To get the shape, I traced paper over the actual top of the cake and cut it out to use as a guide.
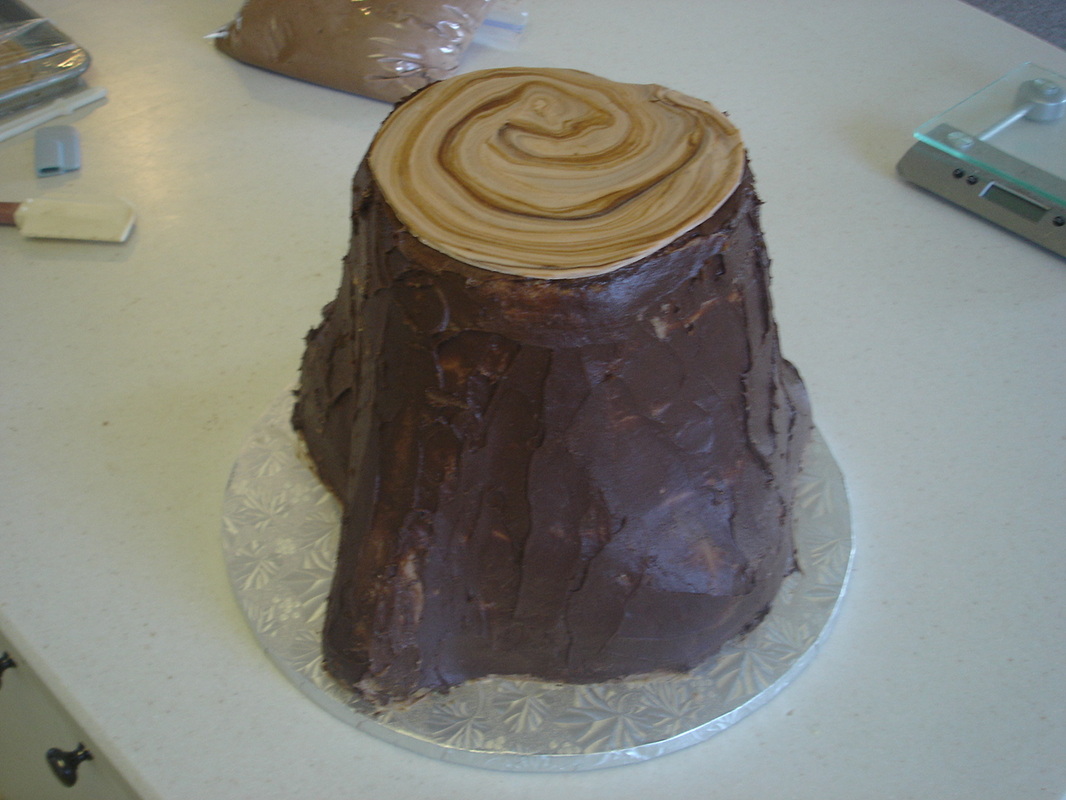
Then I covered the entire cake with the darker, better tasting, buttercream and put the fondant on top.
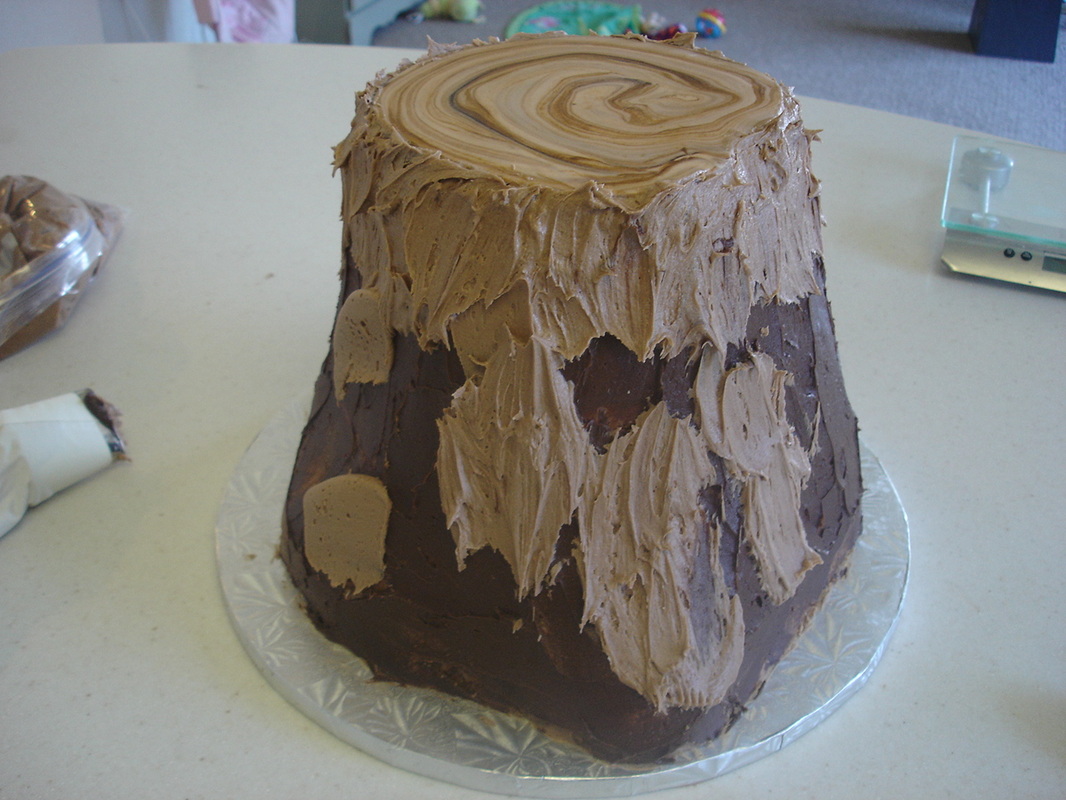
Next I started adding the lighter buttercream for texturing.  I intentionally didn't cover every surface because I wanted some of the darker color to come through.  I piped on blotches of frosting and used a spatula to texture it...
When I was done with the texturing it looked like this...
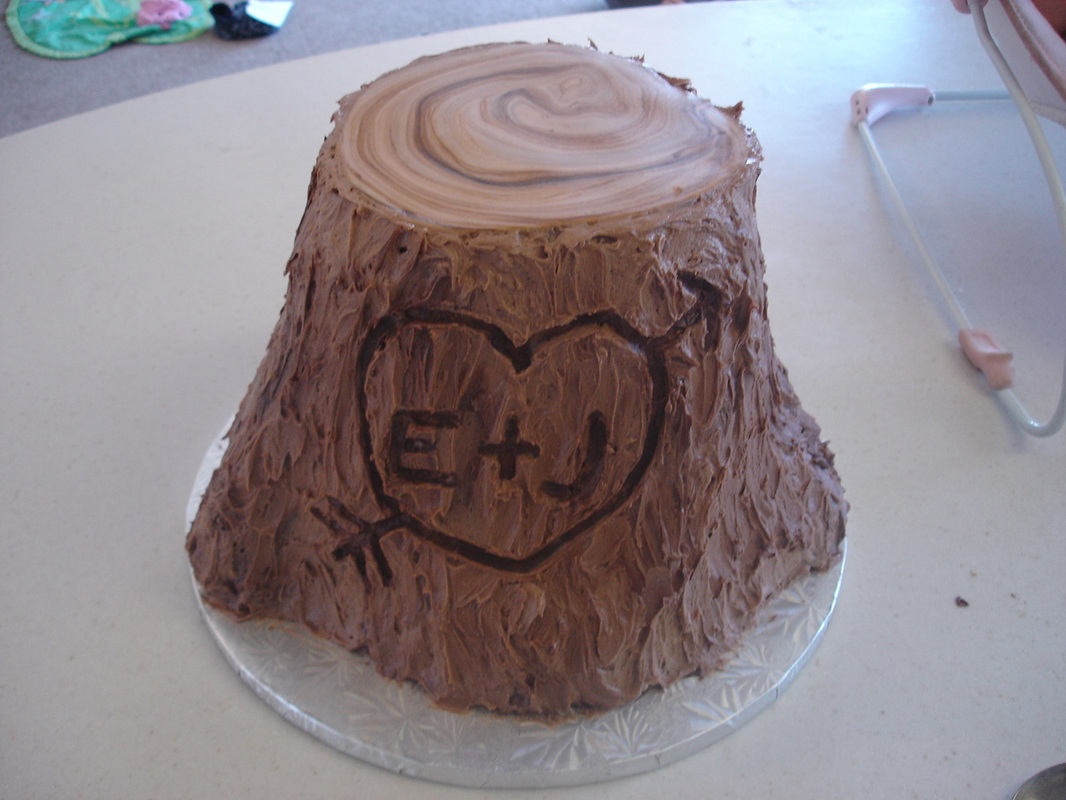
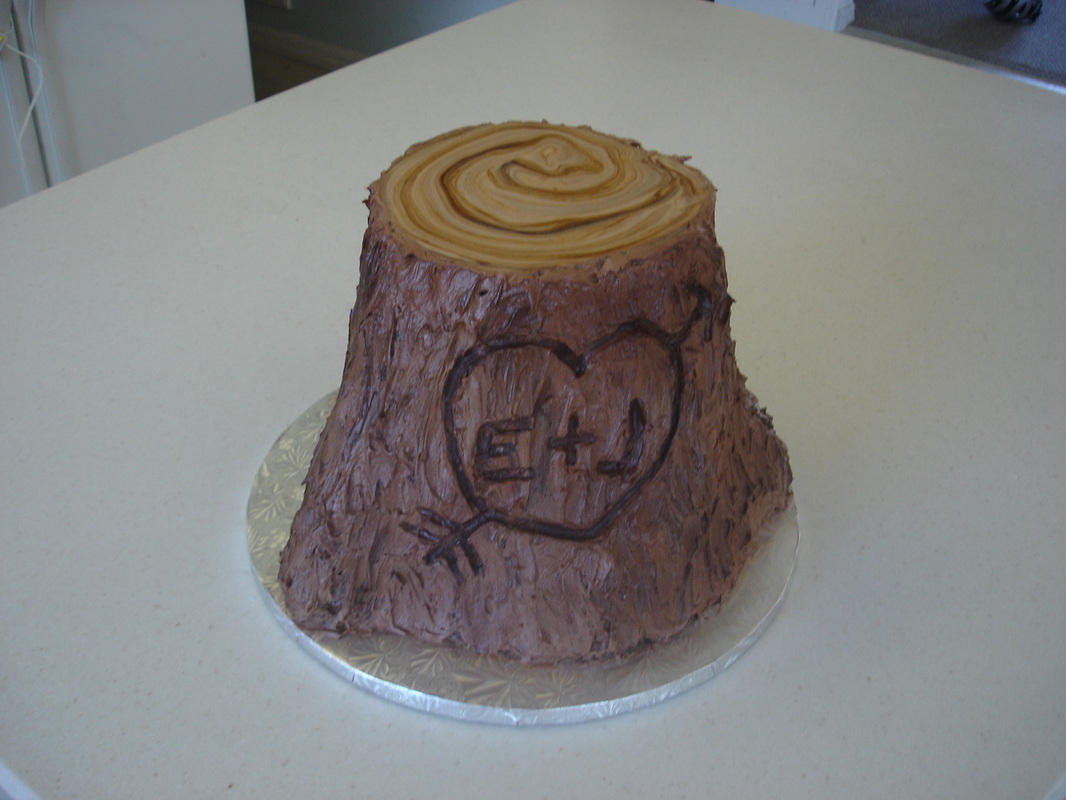
Next came the carving of the initials.  My original idea was to pipe in a lighter frosting after I had carved it, but it just didn't pop.  I wasn't happy with how it looked.  However, because I had that darker frosting below the light, I found that when I used a round tool to 'carve' the initials, the darker frosting showed up and it looked great.  So I went with that (in my typical, fly by the seat of my pants fashion).  I did have to fill in a bit of dark frosting here and there, but for the most part it worked out on it's own.
Finally I pulled out my trusty air compressor and air brush gun and I added some more brown highlights to give it even a bit more contrast.  I also dipped some strawberries in chocolate and placed them around the base of the cake to look like acorns.  Overall, I was really happy with how it turned out and it was a big hit at the reception.  :-)  
 
You probably don't know that I was very hesitant to start a cake blog.  I've only been making cakes for a couple of years and I'm by no means an expert.  Most of what I have learned has been through trial and error and my instruction consists of youtube videos and other cake maker's advice.  However, my family convinced me that it was interesting enough to pursue....and it's a lot of fun.  
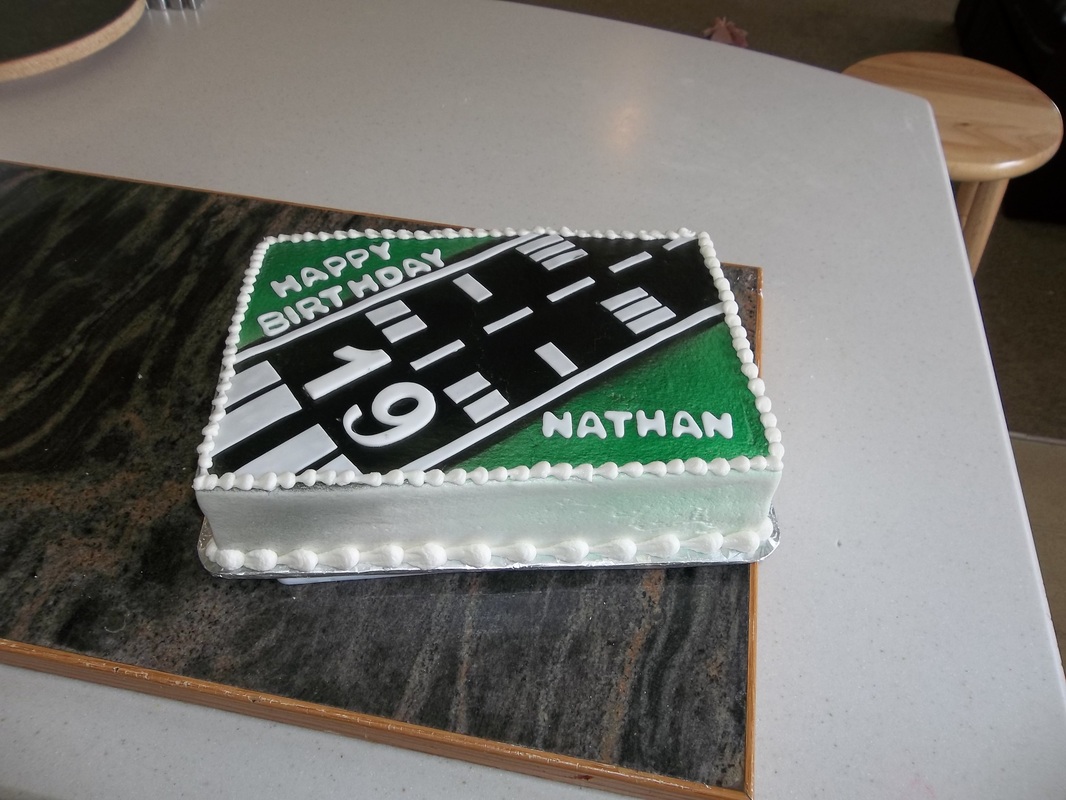
That being said, today I entered a new realm of cake making and you all are coming along for the ride.  After a year of wanting it, I finally got an airbrush gun with a compressor.  Now I can start painting cakes.  This will, theoretically, open up a whole new world of opportunity for me...from painting details like this runway cake, to giving my cakes a final shimmer.  And I'm having so much fun with my new toy.  If any of you have any tips, feel free to comment.  I need all the help I can get.  :-)

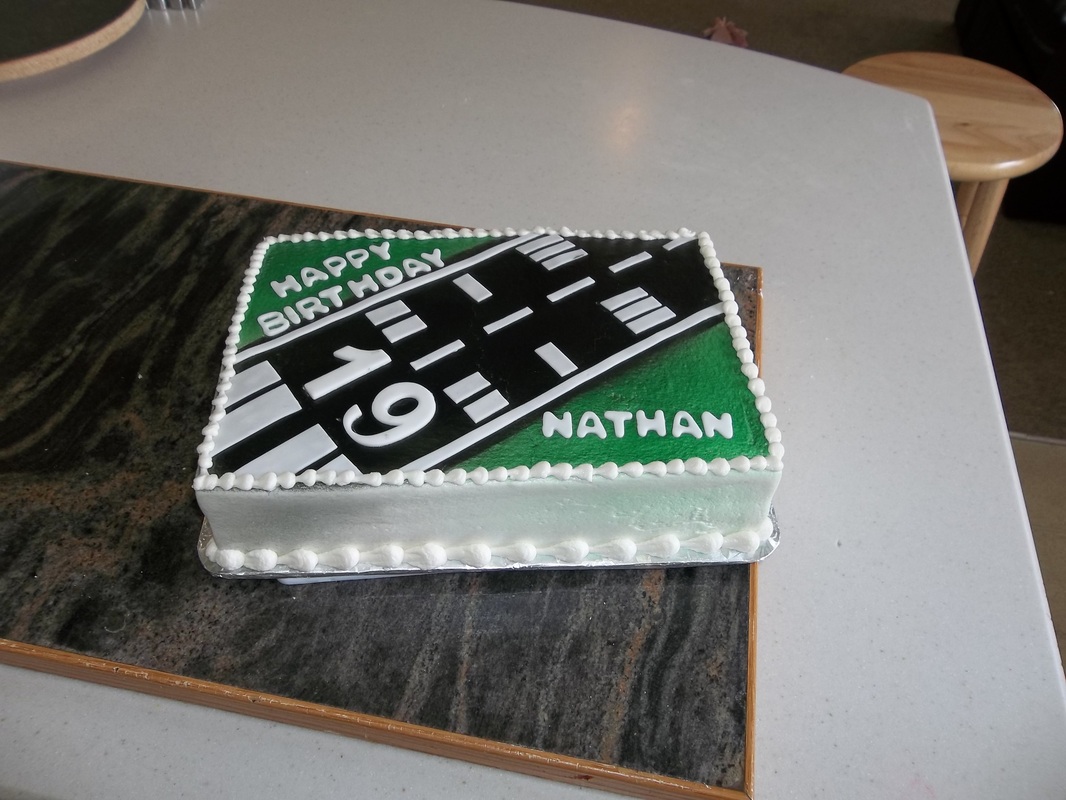
This particular cake was a birthday cake for a friend who is just about to get his private pilots license.  They had a toy plane they wanted to use on top of the cake, so they just needed the runway to showcase it.  
While I baked the cake (standard yellow with buttercream), I estimated how wide I wanted my runway.  
Once I had decided on a width, I cut off the corners of my guide.  I planned to use the paper as a shield on the cake so I could spray two colors and they wouldn't mix.  In hindsight, next time I will use cardboard instead of paper.  The paper was pretty flimsy and blew around while I was trying to spray.
Then I frosted the cake...  It's two layers...so my sheet cakes are about three inches high.
I smoothed it using the paper towel method... (google 'paper towel smooth' if you are interested in how this is done).
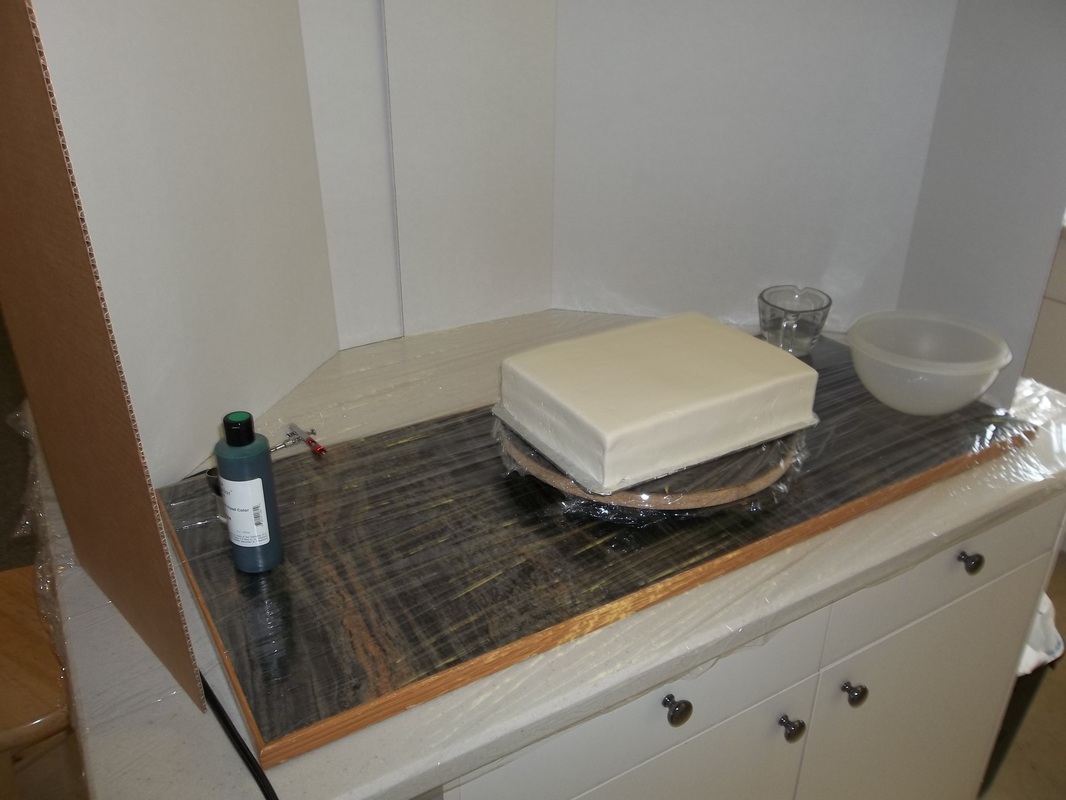
This was my set up for painting.  I bought a couple of science fair boards from my kid's school ($2 each) and covered the counter with plastic wrap (yay for youtube and my mother for that tip).  I will eventually get a plastic table cloth but the plastic wrap worked well enough for this project.  

This is where I started arguing with my husband.  Dan paints cars so he is all too familiar with the ins and outs of spraying and he was of the opinion that paint particles shouldn't be flying through the house while I painted (even if they are edible).  So he devised a plan to make a cake spray booth for my work.  I'm not kidding here, the man is meticulous.  The thing would have a filter and a fan...the whole shebang!  In the end, I told him I would cover my mouth and nose with a cloth...and then forgot to.

I also learned from how to videos to keep a bowl and warm water by me for cleaning out the gun when I am switching colors or taking a break from spraying.  Leaving paint in the gun is a big no no.
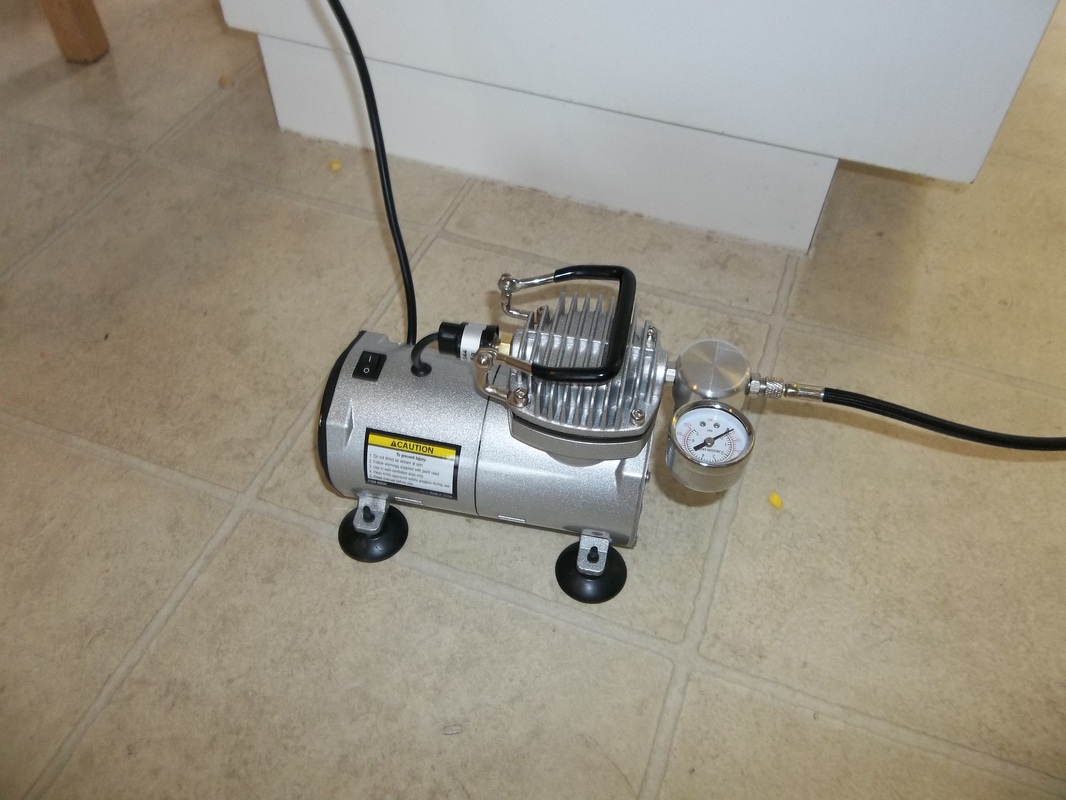
This is a picture of my new air compressor.  Isn't it cute?  There are several options for compressors and air guns.  You can get one specifically designed for cakes at a craft store or cake specialty store, but I've seen them cost as much as $300!  This one came from Harbor Freight and cost me 90 bucks.  Sweet.  

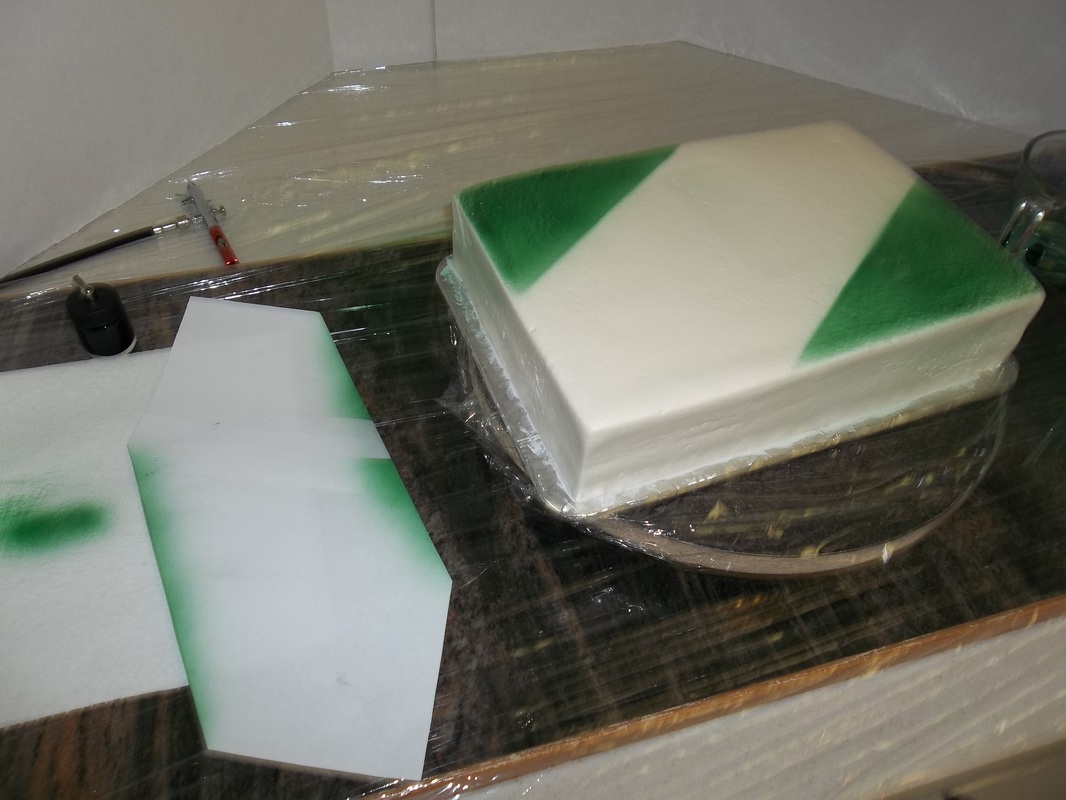
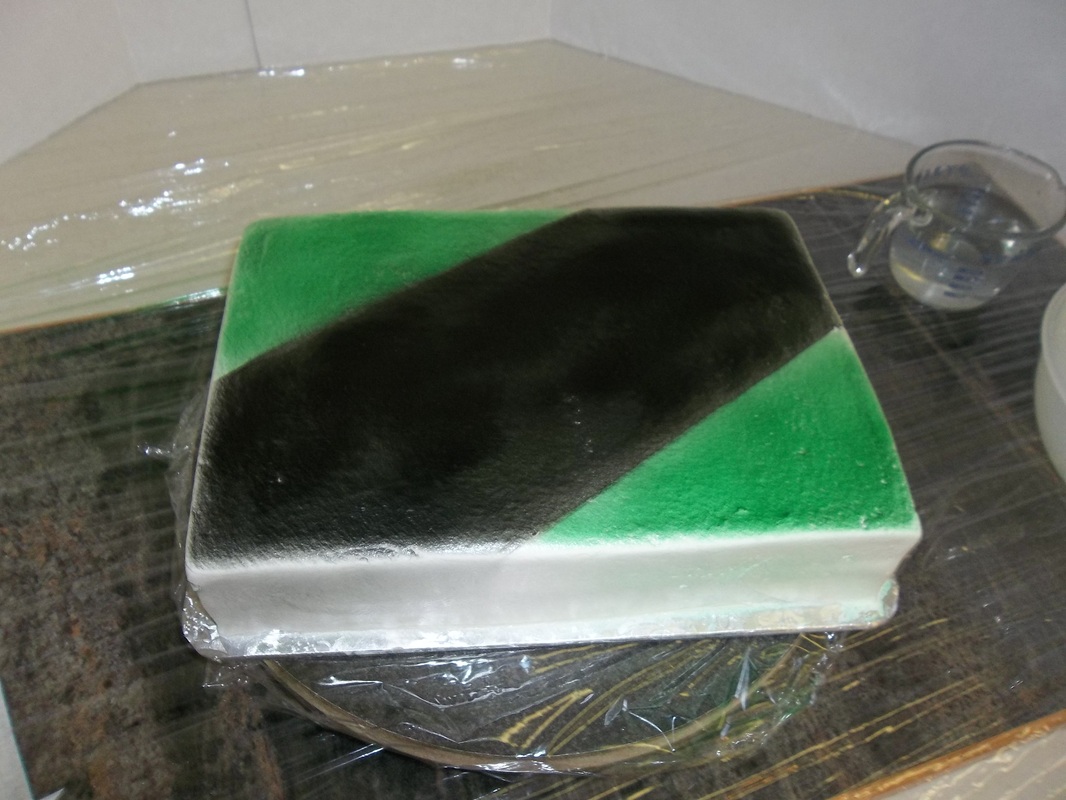
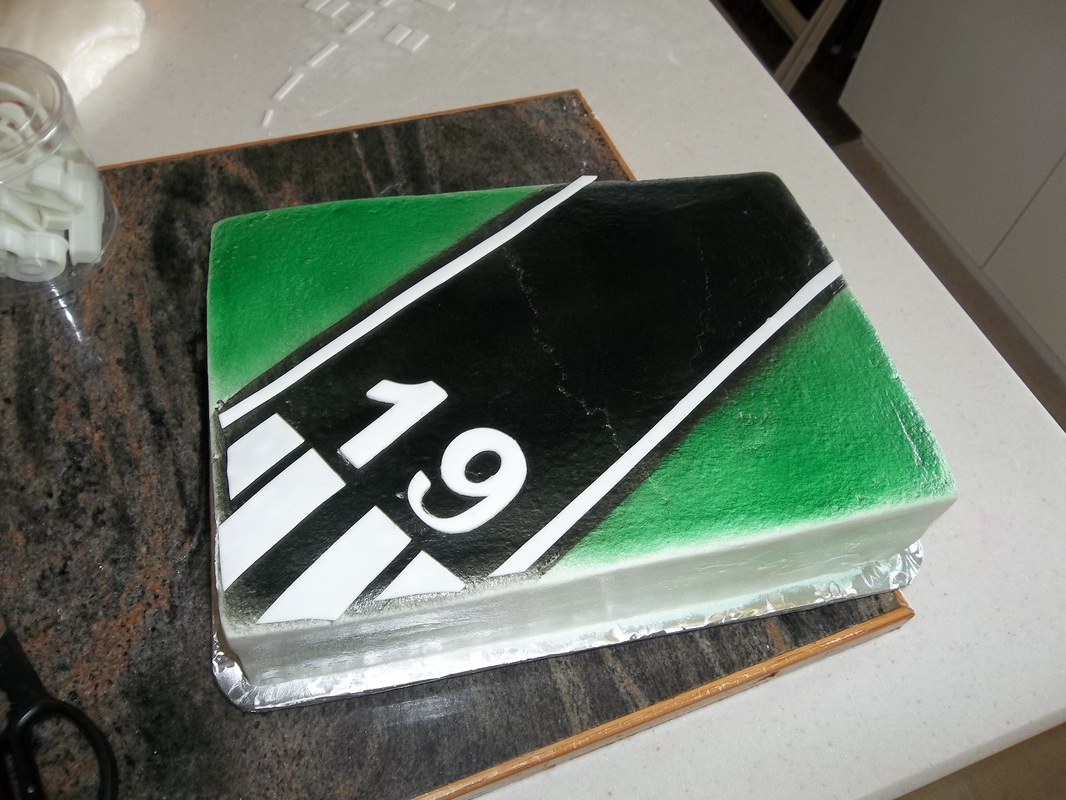
And here is where I fly by the seat of my pants.  I thought it would be a good idea to paint the corners first then fill in the black.  I now know, however, that it works better to start with the darkest colors and then add the lighter colors.  I ended up bleeding into the green and black bleeding into green shows up, whereas if it had been green in black, it wouldn't have.
You can see that I got one of the lines pretty clear, but the other one was a bit blurred.  

I wanted to spray only the top of the cake, so while I sprayed I aimed away from me and tried to keep the spray flowing off the back side of the cake.  I still got a little over spray on the sides of the cake...not quite sure how to avoid that in the future.  Ideas?

Overall though, I was pretty happy with this first attempt. 
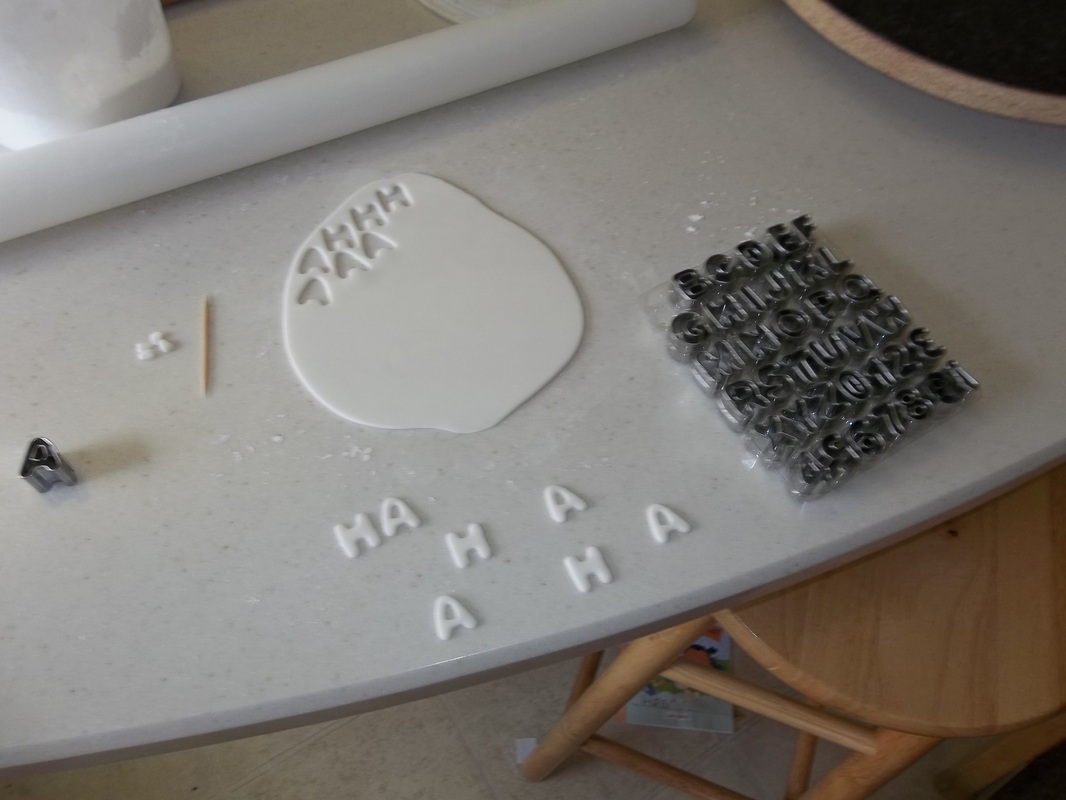
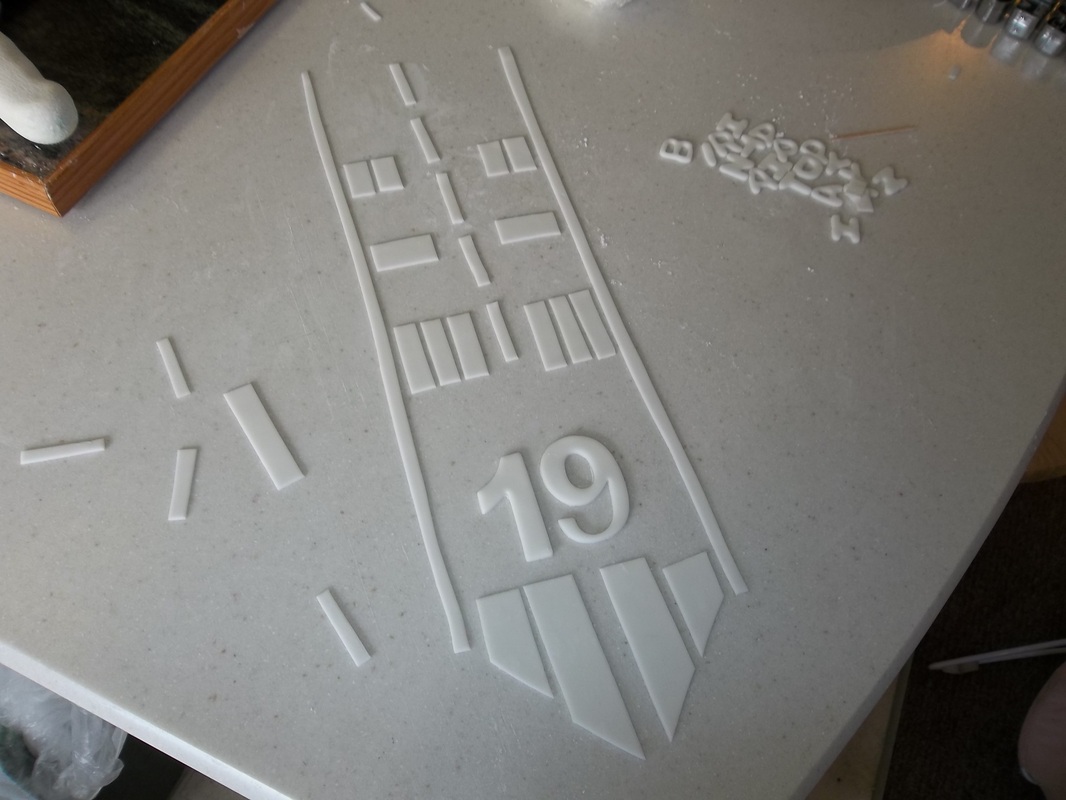
I cut out letters with alphabet cutters and details for the runway with a pizza cutter.
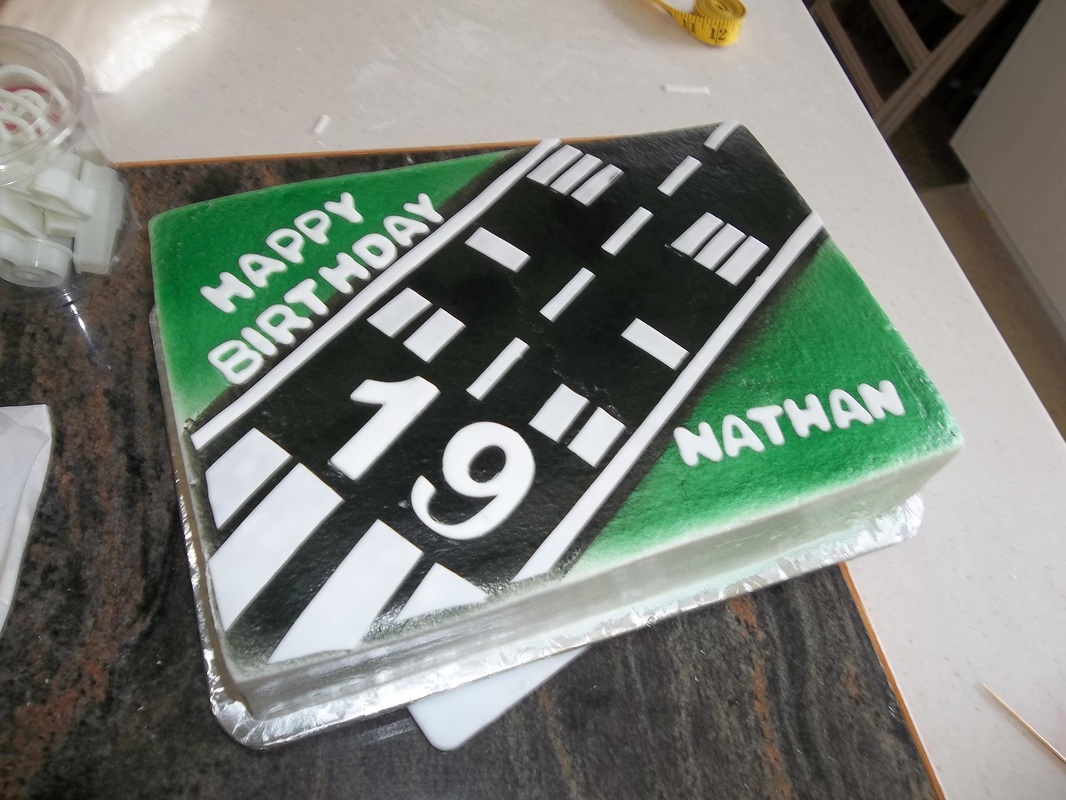
Then I set to work putting on the details.
Add a final border, and we were good to go.  I was really happy with how it turned out, especially a first attempt and I can't wait to try it some more.