Rather than showing the baking process on each cake, I'm devoting a page to baking the cakes here. I'll include photos of baking the individual cakes that I make if they vary from this process, but this is pretty standard.
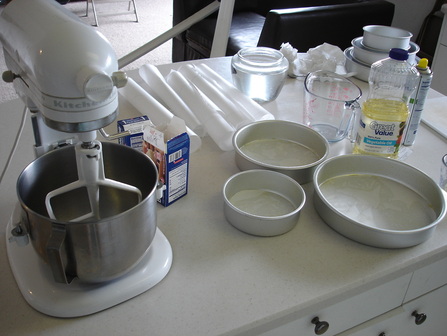
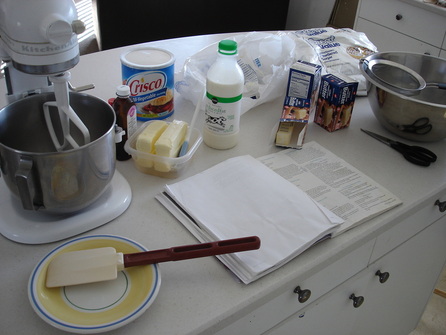
Baking a cake obviously starts with the batter. Since I started making cakes I've gone through numberless cake recipes, looking for that one great recipe that will be my standard (not really numberless, the number thus far is probably about 15). Unfortunately, I haven't had a lot of success with most of them. The couple that I did like were very delicate and difficult to use for special occasion cakes. Currently I use a combination of mixes and scratch recipes. I like combination recipes that are about 1/2 mix and 1/2 other ingredients. I've found that these taste better than the standard mix, but are a bit more durable than the scratch recipes. I'm still in search of great recipes to use...
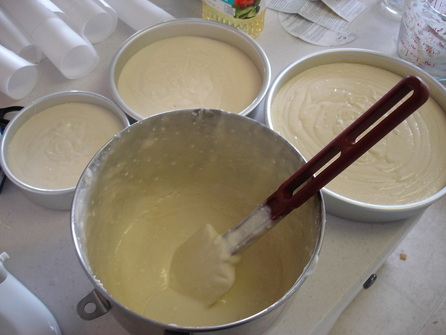
I always line my pans with parchment paper, then spray them with nonstick cooking spray. I find this is the easiest, least messy way to remove my cakes.
Baking a cake obviously starts with the batter. Since I started making cakes I've gone through numberless cake recipes, looking for that one great recipe that will be my standard (not really numberless, the number thus far is probably about 15). Unfortunately, I haven't had a lot of success with most of them. The couple that I did like were very delicate and difficult to use for special occasion cakes. Currently I use a combination of mixes and scratch recipes. I like combination recipes that are about 1/2 mix and 1/2 other ingredients. I've found that these taste better than the standard mix, but are a bit more durable than the scratch recipes. I'm still in search of great recipes to use...
I always line my pans with parchment paper, then spray them with nonstick cooking spray. I find this is the easiest, least messy way to remove my cakes.
One of the biggest tips I can give about baking cakes is to not over bake the cake. Just two minutes can be the difference between a cake that is perfect and one that is overdone. You want your toothpick to come out clean but you also want to pull the cakes before they pull away from the edges of the pan. Smell is a good indication that they are done. When you start to smell them you know you are close. I check them quite a lot to make sure they are just right. Ideally they will still be touching the edges of the pan when you pull them out, but pull away as they cool the first few minutes.
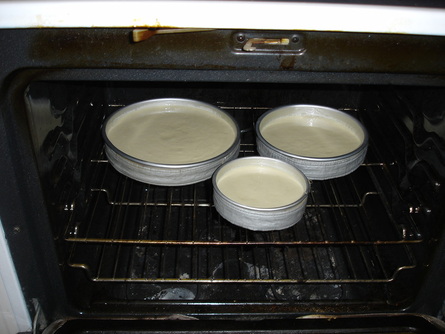
The strips around the pan are baking strips. They are soaked with water and work to help the cake bake and rise more evenly.
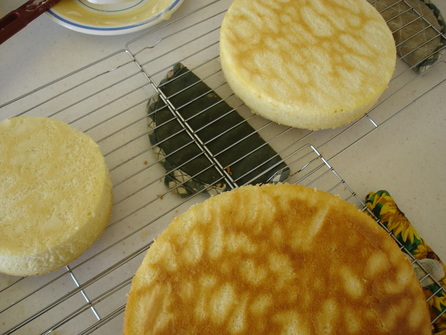
I let the cakes cool slightly before wrapping them, but I wrap them up while they are still warm. This helps lock in the moisture.
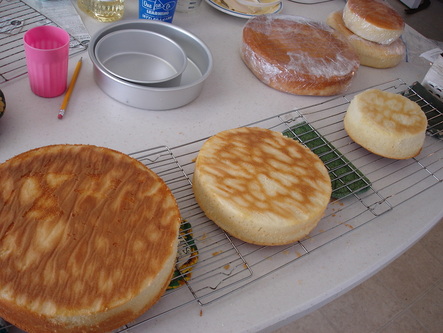
These particular cakes were for a topsy turvy cake, so I needed a lot of height. I went for three 2 inch layers. I still make three layers for each tier of my other cakes, but I make them smaller, usually 1 1/4 to 1 1/2 inch. I think the cake looks nicer with three layers and it's easier to cook a moist cake with a smaller layer.

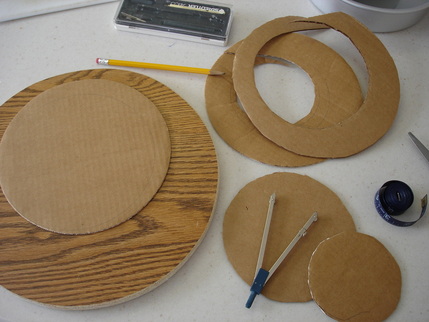
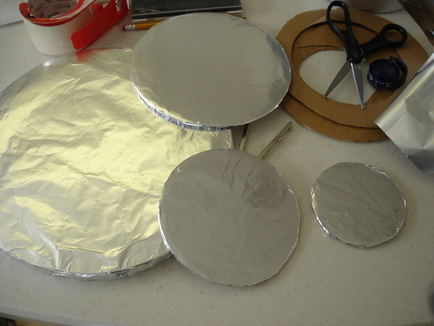
While the cakes are cooking and cooling, I start cutting out and covering my cake boards. The boards support the individual tiers of the cake.
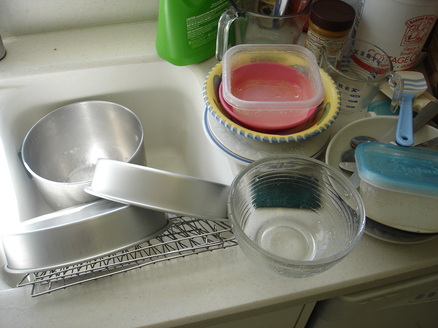
This is the first round of dishes. I try to clean up after each stage, otherwise my kitchen gets trashed pretty easily. :-)
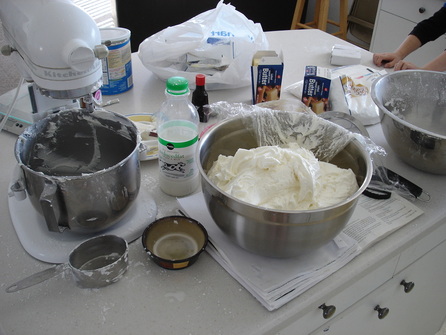
The Frosting
The dishes for this round are terrible! This is my least favorite step in making a cake. The buttercream recipe that I use is great, but difficult to clean. It usually takes me between one and two hours to make my buttercream frosting.
That's a whole lot of frosting!!
Prepping the Cakes
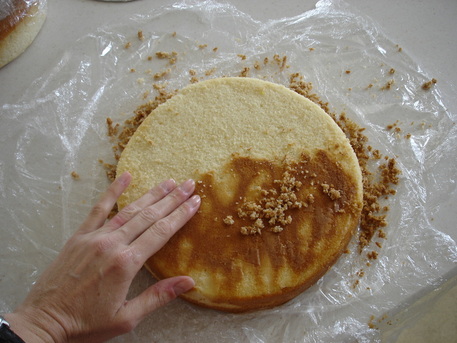
One secret to making a moist cake is to remove all the darkened edges, plus this makes the cakes look nicer. It's already moist from wrapping it warm, so I just gently rub the cake in small circles and rub away the darkened cake.
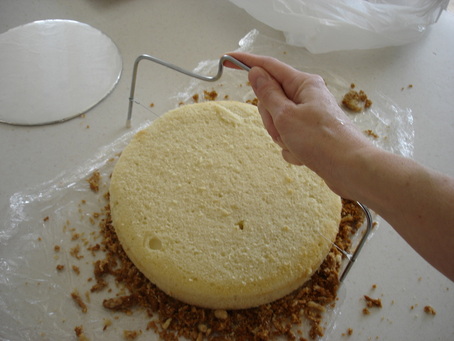
I use a cake leveler to even out the top.
Now the cakes are baked and prepped and ready to use.
 RSS Feed