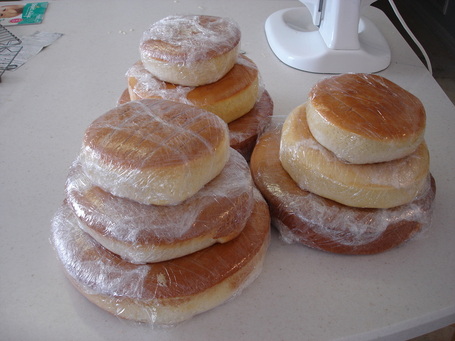
I started this cake by making three 2 inch cakes per tier (see my baking and prepping page if you want more info on this).
Total time spent baking the cakes: 5 hours.
Total time spent baking the cakes: 5 hours.
The prepped cakes were assembled with buttercream frosting.
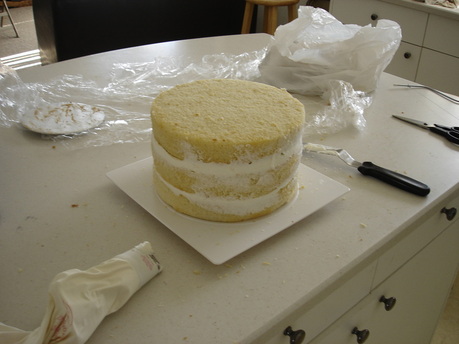
Cake carves more easily if it is partially frozen, so after they are assembled they go in the freezer.
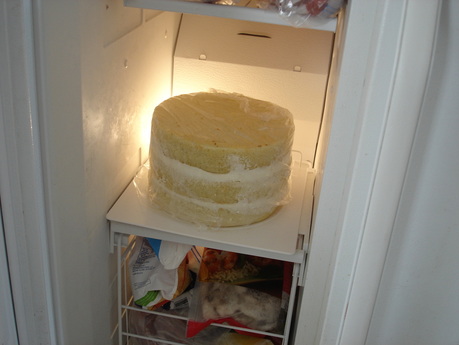
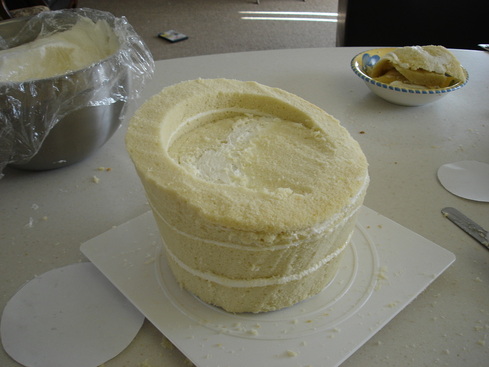
Now the carving begins. I wanted the cakes to be only slightly cut in and I think the topsy turvy cakes look nice with clean straight angles. So I started with the cake upsidedown, and placed the board on the bottom (currently the top) and used it as a guide to do the carving.
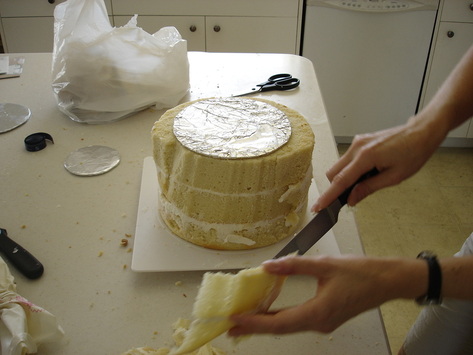
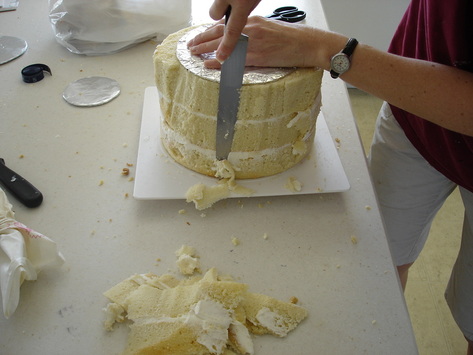
After I'm done carving the sides, I flip it right side up, carve the top off at an angle, and carve out the middle of the top. The topsy turvy cake is actually an optical illusion. The cakes are not laid out at crazy angles. They are actually stacked flat just like a regular cake. So the top is carved flat in the space that the next tier will be placed. Then the next cake is placed inside the carved space, creating the angular look. I learned this all from Youtube. It's amazing what you can learn just from googling stuff on Youtube!! :-)
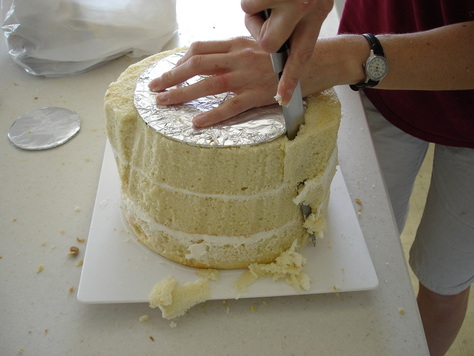
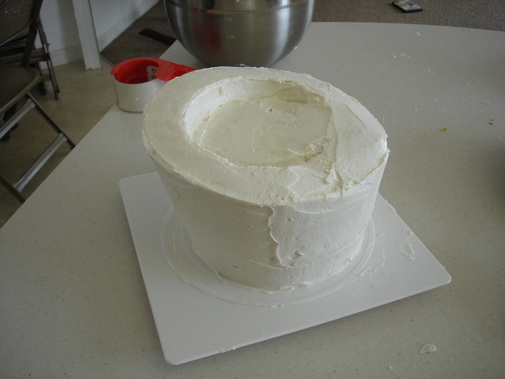
Next, to steal a phrase from Cake Boss, I 'dirty ice' the cake. This means cover it in frosting.
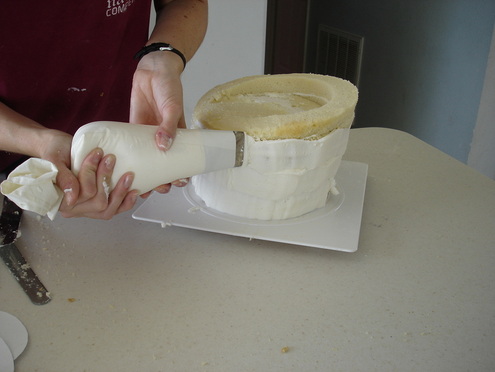
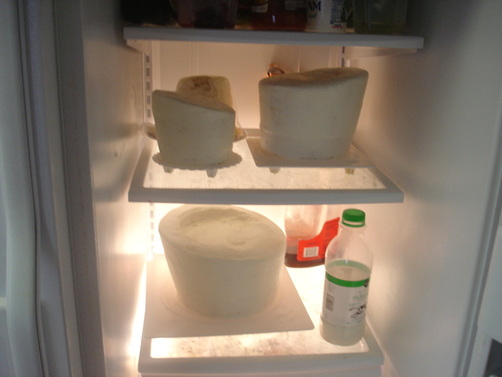
I get the frosting as smooth as I can. If there are problems with the frosting beneath the fondant, they will show through. You can see the smooth finish after the next two pics (in the fridge). After smoothing it as much as I can, I let it sit for 15 minutes to form a slight crust. Then I smooth it out using a Viva paper towel, and a fondant smoother (google 'smoothing a cake' on Youtube :-).
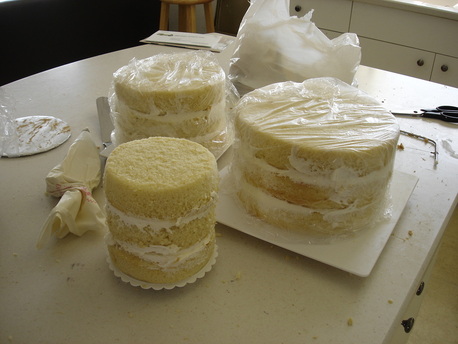
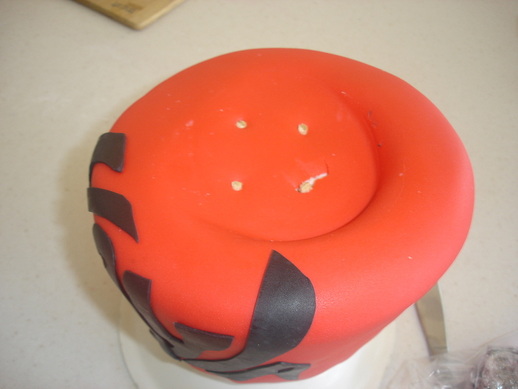
You'll notice from this picture to the next that I changed the shape of the smallest tier. One of the things that I learned with this experiment is that you can't make your tiers too narrow at the bottom or they will not hold themselves. The initial one wouldn't keep it's shape and fell over. Luckily I had a couple of extra cakes because I had left over batter, so I just redid them with a slightly shorter and wider base...
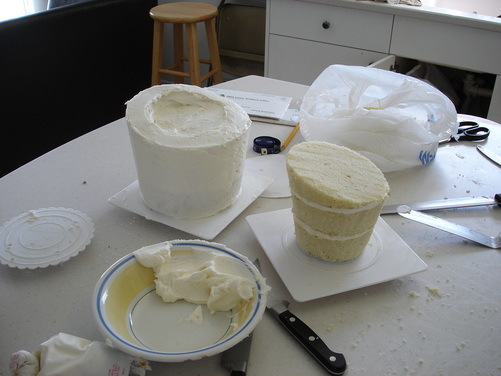
And into the fridge they go. I like them to really harden up before I put the fondant on (so they keep their shape better). I leave them in the cold overnight before I start the fondant process.
Total time spent prepping, assembling, carving, and dirty icing: 3 hours.
Total time spent prepping, assembling, carving, and dirty icing: 3 hours.
Now the fondant process starts. Normally I make my fondant. I've tried marshmallow fondant, but don't really like how it turns out. It can't be refridgerated because it sweats too much as it comes down to room temperature. It tastes better than normal fondant, but I find I prefer traditional fondant instead...I do have another marshmallow fondant recipe that supposedly can be refrigerated, but I haven't tried it yet.
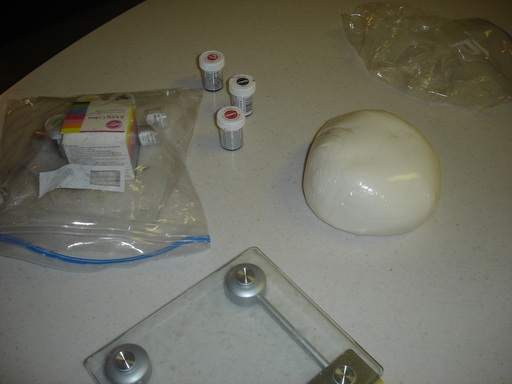
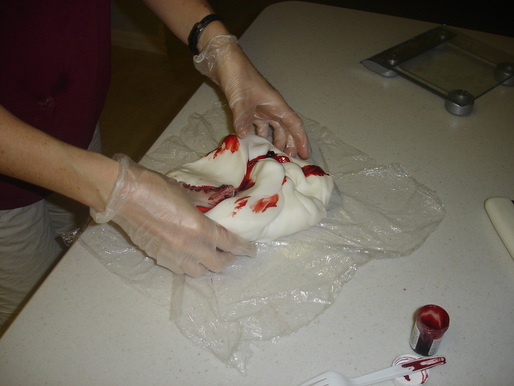
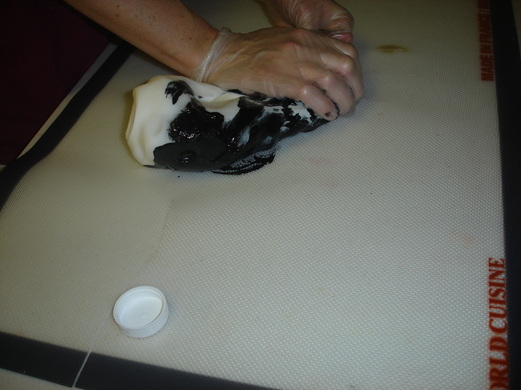
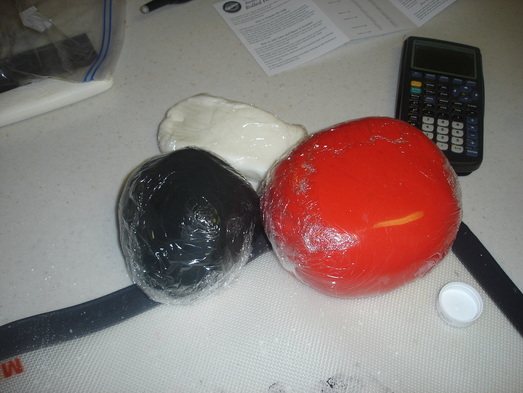
Red and black are the hardest colors to dye fondant (at least in my experience so far). It takes a LOT of coloring because the fondant is white, so you have to overcome pink and grey to get to red and black. I use gloves and a mat (see next photo for the mat) because the dye actually stains my counter, and hands.
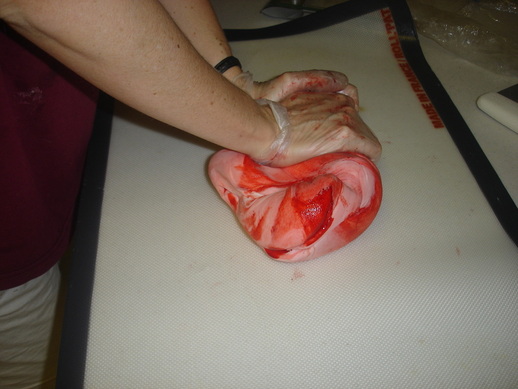
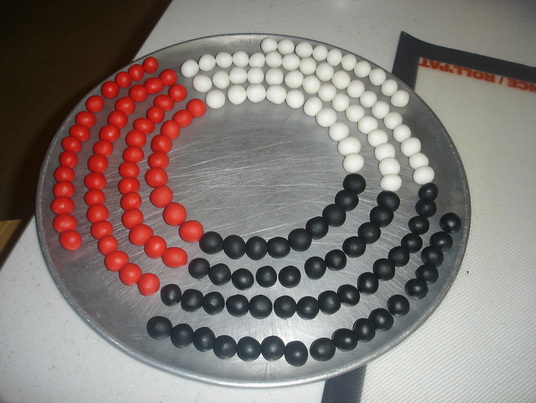
Now I roll out the colors and start making the balls for the borders of the cake.
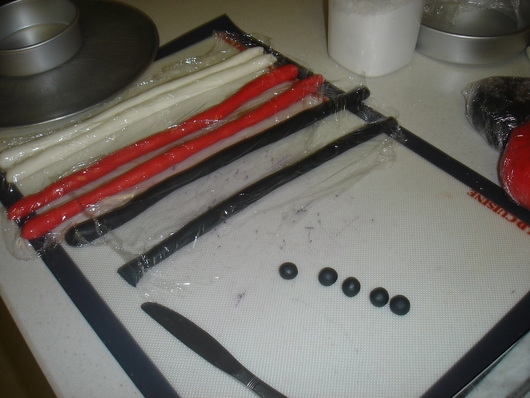
Total time spent dying the fondant and rolling out the border beads: 2 hours.
Now to cover the cakes with fondant. Before I lay the fondant on the cake I spray it lightly with water mist so the fondant will adhere. If you lay the fondant on fresh frosting it will stick to the frosting, but my cake has been sitting in the fridge and is not sticky now.
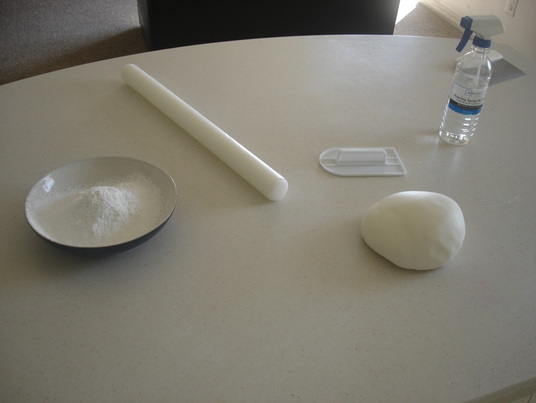
First I roll the fondant to a quarter inch thickness (after estimating how much I need to cover). I measure the sides of the cake and add them up to determine how wide the fondant must be rolled to cover the cake.
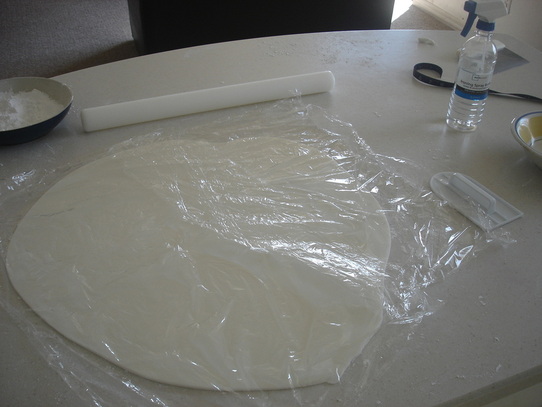
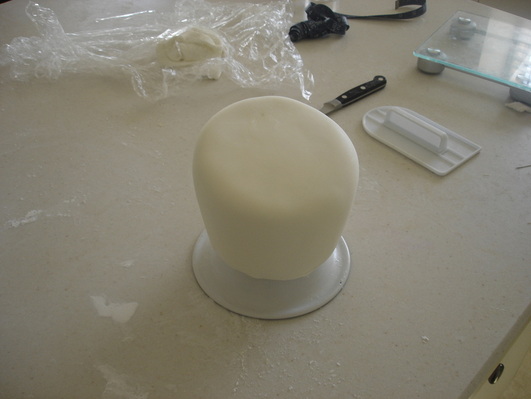
Then I use my rolling pin to drape the fondant over the cake. (for bigger cakes I slide a large pizza pan under it and lift it over the cake). I had more trouble with the fondant in this cake then I have ever had. It's a high cake to begin with, and it gets more narrow as the fondant goes down. I had troubles with wrinkles. Luckily, most of the problems were minor and I was able to cover them up with the other decorations.

Next I start smoothing the fondant and pressing it onto the cake. I use a fondant smoother and my hands to do this. I pull up the sides as I work it down on the edges and cut off the excess. Some people do this on a flat surface, but I'm not that good. I find that if I place the cake on top of an upsidedown bowl, I can work the wrinkles down below the edge of the cake, then just cut them off. Then I return the cakes to the fridge to set up again.
Time spent rolling out the fondant and coving the cakes: 1 1/2 hours.
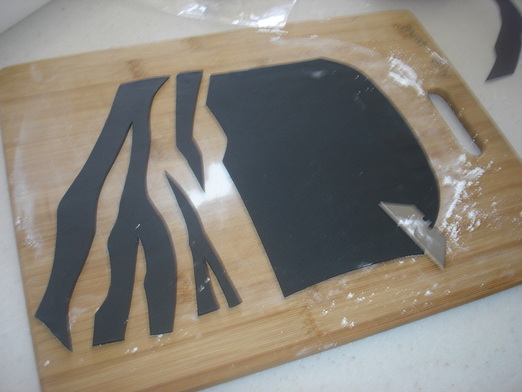
Now to begin the zebra stripes. Dan gave me some ideas as to how to make the stripes look realistic. He cut out those paper stripes and I used them as a guide to cut the stripes (though I cut them free hand).
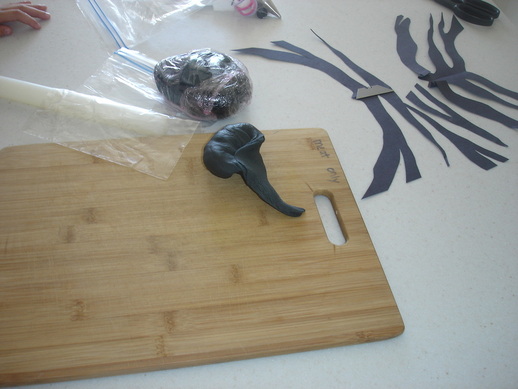
Cutting the stripes...
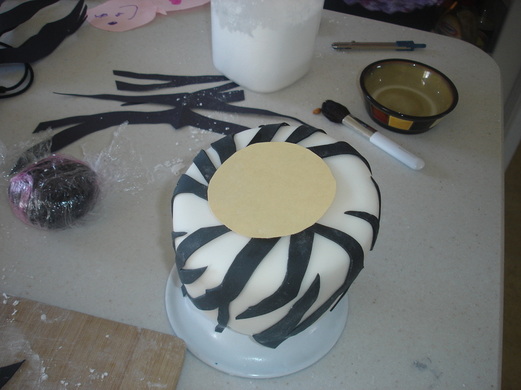
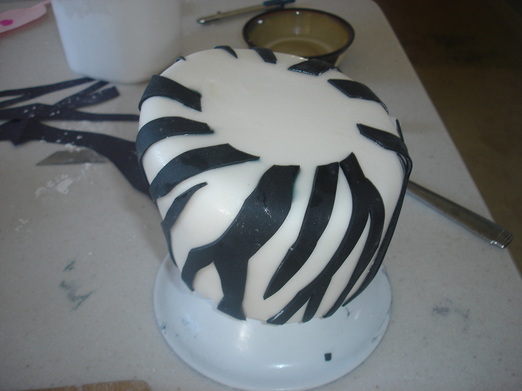
Next I started placing the stripes on the cake. I lightly brushed the entire area of the cake with water to make the stripes adhere.
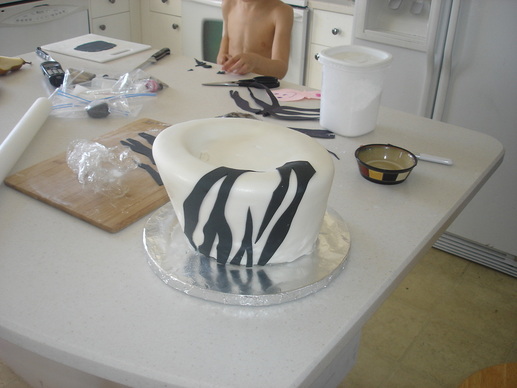
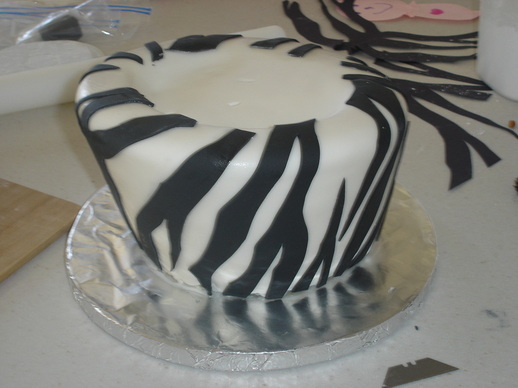
I didn't use any water on the top layer of the cake, so the stripes wouldn't stick. I just let them lay across the top because I knew I was going to trim them. We opted for this design, but I could have made the stripes go across the entire top. I liked how we did it.
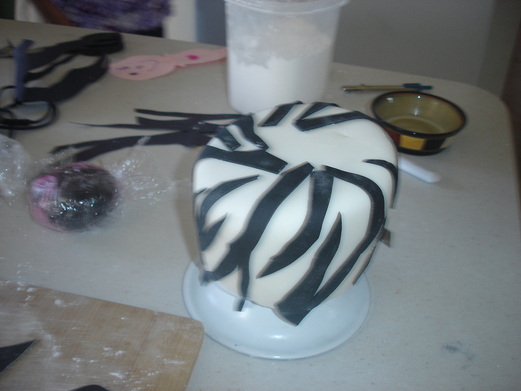
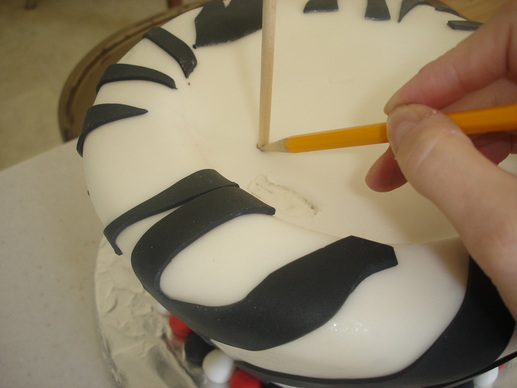
Then I cut out a paper guide and placed it on the cake so I could trim the top pieces. I then slightly moistened the top of the pieces and stuck them to the cake.
Time spent cutting out the stripes and putting them on the cake: 1 1/2 hours.
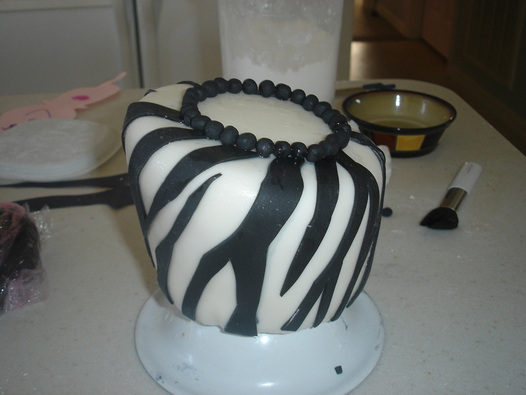
Next I made small black balls for the top boarder and stuck them to the cake using water.
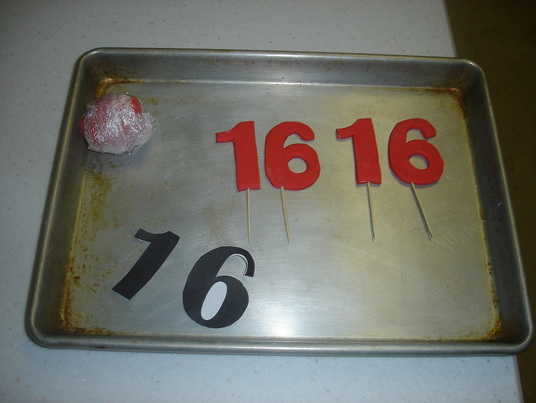
I made the 16 by finding a font I liked and printing it out, then using that as a template for the numbers. I mixed some gum‐tex into this fondant so the numbers would harden enough to stand upright (I think that is how they make gum paste, but I'm not sure...it does the same thing, anyway). I stuck toothpicks in them so I could stand them on the cake. I made a backup pair in case the first ones broke.
Time spent making the 16's: 1/2 hour.
Time spent making the 16's: 1/2 hour.
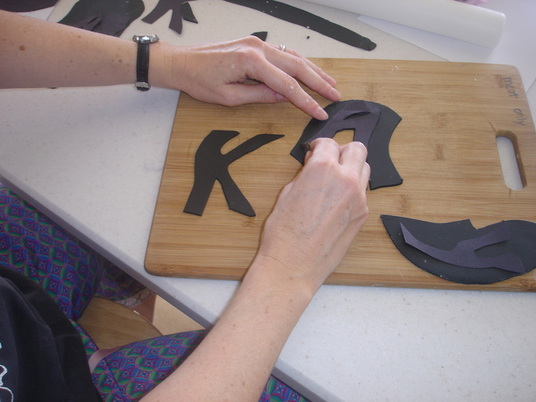
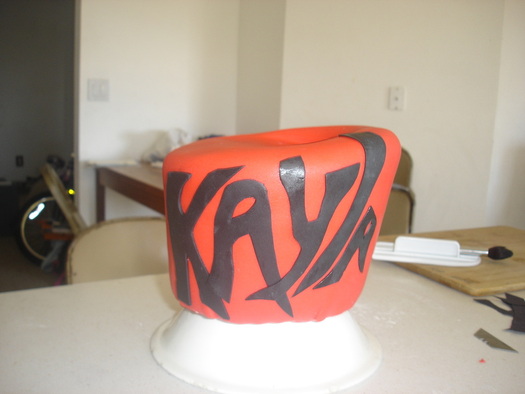
Next I made the letters for her name. Again, Dan was a wonder. I was going to use block lettering from printed letters as I did the numbers, but he felt that they would look better if they matched the style of the stripes, and I gotta say, he was right. He drew them on paper, and I traced them on the fondant. I'm so glad he is artistic!!
Time spent finishing up the fondant work: 1 hour.

Then I placed the letters on the cake. I slightly wet the backs of the letters so they would adhere.
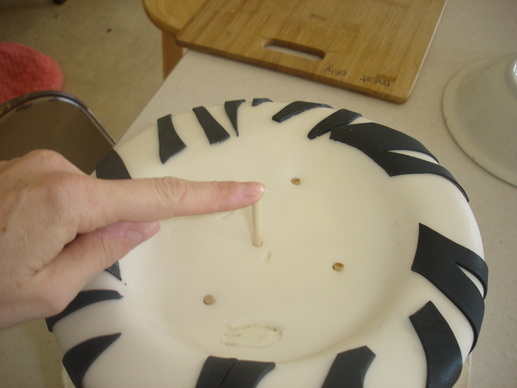
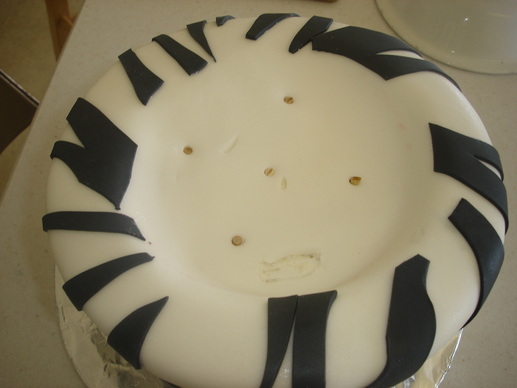
Cakes of this height and weight have to be supported with dowels or they could collapse on each other. I place a dowel in the cake and mark it to get the height.
Then I cut the dowels...
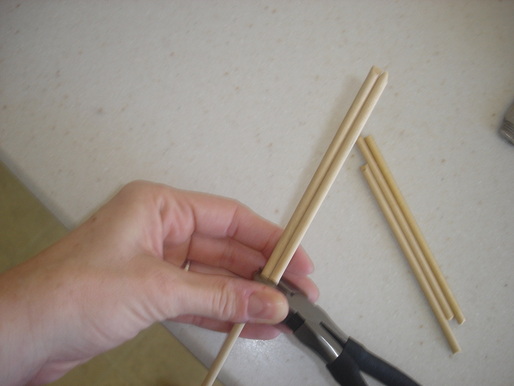
...and place them in the cake.
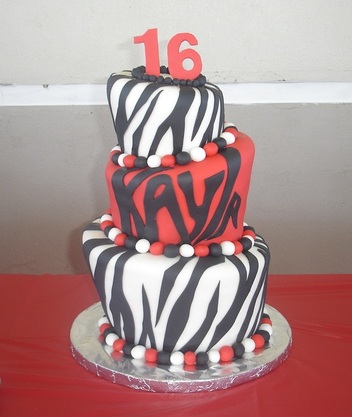
I always assemble the cakes at the location. I'm way too scared that there could be a mishap while transporting the cake. So now I'm at the actual party. I put the layers together....
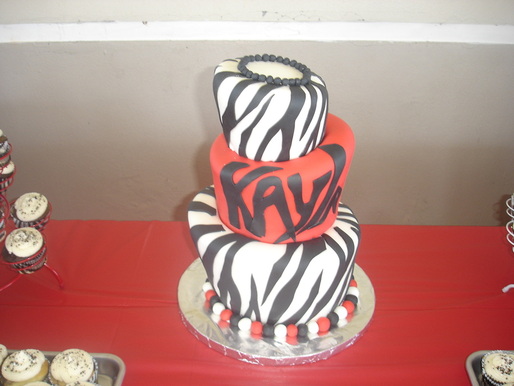
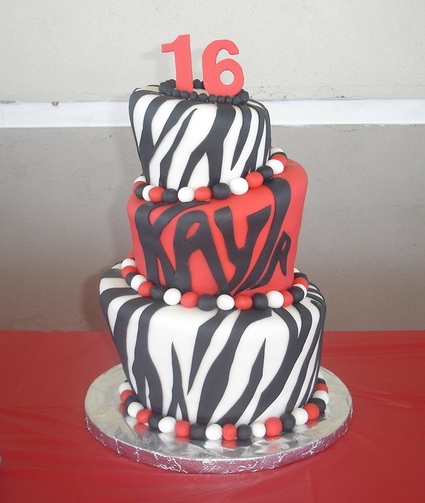
...and place on the finishing touches. And this was what it took to make my first topsy turvy cake. Thanks for going through it with me. :-)
Total time spent making and assembling the cake: 16 hours, spread over three days.
Total time spent making and assembling the cake: 16 hours, spread over three days.
 RSS Feed